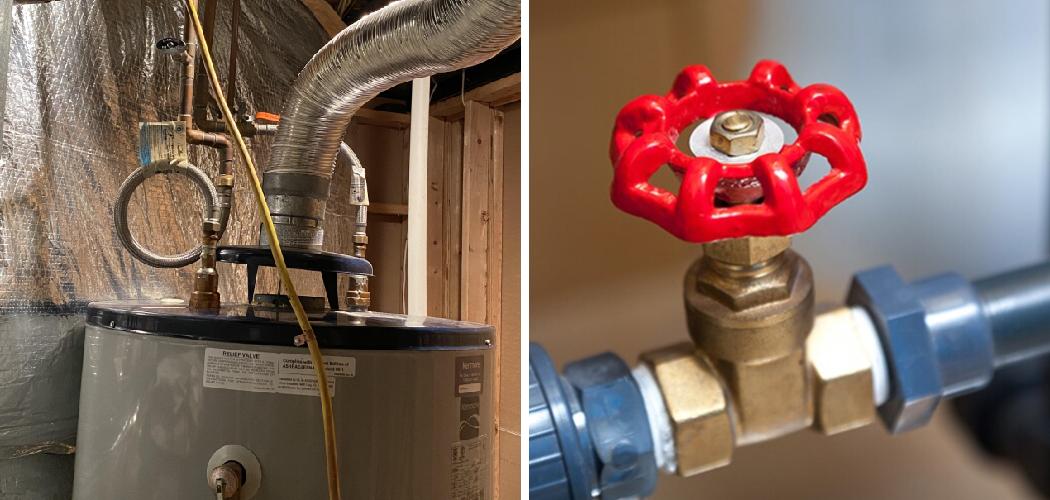
Are you a homeowner or renter who has experienced a burst pipe, leaking faucet, or other plumbing emergency? If so, one of the first things you should do is locate your main water valve.
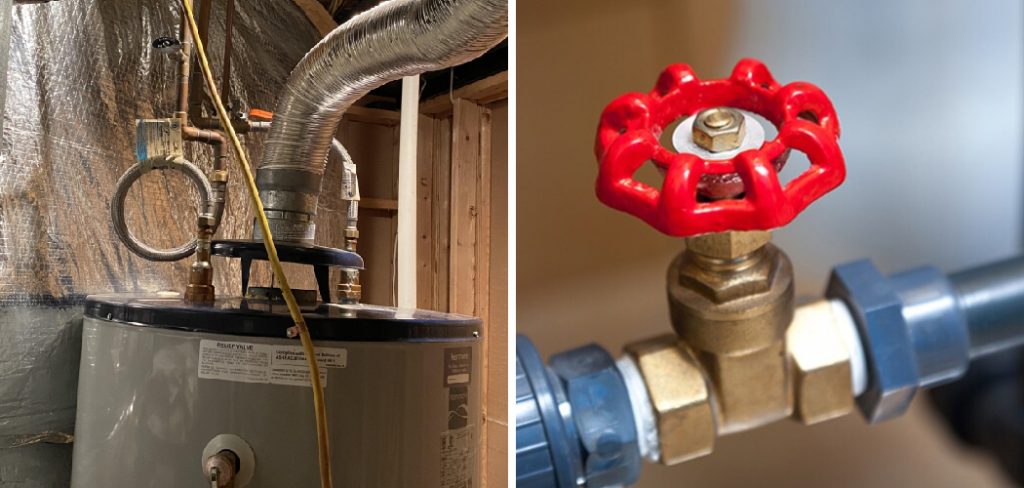
Knowing how to locate your main water valve is essential for every homeowner. Whether it’s for routine maintenance, preventing water damage during a plumbing emergency, or shutting off the water supply during repairs, quickly finding and operating your main water valve can save time, money, and stress.
This guide on how to find the main water valve will walk you through the steps to identify the location of your main water valve and ensure you’re prepared for any situation that requires turning off your home’s water supply.
What Are the Benefits of Knowing the Location of Your Main Water Valve?
Knowing the location of your main water valve can provide several benefits, including:
- Prevent Damage: Knowing how to find and turn off your main water valve quickly in case of a plumbing emergency can prevent extensive water damage to your home.
- Save Time: Without knowing where your main water valve is located, you may waste valuable time searching for it during a crisis. Being prepared can save you time and help minimize the damage.
- Avoid Costly Repairs: Water damage caused by a burst pipe or plumbing emergency can result in costly repairs. You can mitigate potential damages and avoid expensive repair bills by shutting off the main water valve.
- Have Peace of Mind: When you know how to find and operate your main water valve, you can have peace of mind knowing that you are prepared for any plumbing emergency. This can reduce stress and make the situation more manageable.
What Will You Need?
Before you locate your main water valve, gathering the necessary tools and supplies is important. This includes:
- Flashlight: In case of a plumbing emergency or burst pipe, it may be dark or hard to see. A flashlight can help you find and operate your main water valve more easily.
- Adjustable Wrench: You will need an adjustable wrench to turn off the main water valve. Make sure it is the correct size for your valve.
- Gloves: Depending on where your main water valve is located, you may need to reach into tight spaces or handle dirty pipes. It’s always a good idea to wear gloves for protection.
8 Easy Steps on How to Find the Main Water Valve
Step 1. Locate the Water Meter:
The water meter is often the key indicator for finding your main water valve, as the valve is generally located near it. Start by identifying the location of the water meter, which is typically found at the front of your property, near the curb or sidewalk, or sometimes inside your home in the basement or utility area. Look for a small metal or plastic cover on the ground marked with “Water” or the name of your water utility company.
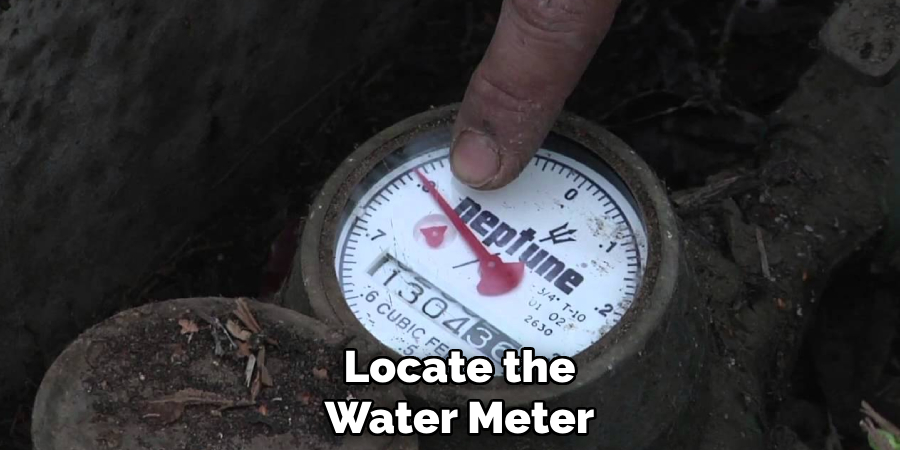
If you are in an apartment or condo, the water meter could be in a shared utility closet or a communal area. Once you locate the meter, you are close to finding the main water valve, which is usually installed within a few feet and can often be adjusted to control or shut off the water supply entirely. If you have trouble finding it, check with your local utility provider for guidance.
Step 2: Identify the Valve Type
Once you’ve located the main water valve near the meter, determine its type. Most water valves are either gate valves or ball valves. A gate valve features a wheel-like handle that you turn clockwise to shut off the water, while a ball valve typically has a lever handle that you turn a quarter of a turn (90 degrees) to stop the flow.
Identifying the valve type can help you operate it more quickly and ensure you correctly control the water supply when necessary.
Step 3: Test the Valve
After identifying the valve type, test its functionality to ensure it operates correctly. For a gate valve, turn the wheel handle clockwise until it no longer moves, then check if the water flow has stopped.
For a ball valve, rotate the lever handle a quarter of a turn so it is perpendicular to the pipe, and verify that the water has been completely shut off. If the valve does not function properly or feels stuck, it may require maintenance or replacement to control the water supply.
Step 4: Inspect for Leaks
Once the valve is shut, inspect the surrounding area for any signs of leaks. Look for water dripping from the valve, around the pipe connections, or onto the floor.
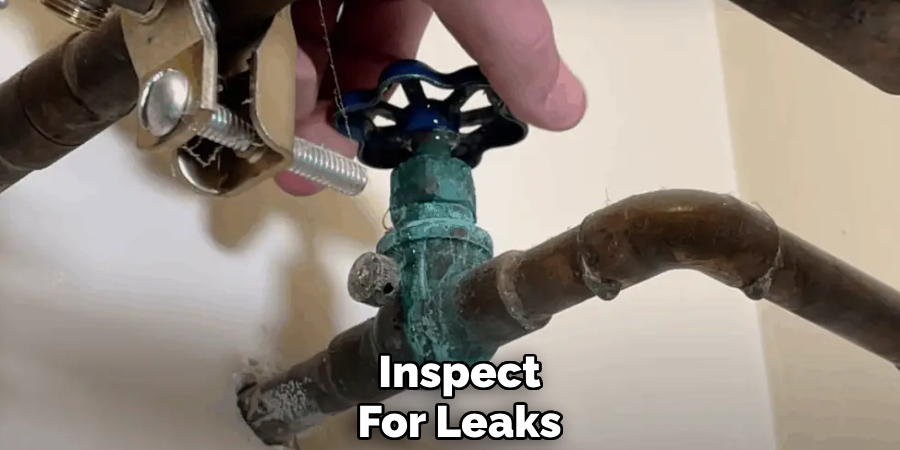
If you detect any leakage, it could indicate a worn-out seal, a loose connection, or corrosion. Tighten any loose fittings carefully, but additional repairs or valve replacement may be necessary if the leak persists. Ensure the area remains dry and secure before proceeding to the next step.
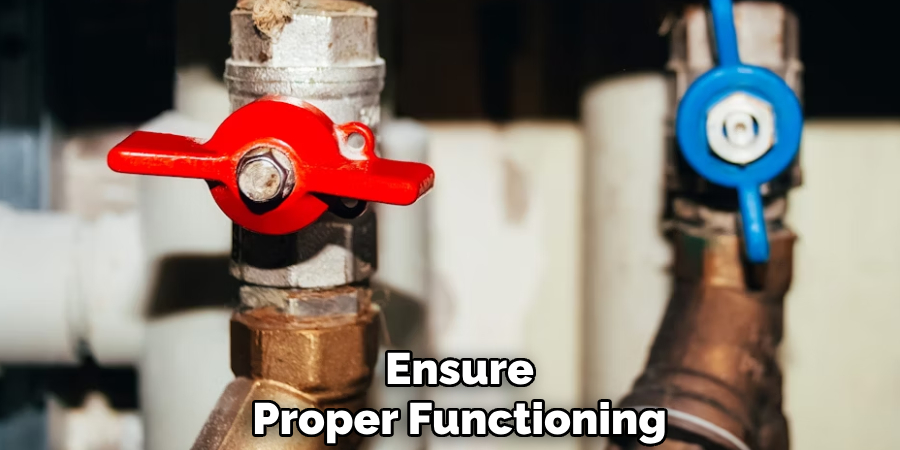
Step 5: Ensure Proper Functioning
After completing the above steps, testing the valve for proper functioning is essential. This ensures the effectiveness of your repair or replacement and prevents any potential accidents.
To test the valve, turn on the water supply and observe its flow through the pipe. The water should run smoothly without any blockages or unusual noises. If you notice any issues, such as reduced flow or strange sounds, it could indicate a faulty valve and may require further inspection.
Step 6: Check Manual Override
In addition to the regular functioning, it is also important to check the manual override of your valve. This is especially crucial in emergencies where the valve needs to be shut off manually.
To test the manual override, locate the lever or knob on top of the valve and try turning it clockwise to close and counter-clockwise to open. This allows you to bypass the automatic control and manually operate the valve.
If the manual override is not working or is difficult to turn, it may indicate a problem with the mechanism and will require immediate attention.
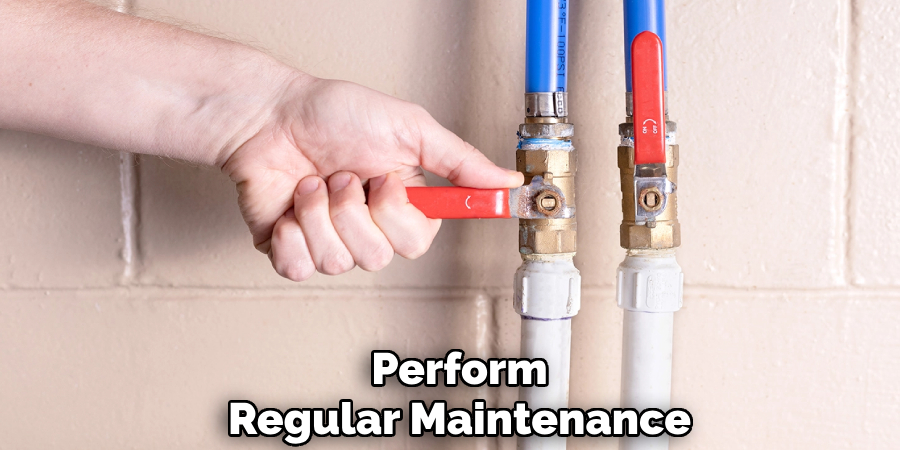
Step 7: Perform Regular Maintenance
Regular maintenance is key to ensuring your valve system’s longevity and reliable operation. Start by inspecting the valve for wear, corrosion, or physical damage. Look for leaks around the seals or joints, as these can indicate deterioration that might compromise the integrity of the valve.
Lubricate moving parts as the manufacturer recommends to prevent stiffness or sticking that could impede functionality. Verify that the automatic controls and the manual override are functioning correctly by conducting routine tests. Additionally, check for debris or blockages in the valve or connected pipelines, as these can hinder flow and cause strain on the system.
Maintaining a detailed log of all inspections, tests, and maintenance activities is essential. This record will help you track the valve’s condition over time and identify any patterns or recurring issues. Lastly, ensure that any repairs or replacements are carried out promptly to prevent further damage and maintain the system’s overall safety and efficiency.
Step 8. Keep Learning and Stay Updated
Valves are essential in many industrial processes, and it is crucial to stay informed about the latest developments and advancements in valve technology. Attend workshops, seminars, or webinars related to valves to learn about new products, techniques, and procedures for valve maintenance.
Additionally, regularly check for updates from industry organizations and regulatory bodies that provide guidelines for maintaining valves. These resources can help you stay up-to-date with the best practices and standards for valve maintenance.
Following these tips ensures your valves operate efficiently and effectively, minimizing the risk of unplanned downtime and costly repairs.
5 Things You Should Avoid
- Ignoring the Property Layout: Failing to familiarize yourself with the property layout can lead to confusion and wasted time. Always refer to property blueprints or diagrams, if available, to clearly understand where the water lines and valves might be located.
- Not Checking Common Locations: The main water valve is often found in specific areas, such as the basement, near the water meter, or outside the house along an exterior wall. Skipping these common locations can unnecessarily complicate the search.
- Overlooking Signs of the Valve: Indicators like tags, labels, or different pipe materials can help identify the main water valve. Avoid overlooking these details, as they can provide critical clues.
- Using Force Without Proper Tools: Never attempt to turn a valve without the right tools, especially if it’s old or rusted. Using excessive force can damage the valve, leading to water leaks or even a complete system failure.
- Failing to Ask for Help: If you’re having trouble locating the main water valve, don’t hesitate to ask a plumber, property manager, or professional for assistance. Handling it alone without proper knowledge can lead to mistakes or unnecessary delays.
Conclusion
How to find the main water valve is a critical step in managing your home’s water supply, especially during emergencies.
By familiarizing yourself with its location, identifying its type, and understanding how to operate it, you can prevent potential water damage and costly repairs. Always ensure the area around the valve is accessible, keep the necessary tools on hand, and don’t hesitate to seek professional help.
Taking proactive steps to locate and understand the main water valve will provide peace of mind and confidence in maintaining your home’s plumbing system.

