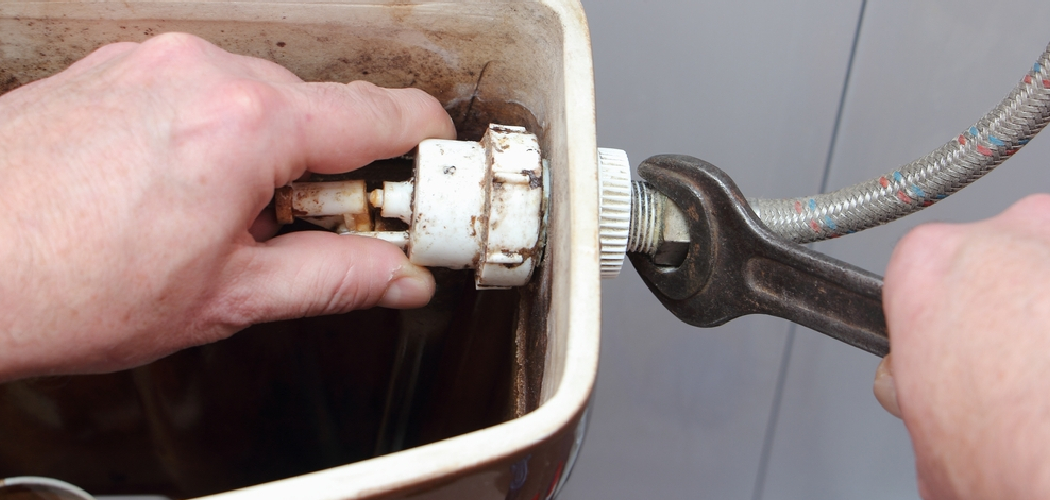
Installing a new toilet water line might seem like a daunting task, but with the right tools and guidance, it can be a straightforward process.
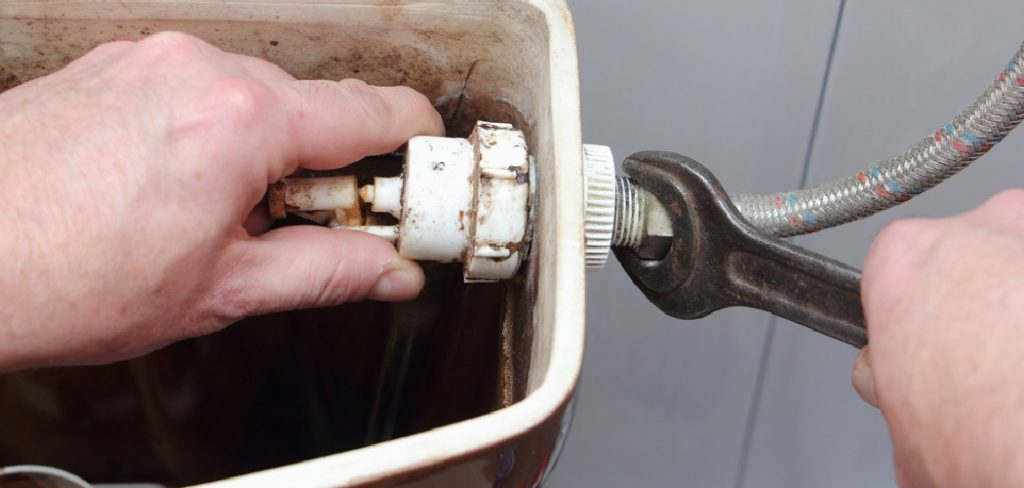
Whether you are replacing an old line or installing a new one during a renovation, this guide will walk you through the steps to ensure a secure and efficient connection.
By following these instructions on how to install a new toilet water line, you can save time and money while achieving professional-level results.
Why Install a New Toilet Water Line?
There are several reasons why you may need to install a new toilet water line.
Some common situations include:
- Replacing an old, leaking or damaged water line
- Installing a new toilet in a different location
- Updating plumbing during a bathroom renovation
Installing a new toilet water line can also improve the overall functionality and efficiency of your bathroom. A properly installed water line can prevent leaks, reduce clogs, and provide consistent water flow to your toilet.
Materials Needed
Before you begin the installation process, make sure you have all the necessary materials on hand. These may include:
Flexible Braided Stainless Steel Supply Line:
This type of supply line is the most commonly used and is made from a durable, flexible material that can easily be bent into position. It also has a longer lifespan compared to other types of supply lines.
Wrench:
You will need an adjustable wrench to tighten and secure the supply line connections.
Toilet Wax Ring:
The wax ring creates a watertight seal between the toilet and the flange on the floor. It is essential for preventing leakage.
Bucket or Bowl:
Be sure to have a bucket or bowl on hand to catch any excess water that may spill during installation.
7 Simple Steps on How to Install a New Toilet Water Line
Step 1: Turn Off the Water Supply
Locate the shut-off valve near the base of your toilet, usually mounted on the wall or floor. Turn the valve clockwise to close it completely, ensuring the water flow to the toilet is stopped.
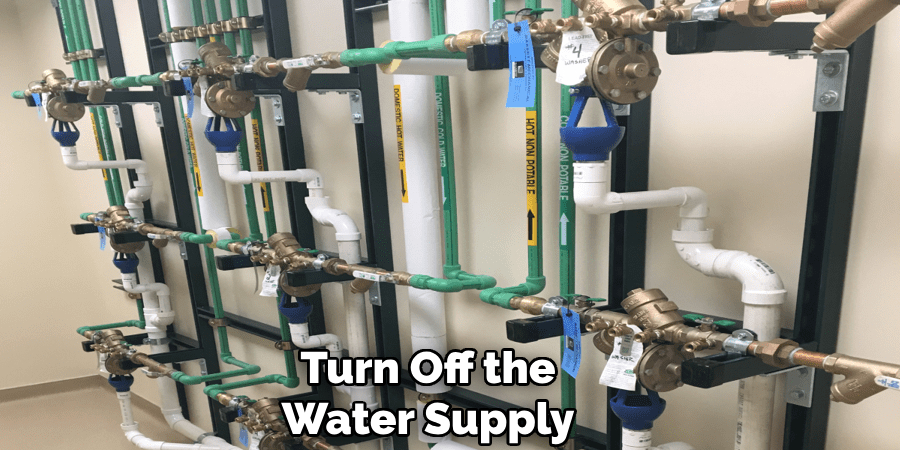
Once the valve is shut off, flush the toilet to drain any remaining water from the tank and bowl. Use a sponge or towel to soak up any excess water left in the tank to prevent spills during the installation process.
Step 2: Remove the Old Water Line
Using an adjustable wrench or pliers, loosen and disconnect the water supply line from the bottom of your toilet tank. Next, unscrew the other end of the water line connected to the shut-off valve.
Be sure to have a bucket or towel handy to catch any remaining water that may drip out of the lines. Once both ends are disconnected, remove and discard the old water line.
Step 3: Choose a New Water Line
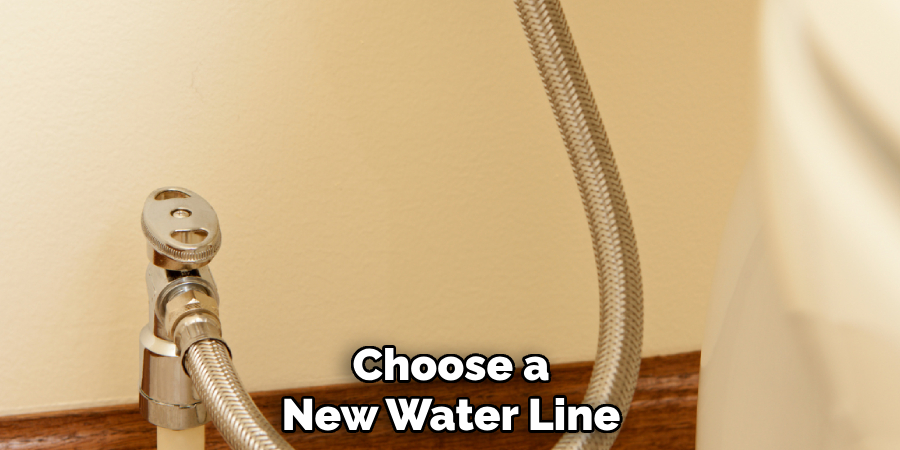
There are various types of water lines available at hardware stores, including flexible stainless steel, copper, and plastic lines. Consult with a store associate if you’re unsure which type is best for your specific setup.
Measure the length of your old water line and purchase a new one that is the same length or slightly longer if needed.
Step 4: Install the New Water Line
First, attach one end of the new water line to the shut-off valve using a wrench to tighten it securely. Then, run the other end through any necessary holes or openings in cabinets or walls.
Be sure to leave enough slack for movement when installing appliances such as refrigerators or dishwashers.
Step 5: Connect the New Water Line
Next, attach the other end of the new water line to your appliance’s inlet valve. Use your wrench to tighten the connection securely, but avoid over-tightening, as this could damage the fittings.
Once connected, double-check both ends to ensure there are no loose fittings or gaps. This will help prevent any future leaks when the water supply is turned back on.
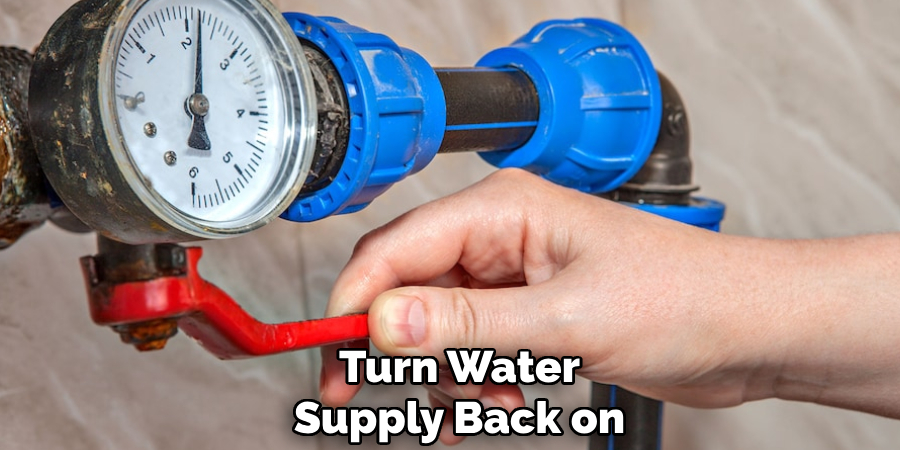
Step 6: Turn On the Water
Slowly turn the water supply valve back on to allow water to flow through the new line. Pay close attention and check for any leaks at both connection points. If you notice water seeping, turn off the water supply and tighten the fittings slightly.
Once you’re confident there are no leaks, allow the water to run for a minute to flush out any debris or air that may have entered the line during installation. This ensures your appliance will operate properly and keeps the water supply clean.
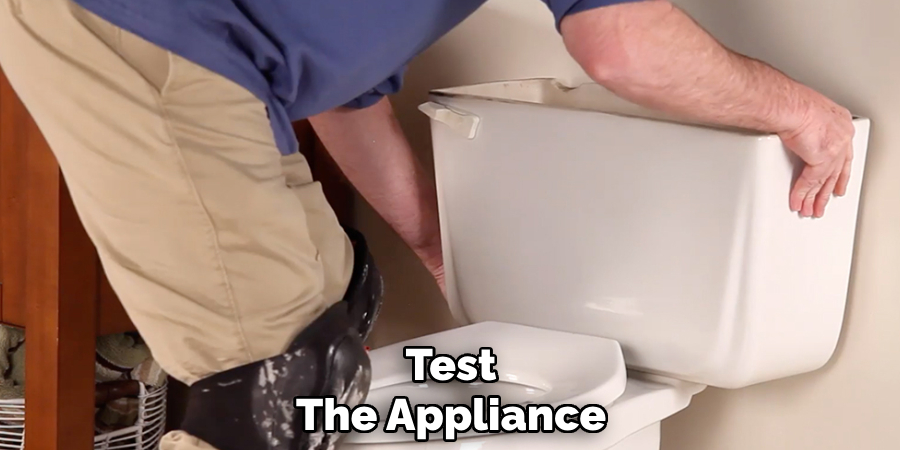
Step 7: Test the Appliance
Once the water is running smoothly, turn on your appliance to ensure that it is receiving water properly. If everything looks good, congratulations! You have successfully installed a new water line for your appliance.
Following these steps on how to install a new toilet water line can save you time and money in the long run. It is important to properly install and maintain your water lines to prevent any potential damage or leaks in your home.
Troubleshooting Common Issues
Even with careful installation, problems can occasionally arise. Here are some common issues you might encounter and how to address them:
Low Water Pressure:
If your appliance isn’t receiving enough water, check for any kinks or blockages in the water line. Make sure all valves are fully open and inspect the line for any signs of damage.
Leaks:
Water leaks can occur if connections are not properly tightened. Recheck all fittings and use plumber’s tape to ensure a snug, waterproof seal. If the leak persists, the gasket or washer may need to be replaced.
No Water Flow:
If there’s no water flow at all, confirm that the main water supply is turned on. Additionally, check for clogs or debris in the water line and clean out any obstructions.
Unusual Noises:
Rattling or banging noises in the line may indicate air trapped in the pipes. To fix this, try turning off the water supply and draining the line completely before turning it back on.
By addressing these issues promptly, you can ensure that your newly installed water line functions efficiently and prevents further complications in your home.
When to Call a Professional?
While many water line issues can be resolved with basic troubleshooting, certain situations require assistance from a licensed professional. If you notice persistent leaks that cannot be sealed, excessive corrosion on the pipes, or frequent blockages that regular cleaning doesn’t fix, it may be time to call an expert.
Additionally, if the water pressure remains low despite your efforts or if unusual noises persist after draining the lines, professional diagnostics might uncover deeper problems. Addressing these issues promptly with the help of a skilled plumber can prevent more significant damage and ensure the long-term reliability of your water line system.
Frequently Asked Questions
Q: How Often Should I Check My Water Lines for Potential Issues?
A: It is recommended to have a professional plumber inspect your water lines at least once a year. However, if you notice any warning signs such as low water pressure or unusual noises, it’s best to schedule an inspection right away.
Q: Will Regular Cleaning and Maintenance Prevent All Issues With My Water Lines?
A: While routine cleaning and maintenance can help prevent common problems such as clogs and corrosion, there are certain issues that may still arise due to age or other factors. That’s why it’s important to also have your water lines professionally inspected on a regular basis.
Q: What Are Some Possible Causes of Water Line Issues?
A: There are several potential reasons for water line issues, including tree root intrusion, ground shifting or settling, corrosion and aging pipes, and clogs caused by debris buildup or mineral deposits. Additionally, extreme weather conditions can also affect the integrity of water lines.
Q: How Can I Extend the Lifespan of My Water Lines?
A: Regular cleaning and maintenance can help extend the lifespan of your water lines by preventing common issues from occurring. However, it’s also important to be mindful of what you put down your drains and avoid flushing anything other than toilet paper down the toilet. This will help prevent clogs and reduce strain on your water lines.
Q: What Should I Do If I Suspect a Problem with My Water Lines?
A: If you notice any signs of water damage or a decrease in water pressure, it’s important to take action immediately. Ignoring these warning signs can lead to costly repairs and potential health hazards from contaminated water.
Contact a professional plumber to inspect your water lines and address any issues before they become major problems. Investing in regular maintenance can also help catch any potential issues early on and prevent them from escalating.
Conclusion
Maintaining your water lines is essential for ensuring the safety and efficiency of your plumbing system. By staying vigilant for warning signs, scheduling regular inspections, and addressing issues promptly, you can avoid costly repairs and protect your home from water damage.
Don’t underestimate the importance of professional assistance in keeping your water lines in optimal condition. Taking proactive steps now can save you time, money, and stress in the long run. Thanks for reading this article on how to install a new toilet water line.

