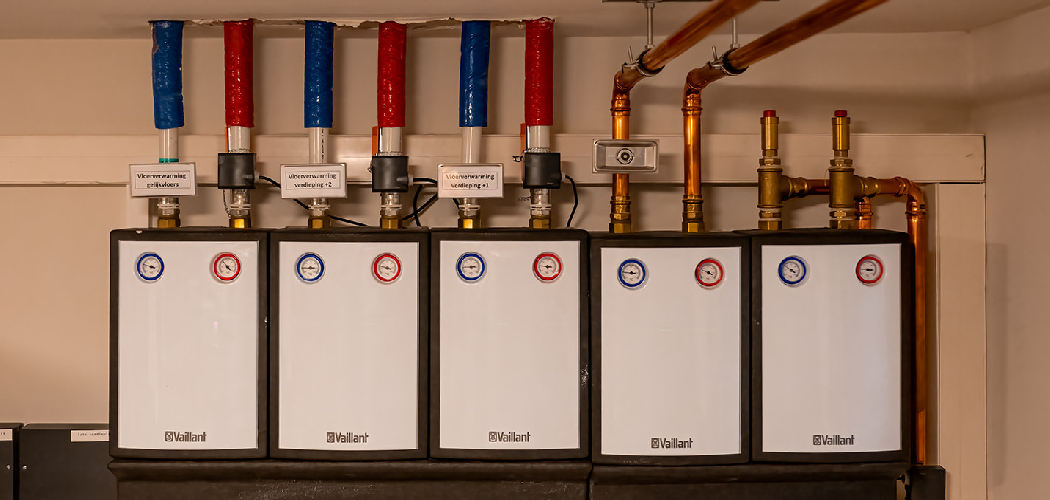
Installing a Navien tankless water heater is a great way to ensure you have a reliable and energy-efficient supply of hot water for your home. These modern water heaters save space, reduce energy consumption, and provide hot water on demand.
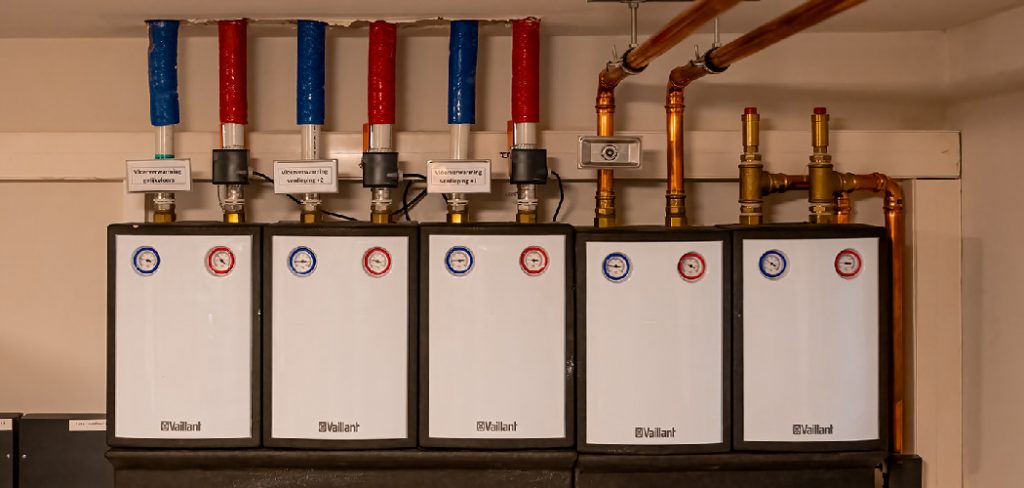
This guide on how to install navien tankless water heater will walk you through the essential steps to install your Navien tankless water heater safely and effectively while highlighting key considerations to ensure optimal performance. Before you begin, make sure you have the proper tools, materials, and any required permits for the installation process.
Why Choose Navien Tankless Water Heater?
Navien tankless water heaters are a popular choice for homeowners due to their efficiency, reliability, and advanced technology. Unlike traditional water heaters, Navien’s tankless system provides hot water on demand, eliminating the need for a storage tank and reducing standby heat loss. This innovative design not only conserves energy but also helps lower utility bills over time.
Additionally, Navien water heaters are compact, saving valuable space in your home, and are built to last with durable materials and cutting-edge engineering. With features like an easy-to-use control panel, eco-friendly operation, and a reputation for exceptional performance, Navien tankless water heaters are an excellent investment for both comfort and cost-effectiveness.
Needed Materials
To install a Navien tankless water heater, you will need the following materials:
A Suitable Location for Installation:
Unlike traditional tank water heaters, Navien tankless water heaters don’t require a large storage tank and can be installed in smaller spaces. However, it is still important to choose a location that is easily accessible for maintenance and has proper ventilation. It should also be close to a gas or electricity line, depending on the type of heater you choose.
Appropriate Gas and Water Lines:
If you are opting for a natural gas or propane-powered tankless water heater, make sure that your chosen location has access to a gas line. For electrical models, ensure that there is an adequate power supply nearby. Additionally, you will need to have proper plumbing to connect the water lines to the heater.
Ventilation System:
Navien tankless water heaters require proper ventilation for safe operation. This includes both intake and exhaust vents, which should be installed according to the manufacturer’s instructions. The vents should lead outside and not near any windows or air intakes.
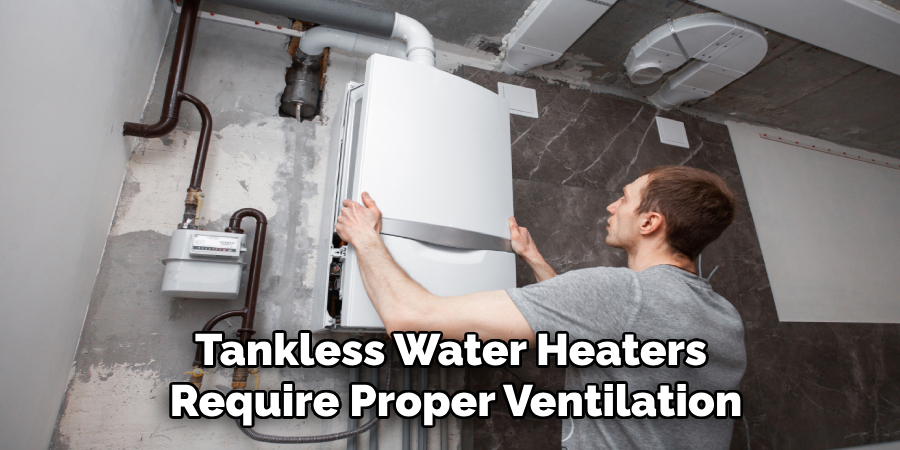
It’s important to regularly inspect and clean the vents to prevent any blockages that could cause issues with the heater. You may also need to install a condensate drain for certain models, which will remove excess water from the unit.
7 Step-by-Step Guidelines on How to Install Navien Tankless Water Heater
Step 1: Choose an Appropriate Location for Installation
Selecting the right location is crucial for the proper functioning of your Navien tankless water heater. The unit should be installed on a secure, vertical wall that can support its weight. Ensure the location allows for adequate ventilation and easy maintenance access. Avoid placing the heater in areas prone to freezing temperatures, as this could damage the unit.
Additionally, choose a spot that is close to the main water supply and gas line, if applicable, to minimize the length of piping needed. Always adhere to local building codes and manufacturer guidelines when determining the installation location.
Step 2: Prepare Your Water Supply and Gas Lines
Before connecting the water heater, ensure the water supply and gas lines are properly prepared. Start by shutting off the main water supply to avoid leaks or water pressure issues during installation. If you’re working with a gas water heater, turn off the gas supply at its source for safety. Inspect the water supply lines for any signs of damage or wear, and replace them if necessary.
Additionally, ensure that the gas line is free of blockages and matches the specifications required for the unit. Use appropriate fittings and tools to secure all connections tightly, but avoid over-tightening, which could cause damage. Double-check all connections for leaks before proceeding to the next step.
Step 3: Mount the Unit on The Wall
Begin by identifying a suitable location to mount the water heater, ensuring it aligns with the manufacturer’s clearance requirements and is near existing water and gas connections. Use a level to mark mounting points on the wall to ensure the unit will hang straight. Securely attach the mounting bracket (if included) to the wall, using appropriate anchors or screws suitable for the wall type.
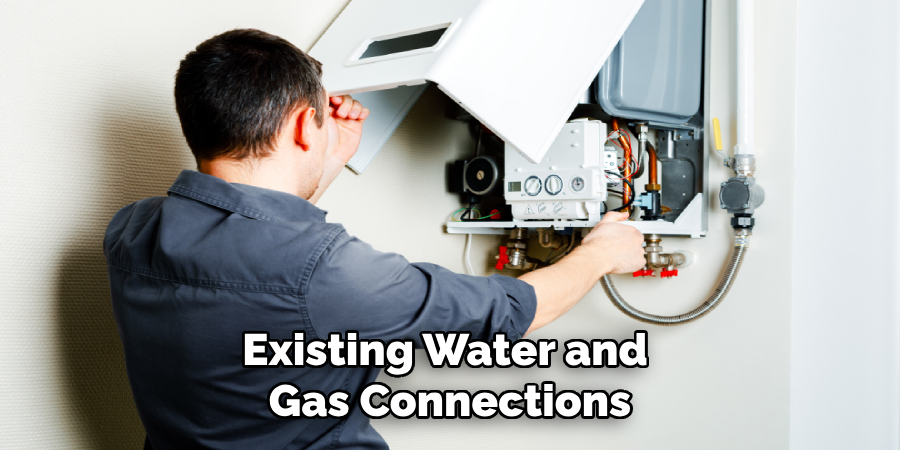
Lift the water heater carefully and hang it on the bracket, ensuring it is stable and properly supported. If mounting directly without a bracket, securely fasten the unit to the wall with the provided hardware, double-checking its alignment and stability. Confirm that the unit is firmly in place before moving on to the next steps.
Step 4: Connect the Water Supply
Before connecting the water supply, ensure that the main water line is turned off to prevent any leaks or accidents. Attach the cold-water supply line to the inlet marked on the water heater, using a threaded adapter and plumber’s tape to ensure a secure, leak-proof fit. Next, connect the hot-water line to the outlet on the unit.
Tighten all connections with a wrench but avoid over-tightening, which could damage the fittings. Once the connections are secure, double-check for any signs of wear or potential leaks before proceeding to the next step.
Step 5: Connect The Gas Line
Begin by ensuring the gas supply is turned off to avoid any safety hazards. Locate the gas inlet on the water heater and attach the gas supply line using the appropriate fittings, such as a flexible gas connector or a threaded pipe. Apply pipe joint compound or gas-rated Teflon tape to the threads to create a secure seal.
Tighten the connection with a wrench, being careful not to overtighten and damage the fittings. Once the line is connected, inspect all connections for proper alignment and ensure there are no visible gas leaks. After verification, you are ready to proceed to the next step.
Step 6: Venting The Water Heater
Proper venting is essential to ensure safe operation and to prevent harmful gases from accumulating inside the home. Begin by connecting the vent pipe to the draft hood or exhaust outlet located on top of the water heater. Use vent piping that meets local building codes and is compatible with your water heater type. Secure the vent pipe with screws or clamps, ensuring all connections are tight and properly aligned.
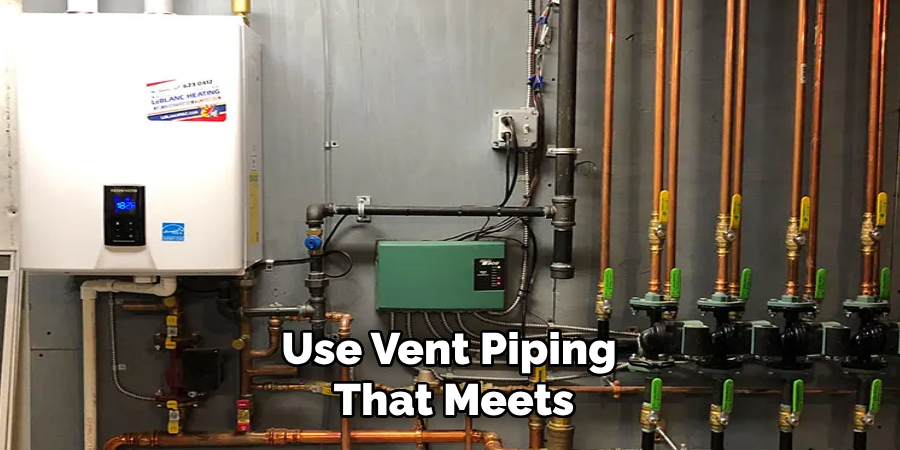
If using a power vent water heater, make sure the exhaust pipe is attached to the blower assembly and routed to the exterior of the home. Seal any gaps around the vent pipe with high-temperature silicone sealant or metal tape to prevent leaks. Finally, verify that the venting system is free of obstructions, adequately supported, and sloped upwards for optimal airflow. Proper venting ensures the safe release of combustion gases and enhances overall water heater efficiency.
Step 7: Fill And Test The Tank
Once all connections have been made and the unit has been properly vented, you can turn on the water supply and fill the tank. Open a hot water faucet nearby to allow air to escape from the tank as it fills. Once the tank is full, turn on the gas supply and light the pilot according to the manufacturer’s instructions.
Following these steps on how to install navien tankless water heater will ensure a successful and safe installation of your unit. However, it is always recommended to consult with a professional plumber for any installation or repair work related to your water heater. Remember to regularly maintain and service your unit to prolong its lifespan and maximize its efficiency.
Additional Tips
- Always refer to the manufacturer’s instructions for specific details on how to install navien tankless water heater model.
- Make sure the area around the water heater is clear and free from any flammable materials.
- Use caution when handling gas connections, as they can be hazardous if not done correctly.
- Consider installing a water leak detector and shut-off valve for added safety measures.
- Familiarize yourself with local building codes and regulations before installing the water heater.
- Regularly check and clean the air intake and venting systems to ensure proper functioning of the water heater.
- Insulate hot water pipes to reduce heat loss and save energy.
- Install a recirculation system for instant hot water, if desired.
- Consider investing in a smart thermostat or timer to control the temperature and usage of your tankless water heater.
Frequently Asked Questions
Q1: Can I Install a Tankless Water Heater Myself?
A: It is recommended to hire a professional plumber or electrician for installation to ensure proper and safe installation.
Q2: What Size Tankless Water Heater Do I Need for My Home?
A: The size of the tankless water heater depends on the hot water demand of your household. Consider factors such as number of bathrooms, appliances, and daily usage when determining the size needed.
Q3: How Long Does a Tankless Water Heater Last?
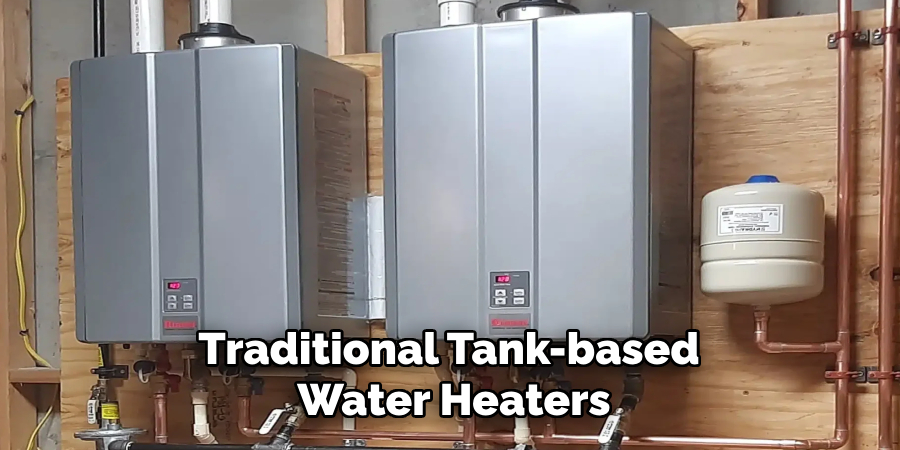
A: On average, a tankless water heater can last up to 20 years with proper maintenance. This is significantly longer than traditional tank-based water heaters.
Conclusion
Investing in a tankless water heater can provide numerous benefits, including improved energy efficiency, a longer lifespan, and an endless supply of hot water when properly sized for your home. By understanding your household’s needs and performing regular maintenance, you can ensure optimal performance and longevity of your system.
If you’re considering making the switch, consult a professional for guidance to find the right unit and enjoy the long-term advantages of this modern water heating solution. Thanks for reading this article on how to install navien tankless water heater.

