Replacing a shower head is a simple and cost-effective way to improve your shower experience. Whether you’re upgrading to a more efficient model, fixing a leak, or simply updating your bathroom’s style, the process can be completed with just a few basic tools and minimal effort. This guide will walk you through the steps of how to replace shower head.
Benefits of a New Shower Head
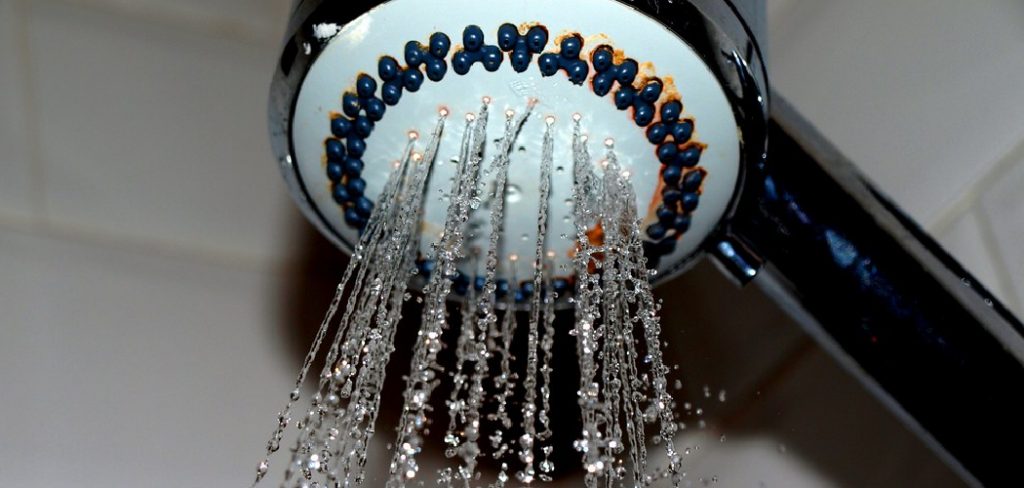
Upgrading to a new shower head can offer numerous benefits, making it a worthwhile investment for your bathroom. A modern shower head can improve water efficiency, helping you save on water bills without sacrificing performance. Many newer models are designed with innovative spray patterns and adjustable settings, offering a more personalized and luxurious showering experience.
Additionally, replacing an old or outdated shower head can enhance the aesthetics of your bathroom, giving it a more modern and polished look. For those dealing with hard water, certain models feature built-in filters that reduce mineral buildup, promoting better skin and hair health. Overall, a new shower head not only improves functionality but also adds comfort and style to your daily routine.
Types of Shower Heads
When selecting a shower head, there are several types to consider, each offering unique features to suit different preferences and needs:
- Fixed Shower Heads
These are mounted directly to the wall and are a classic choice for most bathrooms. They come in various spray patterns and styles, ranging from traditional designs to sleek, modern aesthetics.
- Handheld Shower Heads
Equipped with a flexible hose, these shower heads allow greater maneuverability and are ideal for washing hard-to-reach areas, bathing children, or rinsing pets. They often come with multiple spray settings for added versatility.
- Rainfall Shower Heads
Also known as rain shower heads, these models simulate the feeling of standing under a gentle rain. They are usually larger in size and mounted overhead, providing a luxurious spa-like experience.
- High-Pressure Shower Heads
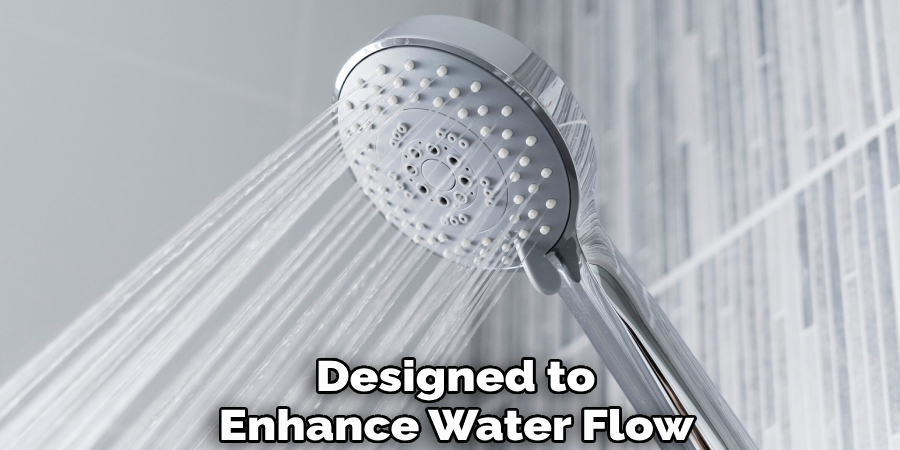
Designed to enhance water flow, these shower heads are perfect for those who prefer a strong, invigorating spray. They are particularly useful in homes with low water pressure.
- Dual Shower Heads
Combining a fixed shower head with a handheld option, dual shower heads offer the best of both worlds. They allow users to switch between the two or use them simultaneously for a more customized experience.
- Water-Saving Shower Heads
These eco-friendly options are designed to reduce water consumption without compromising performance. They are a great choice for conserving resources and lowering utility bills.
Each type of shower head caters to different needs, making it possible to find the perfect option for enhancing your daily shower experience.
10 Methods How to Replace Shower Head
1. Evaluate the Existing Shower Head and Choose a Replacement
Begin by examining your current shower head setup. Identify whether the fixture is fixed, handheld, or a combination unit. Consider the water pressure in your home, your bathing preferences, and the overall aesthetic you’re aiming for in the bathroom. Once you know what you’re working with, select a replacement that meets your needs. If you’re upgrading to a shower head with more features (e.g., massage settings or filtration), make sure your existing plumbing and shower arm can accommodate it. Reading user reviews and checking compatibility will save you time and ensure satisfaction.
2. Gather the Right Tools and Materials
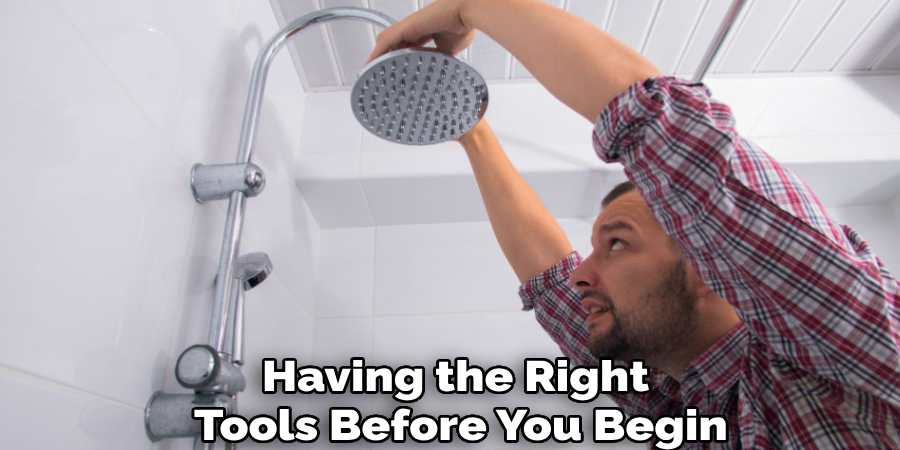
Having the right tools before you begin will streamline the replacement process. Common items needed include an adjustable wrench, Teflon (plumber’s) tape, a soft cloth or rag, and possibly a step stool. If your current shower head is heavily calcified or corroded, you may also need a descaling solution or a penetrating lubricant such as WD-40. Setting up a workspace by clearing away toiletries and laying down a towel in the shower area can help prevent scratches and catch any drips or parts that might fall during removal.
3. Turn Off the Water (Optional but Recommended)
While most shower head replacements can be done without turning off the main water supply, it’s a good practice to shut off the shower control or water valve to prevent any accidental sprays. This is especially helpful in homes with older plumbing, where movement might cause drips or leaks. Turning off the water adds a layer of safety and gives you peace of mind during the installation. Once off, turn the shower handle to the “on” position to relieve any residual pressure in the line.
4. Remove the Existing Shower Head
To begin removal, grip the shower arm with one hand and use an adjustable wrench or pliers to turn the base of the shower head counterclockwise. If the fixture is tight, wrap a rag around it to protect the finish from the tool. For stubborn or rusted heads, apply a lubricant and let it sit for a few minutes before trying again. Once loosened, unscrew it completely and set it aside. This step may also reveal old or degraded Teflon tape on the threads, which should be removed to prepare for a clean installation.
5. Clean and Inspect the Shower Arm Threads
Once the old shower head is off, take a moment to inspect the exposed threads of the shower arm. Clean them thoroughly using a cloth or brush to remove old tape, mineral buildup, or corrosion. This ensures a smooth and leak-free connection when attaching the new head. If you notice damage to the threads or leaks from the pipe itself, it may be time to replace the shower arm, which involves unscrewing it from the wall and replacing it with a matching component using the same cleaning and sealing methods.
6. Apply New Plumber’s Tape
Wrap the cleaned threads of the shower arm with fresh plumber’s tape. Begin at the base and wrap in a clockwise direction, overlapping slightly as you go up the threads. Two to three layers are generally sufficient. This tape helps seal the connection and prevents leaks once the new shower head is installed. Press the tape firmly into the threads with your fingers to ensure a snug fit and reduce the risk of it unwrapping during installation.
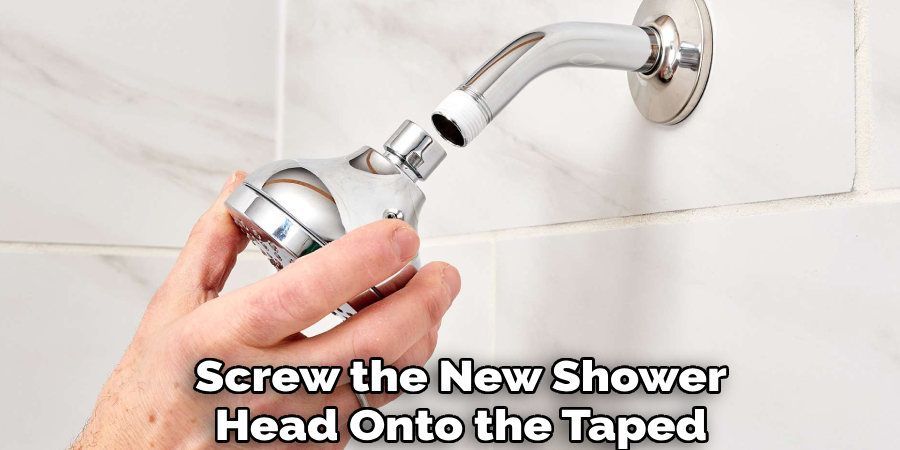
7. Hand-Tighten the New Shower Head
Screw the new shower head onto the taped threads by hand. Turn it clockwise until it feels tight and secure. Most modern shower heads are designed to be installed without tools, as over-tightening can crack the housing or damage internal components. Hand-tightening also helps avoid cross-threading. Make sure the shower head sits evenly on the arm, and if it features a swivel joint, adjust it to the desired angle. Some heads will have built-in washers—check the packaging to ensure they’re seated correctly.
8. Use a Wrench for Final Tightening (If Necessary)
If the manufacturer recommends it or if you notice small leaks during initial testing, you can use a wrench for a final quarter-turn beyond hand-tight. Again, protect the fixture with a cloth to avoid scratching the finish. Be careful not to apply too much pressure—tightening too far can cause leaks rather than prevent them by damaging internal seals. This method is particularly useful for heavy-duty or high-pressure shower heads that need a firmer grip on the threads.
9. Test the Installation for Leaks and Function
Turn the water supply back on and run the shower for several minutes. Check the connection point for any signs of leaking or dripping. If you detect a leak, turn off the water, unscrew the head, and check that the tape is intact and that the threads are properly aligned. Rewrap the threads and reinstall. While the water is running, test the spray pattern, settings, and pressure of the new head. Ensure it adjusts properly if it’s on a swivel ball joint or has multiple spray functions.
10. Maintain and Enjoy Your New Shower Head
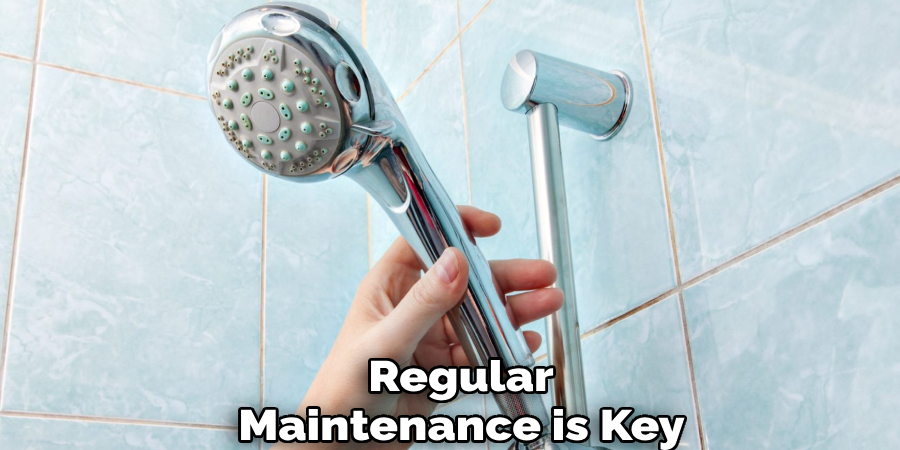
To keep your new shower head performing like new, regular maintenance is key. Mineral deposits can clog the spray nozzles over time, especially in areas with hard water. Wipe down the fixture after each use to reduce buildup, and consider a monthly soak in a vinegar solution to dissolve deposits. Detachable heads are easiest to clean, but even fixed models can be maintained with a plastic bag filled with vinegar tied around the head overnight. Proper maintenance extends the lifespan of the fixture and ensures a pleasant showering experience every time.
Conclusion
Replacing a shower head is a relatively simple DIY task that yields immediate and satisfying results. From evaluating your needs to testing the new installation, each method outlined here offers valuable insights for a smooth and efficient process. By taking the time to clean, seal, and install the fixture properly, you ensure not only leak-free performance but also a better bathing experience. Whether you’re refreshing a guest bathroom or upgrading your primary shower, following these methods will help you complete the job with confidence and competence. Thanks for reading, and we hope this has given you some inspiration on how to replace shower head!

