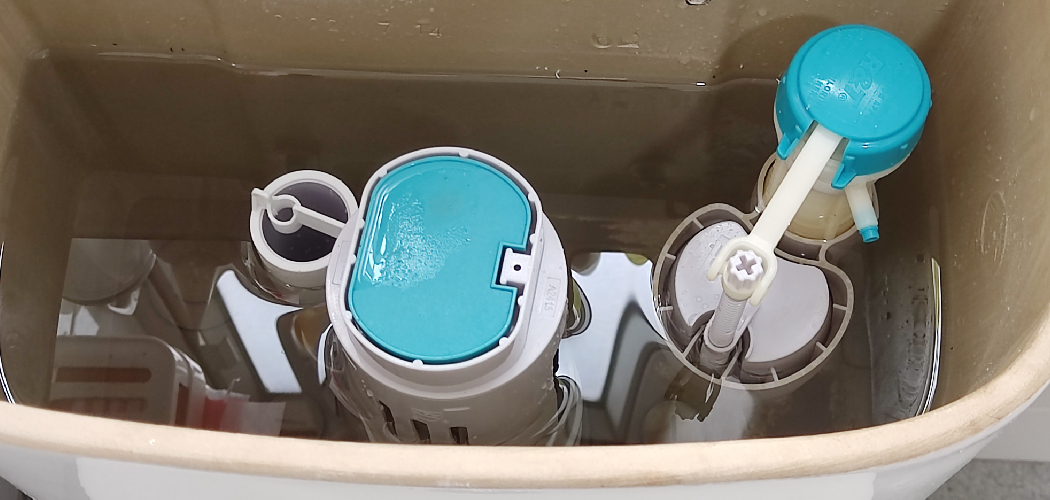
Replacing a toilet tank seal is a common plumbing task that can help fix leaks and improve the overall function of your toilet. Over time, the seal between the tank and the bowl may wear out or become damaged, leading to water leakage and inefficiency. Fortunately, this is a straightforward process that most homeowners can handle with a few basic tools and a little guidance.
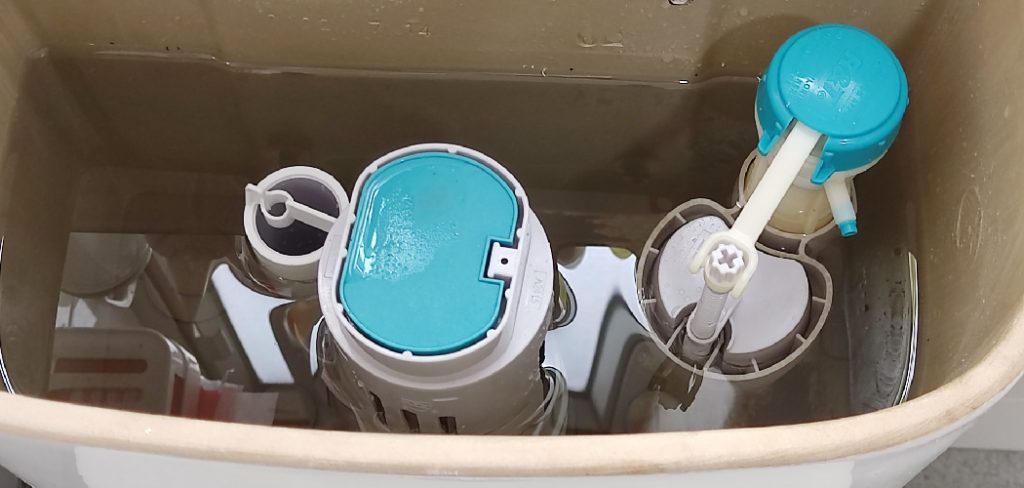
This guide on how to replace toilet tank seal will walk you through the steps to safely and effectively replace a toilet tank seal, saving you time and money on professional repairs.
Tools and Materials Needed
Before you begin replacing your toilet tank seal, make sure you have the following tools and materials on hand:
Adjustable Wrench:
This tool will be used to loosen and tighten the bolts that hold the toilet tank to the bowl, as well as any other necessary adjustments.
Putty Knife:
You’ll need a putty knife to remove any excess wax or debris from the old seal before installing the new one.
Sponge and Bucket:
To clean up any water or spills during the process.
New Wax Ring Seal:
Make sure you purchase a high-quality wax ring seal that is compatible with your specific toilet model.
12 Step-by-Step Guidelines on How to Replace Toilet Tank Seal
Step 1: Turn Off the Water Supply
Locate the shut-off valve near the base of the toilet, typically on the wall or floor. Turn the valve clockwise to close it and stop the flow of water to the toilet. Once the water supply is off, flush the toilet to drain as much water as possible from the tank and bowl.
Use a sponge or towel to soak up any remaining water to ensure the area is dry and ready for the next steps.
Step 2: Remove the Tank Lid
Carefully lift the tank lid off the toilet and set it aside in a safe place to avoid any damage. The tank lid is typically made of ceramic and can be heavy or fragile, so handle it with care.
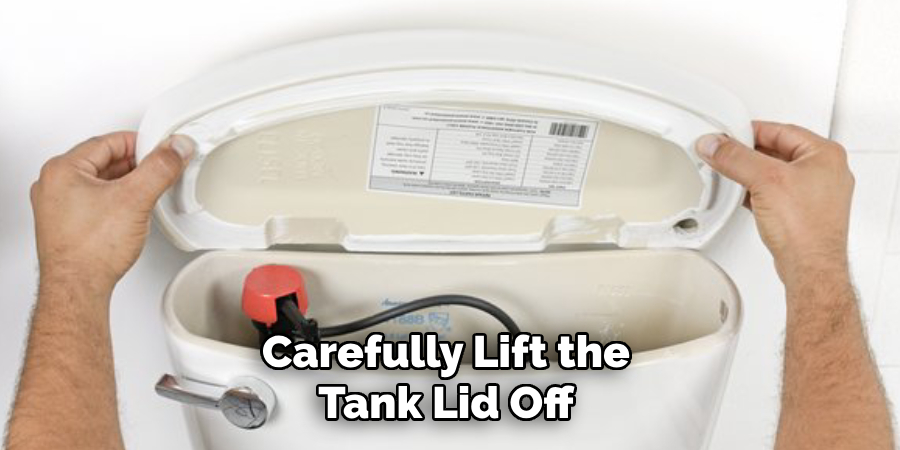
This step provides access to the internal components of the tank, which you will need to work on during the seal replacement process.
Step 3: Disconnect the Water Supply Line
Locate the water supply line connected to the toilet tank, typically found near the base at the back of the tank. Turn the coupling nut counterclockwise to disconnect the line from the tank. You may need an adjustable wrench if the nut is secured tightly.
Once the line is detached, be prepared for a small amount of residual water to drip out, so keep a towel or bucket handy to catch any spills. This step ensures the tank can be fully separated from the plumbing system for the seal replacement.
Step 4: Remove Old Tank Seal
Carefully lift the toilet tank off the bowl and place it on a flat, stable surface covered with a towel to prevent damage. Locate the tank seal, which is typically a rubber gasket positioned between the tank and the bowl. Using gloves, inspect the seal for any signs of wear, cracking, or deterioration.
Gently remove the old seal by pulling it off or prying it loose with your fingers or a flathead screwdriver. Dispose of the old seal properly, as it is no longer usable. Ensure that the area around the seal is clean and free of debris before proceeding with the installation of the new seal.
Step 5: Install New Tank Seal
Take the new tank seal and carefully align it with the opening where the old seal was removed. Press the seal firmly into place, ensuring it sits evenly and securely around the edge. Double-check that there are no gaps or misalignments, as these could lead to leaks. Once the seal is properly positioned, gently reattach the tank to the toilet bowl, making sure the bolts are aligned with their respective holes.
Tighten the bolts gradually and evenly, taking care not to overtighten, which could crack the porcelain. After securing the tank, test the seal by turning the water supply back on and observing for any leaks.
Step 6: Position New Toilet Tank
Carefully lift the new toilet tank and align it with the mounting holes on the toilet bowl. Lower it gently to ensure that the flush valve and tank gasket fit snugly into the opening on the bowl. Verify that the tank sits evenly without wobbling, as this will ensure a proper fit.
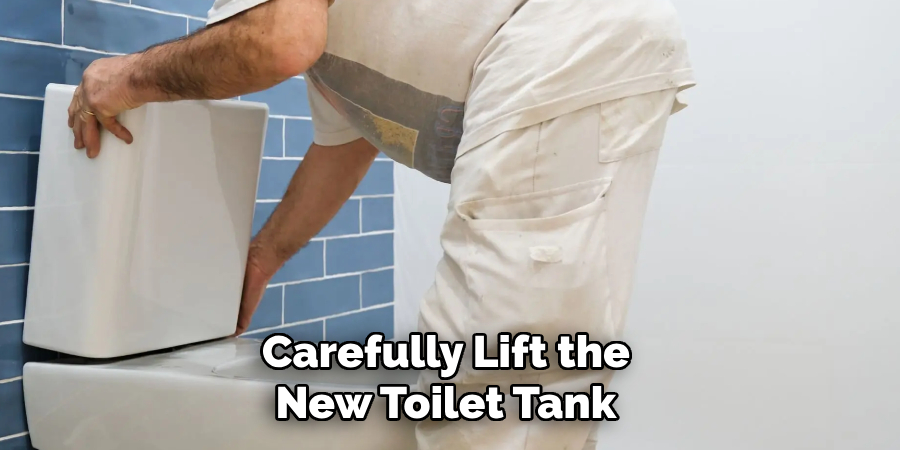
Once positioned, insert the tank bolts through the holes, securing them with washers and nuts from underneath. Hand-tighten the nuts initially, ensuring the tank remains level and balanced, then use a wrench to tighten them slightly if necessary. Be cautious not to overtighten, as this could damage the porcelain.
Step 7: Secure the Tank with Bolts
With the tank properly positioned, ensure the bolts are aligned through the corresponding holes on the bowl. Place a rubber washer onto each bolt to create a watertight seal, followed by a metal washer. Thread a nut onto each bolt from underneath the bowl and begin tightening them by hand.
Alternate tightening between the bolts gradually to ensure the tank remains level and evenly secured. Use a wrench to gently snug the nuts, but be careful not to overtighten, as excessive force can crack the porcelain. Double-check the tank’s stability to confirm it is securely in place.
Step 8: Connect Water Supply
Attach the water supply line to the fill valve on the bottom of the tank. Begin by threading the coupling nut of the supply line onto the valve by hand to avoid cross-threading. Once snug, use an adjustable wrench to gently tighten it further, being careful not to overtighten, as this could damage the connection.
Connect the opposite end of the supply line to the angle stop or shutoff valve on the wall in a similar manner. When both connections are secure, turn on the water supply slowly to allow the tank to fill. Check for any leaks around the connections and tighten slightly if necessary.
Step 9: Install Toilet Seat
Begin by positioning the toilet seat on the bowl, aligning the mounting holes on the seat with those on the toilet. Insert the bolts provided through the holes and attach the nuts underneath, securing the seat in place. Use a screwdriver to tighten the bolts from the top while holding the nuts steady underneath.
Ensure the seat is firmly installed but avoid overtightening, as this could cause damage to the seat or the porcelain bowl. Once secured, check for proper alignment and functionality by lifting and lowering the seat. Adjust if needed.
Step 10: Turn On the Water
Slowly turn on the water supply valve by rotating it counterclockwise. Allow the water to fill the tank and check for any leaks around the base of the toilet, water supply line, or connection points. If you notice any leaks, tighten the connections slightly until the leaking stops.
Once the tank is full, flush the toilet to confirm that the water flows properly and the seat installation does not interfere with functionality. Make any final adjustments as necessary to ensure everything operates smoothly.
Step 11: Test Flush
Perform a test flush to ensure the toilet is functioning correctly. Push the flush handle or button and observe the water flow both in the bowl and the tank. Check that the water drains completely and refills without any delays or irregularities.
Pay close attention for any unusual sounds, leaks, or issues with the seal. If any problems are detected, revisit the previous steps to make adjustments. Once the test flush operates smoothly, your installation is complete and ready for use.
Step 12: Clean Up
With the installation complete, gather and organize your tools and any leftover materials. Dispose of packaging, old parts, and debris responsibly, following local waste disposal guidelines. Wipe down the toilet and surrounding area to remove any dust, fingerprints, or water spots left during the process. Cleaning up ensures your bathroom is left tidy and ready for use, providing a polished and professional finish to your installation project.

Following these steps on how to replace toilet tank seal can help you achieve a successful and hassle-free installation process. However, it is always recommended to consult a professional plumber for more complex installations or if you encounter any issues during the process.
Frequently Asked Questions
Q1: How Often Should the Toilet Tank Seal Be Replaced?
A: It is recommended to replace the toilet tank seal every 5-7 years or if you notice any leaks or damage. The frequency of replacement may also depend on the type and quality of the seal used.
Q2: Can I Use Any Type of Seal for My Toilet Tank?
A: It is important to use a seal specifically designed for toilet tanks to ensure proper fit and functionality. Avoid using generic seals or alternatives such as duct tape, as they may not provide a reliable long-term solution.
Q3: How Do I Know If My Toilet Tank Seal Needs Replacement?
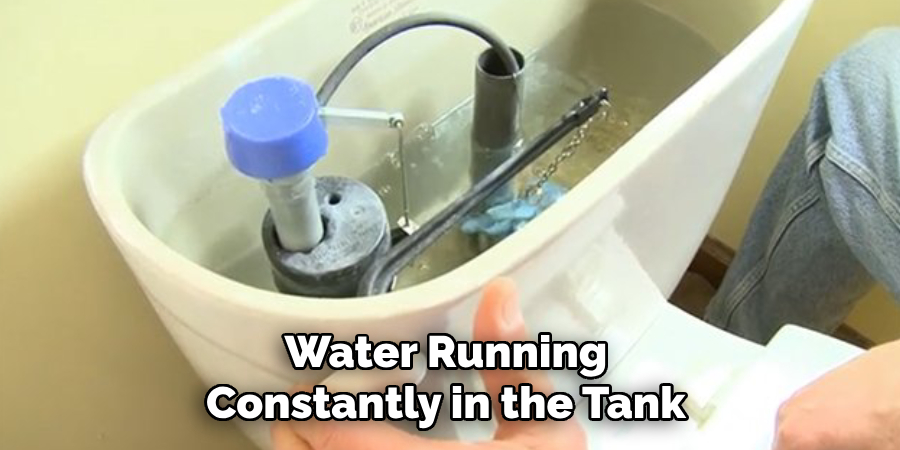
A: Signs that your toilet tank seal needs replacement include water leaks around the base of the toilet, loose or wobbly toilet, and water running constantly in the tank. You may also notice an unpleasant odor coming from the bathroom due to sewage gases escaping through a faulty seal. If you observe any of these signs, it’s best to replace the toilet tank seal as soon as possible to avoid further damage and potential health hazards.
Conclusion
Maintaining your toilet’s tank seal is crucial for preventing water damage, conserving water, and ensuring a hygienic bathroom environment. Regular inspections can help you identify potential issues early, saving you from costly repairs down the line. If you notice any signs of a faulty seal, act promptly to address the problem.
Proper upkeep of your bathroom fixtures not only extends their lifespan but also contributes to the overall health and comfort of your home. Thanks for reading this article on how to replace toilet tank seal.

