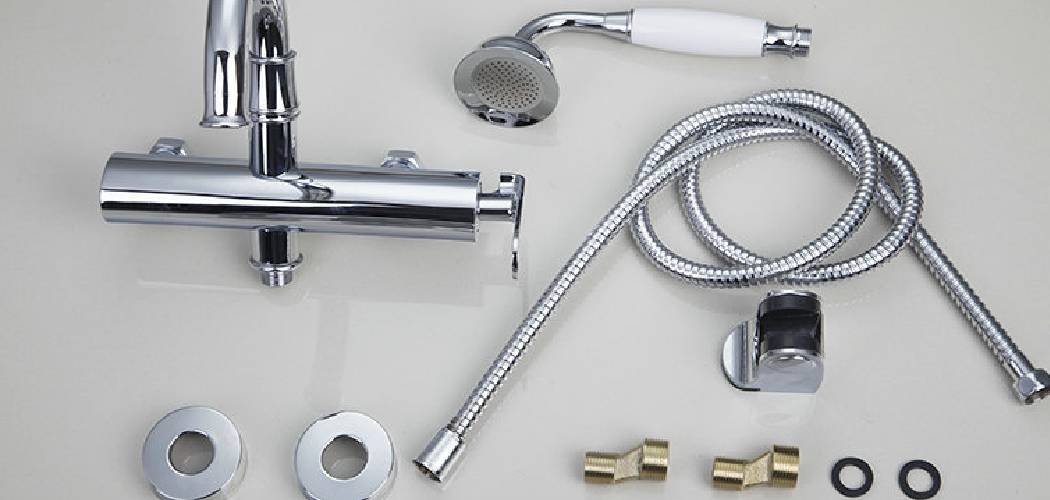
Replacing a bathtub faucet stem may seem like a daunting task, but with the right tools and guidance, it can be a straightforward DIY project. The faucet stem plays a crucial role in controlling the flow of water, and over time, it may wear out or become damaged. Addressing this issue promptly can save you from leaks, water waste, and costly repairs.
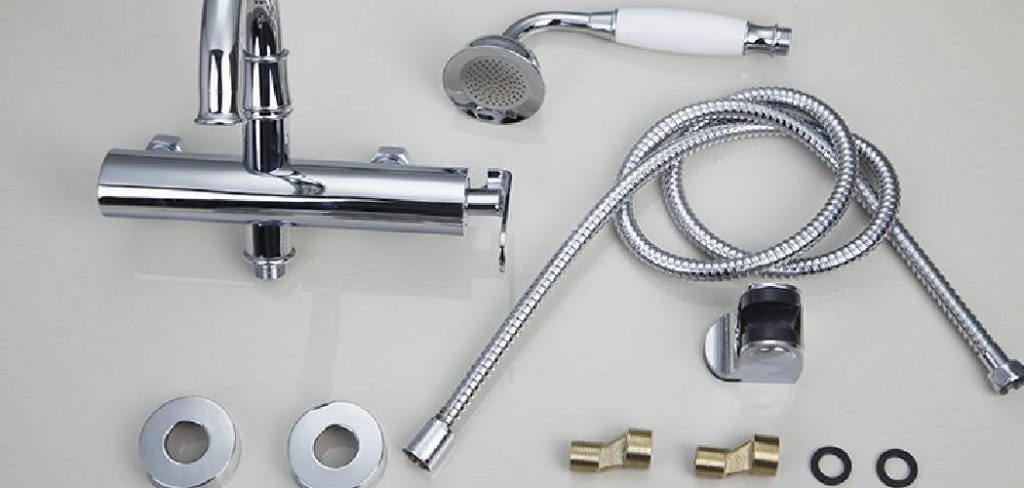
This guide on how to replace bathtub faucet stem will walk you through the necessary steps to replace the faucet stem efficiently and safely, ensuring your bathtub is fully functional again.
Why Replace a Bathtub Faucet Stem?
Replacing a bathtub faucet stem may be necessary for several reasons. The most common is wear and tear over time, which can cause the stem to become damaged or malfunction. Other reasons may include:
Leaks:
If you notice water consistently dripping from your tub’s spout, it could be due to a faulty faucet stem.
Low Water Pressure:
A worn-out or damaged faucet stem can restrict the flow of water, resulting in reduced water pressure.
Difficulty Turning on/off:
If you find it challenging to turn your bathtub’s handle, it could indicate an issue with the faucet stem.
Corrosion:
Over time, rust and corrosion can build up on the faucet stem, causing it to become stuck or difficult to turn.
Loud Noises:
If you hear loud banging or clanking noises when using your tub’s faucet, it could mean that the faucet stem is loose or damaged.
Replacing Your Faucet Stem:
If you experience any of these issues with your bathtub’s faucet, it may be time to replace the faucet stem. This process involves removing the old stem and replacing it with a new one. It is important to research and purchase the correct replacement for your specific type of faucet.
Tools and Materials Needed
- Adjustable Wrench
- Screwdriver (Flathead or Phillips)
- New Faucet Stem
- Plumbers Tape
8 Steps on How to Replace Bathtub Faucet Stem
Step 1: Turn Off the Water Supply
Before beginning the replacement process, locate the water supply valve and turn it off to prevent water from flowing while you work. This valve is often found near the bathtub or in the main water supply line.
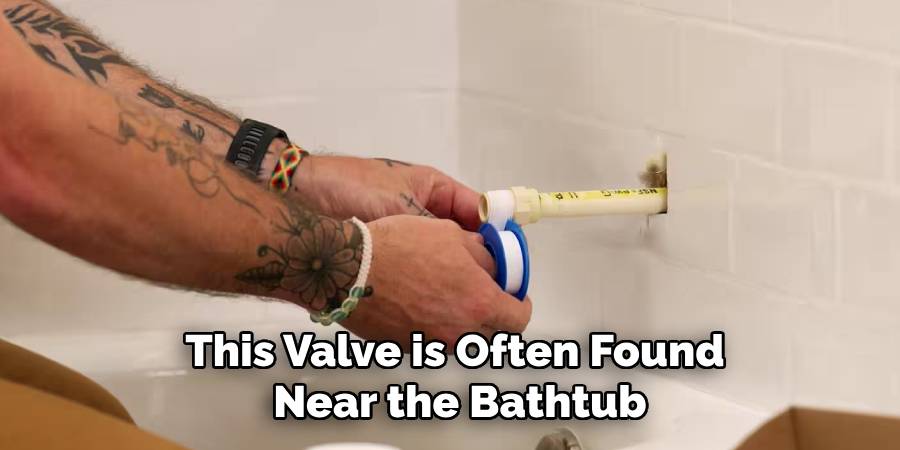
Ensure that both the hot and cold water supplies are fully shut off. After turning off the water, open the faucet to release any remaining water in the pipes. This step is crucial to avoid leaks or water damage during the replacement process.
Step 2: Remove the Old Bathtub Faucet
Once the water supply is turned off, you can begin removing the old faucet. Use a wrench to loosen and remove any nuts or bolts holding the faucet in place. If there are any caulk or sealant around the edges of the faucet, use a putty knife to carefully scrape it off.
Next, gently pull out the old faucet from the wall. If it seems stuck, try wiggling it back and forth until it becomes loose.
Step 3: Clean and Prepare for Installation
Before installing the new bathtub faucet, thoroughly clean and dry the area where it will be installed. This will ensure a smooth installation process and help prevent any potential issues in the future.
Using a mild cleaner and a soft cloth, wipe down the surface of the wall where the old faucet was removed. If there are any stubborn stains or residue, try using a gentle abrasive cleaner. Be sure to rinse off any remaining cleaner and dry the area completely before proceeding.
Step 4: Install the New Faucet
Begin by carefully aligning the new faucet with the existing plumbing. Ensure the threads of the faucet and the pipes match properly to avoid cross-threading or leaks. Apply plumber’s tape to the threads of the pipe fittings to create a watertight seal. Once aligned, hand-tighten the faucet onto the pipe. Use a wrench to securely tighten it further, but take care not to overtighten, as this could damage the fittings.
After securing the faucet, attach any decorative trim or covers that came with the fixture, ensuring a snug fit. Finally, turn on the water supply and check for leaks. If no leaks are present, your new bathtub faucet is successfully installed and ready for use.
Step 5: Attach the New Handles and Spout
Once the new faucet is securely in place, it’s time to attach the handles and spout. Carefully follow the manufacturer’s instructions for this step, as each faucet may have a slightly different installation process.
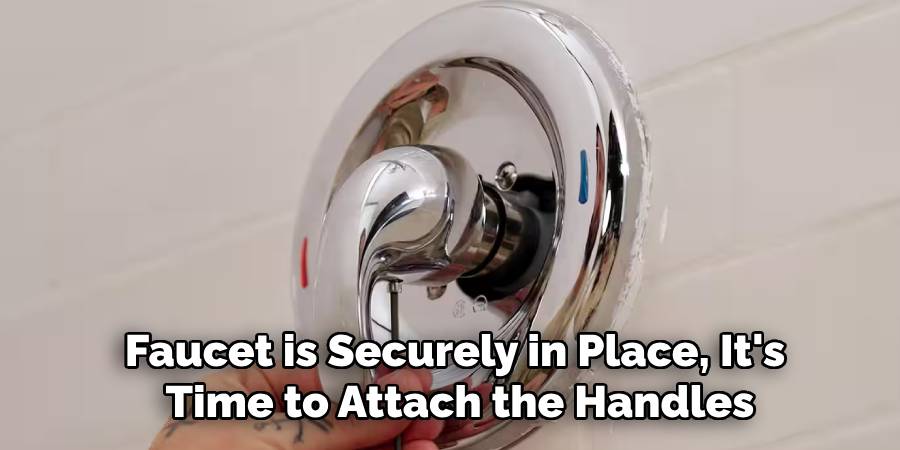
In general, you will need to insert the handles into their corresponding holes on the faucet base and secure them with screws or other hardware provided. Then, attach the spout to the center hole on top of the base.
Before fully tightening all screws and connections, make sure that everything is properly aligned and straight. This will ensure a professional-looking final result.
Step 6: Connect Water Supply Lines
Once everything is securely attached, it’s time to connect the water supply lines. These are typically flexible hoses that will connect the faucet to your home’s plumbing.
You will need to turn off the water supply before making these connections. If you don’t have a separate shut-off valve for your faucet, you may need to turn off the main water supply for your house.
Using adjustable pliers, attach one end of each water supply line to the corresponding hot and cold water valves on your sink. Then, attach the other end to the corresponding inlets on your new faucet.
Step 7: Test and Adjust
Before putting everything back together, it’s important to test and adjust your new faucet. Turn on both hot and cold water supplies and check for any leaks. If you notice any leaks, tighten the connections using your adjustable pliers.
Next, turn on your faucet and check the water flow. If necessary, adjust the water pressure by turning the shut-off valves slightly.
Step 8: Reassemble
Once you’ve tested and adjusted your new faucet, it’s time to reassemble everything. Replace the mounting hardware or cover plate and secure it in place with screws or bolts. Then, attach any additional components such as a soap dispenser or sprayer.
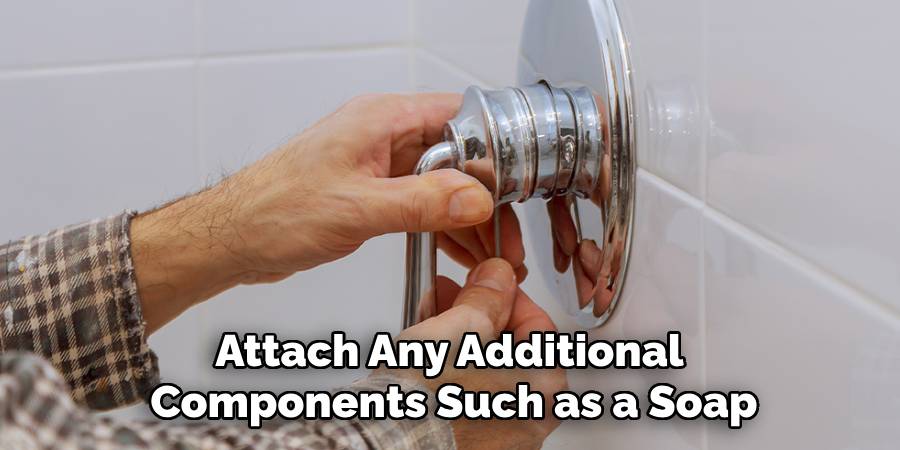
Finally, turn on the main water supply for your house and test out your new faucet. Congratulations, you have successfully installed a new kitchen faucet!
Following these steps on how to replace bathtub faucet stem and how to install a new kitchen faucet will help you save money and time by doing it yourself. If you encounter any issues during the process, don’t hesitate to consult a professional plumber for assistance.
Additional Tips and Tricks
- If you encounter any difficulties during installation, consult a professional plumber for assistance.
- For added protection against leaks, consider using plumber’s tape on all threaded connections.
- Don’t forget to regularly clean and maintain your new faucet to ensure its longevity.
- Consider upgrading other fixtures in your bathroom, such as the showerhead or toilet, to improve the overall aesthetic and functionality.
- If you’re looking to save money on water bills, consider installing a low-flow faucet that uses less water without sacrificing performance.
- Don’t be afraid to get creative with your faucet choice. There are many unique and stylish designs available that can add a personal touch to your bathroom.
- Always shut off the water supply before attempting any repairs or upgrades to your faucet.
- Consider using eco-friendly cleaning products when maintaining your faucet to minimize harm to the environment.
Frequently Asked Questions:
Q1: How Do I Choose the Right Faucet for My Bathroom?
A1: When choosing a faucet, consider the style and design that best fits your bathroom’s overall aesthetic. You should also pay attention to the type of material used, as well as any additional features such as water-saving technology or touchless operation.
Q2: Can I Install a New Faucet Myself?
A2: It is possible to install a new faucet yourself if you have some basic plumbing knowledge and experience. However, it is always recommended to hire a professional plumber for more complex installations to ensure proper functioning and avoid potential issues.
Q3: What Can I Do if My Faucet is Leaking?
A3: If your faucet is leaking, there are a few steps you can take to try to fix it before calling a plumber. First, try tightening the handle or replacing the O-ring or washer inside the faucet. If this does not resolve the issue, it may be necessary to replace the entire faucet.
Q4: How Often Should I Replace My Faucet?
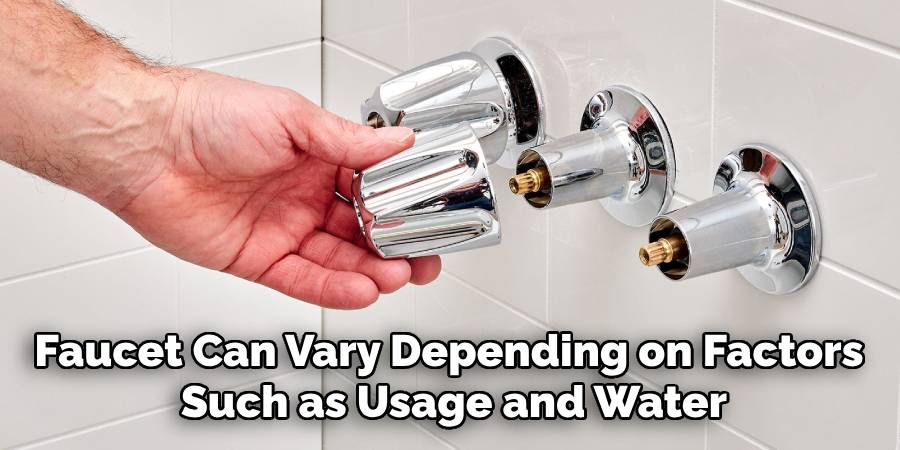
A4: The lifespan of a faucet can vary depending on factors such as usage and water quality. However, on average, a good quality faucet can last anywhere from 10-20 years with proper maintenance. It is recommended to regularly inspect your faucet for any signs of wear and tear and replace it if necessary.
Conclusion
Maintaining your faucets is an essential aspect of ensuring the longevity and efficiency of your plumbing system. By addressing issues promptly and performing regular inspections, you can prevent potential water damage and extend the lifespan of your fixtures.
Remember, investing in quality faucets and proper maintenance will save you time, money, and unnecessary stress in the long run. Thanks for reading this article on how to replace bathtub faucet stem.

