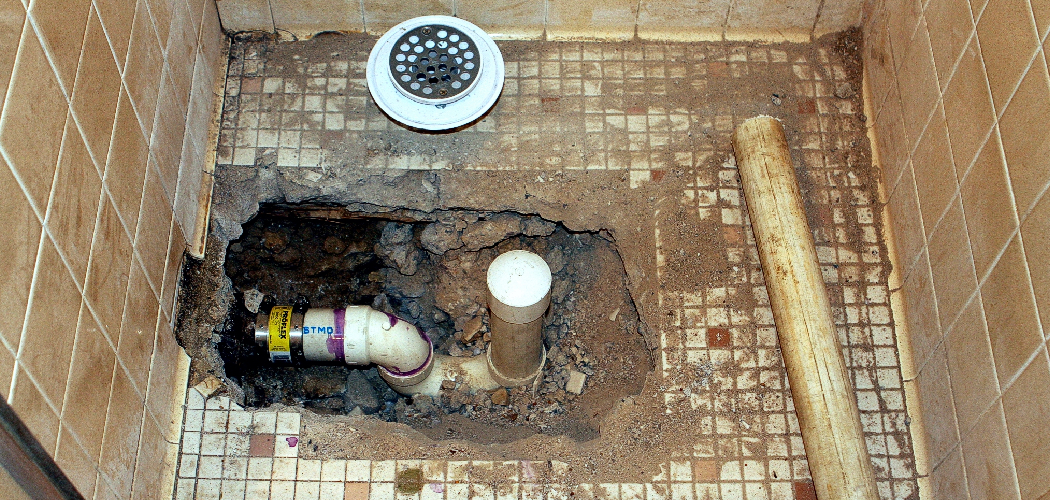
A leaking shower drain can be a real nuisance. You should know how to repair a leaking shower drain. Not only is the constant dripping annoying, but it can also cause water damage to your bathroom.
If you’re dealing with a leaking shower drain, don’t despair! In most cases, it’s a relatively easy problem to fix. This blog post will show you how to repair a leaking shower drain in just six easy steps.
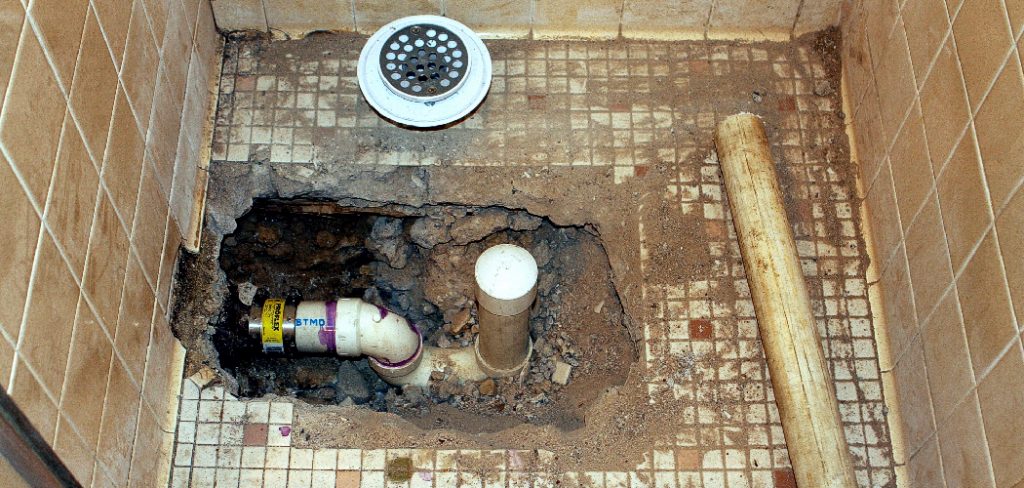
Materials You Will Need
- A screwdriver
- A wrench
- A replacement gasket (if needed)
- Silicone caulk (optional)
6 Steps Guide on How to Repair a Leaking Shower Drain
Step 1: Use a Screwdriver
The first step is to remove the drain cover. In most cases, this will simply involve unscrewing the cover with a screwdriver. If your drain cover is particularly tight, you may need to use a wrench to loosen it. It is important to be careful when removing the drain cover, as you don’t want to damage it. If you do not have a replacement gasket, you may need to purchase one from a hardware store before proceeding.
Step 2: Inspect the Gasket
Once you have removed the drain cover, take a look at the gasket. If the gasket is cracked or damaged in any way, it will need to be replaced. By the right replacement gasket, simply pop it into place and screw the drain cover back on. You should inspect according to the manufacturer’s instructions to avoid damage.
Step 3: Remove the Old Gasket
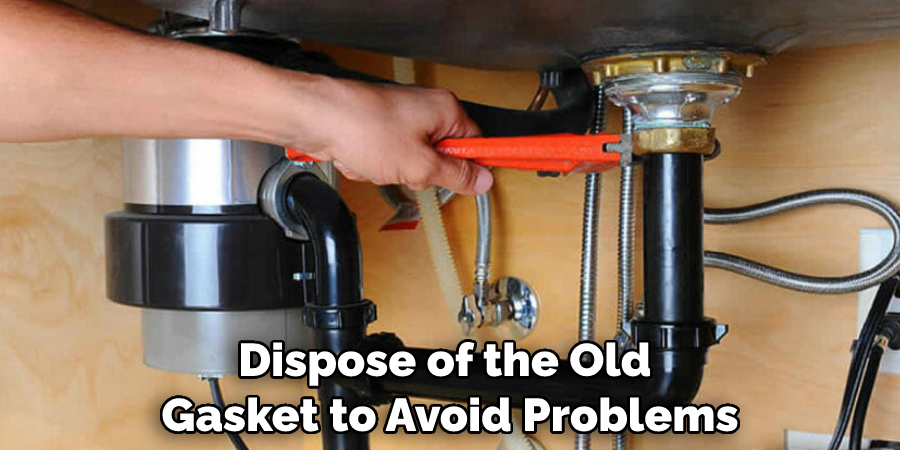
If you need to replace the gasket, use a screwdriver or wrench to remove the old one. Be careful not to damage the drain as you remove the old gasket. You should properly dispose of the old gasket to avoid problems. If you do not have a replacement gasket, you may need to purchase one from a hardware store before proceeding.
Step 4: Install the New Gasket
If you’re replacing the gasket, simply install the new one in the same way that you removed the old one. Make sure that it is properly positioned and secure before moving on to the next step. You should properly dispose of the old gasket to avoid problems. By proper installation, avoid over-tightening the screws to prevent breakage.
Step 5: Caulk Around the Drain
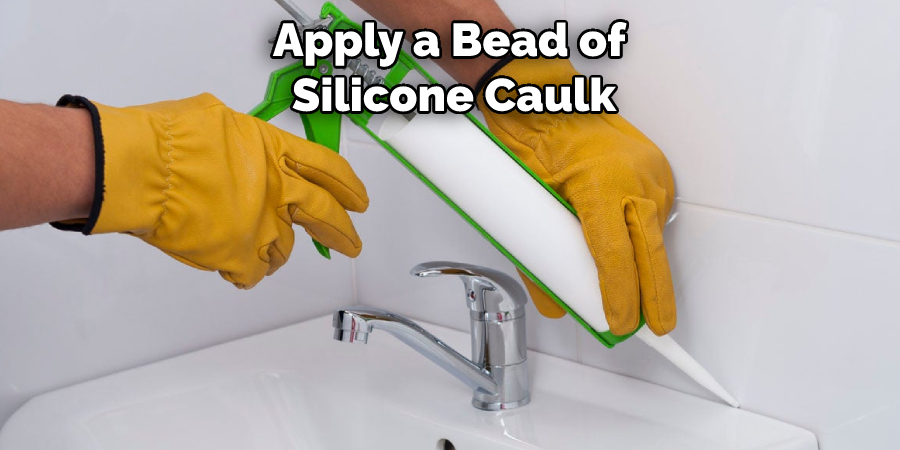
If you want, you can apply a bead of silicone caulk around the drain. This will help to create a water-tight seal and prevent future leaks. Once you have installed the new gasket (or if the old one was in good condition), it’s time to inspect the drain itself. Check for any cracks or damage.
Step 6: Replace the Drain Cover
Finally, replace the drain cover and screw it into place. You may need to use a wrench to tighten the cover if it is particularly tight. You should also check the manufacturer’s instructions to avoid damage. Proper replacement will create a water-tight seal and prevent future leaks.
That’s it! By following these six simple steps, you can easily repair a leaking shower drain.
Tips on How to Repair a Leaking Shower Drain
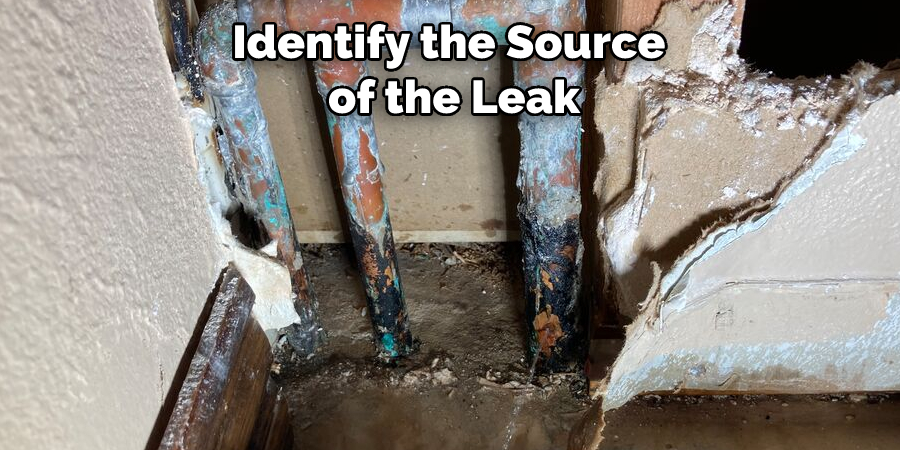
1. The first step is to identify the source of the leak. If the leak is coming from the drain itself, then you will need to replace the drain gasket. If the leak is coming from where the drain meets the shower floor, then you will need to reseal the drain.
2. Once you have identified the source of the leak, you will need to gather the necessary tools and materials. For a shower drain gasket, you will need a putty knife, a screwdriver, and a new gasket. For a shower floor drain, you will need silicone caulk and a caulk gun.
3. To replace a shower drain gasket, start by removing the screws that hold the drain cover in place. Then, use a putty knife to pry off the old gasket. Clean off any old plumber’s putty or silicone caulk from around the drain opening.
4. To reseal a shower floor drain, start by cleaning out any old silicone caulk from around the drain opening. Then, apply a bead of silicone caulk around the perimeter of the drain opening. Use your finger to smooth out the caulk and make sure that there are no gaps.
5. Let the silicone caulk or plumber’s putty cure for 24 hours before using the shower again. This will give it time to set up and create a watertight seal.
6. If you have any questions about how to repair a leaking shower drain, or if you need help troubleshooting a problem, feel free to contact a professional plumber for assistance.
Properly following these tips should help you fix your leaking shower drain quickly and easily!
You Can Check It Out To Fix a Loose Shower Head
Related Questions
How Do I Identify the Source of the Leak?
When you have a plumbing leak, it is important to identify the source of the leak as soon as possible. Plumbing leaks can be caused by a variety of factors, such as loose pipes, faulty fittings, or cracks in the pipe itself. In some cases, the leak may be due to a problem with the main water line.
If you suspect that the leak is coming from the main water line, it is important to shut off the water supply immediately and call a plumber. leaks can also be caused by problems with the sewer line. If you believe that the sewer line is the source of the leak, it is important to contact a professional plumber right away.
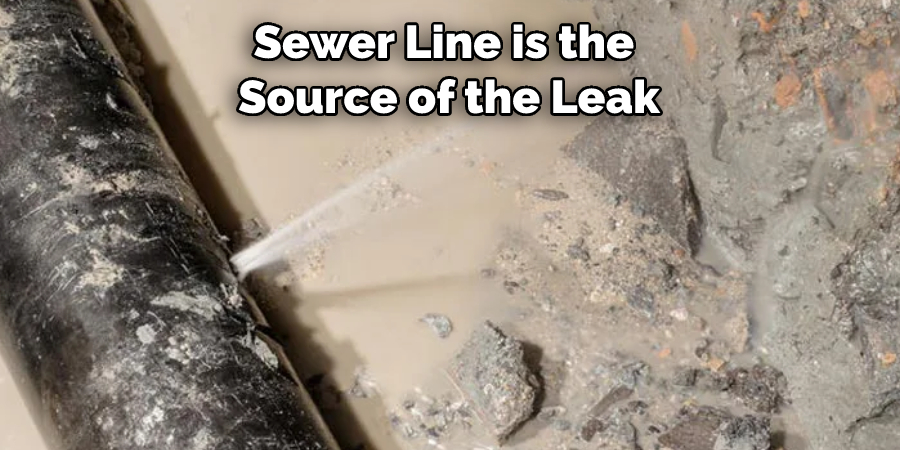
Sewer leaks can be very dangerous and should not be attempted to fix on your own. Finally, leaks can also be caused by problems with your home’s foundation. If you suspect that your foundation is the source of the leak, it is important to contact a professional contractor right away. Foundation leaks can be very serious and can cause structural damage to your home if they are not repaired promptly.
You Can Check It Out to Do You Use a Drain Auger
How Do I Remove the Old Gasket?
careful not to damage the surface of the flange. Next, use a putty knife to remove any old caulk or sealant from the surface of the flange. Once the old material has been removed, clean the surface of the flange with mineral spirits to remove any residue.
Finally, use a brush to apply a thin layer of plumber’s putty around the perimeter of the flange. allow the putty to set for about 30 minutes before proceeding with the installation.
How Do I Install the New Gasket?
Installing a new gasket is a simple process that anyone can do with a little time and patience. First, make sure that the surface of the old gasket is clean and free of debris. Next, align the new gasket with the opening, making sure that all of the holes align.
Once the gasket is in place, begin pressing it into place, working from the center outwards. Once the gasket is fully seated, use a utility knife to trim any excess material. Finally, screw the Tightening Bolts back in place and you’re done! With just a few simple steps, you can install a new gasket and keep your car running like new.
How Do I Seal a Shower Floor Drain?
One of the most common causes of leaks in showers is an improperly sealed drain. If water can seep around the drain, it can cause serious damage to the surrounding tile and grout. As a result, it is important to make sure that the drain is properly sealed before using the shower.
The first step is to clean the area around the drain. Be sure to remove any soap scum, dirt, or debris that could prevent the sealant from adhering to the surface. Next, apply a bead of silicone caulk around the edge of the drain. Use your finger to smooth out the caulk and create a tight seal. Once the caulk has dried, your shower floor drain should be properly sealed and ready for use.
You Can Check It Out to Tell if Your Septic Needs Pumped
What if Silicone Caulk or Plumber’s Putty Isn’t Working?
If the seal around your sink or tub is beginning to fail, you may be tempted to reach for the silicone caulk or plumber’s putty. However, these products may not always be the best choice for the job. If the area is large or particularly deep, it’s important to use a product that will create a strong, durable seal.
Otherwise, you may find yourself having to reapply the caulk or putty regularly. In addition, if you’re dealing with an older fixture, it’s important to make sure that the new sealant is compatible with the existing materials.
Failure to do so could result in damage to your sink or tub. If you’re not sure which product to use, it’s always best to consult with a professional. They’ll be able to help you choose a sealant that will work best for your needs.
Conclusion
A leaking shower drain can be annoying and costly if left unrepaired. But don’t worry—in most cases, it’s a quick and easy problem to fix! If your shower drain is leaking, you will need to repair it as soon as possible to avoid further water damage. The first step is to determine the cause of the leak.
There are a few common reasons why drains leak, including a broken seal or gasket, corrosion of the drainpipe, and clogs. Once you have determined the cause of the leak, you should determine also how to repair a leaking shower drain. It is important to fix any leaks in your shower drain as soon as possible to avoid further water damage. Just follow these simple steps and you’ll have your shower drain repaired in no time at all.
You Can Check It Out to Hide Storm Drain in Yard

