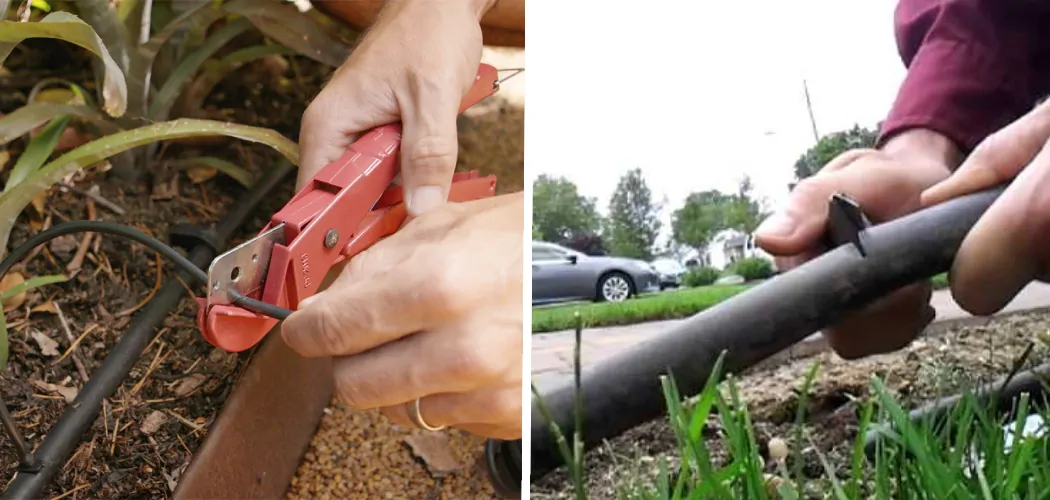
Do you have a garden or lawn that needs to be irrigated? If so, then one of the most important tasks that you’ll face is learning how to cut irrigation tubing properly. Making accurate cuts with your irrigation system not only ensures better water flow and coverage but also prevents damaging the system—which can lead to costly repairs or replacements.
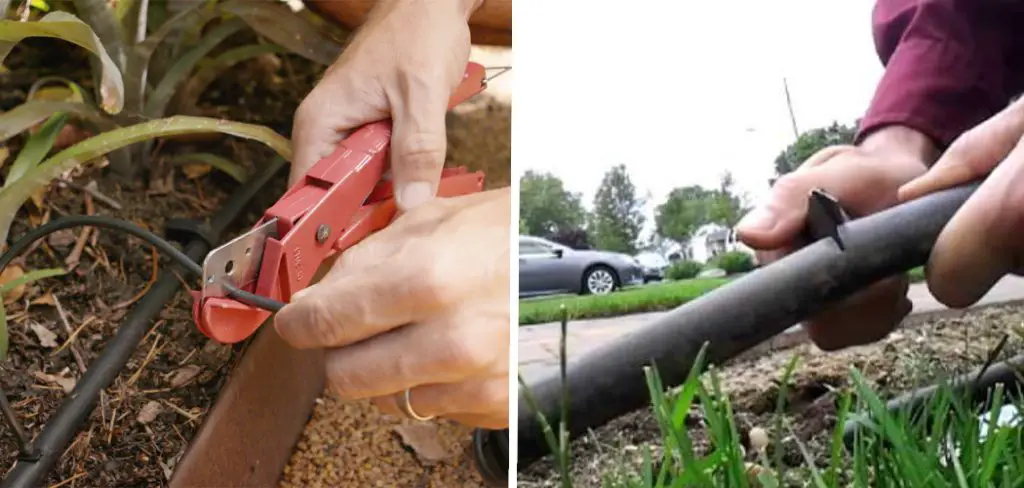
In this blog post, we’ll discuss the best techniques for cutting irrigation tubing effectively and accurately, from choosing the right tools for the job to preparing correctly for each step of the process. So if you want to save yourself time and money when setting up your garden’s watering system, keep reading!
What is Irrigation Tubing?
Before you can learn how to cut irrigation tubing, it’s important to know what kind of tubing you’re dealing with. There are two main types of irrigation tubing: Polyethylene (PE) and polyvinyl chloride (PVC).
Depending on the climate and soil conditions in your garden, one type or the other may be preferable. PE is more flexible and better suited for colder climates, while PVC is durable enough to withstand high temperatures and ground movement.
The Benefits of Having Irrigation Tubing
1. Effective Watering
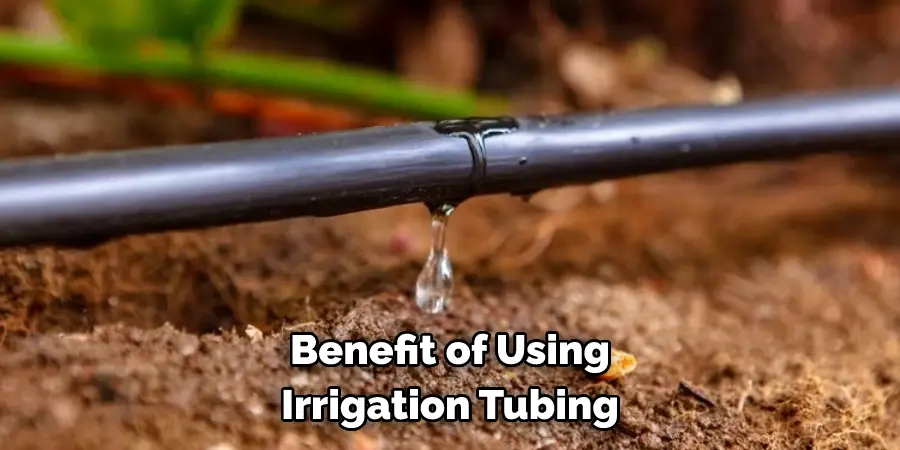
Having the right irrigation tubing can make all the difference when it comes to keeping your garden and lawn healthy. The main benefit of using irrigation tubing is that it allows you to deliver water directly to specific areas in your yard or garden, which can result in less evaporation and lower overall costs for water usage.
2. Less Maintenance
Irrigation tubing is also easy to maintain. All you have to do is occasionally inspect the system for any leaks or damage and then make sure that it’s free of debris that can cause clogs or blockages in the lines. It’s also easy to replace or repair sections of the tubing if they become damaged or worn out over time.
Choosing the Best Irrigation Tube Cutter
When it comes to cutting irrigation tubing, the right tool makes all the difference. Generally speaking, you should always use a dedicated tube cutter instead of a regular pair of scissors or a knife.
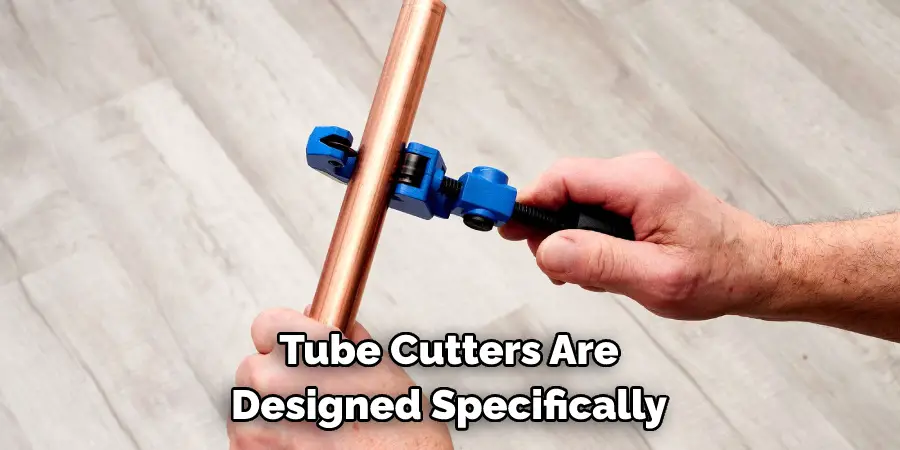
Tube cutters are specifically designed for cutting through PVC and PE tubing with minimal effort, and they come in several sizes so you can easily find one that’s suitable for the tubing diameter you’re working with.
The Tools You Need to Cut Irrigation Tubing
1. Hacksaw- A hacksaw is perfect for cutting PVC and PE tubing because it can easily cut through the material without damaging it. Make sure to use a thin blade that’s specifically made for cutting plastic.
2. Tube Cutter- As mentioned above, tube cutters are designed specifically for cutting irrigation tubing, and they’re usually the most efficient option. When using a tube cutter, make sure to turn the wheel slowly and evenly so you don’t put too much pressure on the tubing.
3. Scissors- If you don’t have a tube cutter or hacksaw handy, then scissors are the next best option. However, make sure to use heavy-duty scissors that can cut through the tubing without bending or breaking it.
Preparing to Cut Irrigation Tubing
Before you start cutting any tubing, make sure to wear safety glasses to protect your eyes from any plastic shavings or dust that might fly up. You should also make sure that the tubing is securely fastened in place so it won’t move while you’re cutting it.
10 Tips on How to Cut Irrigation Tubing
1. Sharp Blade
Start with a fresh, sharp blade. Always make sure to use a new or freshly sharpened blade whenever you’re cutting irrigation tubing. A dull blade won’t be able to cut through the material and could end up damaging it instead.
2. Measure Twice, Cut Once
Take your time when measuring and marking the area where you want to cut the tubing. Make sure to double-check your measurements before cutting to avoid making any mistakes. The right measurement can mean the difference between a clean cut and an uneven one.
3. Cut Slowly and Evenly
When using a tube cutter, make sure to turn the wheel slowly and evenly so you don’t put too much pressure on the tubing. A slow and steady pace will ensure that you get a clean, even cut every time.
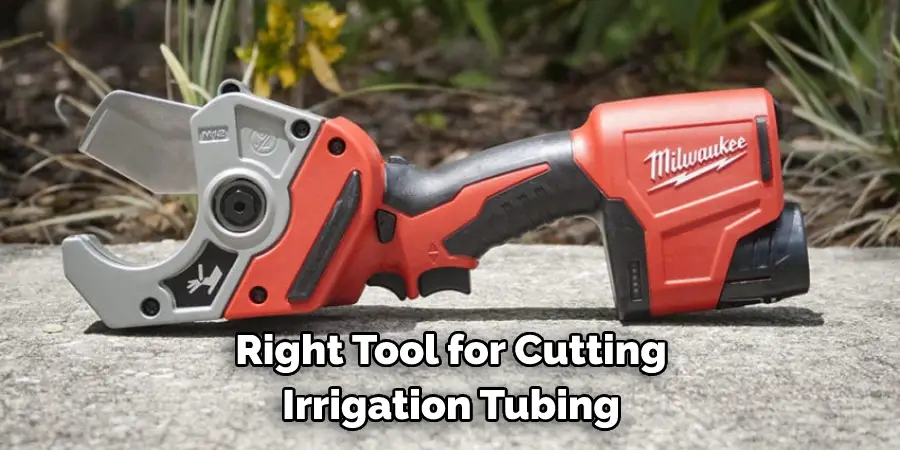
4. Use the Right Tool
Always use the right tool for cutting irrigation tubing. A hacksaw, tube cutter, and scissors are all suitable options depending on what type of tubing you’re working with. The tools you use should be appropriate for the material and diameter of the tubing.
5. Securely Fasten
Make sure to securely fasten the tubing in place before you start cutting it. This will help prevent any accidental slips or mistakes that could result in an uneven cut. When cutting PVC or PE tubing, you should use a clamp to hold it in place.
6. Clean Cut
When making the cut, try to make a clean cut without any jagged edges. The smoother and cleaner the cut is, the less likely it will be to leak when you install the new section of tubing. Cutting slowly and evenly will help ensure that you get a clean cut every time.
7. Sand Edges
Once you’ve made the cut, use a piece of sandpaper to smooth out any rough edges or burrs. This will help prevent any leaks or blockages when you install the new section of tubing. Sanding the edges will also help ensure a more even flow of water.
8. Gently Push the Tubing
Once you’ve made the cut, gently push the tubing together to make sure it fits properly and securely. If the tubing is too tight or loose, you may need to adjust your measurements before cutting.
9. Reinforce Joints
In order to ensure a tight seal, you should reinforce all joints with waterproof tape. This will help prevent any leaks or blockages that could occur over time.
10. Test the Connection
Finally, test the connection by running water through it for a few minutes to make sure there are no leaks or blockages. Once you’ve confirmed that everything is working properly, your irrigation system will be ready to use.
By following these tips on how to cut irrigation tubing, you’ll be able to make clean and precise cuts every time. Taking the time to properly measure and prepare before cutting will help ensure a perfect fit every time. With the right tools and techniques, cutting irrigation tubing can be a breeze.
8 Safety Measures to Take
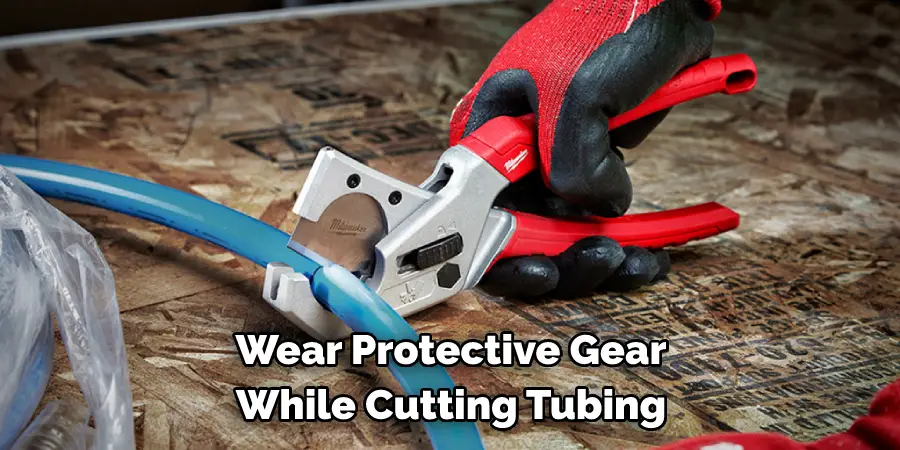
1. Always wear protective gear while cutting tubing. This includes safety glasses, heavy-duty gloves, and a dust mask or respirator. The wear and tear of cutting tubing can create particles that may be hazardous to your health.
2. Always make sure the area is free of debris or clutter before beginning the job. The last thing you want is for the tubing to become entangled with something else, resulting in an accident.
3. Secure the tube so it won’t move while being cut. It can be clamped or taped in place to prevent it from shifting or spinning during the cutting process. It will also help to keep the cut line straight.
4. Use a sharp blade or saw when cutting the tubing. It is important that the blade is in good condition and suited for the type of material being cut, as this will reduce the risk of it becoming dull during use.
5. Place a protective base underneath the tube you are cutting to shield yourself and the work surface from damage. The base can be a sheet of scrap wood, cardboard or even plastic.
6. Always keep your hands away from the point of cutting. Be aware of the blade and its position at all times to avoid serious injury.
7. Make sure you have adequate ventilation in the work area when cutting tubing. This will help remove any hazardous dust particles created during the cutting process.
8. Dispose of the cut tubing properly in an appropriate waste receptacle, and clean up the work area once you have finished the job. This will help to protect your health and safety. It is also important to inspect the tubing for any defects or signs of damage before use. If there are any, discard the tubing and start again.
By following these safety measures, you can ensure a safe and successful cutting experience. With the right tools and knowledge, you can easily master how to cut irrigation tubing.
Conclusion
Overall, setting up or modifying an irrigation system can be intimidating at first. However, if you have the right tools and know-how of how to use them properly, cutting irrigation tubing doesn’t have to be difficult. Taking your time to assess the shape and distance of the tubing path is essential before cutting it. Make sure you are using sharp blades or wire cutters that can make precise cuts, allowing for easy connection to other tubing elements.
We hope these tips on how to cut irrigation tubing will help you successfully set up a functioning irrigation system and give you peace of mind that the job was done effectively. Finally, always be mindful of keeping yourself safe while working with blades. Wear protective clothing and eyewear so you don’t injure yourself in any way during this process. With these helpful tips, you can now start a new irrigation system project with full confidence!
You Can Check it Out to Install a Frost Free Yard Hydrant

