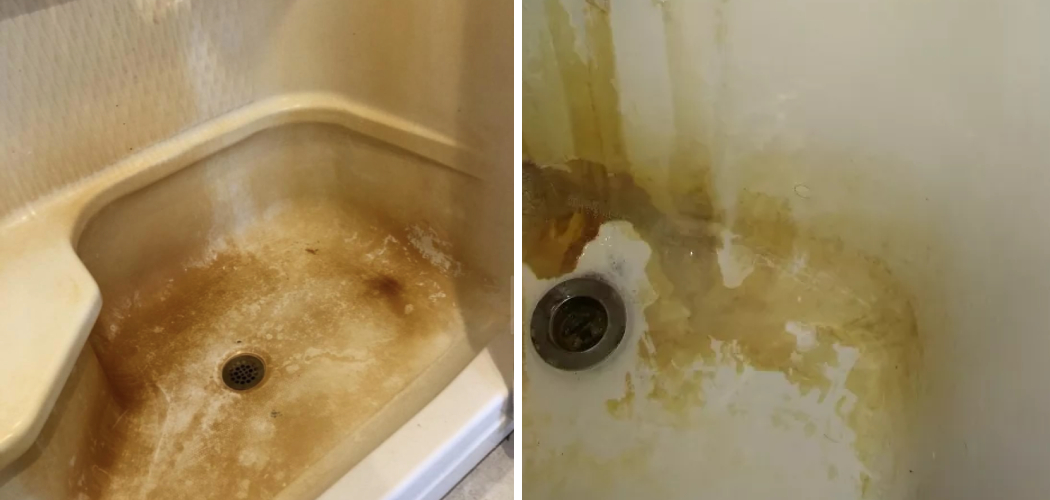
Calcium deposits in your bathtub can be unsightly and difficult to remove. These stubborn deposits are caused by hard water, which contains high levels of calcium and magnesium. Over time, the minerals build up on surfaces such as showerheads, faucets, tiles, and bathtubs.
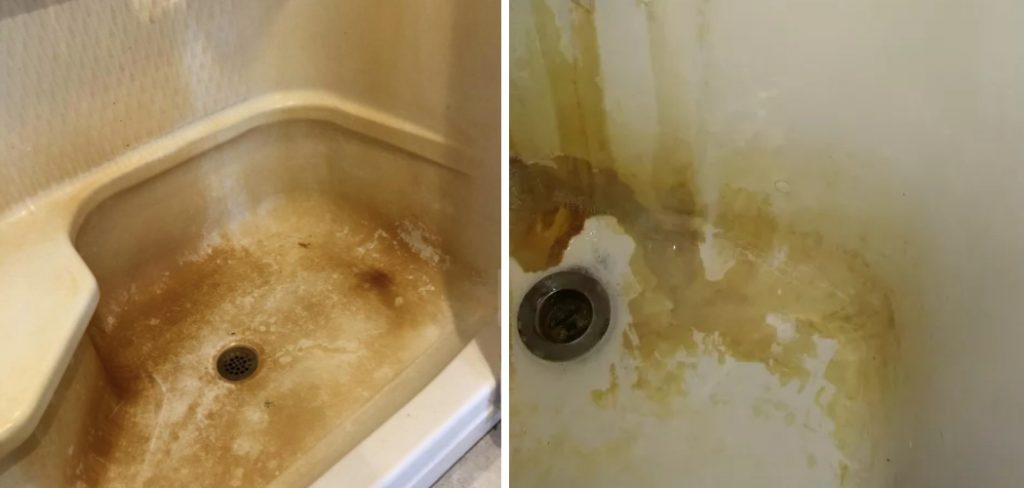
Removing these calcium deposits requires a bit of elbow grease but is relatively simple to do with everyday household items. In this article, we will discuss how to remove calcium deposits from bathtub in just a few easy steps. With the right cleaning products and tools, you can easily restore your bathtub’s gleaming finish without spending too much money or time!
Can You Remove Calcium Deposits from Bathtub?
Calcium deposits may seem daunting, but you can remove them from your bathtub with the right cleaning ingredients. Calcium deposits form from hard water with high levels of minerals like magnesium and calcium, which can cause surface build-up over time. However, with a few simple steps, you can get rid of these pesky deposits without having to call in a professional.
Before getting started, make sure your bathtub is free of dirt and other debris. You can do this by rinsing it off with warm water or wiping it down with a cloth. Once you’ve prepped the area, you’re ready to begin removing the calcium deposits.
White vinegar is the most common way to remove calcium deposits from a bathtub. Fill a spray bottle with straight white vinegar and spray it onto the affected area. Let the solution sit for up to 15 minutes, then wipe it off with a clean cloth or sponge. You may need to use an abrasive scrubber if the build-up is particularly stubborn.

Why Should You Remove Calcium Deposits from Bathtubs?
Calcium deposits in bathtubs can cause a variety of problems if they are not removed. These deposits build up over time, leaving unsightly stains and discoloration on the tub. Calcium deposits can also lead to clogged pipes and drains if absorbed into your home’s water lines. Removing calcium deposits from bathtubs can help ensure that your bathroom remains clean and functional.
Additionally, removing calcium deposits can improve the aesthetic appeal of your tub, making it look brand new again. With the right cleaning products and tools, you can quickly and easily remove calcium deposits from a tub in no time!
So now that you know why you should remove calcium deposits from bathtubs, let’s look at how to do it. The most efficient way to get rid of these unsightly stains is to use a commercial cleaner specifically designed for removing calcium deposits.
These products are usually available in the cleaning section of your local hardware store and will make the job much easier. After purchasing a commercial cleaner, follow the instructions for use carefully. You will want to make sure that you are using the correct amount of product and scrubbing in the right direction for the best results.
7 Steps to Follow on How to Remove Calcium Deposits from Bathtub
Step 1: Disinfecting the Area
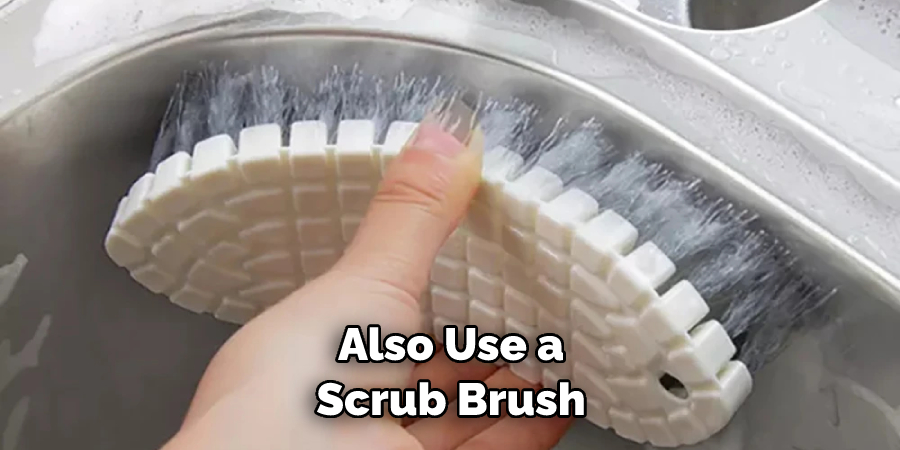
Start by cleaning the area around the calcium deposits with a disinfectant cleaner or bleach solution. Make sure to remove any dirt and grime that may be present before proceeding to the next step. You can also use a scrub brush to reach into the nooks and crannies that may be hard to access with just a cleaning solution.
Step 2: Applying Vinegar
Once the area is cleaned, you can proceed to apply white vinegar to the calcium deposits. Try using a sponge or cloth to spread it evenly over the stain. Allow the vinegar to sit for at least 10 minutes. This will help to break down the calcium deposits, making them easier to remove. Once the time is up, use a scrubbing brush to loosen and remove the deposits gently.
Step 3: Applying Baking Soda
Once the vinegar has been used, you can be going to apply baking soda. Sprinkle baking soda onto the calcium deposits and spray it with white vinegar. This will create a bubbling reaction that will help loosen and remove the deposits. Allow this mixture to sit for another 10 minutes before proceeding to the next step.
Step 4: Scrubbing with a Brillo or Steel Wool Pad
Using a brillo or steel wool pad, start to scrub the area where the calcium deposits were. This should help to remove any remaining particles that may have been left behind. Make sure to be gentle while doing this, as you don’t want to damage the surface of your bathtub.
Step 5: Applying Rubbing Alcohol
Once all the calcium deposits have been removed, you can go ahead and apply a liberal amount of rubbing alcohol to the area. This will help to sanitize and disinfect the area, removing any bacteria or germs that may be present. Allow this to sit for at least 10 minutes before rinsing.
Step 6: Rinsing the Area
Once you’ve allowed the rubbing alcohol to sit, you can go ahead and rinse off the area with warm water. This will help to remove any remaining residue from the process. Make sure to dry off the area with a clean cloth or towel afterward.
Step 7: Applying Protective Wax
Lastly, you should apply a protective wax or sealant over the area where you just cleaned. This will help protect your bathtub from future calcium buildup and can help it last longer. To apply the wax, use a clean cloth to rub the wax in a circular motion over the area where you just cleaned it.
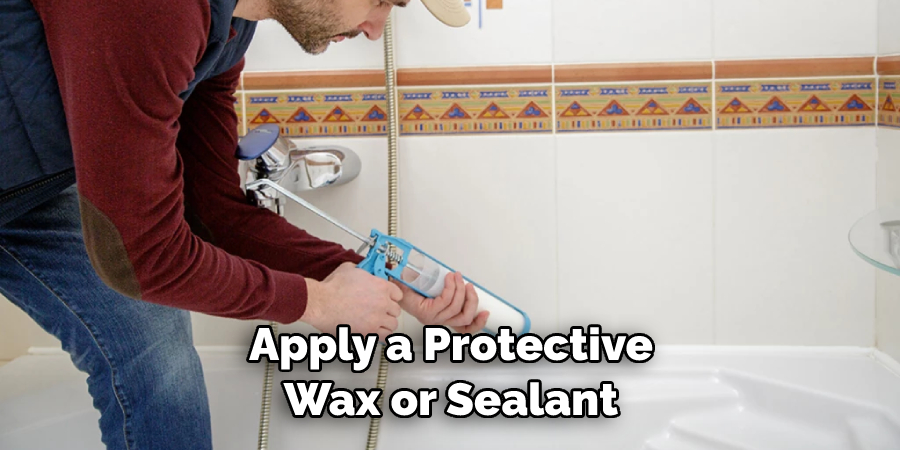
Make sure to cover all of the surfaces with an even layer of wax. Once you are finished, allow the protective wax to dry completely before using your bathtub again. With these steps, you should now have your bathtub free from calcium deposits!
That’s it! You’ve now learned how to remove calcium deposits from bathtub. With just a few simple steps, your tub will look brand new again. So grab your cleaning supplies and get to work! Your bathtub will thank you.
5 Considerations Things When You Need to Remove Calcium Deposits from Bathtub
1. Cleaning Solution
Choosing the right cleaning solution is the most important factor in removing calcium deposits from a bathtub. Choose an acidic cleaner such as vinegar, lemon juice, or citric acid. Be sure to properly dilute the solution and test it on a small area before applying it to the entire bathtub.
2. Protective Gear
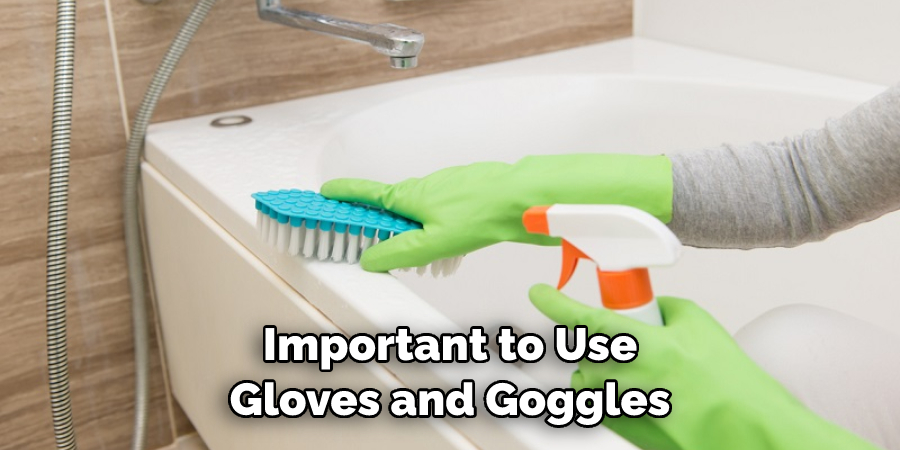
When working with acidic cleaners, it’s important to wear protective gear such as rubber gloves and safety goggles to protect your skin and eyes from any potential splashing or fumes.
3. Preparation
Before cleaning, always ensure you have properly prepared the area by removing any items the acidic solution could damage.
4. Time
Allow the cleaning solution to sit on the calcium deposits for a few minutes before scrubbing it off. This will give the acid time to break down and loosen the calcium build-up, making removing it easier.
5. Post-Cleaning Care
Once you’ve finished removing the calcium deposits, rinse the area with warm water and follow up with a mild detergent to ensure all acid traces have been removed. After cleaning is complete, it’s always a good idea to seal the bathtub with a protective coating in order to help prevent future calcium buildup.
Benefits of Removing Calcium Deposits from Bathtub
Regularly removing calcium deposits from your bathtub is a key way to maintain your bathroom’s long-term cleanliness and hygiene. In addition to being aesthetically unappealing, calcium deposits can cause damage to tub surfaces over time. Regularly cleaning away stubborn mineral residue and grime build-up ensures that your bathtub is sparkling and safe to use.
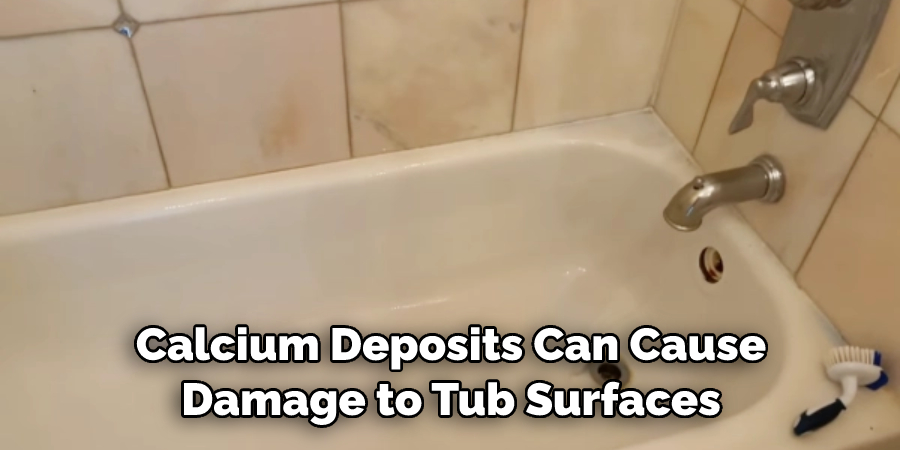
Removing calcium deposits from your bathtub can also help you protect other fixtures in the bathroom. Calcium build-up can damage faucets, shower heads, and drain pipes if not regularly cleaned away. Regularly removing these deposits can help prevent future plumbing issues and save you time and money on costly repairs.
Finally, removing calcium deposits from your bathtub can help preserve the tub’s overall condition for years to come. With regular care and maintenance, you can keep your bathtub looking its best and protect it from further damage caused by a mineral build-up.
By regularly cleaning away stubborn calcium deposits, you can ensure your bathtub remains looks its best and functions properly. It only takes a few simple steps with the right products to keep calcium deposits at bay and make sure your bathroom is sparkling clean!
Some Common Mistakes People Make When Trying to Remove Calcium Deposits from Bathtub
It’s important to remember that removing calcium deposits from the bathtub is an ongoing process, not a one-time fix. So when it comes to tackling a calcium deposit problem, it’s important to do the job right. Here are some common mistakes people make when trying to remove calcium deposits from a bathtub:
1. Not Using the Right Cleaning Solution
The most effective way to remove hard water stains is with a specialized cleaner made specifically for this purpose. Generic cleaners may not be strong enough to dissolve the calcium deposits and could cause further damage.
2. Not Being Patient
It is important to be patient when attempting to remove calcium deposits from the bathtub. It may take several attempts of scrubbing and cleaning before the stains are completely gone, so don’t give up too quickly.
3. Not Using the Right Tools
Using the wrong tools can make removing calcium deposits from the bathtub more difficult. Make sure you have the proper scrubbing pads and brushes available to help loosen the calcium buildup and get rid of it for good.
4. Not Taking Safety Precautions
When cleaning any surface, especially a tub, it’s important to use gloves and goggles to prevent any contact with potentially harmful chemicals.
By keeping these common mistakes in mind, you can ensure that your calcium deposit removal process goes as smoothly as possible. With the right tools and cleaning solutions, removing calcium deposits from the bathtub is easier than ever before!
Conclusion
Removing calcium deposits from your bathtub is an easy process that can be done quickly and with minimal effort. The best way to do this is to use a combination of vinegar, baking soda, and detergent, as these products are sure to dissolve the calcium buildup.
However, if these methods don’t work for you, it’s important to seek professional help, as further damage to the bathtub can occur if done incorrectly. With a little bit of elbow grease and the right products, you’ll have your calcium-free bathtub back in no time! Thanks for reading our post about how to remove calcium deposits from bathtub.

