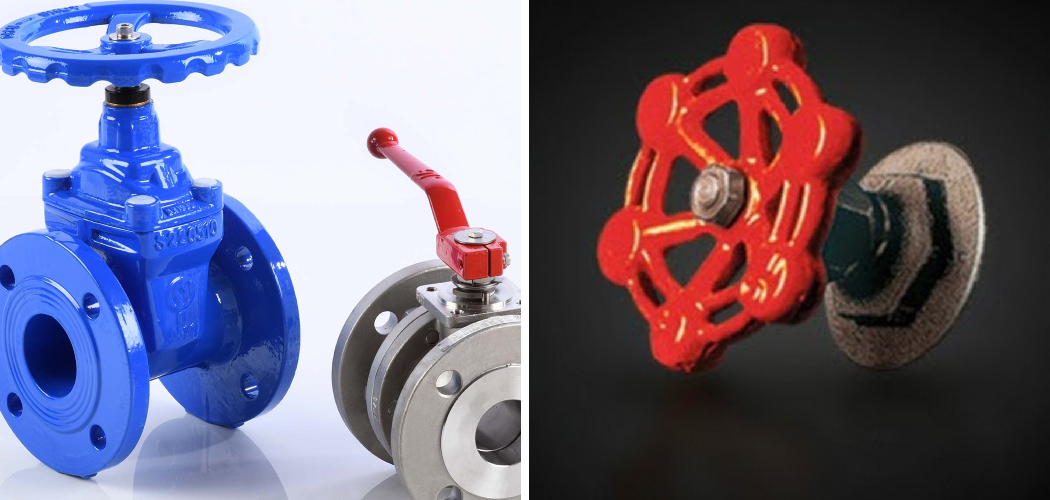
How does a check valve work? Well, you have come to the right place. In this article, we will explain everything you need to know about how does check valve work.
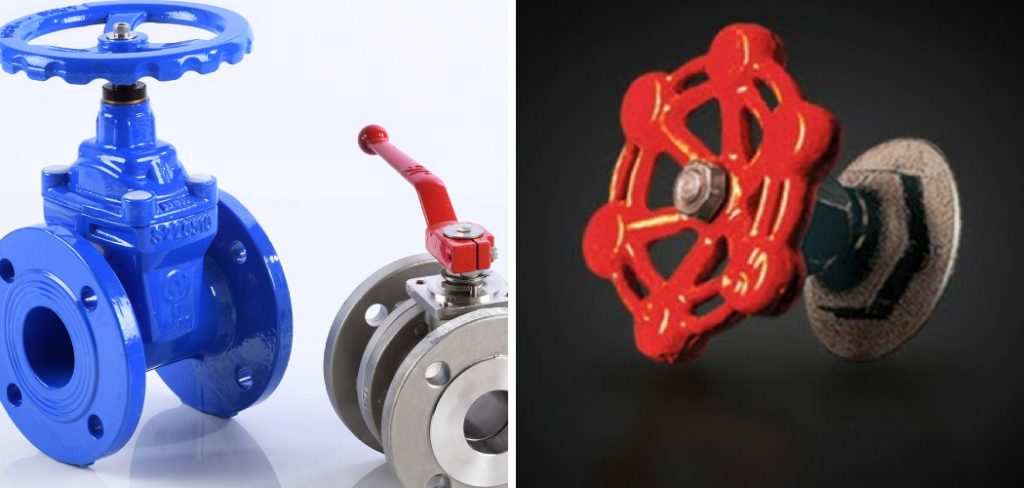
A check valve, also known as a one-way valve, is a mechanical device that allows fluid, whether liquid or gas, to flow in only one direction. It is designed to prevent backflow and protect equipment downstream from damage caused by reverse flow. Commonly used in various industries, check valves play a crucial role in maintaining the efficiency and safety of piping systems. Their operation relies on pressure differences within the system; when the upstream pressure exceeds the downstream pressure, the valve opens to allow flow, and it closes automatically when the pressure reverses or equalizes.
This simple yet effective mechanism ensures a unidirectional flow and minimizes the risk of disruptions or contamination.
What Are the Benefits of Using Check Valves?
There are several benefits to using check valves in piping systems:
- Prevent Backflow: One of the main advantages of a check valve is its ability to prevent backflow. This means that it can stop liquid or gas from flowing in the opposite direction, which can cause contamination or damage to equipment.
- Protect Against Surges: Check valves also help protect against pressure surges within the system. When there is a sudden increase in pressure, such as from a water hammer effect, the valve closes to prevent damage.
- Reduce Energy Consumption: By allowing for unidirectional flow, check valves can help reduce energy consumption and improve overall system efficiency.
- Variety of Types: There are several types of check valves available, each with its own unique benefits and uses. Some common types include swing check valves, ball check valves, and lift check valves.
- Easy Maintenance: Check valves are relatively simple in design and easy to maintain. They require occasional cleaning and inspection to ensure proper function, but they do not have many moving parts that can wear out or break.
What Will You Need?
In order to properly install a check valve, you will need the following materials and tools:
- Check valve of your chosen type
- Appropriate piping connections (flanges, threaded fittings, etc.)
- Pipe wrench or other suitable tool for tightening connections
- Teflon tape or pipe thread sealant (if using threaded connections)
- Pipe cutter or hacksaw (if cutting and modifying existing piping)
- Measuring tape
- Level
- Cleaning supplies (brushes, rags, etc.)
It’s essential to gather all necessary materials before starting the installation to ensure a smooth process.
10 Easy Steps on How Does Check Valve Work
Step 1. Understand the Purpose of the Check Valve
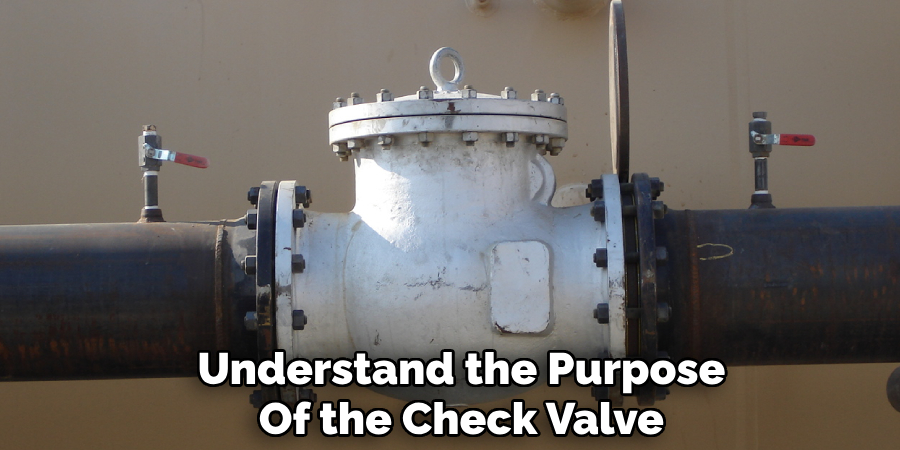
A check valve is a crucial component that allows fluid or gas to flow in one direction while preventing backflow in the opposite direction. Its primary purpose is to protect equipment such as pumps, compressors, and pipelines from potential damage due to reverse flow. Check valves are often installed in systems where maintaining directional flow is essential, such as water systems, fuel lines, and chemical processing systems.
They operate automatically, meaning they do not require external control or activation. By understanding the purpose of a check valve, you can ensure it is appropriately utilized in your system to enhance efficiency and prevent operational malfunctions.
Step 2. Identify the Flow Direction
Correctly identifying the flow direction is a critical step in installing and using a check valve effectively. The flow direction dictates how the valve should be oriented within the system to ensure proper functionality. Most check valves are marked with an arrow or indicator on the body that shows the intended flow direction.
This visual guide simplifies the installation process and minimizes the risk of errors. Misidentifying or reversing the flow direction can lead to malfunctions, including potential blockages or backflow, which may compromise the system’s efficiency or damage other components.
Step 3. Prepare the Piping System
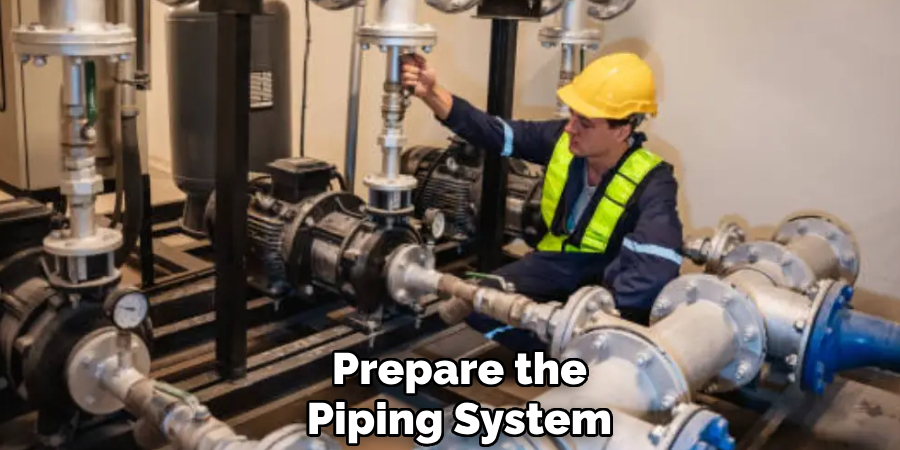
Before installing the check valve, ensure that the piping system is clean and free of debris. Use appropriate tools to remove any dirt, rust, or buildup that could obstruct the valve’s operation. Check the alignment of the pipes to confirm they are straight and properly positioned, preventing undue stress on the valve.
If necessary, cut or adjust the pipes to ensure a secure and leak-free fit. Additionally, inspect the pipe ends for damage or irregularities that might interfere with the sealing surfaces. Proper preparation of the piping system at this stage is essential to ensure a reliable and long-lasting installation.
Step 4. Select the Right Check Valve
Choosing the appropriate check valve for your application is crucial to ensure optimal performance and durability. Begin by considering the specific requirements of your system, such as pressure, temperature, flow rate, and the type of fluid.
Select a valve material that is compatible with the fluid to prevent corrosion and chemical reactions. Additionally, evaluate the type of check valve—such as swing, ball, piston, or diaphragm—based on your system’s operational needs and installation constraints. Ensure the valve’s size matches the pipe diameter to minimize flow resistance and avoid undue pressure drops.
Step 5. Inspect the Valve Before Installation
Inspecting the check valve thoroughly before installation is crucial to prevent potential issues in your system. Begin by examining the valve for any visible defects, such as cracks, deformations, or signs of wear, which may have occurred during manufacturing or transportation.
Check the internal components, such as the disc or sealing mechanism, to ensure they are free of debris or obstructions. Verify that the valve’s material and specifications align with your system requirements, including pressure ratings and temperature compatibility. Additionally, test the valve’s movement, if applicable, to confirm it operates smoothly without resistance.
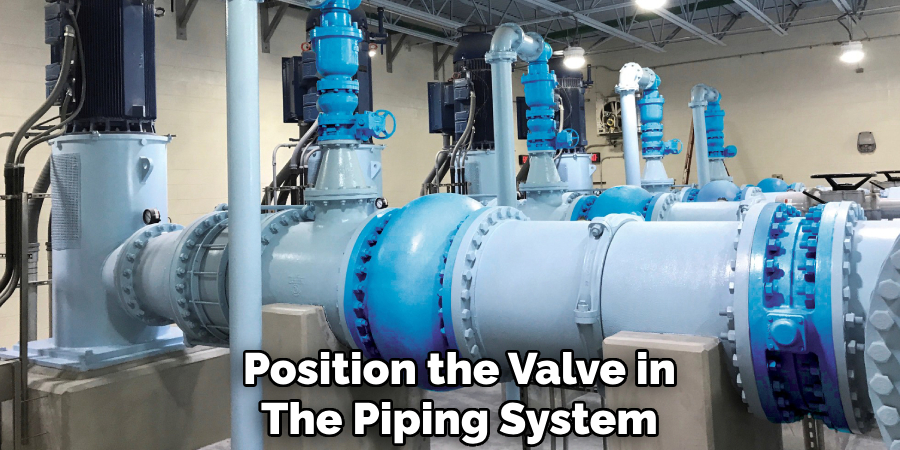
Step 6. Position the Valve in the Piping System
Ensure the valve is correctly aligned with the flow direction as indicated by the markings or arrows on the valve body. Proper alignment is crucial for achieving optimal performance and preventing issues like leaks or reduced efficiency. Use appropriate gaskets, seals, or threaded connections to create a secure and leak-proof joint between the valve and the piping.
When positioning the valve, ensure that there is adequate clearance for operation, maintenance, and inspection. This is especially important for valves with handles, actuators, or other moving components that require space to function. Double-check the valve’s orientation to confirm it will function as intended within the system, especially in applications involving directional flow, pressure regulation, or isolation.
Step 7. Secure the Valve
Using the appropriate tools and fastening hardware, firmly secure the valve to its designated position within the system. For threaded connections, ensure that threads are clean and free of debris before applying an appropriate thread sealant, such as Teflon tape or pipe thread compound, to create a tight and leak-proof seal.
When using flange connections, align the bolt holes correctly and insert the bolts evenly, tightening them in a crisscross pattern to distribute the pressure evenly and prevent distortion of the flange or damage to the gasket.
Step 8. Check for Proper Alignment
Proper alignment is critical for ensuring the efficiency and longevity of the piping system. Misalignment can cause undue stress on the components, leading to potential failures, leaks, or damage over time. To check alignment, start by visually inspecting the system to ensure all components, such as pipes, fittings, and valves, are correctly positioned and in line with the design specifications.
Utilize appropriate tools such as levels, straight edges, and laser alignment devices for more precise measurements. Verify that there is no excessive strain on the connections that could compromise the system’s integrity. If any misalignment is detected, adjust the components carefully, loosening and repositioning them as needed before retightening.
Step 9. Test the System
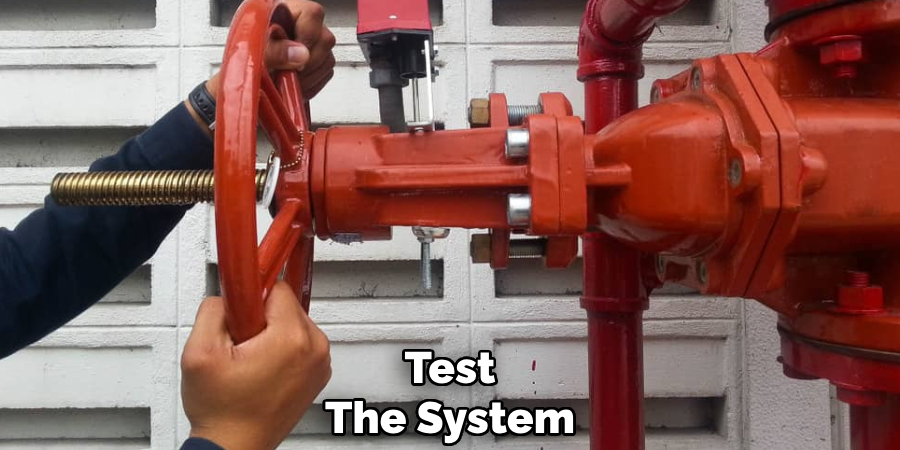
Testing the system is a critical step to ensure that all components are functioning correctly and that there are no leaks or structural issues. Begin by conducting a preliminary visual inspection to confirm that all connections are secure and that there are no apparent signs of damage or misalignment in the system.
Gradually introduce the operating medium, such as water, air, or gas, into the system at low pressure, monitoring for any anomalies, including leaks, unusual noises, or changes in pressure readings.
Step 10. Perform Routine Maintenance
Routine maintenance is a crucial aspect of ensuring a system’s longevity and reliability. Begin by devising a regular maintenance schedule that includes detailed inspections, cleaning, and testing of all system components. Replace worn or damaged parts promptly to avoid failure during operation.
Lubricate moving parts as necessary to prevent wear and reduce friction, which can lead to inefficiencies or breakdowns over time. Keep records of each maintenance task and any observations during inspections to track the system’s performance and identify recurring issues.
By following a comprehensive maintenance plan, you can ensure the system’s longevity and reliable operation.
Conclusion
Check valves are critical components in fluid systems, designed to allow the flow of liquid or gas in one direction while preventing backflow.
They operate automatically, using pressure differentials to open or close the valve. When the upstream pressure is greater than the downstream pressure, the valve opens to enable flow. Conversely, if the pressure reverses, the valve closes to block the backflow. This simple yet effective mechanism makes check valves essential for maintaining system efficiency, preventing damage to equipment, and ensuring proper operation in various applications.
Hopefully, the article on how does check valve work has given you a better understanding of this crucial component in fluid control systems.

