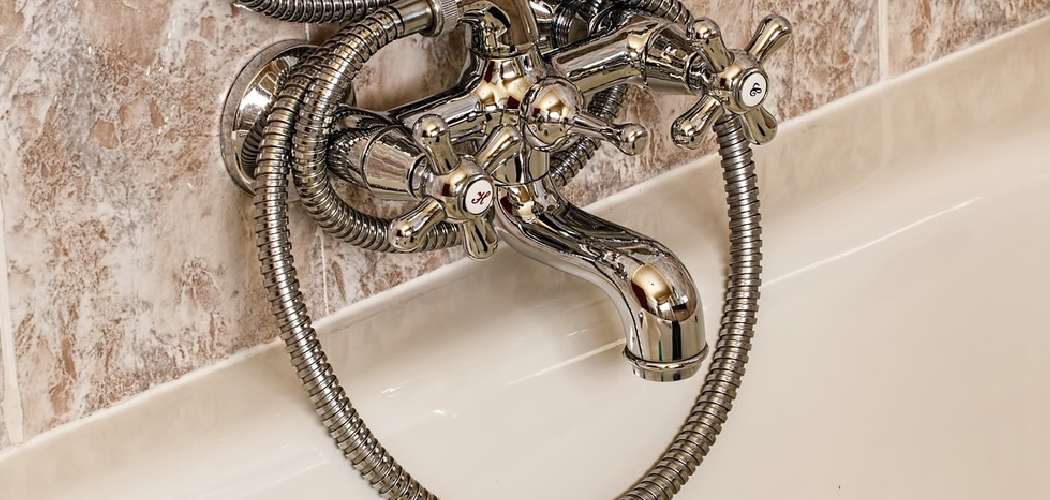
Are you tired of standing in the shower, trying to reach all areas of your body with a stationary shower head? Installing a handheld shower head in your bathtub is an easy and affordable solution.
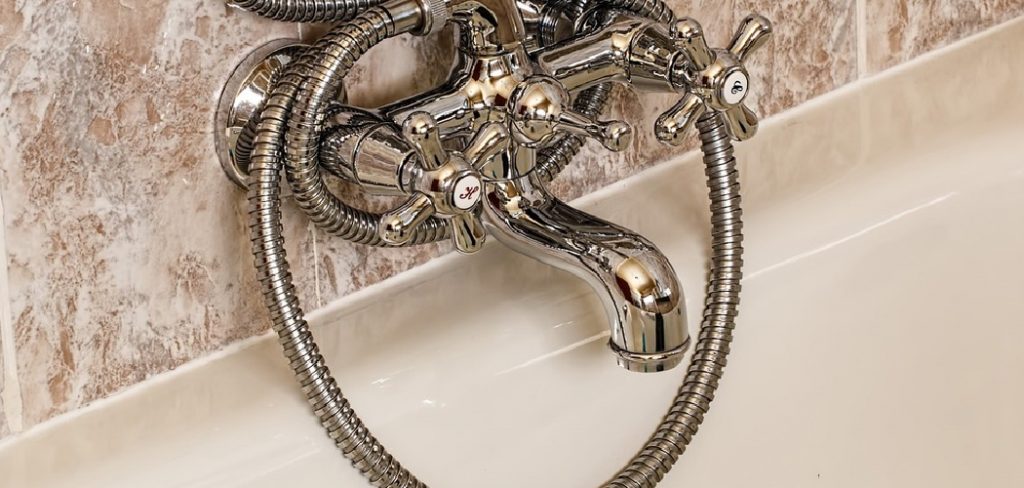
How to add a handheld shower head to a bathtub is a simple and practical upgrade that can enhance your bathing experience. Whether you want to make cleaning easier, improve accessibility, or simply enjoy a more versatile showering option, installing a handheld unit is cost-effective. With just a few tools and a little time, most homeowners, even those with minimal plumbing experience, can complete this DIY project.
This guide will walk you through the steps to successfully add a handheld showerhead to your bathtub, ensuring functionality and convenience without needing professional assistance.
What Are the Benefits of a Handheld Shower Head?
Before we dive into the installation process, it’s essential to understand the benefits of having a handheld showerhead in your bathtub.
- Versatility: One of the significant advantages of a handheld showerhead is its versatility. Unlike stationary shower heads, fixed in one position, handheld units can be moved around and directed at different body areas for more efficient cleaning.
- Accessibility: For those with limited mobility or disabilities, a handheld shower head allows for easier bathing as it can be brought closer to the body without needing to stand directly under the water source.
- Cleaning Made Easier: With a handheld unit, you can quickly rinse off hard-to-reach areas in the bathtub, making cleaning a breeze.
- Water Conservation: Handheld shower heads often come with different spray settings, including low-flow options, which can help conserve water and reduce your utility bill.
- Relaxation: The ability to control water flow and direction with a handheld shower head can provide a more relaxing and spa-like experience in the comfort of your bathroom.
What Will You Need?
- Handheld shower head kit (including the hose, bracket, and handheld unit)
- Adjustable wrench or pliers
- Teflon tape
- Old cloth or towel
Once you have all the necessary materials, you can begin the installation process.
8 Easy Steps on How to Add a Handheld Shower Head to a Bathtub
Step 1: Remove the Existing Shower Head
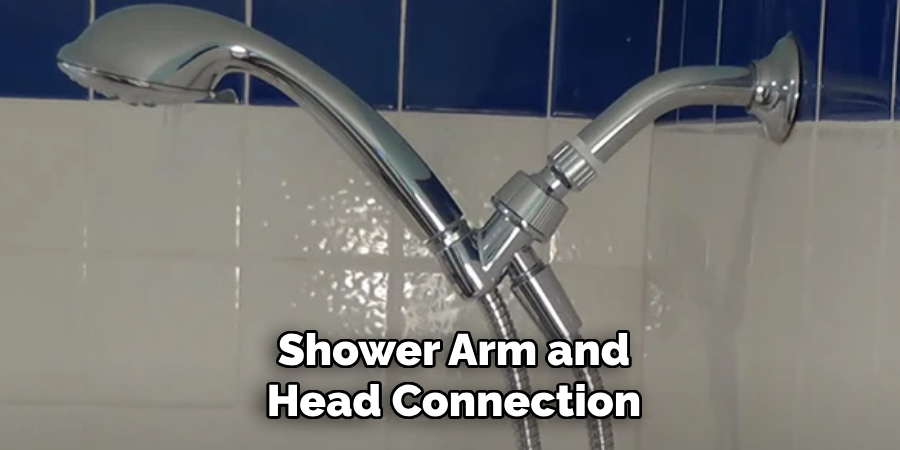
Begin by unscrewing the current shower head from the shower arm. Use an adjustable wrench or pliers if the connection is tight. Wrap the shower arm and head connection with an old cloth or towel before using tools to protect the finish. Turn counterclockwise to loosen and remove the shower head. Once removed, clean the shower arm threads to ensure a smooth installation.
Step 2: Apply Teflon Tape
Wrap Teflon tape around the threads of the shower arm. This helps create a watertight seal and prevents any potential leaks. Make sure to wrap the tape in the same direction as you will screw on the new bracket—typically clockwise. Apply two to three layers of tape, ensuring the threads are completely covered without too much overlapping. Smooth down the tape with your fingers for a secure fit.
Step 3: Attach the Mounting Bracket
Screw the mounting bracket for the handheld shower head onto the shower arm. Turn it clockwise by hand at first to ensure the threads align correctly. Once it is snug, use an adjustable wrench to gently tighten the connection, taking care not to overtighten as this can damage the threads. Ensure the bracket is securely attached and positioned correctly to hold the handheld shower head.
Step 4: Connect the Shower Hose
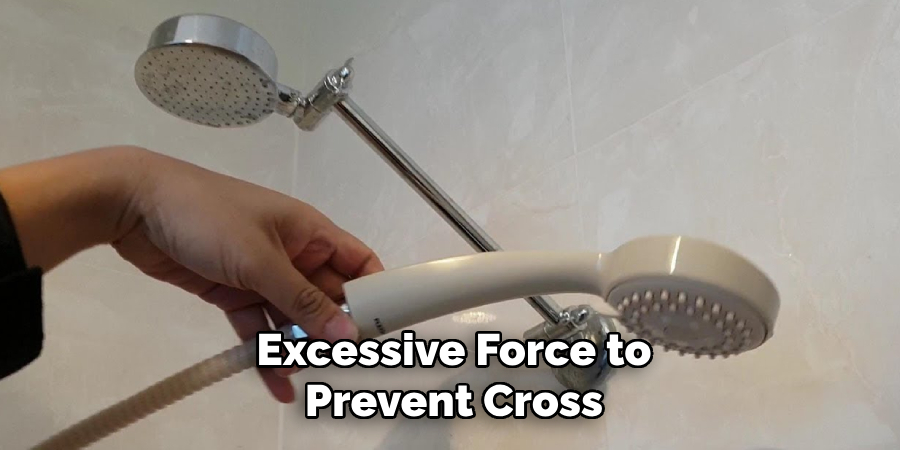
Take the shower hose and identify the two ends—one will typically be marked to connect to the handheld shower head, while the other attaches to the mounting bracket. Begin by attaching the end of the hose designed for the bracket. Screw it onto the designated outlet on the mounting bracket, turning it clockwise by hand. Ensure it is snug, but avoid excessive force to prevent cross-threading or damage to the hose fitting.
Connect the other end to the handheld shower head once the hose is securely attached to the bracket. Again, screw this connection on by hand, making sure the threads align, and the fitting is secure. If either connection feels loose, use a soft cloth over the fittings and an adjustable wrench to gently tighten them, ensuring you do not overtighten and risk damaging the components.
Step 5: Test for Leaks
After attaching the shower hose and handheld shower head, turn on the water to test the connections. Start with a low water flow and gradually increase the pressure while closely observing each connection point. Check for any leaks where the hose connects to the mounting bracket or the handheld shower head. If you notice water dripping or spraying from these areas, turn off the water and gently tighten the fittings with a soft cloth and an adjustable wrench. Be careful not to overtighten, as this could damage the threads or fittings. Once all connections are secure and leak-free, your installation is complete and ready for use.
Step 6: Clean and Maintain Your Shower Head
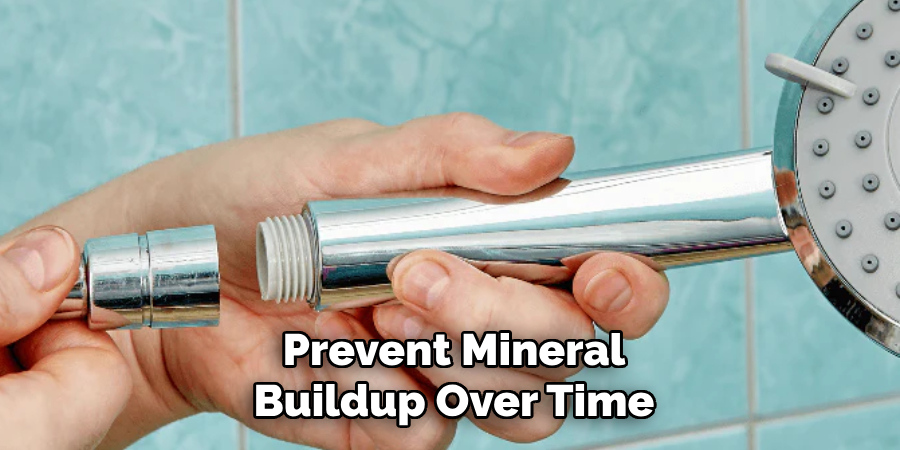
With the installation complete and all connections secure, it’s essential to take steps to maintain your shower head for optimal performance. Wipe the shower head and hose with a soft, damp cloth to remove any fingerprints or residue from the installation process. To prevent mineral buildup over time, clean the shower head regularly by soaking it in equal parts white vinegar and water. This will help ensure even water flow and extend the life of your shower head. Always refer to the manufacturer’s maintenance instructions for the best care practices.
Step 7: Troubleshooting Common Issues
Even with proper installation and maintenance, you might encounter common issues with your shower head. If you notice reduced water pressure, check the shower head for blockages caused by mineral deposits or debris and clean it as described in Step 6. For uneven spray patterns, inspect the nozzles for clogs and gently clean them with a soft brush or toothpick. If you experience leaks at the connections, ensure the fittings are correctly tightened but not overtightened, as excessive force can cause damage. By addressing these minor issues promptly, you can maintain the efficiency and functionality of your shower head.
Step 8: Enhancing Your Shower Experience
To make the most of your shower head, consider additional features or upgrades to enhance your shower experience. Installing a water filter can help remove impurities and soften the water, particularly in areas with hard water. You might also explore adjustable shower heads with multiple spray settings that offer a customizable and relaxing experience. Choose a low-flow shower head for an eco-friendly option to conserve water without sacrificing performance. These enhancements can elevate your daily routine, providing both comfort and functionality.
By following these simple steps, you can easily add a handheld shower head to your bathtub and customize your bathing experience.
5 Things You Should Avoid
1. Skipping the Instructions: One of the most common mistakes is disregarding the manufacturer’s instructions with the handheld shower head. These guides are crucial for understanding the installation steps and ensuring proper functionality.
2. Using the Wrong Tools: Avoid using improper tools or trying to improvise during installation. Using the correct wrench, drill, or tape ensures a secure and efficient setup without damaging the equipment.
3. Neglecting to Check for Leaks: Failing to test for leaks after installation can lead to water damage. Always double-check all connections and seals to ensure they are watertight before regular use.
4. Over-Tightening Connections: While securing connections is essential, over-tightening can cause cracks in fittings or damage to the shower head. Be cautious to achieve a snug fit without exerting too much force.
5. Ignoring Compatibility: Ensure the handheld shower head is compatible with your existing plumbing and bathtub setup. Ignoring this step may result in the need for additional modifications or could even render installation impossible.
How Can You Make It Baby Friendly?
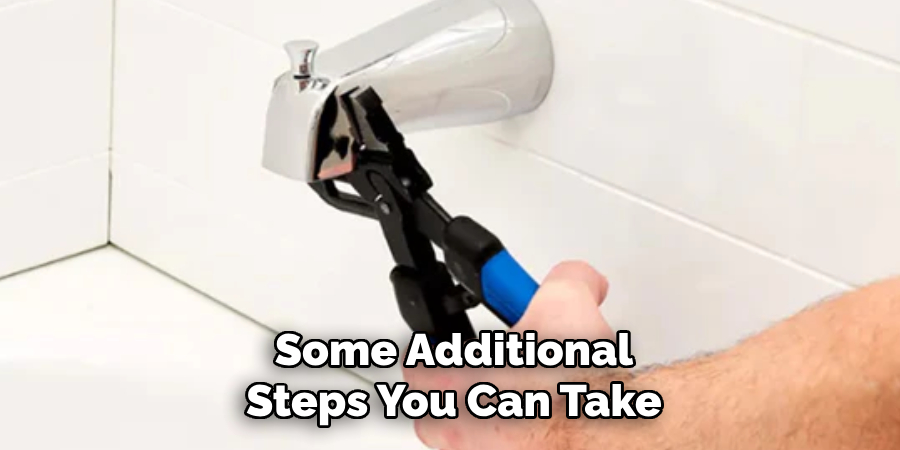
Aside from avoiding these common mistakes, there are some additional steps you can take to make your handheld shower head baby-friendly. Here are a few suggestions:
- Choose a handheld shower head with adjustable water flow and temperature settings. This allows you to customize the water pressure and temperature for your baby’s delicate skin.
- Look for a handheld shower head with a built-in filter, or use a separate attachment. This can help remove harsh chemicals or impurities from the water, making it safer for your baby’s sensitive skin.
- Consider purchasing a handheld shower head with a longer hose length. This gives you more flexibility in positioning your baby during bath time.
- Install an anti-scald device on your shower faucet to prevent accidental burns from hot water. This is especially important with a handheld shower head, as it can be easier for a curious baby to adjust the temperature.
- Use caution when handling the handheld shower head around your baby. Make sure to turn off the water before handing them the shower head and supervise them at all times during bath time.
Conclusion
How to add a handheld shower head to a bathtub is a practical and convenient upgrade, especially for families with young children.
By following the steps and tips outlined above, you can ensure a safe and comfortable bathing experience for your baby. Prioritize safety by choosing a shower head with adjustable settings, using filters to ensure clean water, and installing an anti-scald device. Additionally, a longer hose offers flexibility and convenience, making bath time more manageable.
With proper installation and mindful supervision, a handheld shower head can transform your bathtub into a more versatile and user-friendly space.

