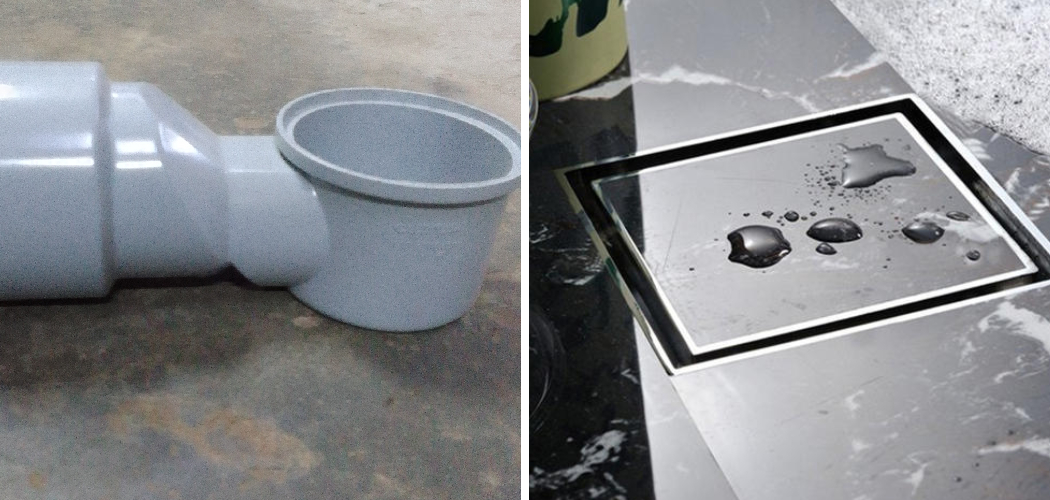
A Nahani Trap, also referred to as a floor trap, is an essential plumbing fixture designed to prevent foul odors, sewer gases, and insects from entering living spaces. Creating a water seal between the drainage system and indoor environments is crucial in maintaining hygiene and comfort in bathrooms, kitchens, and other wet areas. Installing a Nahani Trap is vital for ensuring effective drainage and long-term functionality.
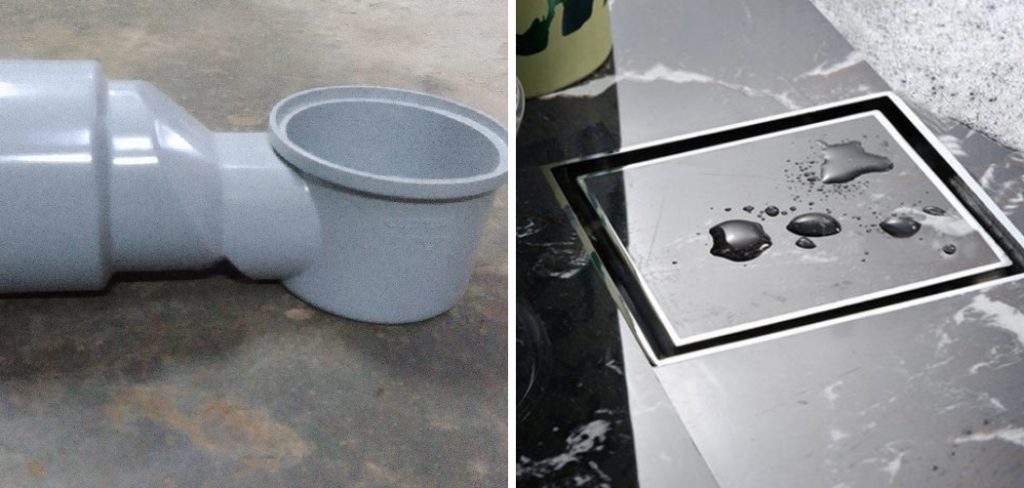
Learning how to add a nani trap involves understanding the step-by-step process, starting with preparation and ending with thorough testing to guarantee efficiency. This guide will outline the necessary tools, detailed installation steps, and best practices for successful installation. Whether you are a professional plumber or a DIY enthusiast, following these instructions will help you achieve proper installation while preventing common issues related to improper alignment or sealing of the trap.
Understanding the Function of a Nahani Trap
How a Nahani Trap Works
A Nahani Trap is designed to serve two essential purposes in a plumbing system. First, it creates a water seal that effectively prevents sewer gases from escaping into indoor spaces, maintaining a healthy and odor-free environment. Second, it collects wastewater from the floor, such as in bathrooms or kitchens, and directs it to the main drainage system efficiently. This dual functionality plays a crucial role in maintaining the hygiene and functionality of your home’s drainage system.
Types of Nahani Traps
There are several types of Nahani Traps available, each designed to meet specific requirements. The standard floor trap is commonly used and provides a basic water seal. Alternatively, a deep seal trap offers a stronger barrier against odor and gases, ideal for locations with higher chances of sewer gas backflow. Traps can also vary based on the number of drain connections; for example, single inlet traps are suited for individual drains, while double inlet traps allow connections from multiple drains to a single outlet.
Why Proper Installation Matters
Proper installation of a Nahani Trap is critical for avoiding long-term drainage issues. A correctly installed trap not only prevents clogs and leaks but also ensures the durability and efficiency of the drainage system. This helps to maintain a clean and safe living environment while reducing the risk of costly repairs in the future.
Tools and Materials Needed
Essential Tools
To properly install a Nahani Trap, you’ll need the following tools:
- Measuring Tape: For accurate measurements of pipe connections and trap placement.
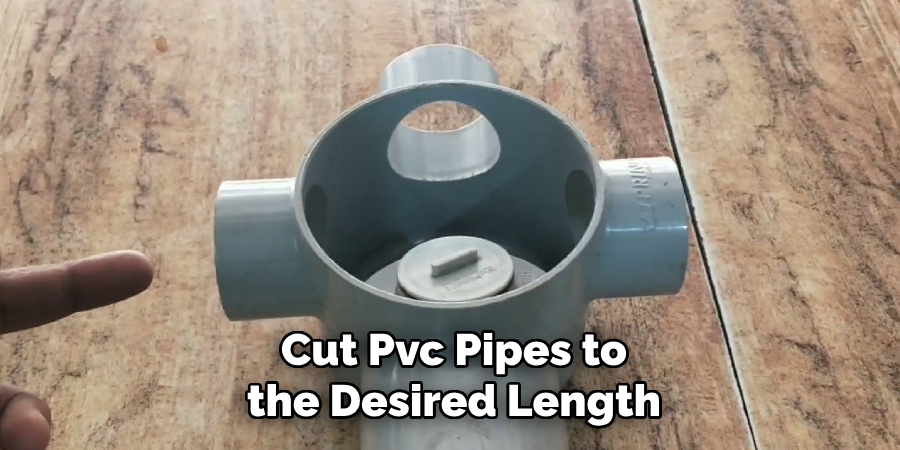
- Hacksaw or Pipe Cutter: To cut PVC pipes to the desired length.
- Wrench and Screwdriver: For tightening fittings and securing connections.
- Bucket and Safety Gloves: To manage leftover water and ensure safety during installation.
- Leveler: To ensure the trap is installed at the correct gradient for optimal drainage.
Materials Required
- Nahani Trap Unit: Choose from PVC or stainless steel based on durability and environmental requirements.
- PVC Pipes: Available in various sizes depending on plumbing system needs.
- Pipe Connectors, Solvent Cement, and Rubber Gaskets: For secure and leak-proof connections.
- Teflon Tape: To provide additional leak prevention around threaded joints.
Choosing the Right Nahani Trap
When selecting a Nahani Trap, consider its compatibility with pipe sizes, which typically range from 3 inches to 4 inches in diameter. Additionally, assess the trap’s water flow capacity and ease of maintenance to ensure long-term efficiency and reliability. Properly chosen tools and materials set the foundation for a successful and hassle-free installation.
Preparing the Installation Area
Locating the Installation Spot
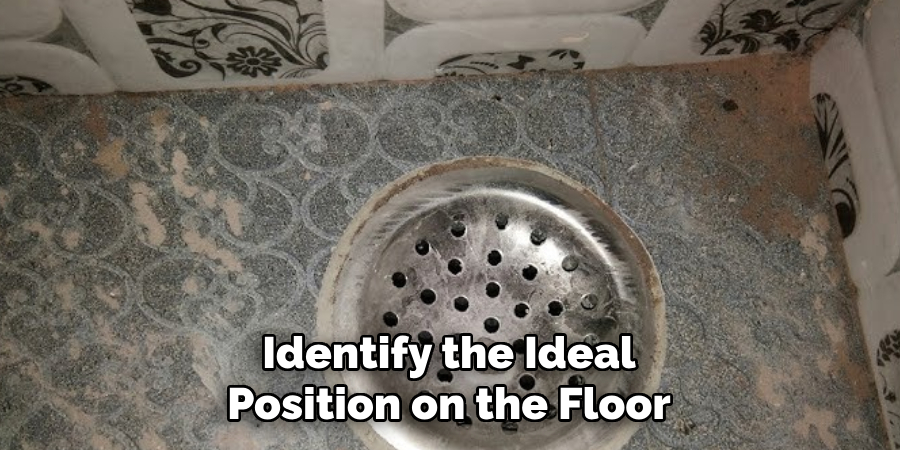
Identify the ideal position on the floor where the Nahani Trap will be installed. The trap should be aligned with the existing plumbing to facilitate efficient water drainage.
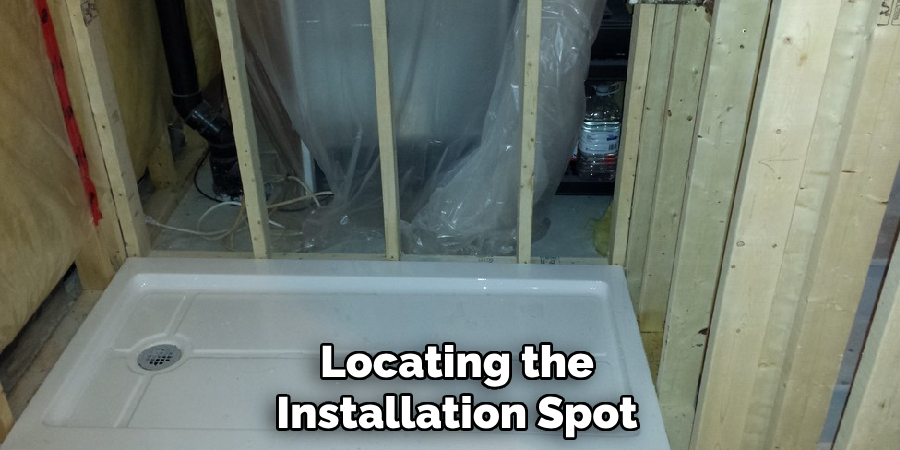
Ensure that the slope of the floor is directed toward the drainage system, allowing smooth water flow and preventing water stagnation. Proper positioning will enhance functionality and minimize the risk of future maintenance issues.
Cutting the Floor Opening
Measure and mark the area where the Nahani Trap will be placed. The opening should match the dimensions of the trap for a secure fit. Carefully use a tile cutter or drill to create the required hole for tiled surfaces, ensuring precision and preventing unnecessary damage to surrounding tiles. Wear protective gloves and goggles for safety during this process.
Checking Existing Drain Connections
Before installing the trap, inspect the nearby drainage pipes to ensure proper alignment with the trap’s inlet. Clean the area of any dust, debris, or residue that could interfere with sealing and connectivity. A smooth, clean surface is crucial for creating a leak-proof seal and ensuring the long-term effectiveness of the installation.
How to Add a Nani Trap: Installing the Nahani Trap
Step 1: Positioning the Trap
Begin by placing the Nahani Trap in the prepared opening. Ensure that the trap sits flush and level with the floor surface. Check that the trap’s height aligns properly with the surrounding floor slope, as this will help facilitate smooth water drainage. Make minor adjustments to achieve the correct height and slope compatibility if necessary. Proper positioning at this stage is critical to ensure the trap functions as intended and prevents water pooling.
Step 2: Connecting to Drain Pipes
Attach the outlet of the Nahani Trap securely to the main drainage pipe. Depending on the type of connection required, use a high-quality solvent cement or a rubber gasket to achieve a strong and leak-proof joint. Apply the chosen sealing material evenly and tightly, ensuring no gaps or loose areas could lead to water leakage over time. Allow the sealant to set as recommended by the manufacturer before proceeding.
Step 3: Securing the Inlets
If the Nahani Trap model includes additional inlets for secondary connections, such as those from a shower or sink drain, connect the additional pipes to the inlets. Ensure that each pipe fits snugly into its respective inlet. Use appropriate sealing methods, like rubber gaskets or cement, to secure these connections. Verify that all connections are tight and properly aligned to prevent future leaks or disconnections.
Step 4: Testing for Leaks
After securing all connections, pour water into the Nahani Trap to test for any leaks. Observe the trap and surrounding areas closely for signs of water escaping. If leaks are detected, identify the source and make appropriate adjustments, such as tightening connections or applying additional sealant. Repeat the testing process until the installation is fully leak-proof. Once confirmed, the trap is ready for use.
Sealing and Finishing the Installation
Step 1: Applying Sealant
To ensure a secure and water-tight fit, apply waterproof cement or epoxy around the edges of the Nahani Trap. This will act as an additional layer of protection against water seepage, particularly in areas where the trap meets the floor. Use a putty knife or similar tool to spread the sealant evenly, ensuring full coverage and a smooth finish. Allow the sealant to cure completely as per the manufacturer’s instructions before proceeding to the next step.
Step 2: Placing the Grating Cover
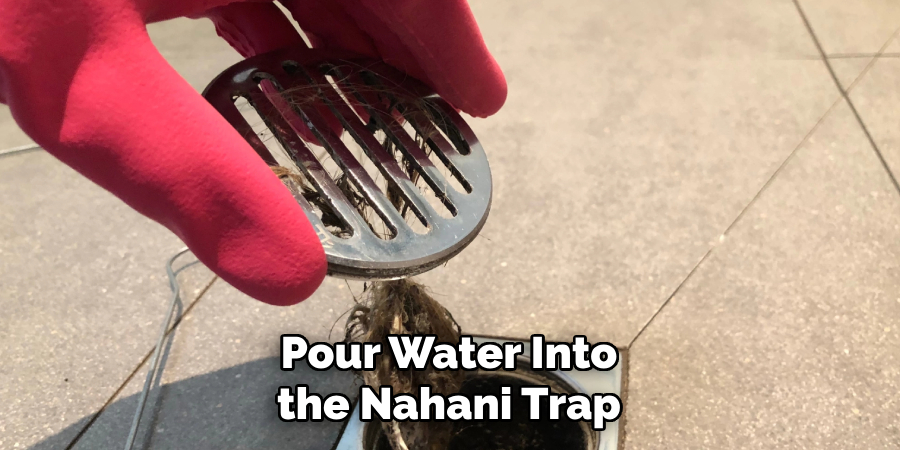
Once the sealant has been set, align the grating cover over the Nahani Trap. These covers are usually made of stainless steel or PVC and are designed to fit flush with the floor surface. Carefully position the grate so that it sits evenly and securely, ensuring there are no gaps that could affect drainage efficiency. Press it gently into place, ensuring it is level with the surrounding floor for aesthetic continuity and functionality.
Step 3: Cleaning Up
Finalize the installation by cleaning up any remaining debris or excess cement around the trap area. Use a damp cloth or sponge to wipe the surface clean, paying attention to not disturb the freshly applied sealant. Run water through the system to check its functionality and confirm that the trap drains appropriately without any leaks or blockages. With these steps complete, the Nahani Trap installation is finished and ready for long-term, effective use.
Common Mistakes and Troubleshooting
Even with careful installation, common mistakes can lead to issues with a Nahani Trap. Here are some troubleshooting tips to help address these problems effectively:
Incorrect Slope of the Drain Pipe
One of the most common mistakes is failing to maintain the correct slope or gradient of the drain pipe. For efficient drainage, the pipe should have a slope of 1-2%, allowing water to flow smoothly without stagnation. An improper slope can lead to pooling or slow drainage.
Leaking Connections

Leakages often occur due to poorly sealed connections. To prevent this, thoroughly check each joint during installation. Use additional Teflon tape or a suitable solvent cement to ensure airtight and watertight seals.
Clogging Issues
During installation, debris or construction materials can accidentally enter the trap, causing clogging. To avoid this, ensure the trap is covered or protected while work is ongoing. Additionally, regularly inspect and clear out any potential blockages.
Slow Drainage
If water drains too slowly, it may be caused by blocked vent pipes or improper trap alignment. Check and clean the vent pipes and verify that the trap is aligned correctly with the drain system to promote unhindered water flow.
By addressing these common issues, you can ensure the Nahani Trap functions efficiently and avoid potential maintenance problems in the future.
Maintenance Tips for Long-Term Efficiency
Proper maintenance of the Nahani Trap is essential to ensure its longevity and optimal performance. Here are some key tips to keep it functioning efficiently over the long term:
Regular Cleaning
Clean the trap regularly by flushing it with hot water to prevent debris buildup. This helps in dislodging any minor blockages and maintaining smooth water flow. Additionally, using mild, non-corrosive drain cleaners occasionally can help dissolve soap scum or organic deposits, keeping the trap in pristine condition.
Preventing Blockages
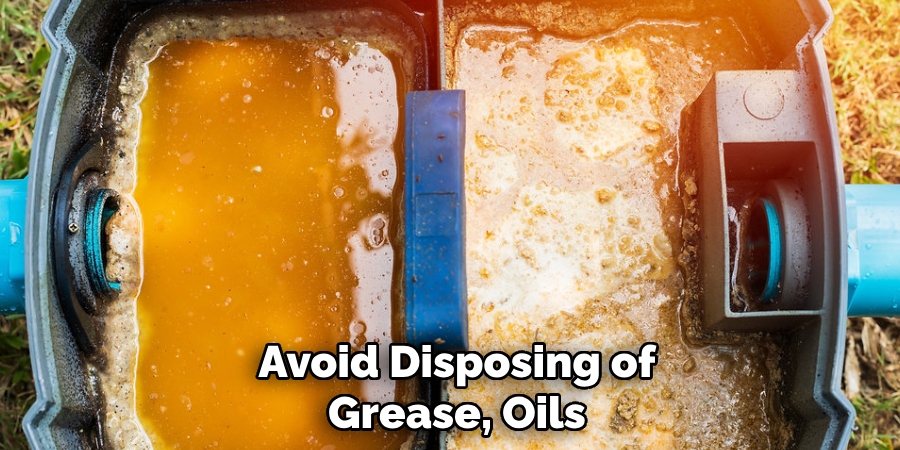
Blockages can be a major issue but are avoidable with a few precautions. Install strainers over the drain opening to catch hair, solid waste, or other materials that might cause clogs. Avoid disposing of grease, oils, or large food particles into the trap, as these can lead to stubborn buildups over time.
Inspecting for Leaks
Periodic inspections of the seals and pipe connections are crucial. Look for any signs of wear or small leaks and address them promptly by reapplying sealant or replacing compromised components. Preventive measures can save considerable time and money on repairs in the future.
By adhering to these maintenance practices, you can ensure that the Nahani Trap remains efficient and hassle-free for years to come.
Conclusion
A properly installed Nahani Trap is vital in preventing unpleasant odors and ensuring smooth drainage in plumbing systems. Homeowners can effectively improve their drainage infrastructure by understanding how to add a nani trap. Key steps in the installation process include thorough preparation of the site, accurate positioning of the trap, secure sealing of connections, and rigorous testing for leaks. Additionally, following proper maintenance practices, such as cleaning and routine inspections, will ensure the Nahani Trap’s long-term efficiency. By adhering to these guidelines, you can enjoy a reliable and odor-free drainage system for years to come.

