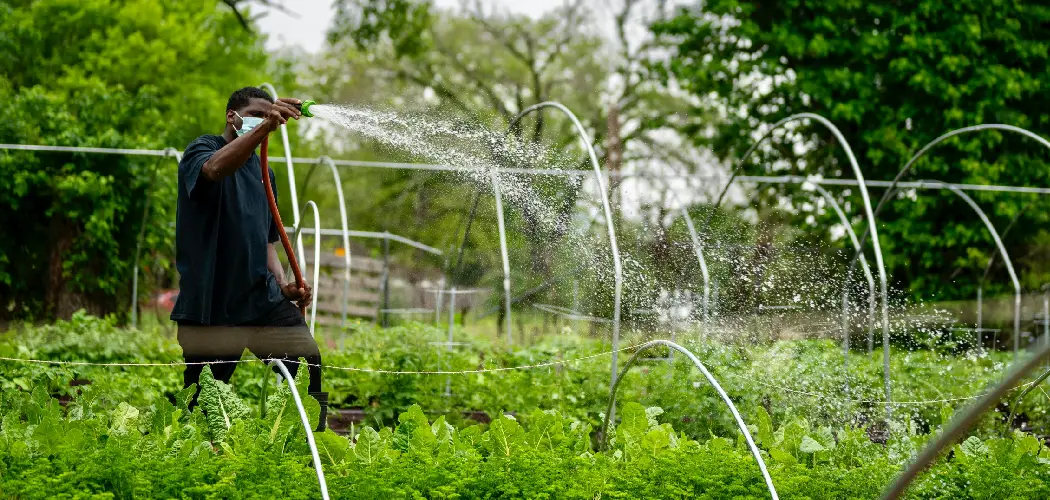
Adding a sprinkler head to your irrigation system is a straightforward process that can significantly enhance your garden’s health and appearance. Properly placed sprinkler heads ensure that every corner of your yard receives adequate water, promoting lush growth while conserving water by preventing over-saturation.
In this guide, we will walk you through how to add a sprinkler head, enabling you to create a reliable and efficient watering solution that keeps your garden thriving.
Importance of a Well-Functioning Sprinkler System
A well-functioning sprinkler system is crucial for maintaining the health and vitality of your garden and landscape. It ensures even water distribution, preventing dry patches and waterlogged areas that can hinder plant growth. Moreover, an efficient sprinkler system saves time and effort, allowing for automated watering schedules that cater to the specific needs of your plants. This not only maximizes water conservation but also promotes sustainable gardening practices.
Additionally, properly functioning sprinklers reduce the risk of disease by keeping moisture levels consistent, further supporting a flourishing outdoor environment. When your sprinkler system operates effectively, it enhances the overall aesthetics of your property while preserving resources, ultimately benefiting both you and your garden.
Types of Sprinkler Heads
Understanding the different types of sprinkler heads is essential for optimizing your irrigation system. Here are the most common types:
1. Fixed Sprinkler Heads
Fixed sprinkler heads, also known as stationary sprinklers, emit water in a specific pattern and are ideal for watering smaller areas. They are often used in flower beds and small lawns where precise watering is needed.
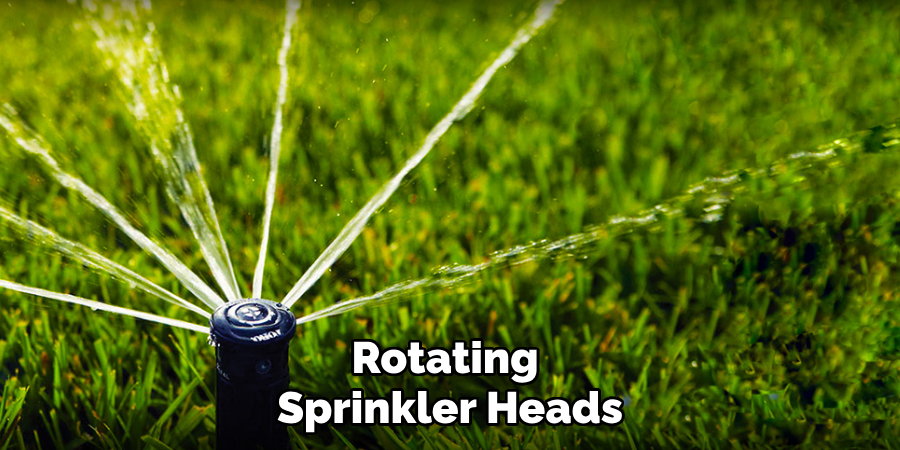
2. Rotating Sprinkler Heads
Rotating sprinkler heads distribute water more evenly over a larger area by rotating in a full or partial circle. They are efficient for larger lawns and gardens, minimizing water waste while providing thorough coverage.
3. Drip Irrigation Heads
Drip irrigation heads deliver water directly to the base of plants through a series of tubes and emitters, allowing for targeted watering that reduces evaporation and runoff. This type is especially beneficial for gardens with delicate plants or in arid climates.
4. Pop-Up Sprinkler Heads
Pop-up sprinkler heads remain flush with the ground when not in use and extend above the surface when activated. This design offers flexibility and convenience, making them ideal for lawns where aesthetics are important.
5. Impact Sprinkler Heads
Impact sprinkler heads are suitable for larger areas, employing a rotating arm to distribute water in a circular pattern. Their durability makes them a popular choice for agricultural use and large residential spaces.
Choosing the right type of sprinkler head for your irrigation system will enhance its efficiency, ensuring that your plants receive the right amount of water while conserving resources.
10 Methods How to Add a Sprinkler Head
1. Identify the Ideal Location for the New Sprinkler Head
The first step in adding a sprinkler head is to determine the best location for it. Take into account the layout of your lawn or garden, the existing sprinkler heads, and any areas that are currently not receiving adequate water. The new sprinkler head should overlap slightly with adjacent sprinklers to avoid dry spots. Measure the distance between existing sprinkler heads and ensure that the new head falls within the same range, taking into account the type of sprinkler head (rotary, fixed, etc.) and its spray radius. Once you’ve chosen the optimal location, mark the spot to guide your installation.
2. Turn Off the Water Supply
Before beginning any installation work, it’s crucial to turn off the water supply to your irrigation system. This prevents water from spraying out when you cut into the irrigation line and ensures a clean, dry workspace. Locate the main shut-off valve for your sprinkler system and close it. Once the water is turned off, wait a few minutes to allow any residual water in the pipes to drain. Turning off the water also reduces the risk of dirt or debris entering the system, which could clog the new sprinkler head or cause other issues down the line.
3. Dig to Expose the Existing Pipe
Next, you’ll need to dig a hole at the marked location to expose the irrigation pipe where the new sprinkler head will be connected. Use a shovel or garden trowel to carefully dig around the marked area. Be cautious as you approach the pipe to avoid damaging it.
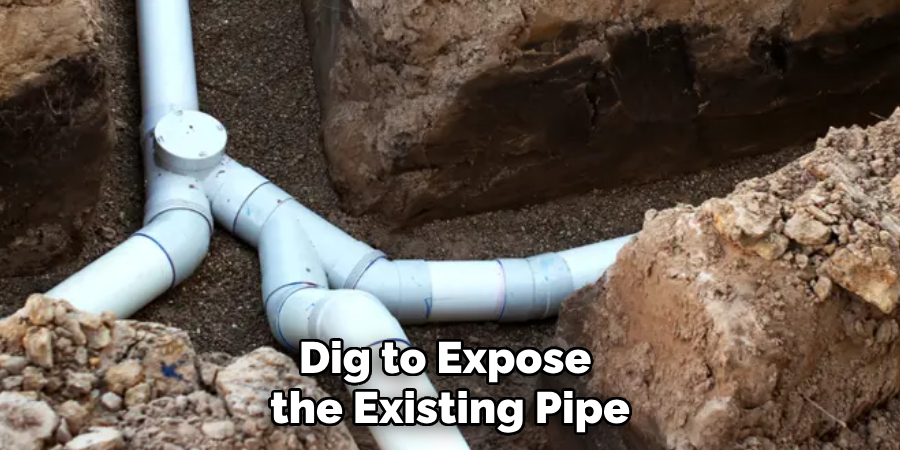
Once the pipe is exposed, clear away any loose dirt or debris around it to create enough working space. It’s a good idea to dig a wide enough hole to give yourself room to maneuver when connecting the new sprinkler head. This will also make it easier to inspect the pipe for any signs of wear or leaks.
4. Cut Into the Irrigation Pipe
With the pipe exposed, the next step is to cut into the irrigation line at the spot where you want to install the new sprinkler head. Use a PVC pipe cutter or a hacksaw to make a clean, straight cut in the pipe. Make sure to cut only as much pipe as needed to fit the new fittings or connectors. Once the cut is made, remove any burrs or sharp edges from the ends of the pipe using a file or sandpaper. Smooth edges will ensure a better fit for the new fittings and help prevent leaks.
5. Install a PVC Tee Fitting
To connect the new sprinkler head, you’ll need to install a PVC tee fitting into the irrigation line. This fitting will allow water to flow through the pipe while also diverting some water to the new sprinkler head. Apply PVC primer and cement to the inside of the tee fitting and the outside of the cut pipe ends. Insert the pipe ends into the tee fitting and hold them in place for a few seconds until the cement sets. Make sure the vertical opening of the tee fitting is aligned with the location where you plan to install the sprinkler head. Allow the cement to dry completely before proceeding to the next step.
6. Attach a Riser to the Tee Fitting
Once the tee fitting is in place, you’ll need to attach a riser to the vertical opening of the tee. The riser is a short piece of pipe that raises the sprinkler head to the appropriate height above ground level. Measure the distance between the tee fitting and the surface of the ground to determine the correct length of the riser. If needed, cut the riser to size using a PVC pipe cutter. Apply PVC primer and cement to the riser and the tee fitting, then attach the riser to the fitting.
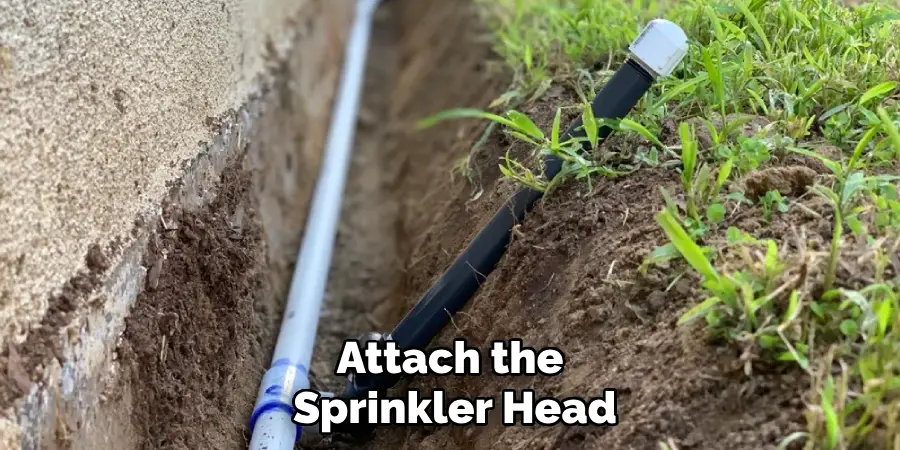
7. Attach the Sprinkler Head
Now it’s time to attach the sprinkler head to the top of the riser. First, check the type of sprinkler head you are installing. There are several types of sprinkler heads, including rotary, spray, and bubbler heads, each suited to different watering needs. Make sure you’ve selected the right type of head for your lawn’s requirements.
Once you’ve chosen the right sprinkler head, screw it onto the riser by hand, making sure it’s tightly secured but not over-tightened, which could damage the threads.
8. Backfill the Hole and Compact the Soil
With the new sprinkler head attached, it’s time to backfill the hole around the pipe and riser. Begin by filling the hole with the soil you removed earlier, packing it down as you go to prevent air pockets. Be careful not to damage the riser or sprinkler head while backfilling. Once the soil is level with the surrounding ground, tamp it down firmly to ensure that the sprinkler head remains stable and doesn’t shift over time. Proper backfilling is essential for preventing the head from becoming uneven, which can affect the spray pattern and overall performance of the sprinkler.
9. Test the System for Leaks and Proper Function
Before you cover everything completely and walk away, it’s important to test the system to ensure that the new sprinkler head is functioning properly and there are no leaks in the connections. Turn the water supply back on and activate the sprinkler system. Watch closely for any signs of leaks around the tee fitting, riser, or sprinkler head. If you notice any leaks, turn off the water and tighten the connections or reapply PVC cement as needed.
10. Adjust the Spray Pattern and Watering Range
After confirming that there are no leaks and the sprinkler head is functioning properly, you can make any necessary adjustments to the spray pattern and watering range. Most modern sprinkler heads have adjustable settings that allow you to control the direction, distance, and shape of the water spray.
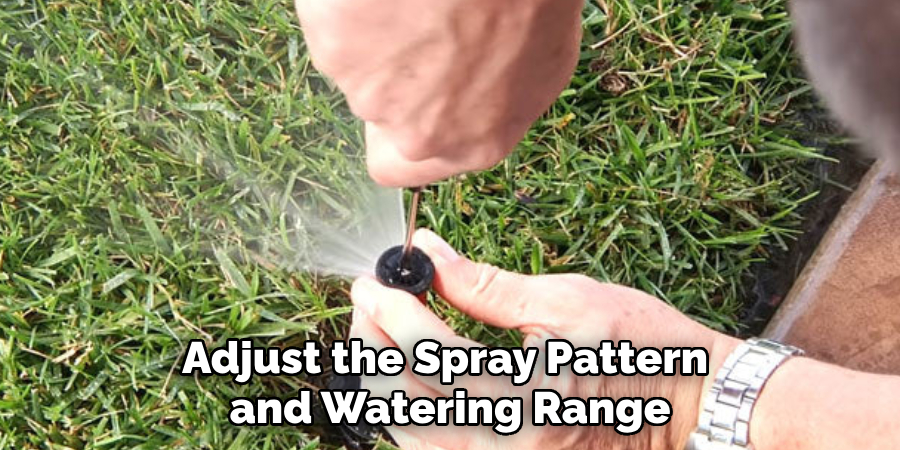
Use the adjustment screws or nozzles on the sprinkler head to fine-tune the coverage area, ensuring that it overlaps with adjacent sprinkler heads for complete coverage.
Conclusion
Installing a new sprinkler head can greatly enhance the efficiency of your irrigation system, ensuring that your lawn and garden receive the right amount of water. By following these straightforward steps, from exposing the existing pipe to adjusting the spray pattern, you can ensure a successful installation. Thanks for reading, and we hope this has given you some inspiration on how to add a sprinkler head!

