Revitalizing your lawn or garden by adding a sprinkler to an existing irrigation line is a practical and rewarding endeavor for homeowners looking to enhance the efficiency of their watering system.
Whether you want to cover additional green space or address specific areas with more precision, integrating a new sprinkler into your current setup is a feasible task with the right guidance. In this insightful guide, we will explore the step-by-step process of how to add a sprinkler to an existing line.
From assessing your current irrigation layout and choosing the appropriate sprinkler type to understanding water pressure requirements and installing the new component, we will provide a comprehensive roadmap for homeowners to follow. Unlock the potential of your irrigation system and achieve a lush, well-nourished landscape by mastering the art of incorporating a sprinkler into your existing water line.
Determine the Perfect Place for Your New Sprinkler
Once you have obtained all the necessary tools and materials, it’s time to think about the perfect location for your new sprinkler. This step is essential as it will determine the effectiveness of your irrigation system.
First, consider the area that needs to be watered. Is it a large lawn or a smaller garden bed? This will help you determine how many sprinklers you will need and their placement.
Next, take a look at the existing irrigation system. Are there any gaps in coverage or areas that are not getting enough water? These are the perfect places to add new sprinklers. Make sure to mark these spots so you can easily find them later on.
It’s also important to consider the terrain of your yard. If there are any slopes or uneven areas, you may need to adjust the placement of your sprinklers to ensure proper coverage. In addition, be mindful of any underground utilities or obstructions that may hinder the installation process.
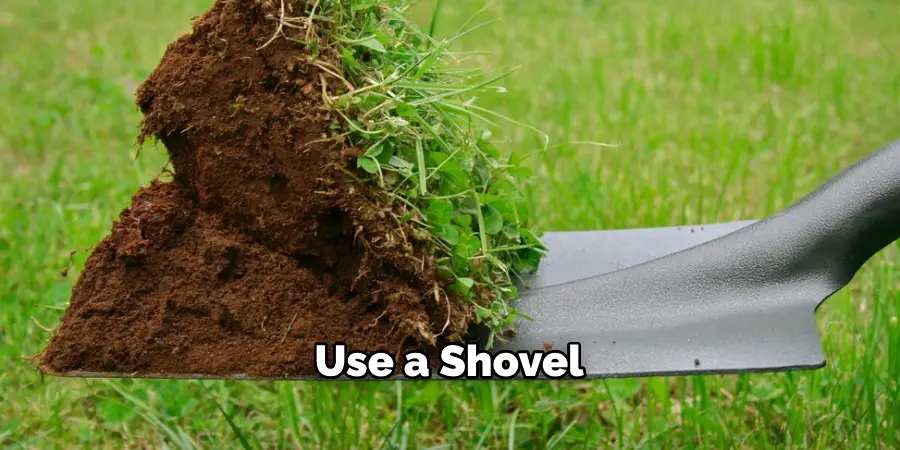
Once you have assessed all these factors, it’s time to start digging. Use a shovel to create holes for your new sprinklers at least 6 inches deep. This will give enough space for the sprinkler heads to pop up and distribute water evenly.
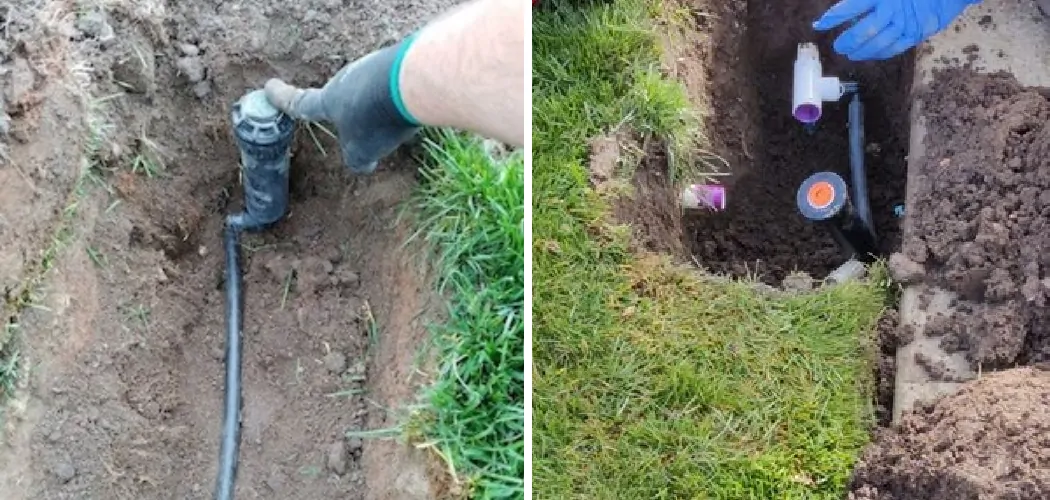
Install a T-joint onto the existing irrigation line at the desired location for your new sprinkler. Make sure it’s securely attached using PVC cement. Then, attach a riser pipe to the T-joint and place the sprinkler head on top.
10 Methods How to Add a Sprinkler to an Existing Line
1. Check Water Pressure
Before adding a sprinkler to an existing line, it is important to check the water pressure of your system. If the pressure is too low, it may not be able to support an additional sprinkler. You can use a pressure gauge to determine the water pressure and make any necessary adjustments before installing the sprinkler.
2. Choose the Right Sprinkler Head
There are different types of sprinkler heads available, such as pop-up, rotary, and impact sprinklers. Consider factors like your yard size, water pressure, and type of soil when choosing a sprinkler head. For example, if you have hard soil or low water pressure, a rotary or impact sprinkler may be more effective.
3. Plan Your Layout
Before digging or making any changes to your existing line, plan out where you want your new sprinkler to go. Consider the shape and size of your yard and how many sprinklers you will need for proper coverage. Use flags or stakes to mark where each sprinkler will go. It’s also helpful to create a diagram of the layout for reference.
4. Dig a Trench
Once you have planned your layout, dig a trench along the existing line where you want to add the new sprinkler. The trench should be wide enough for the pipe and deep enough so that it is level with the existing line.
You can use a trenching shovel or a trenching machine to make the job easier. If you are using a machine, be careful not to damage the existing line or any other underground utilities.
5. Connect Pipes
Using PVC pipes and fittings, connect the new pipe from the main line to where you want your new sprinkler head to be placed. Make sure all connections are secure and leak-free.
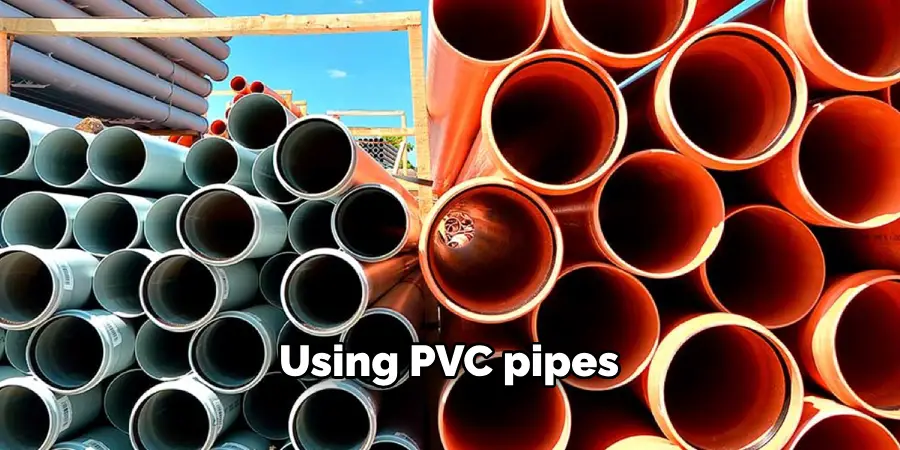
You can use PVC glue to make the connection more durable. While connecting the pipes, make sure you are not creating a significant bend in the pipe. Any sharp bends can restrict water flow and impact the performance of your new sprinkler head.
6. Install Sprinkler Head
With the pipe in place, install the chosen sprinkler head according to manufacturer instructions. This may involve attaching it to a riser or using a stake for above-ground installation.
Fitting the sprinkler head onto the pipe can be done using Teflon tape or a waterproof sealant. Once attached, make sure the sprinkler head is secured and facing the desired direction for proper coverage.
7. Test System
Before covering up the trench and completing installation, test your system by turning on the water supply and checking for any leaks or malfunctions in your new sprinkler. You can also test the system by setting up a temporary sprinkler head to make sure all areas are being adequately watered.
8. Adjust Sprinkler
Once the system is installed and tested, adjust the sprinkler head to ensure proper coverage of your yard. This may involve changing the angle or distance of the spray. Sprinklers can also be adjusted to save water consumption and reduce runoff.
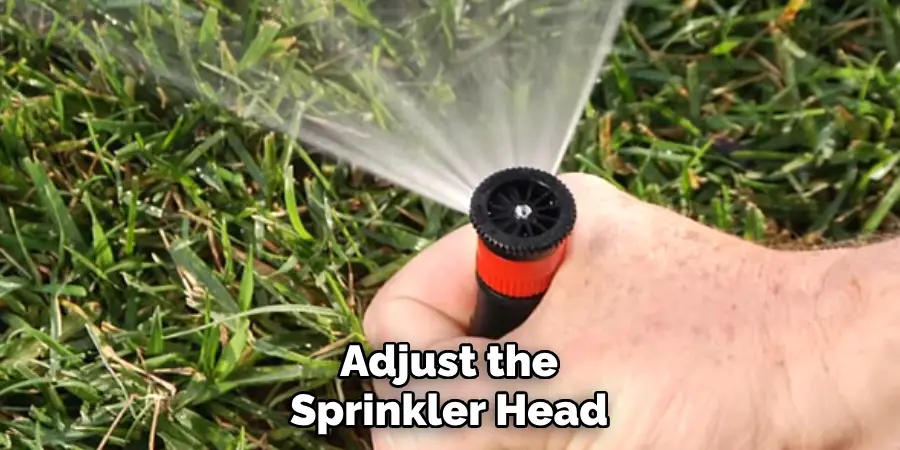
By adjusting the direction of the spray, you can avoid watering sidewalks or driveways. Additionally, by changing the distance of the spray, you can avoid overwatering certain areas or create more even coverage.
9. Cover Trench
After making any necessary adjustments, cover the trench with soil and pack it down to secure the pipes in place. Make sure to leave room for the sprinkler heads to be placed at ground level. Although the pipes can withstand a significant amount of weight, it is important to avoid any heavy machinery or vehicles from driving over them. This could lead to damage and result in costly repairs.
10. Monitor and Maintain
Regularly check your new sprinkler for any issues or malfunctions, and make sure to properly maintain your entire sprinkler system to ensure optimal performance. This may include cleaning or replacing sprinkler heads, adjusting water pressure, and repairing any leaks.
It’s also important to keep an eye on your water bill and make note of any significant changes, as this could indicate a hidden leak in your system. In addition, consider installing a rain sensor to prevent unnecessary watering during periods of rainfall.
Things to Consider When Adding a Sprinkler to an Existing Line
Adding a sprinkler to an existing irrigation line can be a great way to expand your watering capabilities and ensure that your lawn or garden is receiving adequate hydration. However, before you begin the installation process, there are some important factors that you should consider.
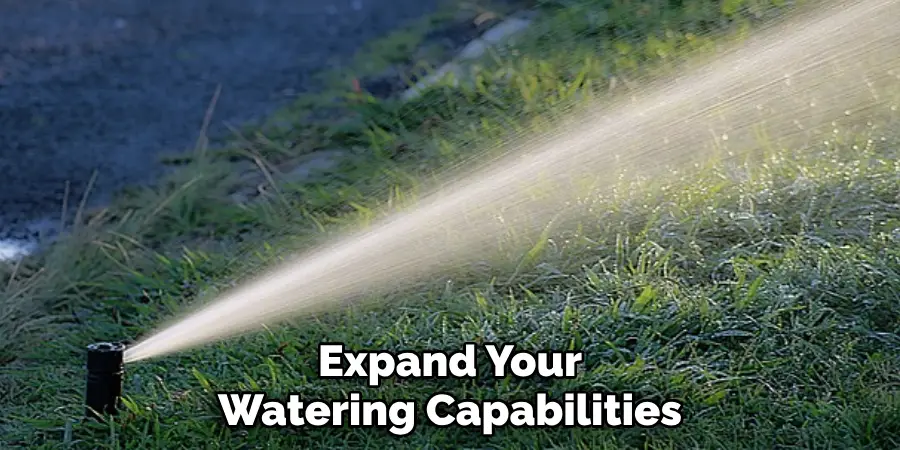
- Water Pressure: The first thing you need to check is the water pressure of your existing line. It is important to make sure that your new sprinkler will receive enough water to operate effectively. If the water pressure is too low, you may need to install a booster pump or consider adding an additional line.
- Zone Capacity: Each irrigation zone has a specific capacity, which is determined by the size and type of pipes used. You need to make sure that your new sprinkler will not exceed the capacity of the existing zone. If it does, you may experience low water pressure or even damage to your pipes.
- Sprinkler Type: There are many types of sprinklers available in the market, each with its own unique features and benefits. Before adding a sprinkler to your existing line, consider which type of sprinkler will work best for your needs. Factors to consider include the size of your lawn, water coverage, and the type of plants or grass you have.
- Location: It is important to carefully choose where you want to add the new sprinkler in your existing line. Consider factors such as plant placement, accessibility, and potential obstacles that may hinder the water flow. You want to ensure that your new sprinkler is strategically placed for optimal watering.
Conclusion
In conclusion, adding a sprinkler to an existing line may seem like a daunting task at first, but with the right knowledge and tools, it can easily be accomplished. By following the steps outlined in this post and taking advantage of helpful tips along the way, you can ensure that your sprinkler system is not only functional but also efficient.
From assessing your water pressure to choosing the right type of sprinkler head, every step is crucial in successfully adding a new sprinkler to your existing line. And remember, if you encounter any difficulties or have questions along the way, don’t hesitate to seek help from a professional.
Hopefully, this article gave you some helpful tips about how to add a sprinkler to an existing line successfully, so now that you have the proper knowledge on how to get the job done, why not give it a try today?

