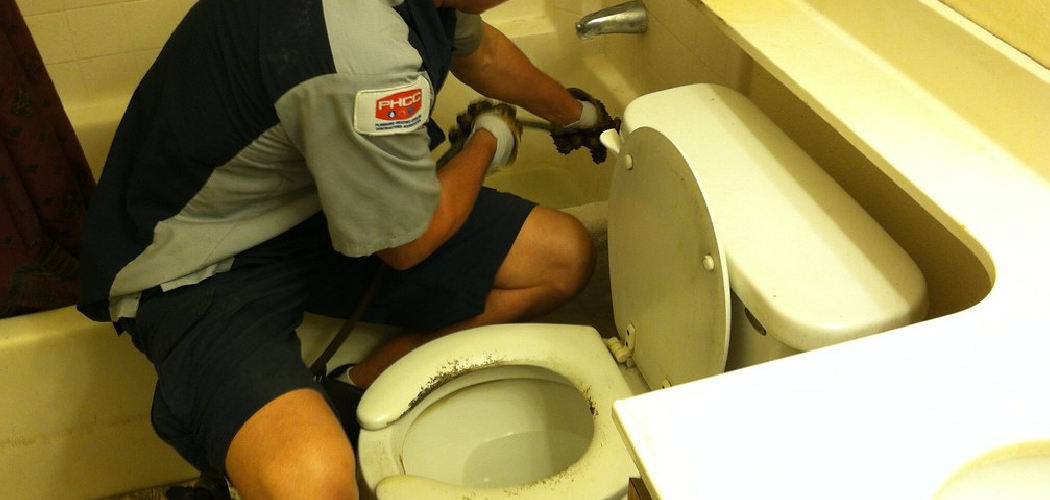
Adding a toilet drain is a crucial step in plumbing that ensures proper waste disposal and prevents unpleasant odors from entering your home. Whether you’re renovating a bathroom or installing a new toilet, understanding the process can save you time, money, and potential plumbing issues.
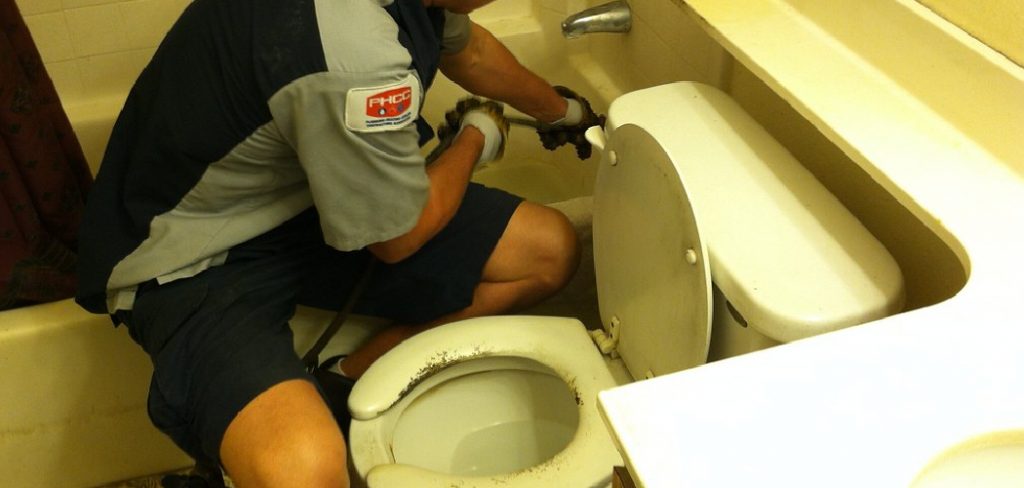
This guide on how to add a toilet drain will walk you through the necessary steps, tools, and tips required to successfully add a toilet drain, making the task approachable even for those with minimal plumbing experience. By following the outlined procedures, you’ll be well-equipped to achieve a functional and efficient toilet installation.
What is a Toilet Drain?
A toilet drain is a vital component of a plumbing system that facilitates the disposal of wastewater from the toilet to the main sewer line or a septic tank. It is typically a large-diameter pipe designed to handle the significant volume of water and waste generated during toilet use.
The toilet drain is connected to the toilet bowl via a flange, which secures the toilet in place and forms a watertight seal. Proper installation and maintenance of the toilet drain are essential to prevent clogs, leaks, and bad odours, ensuring that the toilet functions effectively and hygienically.
Tools and Materials Required
Before beginning the task, it’s essential to gather all the necessary tools and materials to ensure a smooth installation process. Here are some of the basic tools and materials you’ll need:
Tape Measure:
A tape measure will help you accurately determine the distance between the toilet flange and the main sewer line.
Hacksaw:
You’ll use a hacksaw to cut through the existing drain pipe or make adjustments if needed.
Plunger:
A plunger is crucial for removing any excess water from the toilet bowl before installation.
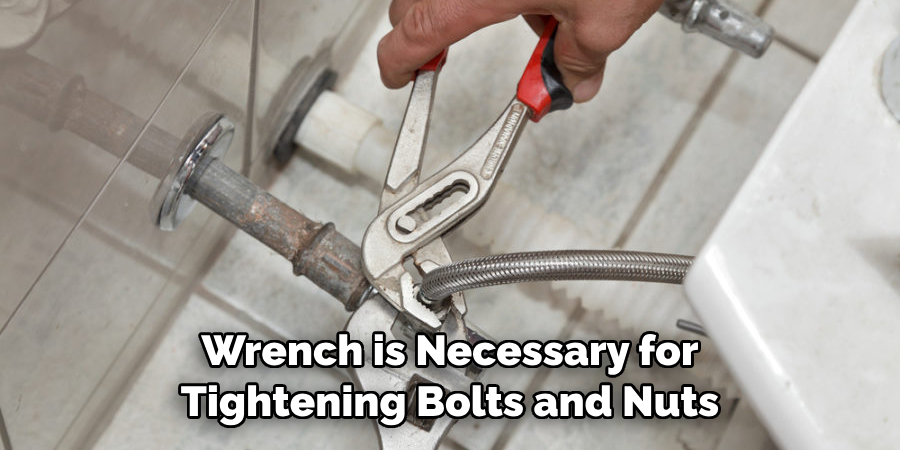
Wrench:
A wrench is necessary for tightening bolts and nuts, such as those used to secure the flange in place. An adjustable wrench would work best in this scenario.
Toilet Auger:
If you encounter any clogs while working on your drainage system, a toilet auger can easily dislodge them without causing damage.
PVC Pipe Cutter:
If your existing drain pipe is made of PVC, a PVC pipe cutter can make cutting and fitting the new pipes much easier.
Flange Extender:
A flange extender may be necessary if the flange sits too low or too high from the floor. It helps adjust the height for a proper seal with the toilet bowl.
8 Step-by-step Guides on How to Add a Toilet Drain
Step 1: Prepare the Area
Before starting the installation process, it’s essential to prepare the area where the toilet drain will be added. Begin by clearing the space of any obstacles, such as furniture or bathroom accessories, to provide ample room for work. Ensure the floor is clean and dry to facilitate the installation process. If you’re working with an existing toilet, you’ll need to remove it first. Turn off the water supply to the toilet and flush it to empty the tank and bowl.
After flushing, use a plunger to remove any remaining water in the toilet bowl. Disconnect the water supply line and unscrew the bolts securing the toilet to the flange. Carefully lift the toilet off the flange and set it aside on a protective surface. This preparation will ensure a safe and efficient workflow as you proceed to install the new toilet drain.
Step 2: Measure and Mark the Flange Location
Once the area is prepared, the next step is to measure and mark the location of the toilet flange. Start by determining the position where the toilet will sit, ensuring it aligns with the drain pipe. Typically, the center of the toilet should be approximately 12 inches from the wall behind it. Use the tape measure to confirm this distance, then make a small pencil mark on the floor to indicate the flange’s center point.
Additionally, check that the location allows enough space for the toilet itself and for any potential plumbing adjustments. Once the position is accurately marked, you can proceed to prepare the space for installing the flange, ensuring it is level and secure for the toilet setup.

Step 3: Install the Flange
With the flange location marked, you can now proceed to install the flange itself. Begin by positioning the flange over the marked center point, ensuring it is level and aligned correctly with the drain pipe. Once in place, secure the flange to the floor using the provided screws, making sure to drill into the subfloor for a stable attachment. If you’re working with a concrete floor, you may need to use concrete anchors or a hammer drill to create the necessary holes.
After securing the flange, double-check that it is flush with the floor and doesn’t wobble. If necessary, use a flange extender to achieve the proper height. Once the flange is installed correctly, you can move on to the next step of connecting the drain pipe, ensuring a solid connection for effective drainage.
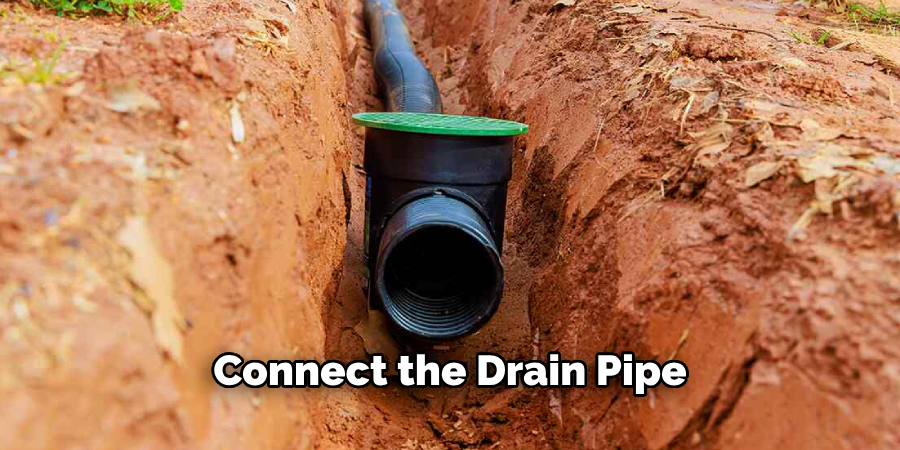
Step 4: Connect the Drain Pipe
With the flange installed, you can now connect the drain pipe to complete the toilet drain setup. Start by measuring and cutting a piece of PVC pipe to fit between the flange and the main sewer line. Use a PVC primer and cement to secure the pipe into place, ensuring that it is aligned correctly with both ends. Allow it to dry for at least an hour before proceeding to test its stability and connection strength by lightly pulling on both ends of the pipe.
If you’re working with an existing drain system, you may need to make some adjustments or connections using couplings or elbows to ensure proper alignment and flow of waste. Once satisfied with the connection, move on to the next step of attaching the toilet bowl.
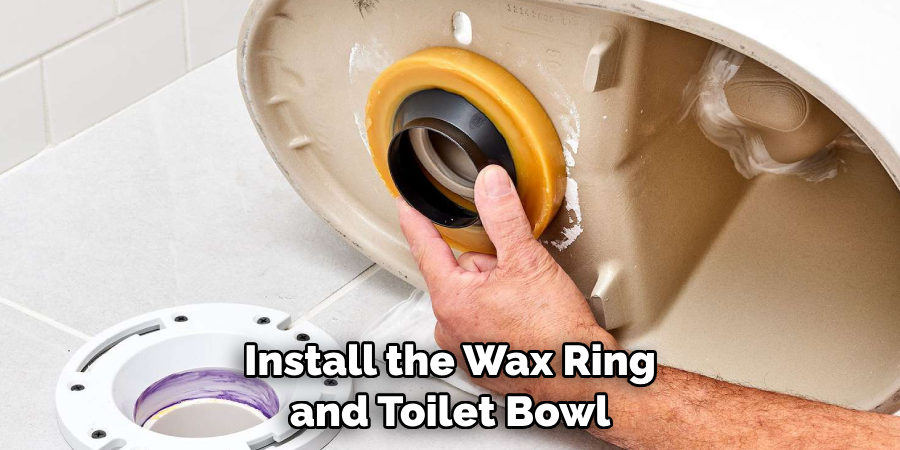
Step 5: Install the Wax Ring and Toilet Bowl
Before installing the toilet bowl, you’ll need to add a wax ring between the flange and the bottom of the bowl. This wax ring provides a watertight seal and helps secure the toilet in place. Begin by removing any debris or old wax from both surfaces before placing the new wax ring over the flange opening.
Next, carefully lower the toilet bowl onto the flange, ensuring it aligns with both bolts at its base. Use your body weight to press down on the bowl firmly while tightening the bolts with a wrench, making sure not to over-tighten them. Once the bowl is securely in place, you can proceed to connect the water supply line and test the toilet’s flush and stability.
Step 6: Install the Tank (If Applicable)
If you’re working with a separate tank, install it following the manufacturer’s instructions before attaching it to the bowl using bolts and rubber gaskets provided. Connect the water supply line to the tank and ensure that there are no leaks by flushing and checking for any excess water around the base of the toilet.
You may also need to adjust the water level in the tank using the fill valve to ensure proper flush power and efficiency. Once satisfied, you can move on to installing the seat and lid onto the bowl.
Step 7: Caulk Around the Toilet Base
To provide a finished look and keep moisture from seeping into any cracks or gaps, it’s essential to caulk around the base of the toilet. Start by applying a thin bead of silicone caulk around the entire base where it meets the floor. Use your finger or a tool to smooth out and even out the caulk for a clean finish. Allow it to dry completely before using the toilet.
It’s also a good idea to check for any potential leaks or drips by flushing the toilet and keeping an eye out for any water seeping through the caulk. If there are any issues, make adjustments as necessary before using the toilet regularly.
Step 8: Clean Up and Dispose of Old Materials
With the installation process complete, it’s essential to clean up and dispose of any old materials properly. This includes disposing of the old wax ring, packaging materials, or potentially old toilet parts if you were replacing an existing one.
Ensure that all tools and equipment are put away safely before using the new toilet. Finally, thoroughly clean your newly installed toilet to remove any dust or debris from the installation process. Congratulations, you have successfully installed a new toilet drain! Enjoy the benefits of a functional and efficient bathroom fixture.
Following these steps on how to add a toilet drain, you can install a toilet drain with ease and have a fully functional bathroom fixture in no time. Remember to always take safety precautions and follow manufacturer instructions for the best results.
You Can Also Check Fix Short Cycling Furnace
Additional Tips and Considerations
- Always follow local plumbing codes and regulations when installing a new toilet drain.
- If you’re unsure about any steps or don’t feel comfortable with DIY plumbing, it’s best to hire a professional for installation.
- It’s recommended to use plumber’s putty or silicone caulk when attaching the tank to the bowl for added stability.
- Remember to turn off the water supply before beginning any installation work.
- If installing on an upper floor, ensure that there are no leaks in the ceiling below after completing the installation.
- Regular maintenance and cleaning of the toilet and its components will ensure its longevity and efficient operation.
- Don’t hesitate to seek guidance or assistance from a hardware store employee or professional plumber if you encounter any difficulties during the installation process.
Conclusion
In conclusion, installing a new toilet drain can seem like a daunting task, but by following the outlined steps on how to add a toilet drain, you can achieve a successful installation. From marking the flange location to securing the toilet bowl and final cleanup, each step plays a vital role in ensuring that your plumbing works effectively.
Remember to adhere to local plumbing codes, prioritize safety, and seek professional help if needed. With your new toilet in place and properly functioning, you’ll enjoy a more efficient bathroom experience for years to come.

