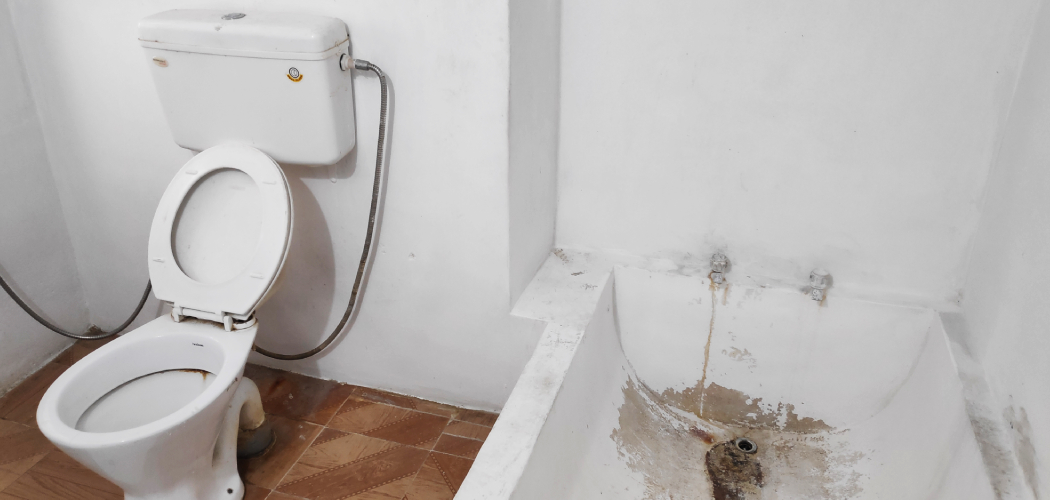
Do you need to add a toilet in your home but don’t know how it fits into existing plumbing? Installing a toilet is not as difficult as you may think and can be done relatively quickly with the right tools and knowledge. Here, we’ll show you step-by-step instructions on how to successfully replace an existing toilet or add a new one within the same space where existing plumbing is present.
We’ll go over all the necessary parts and materials needed, plus important tips for proper installation. So if you’re looking to have a successful addition of another bathroom fixture that won’t affect current infrastructure, read on!
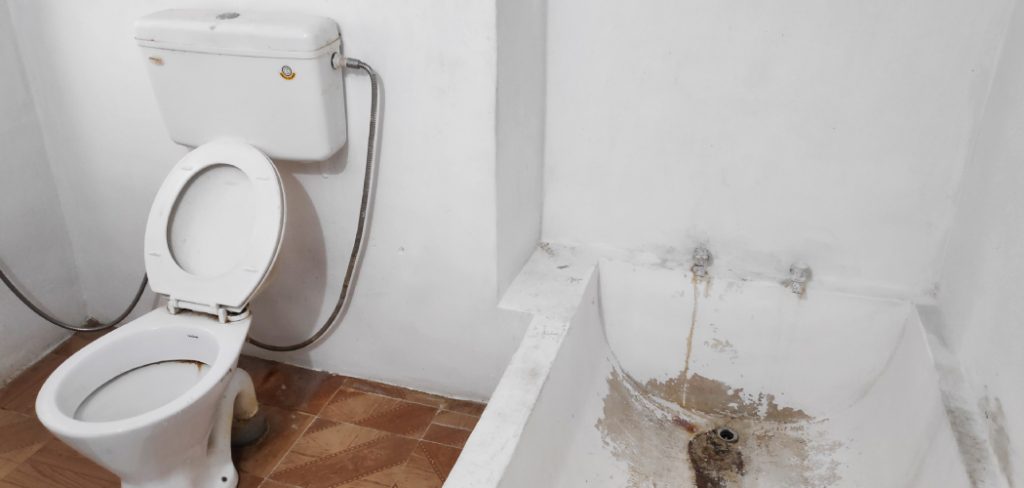
As a homeowner, you may face certain situations that require plumbing work. If installing a new toilet is one of those situations, then you should know the basics of how to add a toilet to existing plumbing.
Adding a new toilet can range from being an easy task to requiring more intricate and involved procedures depending on many factors like the location in your home, existing infrastructure, and potential code compliance that needs to be taken into consideration. In this blog post, we will discuss some essential steps on how to add a toilet to existing plumbing!
Why May You Want to Add a Toilet to the Existing Plumbing?
1. To Prevent Overcrowding
One of the most common reasons for wanting to add a toilet to the existing plumbing is to prevent overcrowding in the bathroom. This can be especially helpful when there are multiple people living in the same home, and it can reduce waiting times for each person’s turn in the bathroom.
2. To Increase Home Value
Adding an extra toilet to your existing plumbing can also increase the value of your home, as prospective buyers will appreciate having more than one toilet in the house. This could potentially give you a better return on investment if you ever decide to sell the house.
3. To Provide Guests with Easier Access
Having an extra toilet may make it easier for guests to access your home, as well as provide them with their own private bathroom to use while they are visiting. This can make it more comfortable for your guests and reduce the chances of any disagreements or conflicts over who gets to use the main bathroom.
4. To Increase Convenience
Having an extra toilet can also be a great way to increase convenience and make it easier for people to access the bathroom when they need to. This can be especially helpful if you have a large family or often entertain guests in your home.
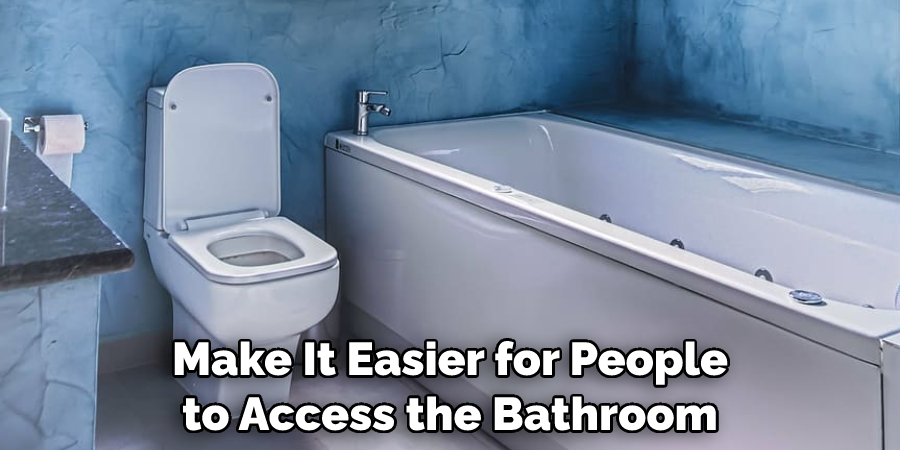
5. To Save Time and Money
Adding a toilet to your existing plumbing can also save you time and money in the long run, as it eliminates the need to install an entirely new plumbing system. This can be especially beneficial if you are on a tight budget or don’t want to invest in an expensive renovation project.
Overall, adding an extra toilet to your existing plumbing is a great idea for many different reasons. It can help to prevent overcrowding, increase home value, provide guests with easier access, increase convenience, and save time and money.
If you are considering adding a toilet to your existing plumbing, be sure to consult a professional plumber for advice on the best way to go about it. They will be able to provide you with the necessary information and guidance to ensure that the project is done properly and safely.
How to Add a Toilet to Existing Plumbing in 5 Easy Steps
Step 1: Gather All the Necessary Supplies
The very first step is to gather all the necessary supplies. This includes a toilet, wax ring, bolts, and washers. You may also need an adjustable wrench if your existing plumbing connections are too tight to remove without one.
Step 2: Turn Off the Water Supply
The next step is to turn off the water supply for the area you will be working in. This is important to avoid any water damage during the installation.
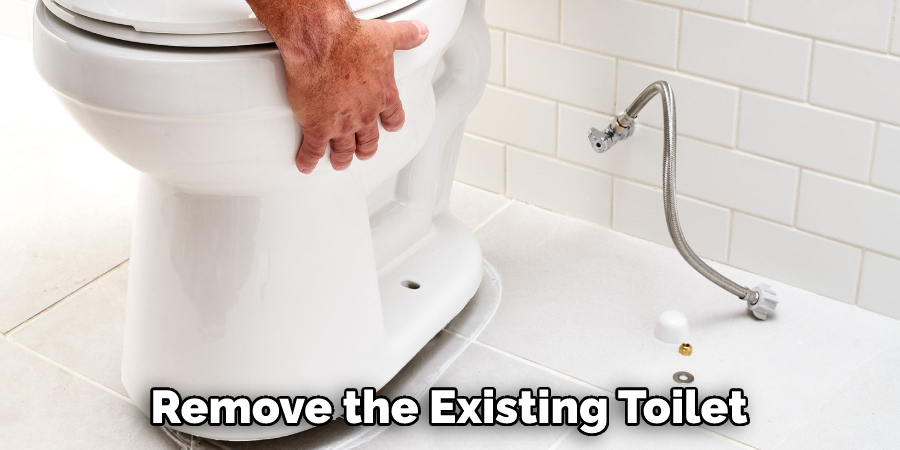
Step 3: Remove the Existing Toilet
Once the water supply has been shut off, you can now remove the existing toilet. Use an adjustable wrench to loosen and remove any existing bolts. Once all of the bolts have been removed, carefully lift up on the toilet and set it aside.
Step 4: Install the New Toilet
Now you can install the new toilet. Place the wax ring onto the flange and then position the base of the toilet onto it, making sure it is level on all sides. Once in place, start tightening down all of the bolts with an adjustable wrench until they are snugly secured.
Step 5: Connect the Toilet to the Plumbing System
Now that the new toilet is installed, you can connect it to the existing plumbing system. Use a wrench to loosen and remove any existing connectors and then attach them to the new toilet. Once everything is connected, turn on the water supply and flush the toilet several times to make sure everything is working properly.
Once the above steps have been completed, you should now have a functioning toilet that has been successfully added to your existing plumbing system. With just a few simple steps and some basic tools, you can easily add a toilet to an existing plumbing system. Good luck and happy plumbing!
Some Additional Tips to Add a Toilet to Existing Plumbing
1. Do Not Make any More Concrete Cuts
After the old toilet is out of the way, it is important to avoid making additional cuts beyond those that are necessary for the new installation. The more concrete cuts you make, the weaker your foundation becomes, and it could create future plumbing issues.
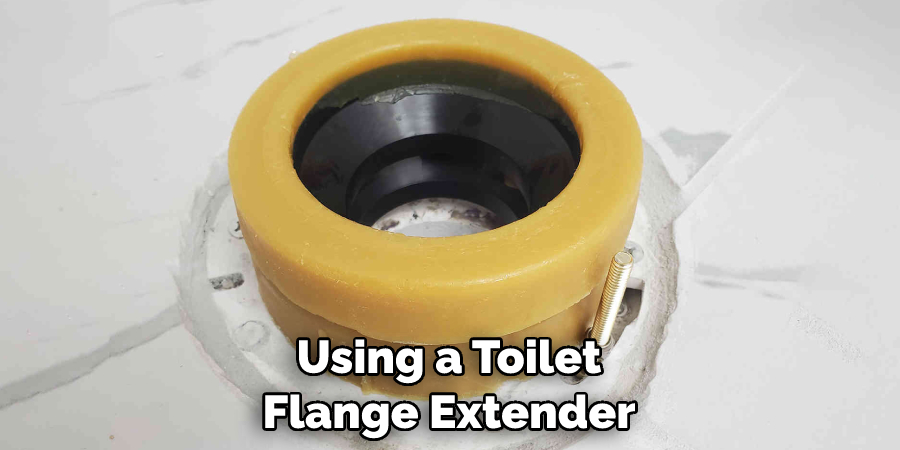
2. Use a Toilet Flange Extender for Existing Pipes
If there is an existing drain pipe that is too low, it can be raised by using a toilet flange extender. This will ensure the drain line connects properly to the new toilet without having to cut and replace the old pipe.
3. Check for Leaks
Once the new toilet has been installed, it’s important to check for leaks and ensure the connection is secure. This should be done before the flooring around it is replaced. If any water is leaking from the connections, tighten them further or call a plumber if necessary.
4. Use a Toilet Wax Ring
For a secure seal between your new toilet and the drain pipe, use a toilet wax ring. This will ensure that there is a tight seal and that no water escapes from the connection.
5. Add a Shut-Off Valve
Another important step in installing a new toilet is to add a shut-off valve. This will allow you to turn off the water supply for the toilet without having to shut off the entire house. This can also be helpful in the event of an emergency or accident.
6. Test the Flush
Once everything is installed and secure, it’s important to test the flush. This will help ensure that the toilet is working correctly and that there are no leaks or other problems before you close up the project.
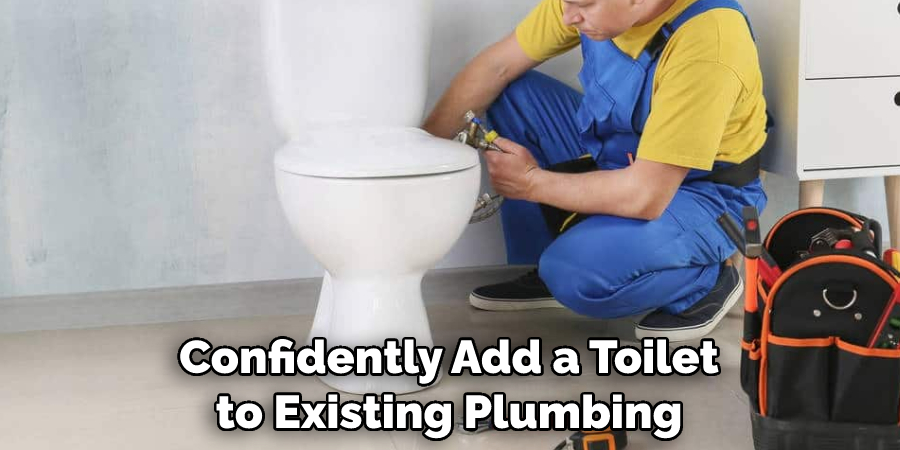
Following these steps will ensure that your new toilet is installed properly and securely connected to existing plumbing. The process may seem intimidating, but with the right supplies, it’s a relatively simple task that can be done by DIYers. With the help of this article, you can now confidently add a toilet to existing plumbing. Good luck!
Frequently Asked Questions
What Precautions Should I Take When Adding a Toilet to Existing Plumbing?
When adding a toilet to existing plumbing, it is important to consider the safety of your home and family. If you are not familiar with plumbing procedures, you should contact an experienced plumber to perform these tasks.
Before beginning any project involving existing pipes or fixtures, be sure to turn off the main water supply to your home. Additionally, it is important to note that toilets must be installed in accordance with all local building codes and regulations.
What Do I Need to Install a Toilet on Existing Plumbing?
In order to install a toilet onto existing plumbing, you will need a few basic tools, including an adjustable wrench, a hacksaw, and a caulk gun. Additionally, you will need the appropriate replacement parts to ensure that your new toilet fits properly with your existing plumbing system. This includes wax rings, bolts, and nuts.
What Steps Do I Need to Take in Order to Install the Toilet?
First and foremost, shut off the water supply to the existing toilet. Then, use an adjustable wrench to disassemble the toilet’s tank from its bowl and remove it from the area. Loosen any bolts or clamps that may be connecting your old toilet to existing pipes and disconnect all tubing lines including water supply and waste outlet lines.
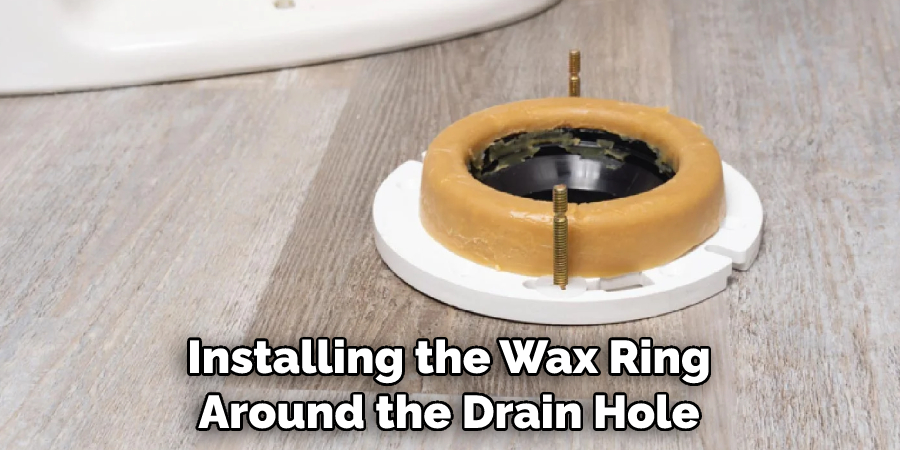
To install a new toilet, begin by installing the wax ring around the drain hole and set the toilet bowl onto it. Secure it with nuts and washers, then attach the water supply line to the new tank. Finally, turn on the main water supply, flush the toilet several times to ensure that it is working properly, and caulk any open gaps in order to prevent leaks.
How Much Does it Cost to Install a Toilet on Existing Plumbing?
The cost of installing a toilet onto existing plumbing will depend largely on the scope of work involved. Generally speaking, it is recommended that homeowners opt for professional help when working with plumbing systems, as this can often save time and money down the line.
Prices may vary depending on location, the type of work being performed, and the amount of labor required. Any additional material costs will also need to be taken into consideration, as these can add up quickly. Depending on all factors involved, homeowners should expect to pay anywhere from a few hundred dollars to several thousand for professional installation services.
Can I Install a Toilet on My Own?
Although it is possible to install a toilet on your own, it is always best practice to hire an experienced plumber who will be able to ensure that the work is completed correctly. If you are unfamiliar with plumbing procedures, it is highly recommended that you do not attempt this task as there is potential for costly damage.
Professional installation is always the safest option and will help to ensure that your new toilet is installed correctly and securely. Ultimately, it is important to consider all factors when deciding whether or not to install a toilet on existing plumbing.
It is important to note that while replacing a toilet on existing plumbing can be done as a DIY project, it is not recommended for inexperienced homeowners. Take the time to research all aspects of the process and contact an experienced professional if you are unsure about how to proceed. Doing so will help to ensure that the job is done safely, properly, and with minimal disruption or costly mistakes.

Conclusion
To sum up, adding a toilet to existing plumbing is a project that is within the range of skill for most DIYers. It is important to consult local codes and regulations in advance and factor in the cost of any necessary permits or supplies.
Additionally, always make sure to take measurements carefully and purchase materials from a reliable source. With the help of these tips and some research, you can perform this task yourself successfully. After following this guide, you’ll soon be able to enjoy all the benefits of adding an extra toilet to your home!
We hope this guide on how to add a toilet to existing plumbing has been useful to you. Now that you know the steps, it’s time to get started! Good luck and happy renovating! Also, don’t forget to check out our other resources on plumbing and toilet installation. If you have any questions or comments, please don’t hesitate to reach out. We are always here to help! Good luck and happy renovating!

