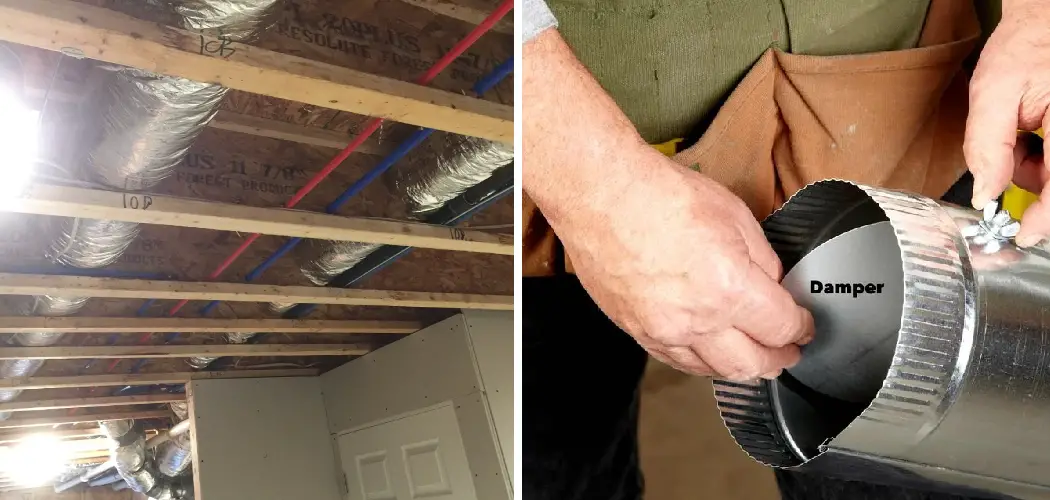
Are you planning to upgrade your home’s heating system? Or you may need to add ductwork to an existing furnace to improve its efficiency. Whatever the reason may be, adding ductwork to an existing furnace is not as complicated as it may seem.
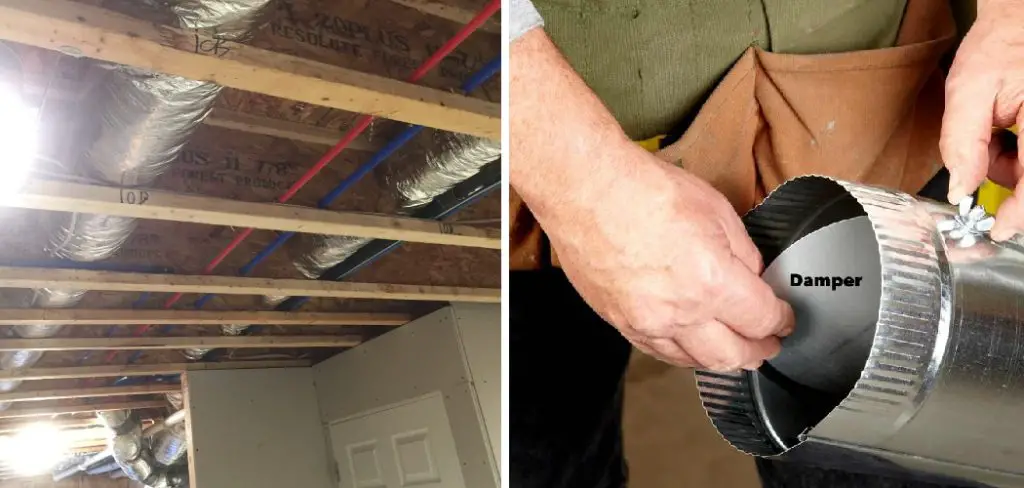
Adding ductwork to an existing furnace can be a daunting task for homeowners looking to improve their heating system’s efficiency or extend its reach to new areas of their homes. This project requires a careful assessment of the current system, understanding the specific requirements for expanding its capacity and ensuring compatibility with the existing furnace.
In this guide, we will walk you through the steps of how to add ductwork to existing furnace. Whether you’re looking to enhance comfort in your home or adapt your heating system to new renovations, understanding how to correctly install additional ductwork is essential for achieving optimal performance from your furnace.
What are the Benefits of Adding Ductwork to Your Existing Furnace?
Before we dive into the technical aspects of how to add ductwork to the existing furnace, let’s first discuss why it’s a beneficial upgrade for your home.
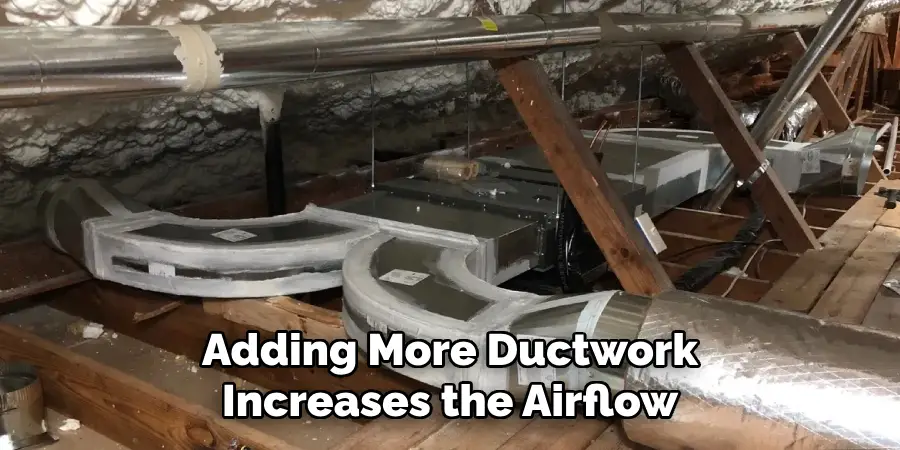
- Improved Efficiency: Adding more ductwork increases the airflow and circulation throughout your home, allowing for better distribution of warm air from your furnace. This results in a more efficient heating system that can save you on energy costs.
- Enhanced Comfort: Adding ductwork to new areas of your home can help eliminate cold spots and ensure consistent temperatures throughout. This means no more chilly bedrooms or stuffy living rooms.
- Adaptability: With additional ductwork, you have the flexibility to customize your heating system according to your specific needs. Whether it’s a new addition to your home or a basement renovation, adding ductwork allows you to easily extend the reach of your furnace.
- Increase Home Value: Upgrading your heating system by adding ductwork can increase the value of your home. Potential buyers will appreciate an efficient and well-designed heating system, making it a worthwhile investment.
Now that we’ve established the benefits of adding ductwork to an existing furnace let’s move on to the steps you need to follow for a successful installation.
What Will You Need?
To add ductwork to your existing furnace, you will need the following materials and tools:
- New ductwork (ducts, fittings, register boxes)
- Appropriate HVAC tape or mastic sealant
- Hangers and supports for the new ductwork
- Sheet metal shears or a circular saw with a metal blade
- Screwdriver or drill with appropriate
10 Easy Steps on How to Add Ductwork to Existing Furnace
Step 1: Assess Your Current System
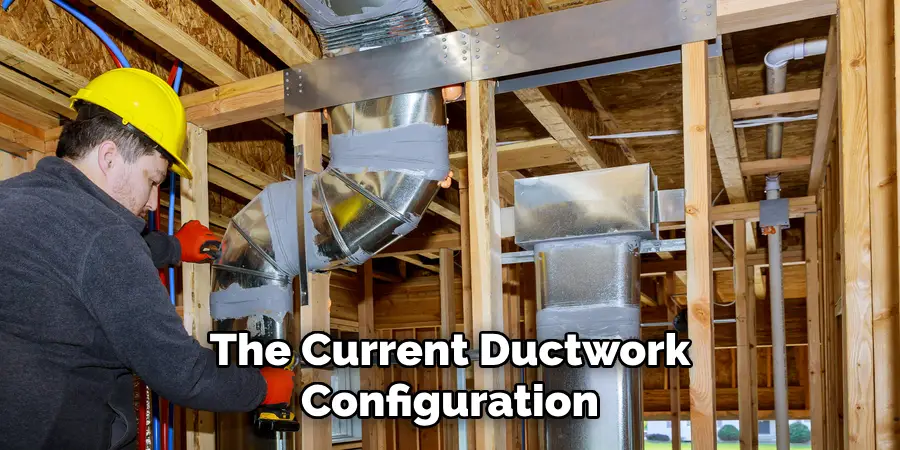
The first step in adding ductwork is to assess your current heating system. You’ll need to determine the type and size of your existing furnace, its location, and the current ductwork configuration. This will help you plan for the additional ductwork and ensure compatibility with your furnace.
Step 2: Plan Your Ductwork Route
Planning the route for your new ductwork is crucial to ensuring efficient airflow and minimizing disruptions in your home. Consider the most direct path to the areas where you need additional heating while keeping in mind your home’s architectural structure and potential obstacles like plumbing, electrical wiring, and structural beams.
It’s advisable to sketch out a detailed plan of your home’s layout and mark the proposed path of the ductwork to help visualize the project and identify any potential issues before beginning the installation process.
This planning phase is also the perfect time to decide on the sizes and types of ducts you’ll need based on the volume of air your furnace produces and the distance it needs to travel to warm up the new spaces efficiently.
Step 3: Purchase the Necessary Materials
After planning your ductwork route, the next step involves purchasing all necessary materials for the project. Based on your assessment and planning, make a list of ducts, fittings, register boxes, and any other components required.
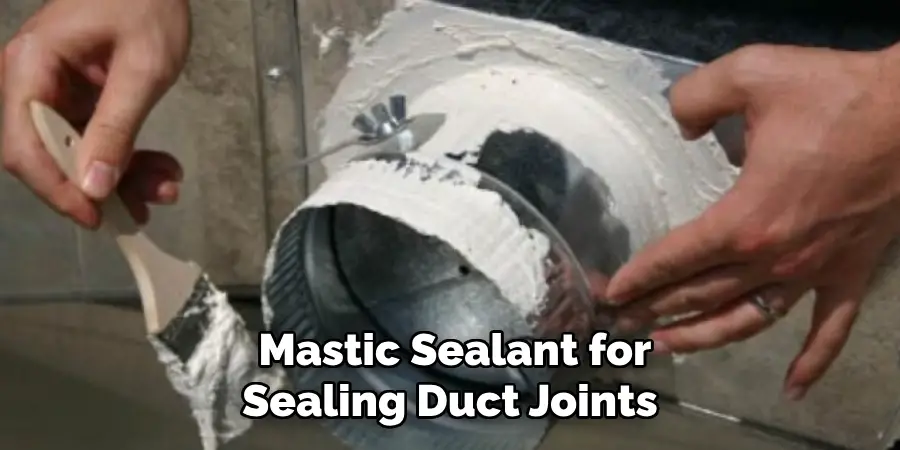
Remember to include HVAC tape or mastic sealant for sealing duct joints and seams, as well as hangers and supports to adequately secure the ductwork. Choosing the right materials is crucial for a successful installation, so consider consulting with a professional or a knowledgeable salesperson at your local hardware store to ensure you’re getting suitable supplies for your specific furnace and home layout.
Step 4: Prepare the Area
Before starting the installation process, preparing the area where the new ductwork will be added is important. This may involve moving furniture, lifting floorboards, or cutting into walls or ceilings, depending on your home’s construction and the planned route of the ductwork.
Ensure that the workspace is clear and accessible, and protect surrounding areas to prevent damage from dust or debris. Safety should be your top priority during this phase, so wear appropriate protective gear, such as gloves and safety glasses. Preparing the area thoroughly can help streamline the installation process and minimize potential disruptions to your home.
Step 5: Cut and Install New Ductwork
With the area prepared, begin by cutting the ductwork to the necessary lengths using sheet metal shears or a circular saw with a metal cutting blade. Follow your planned route, carefully attaching the duct sections together. Use HVAC tape or mastic sealant to securely join the duct sections, ensuring no air leaks.
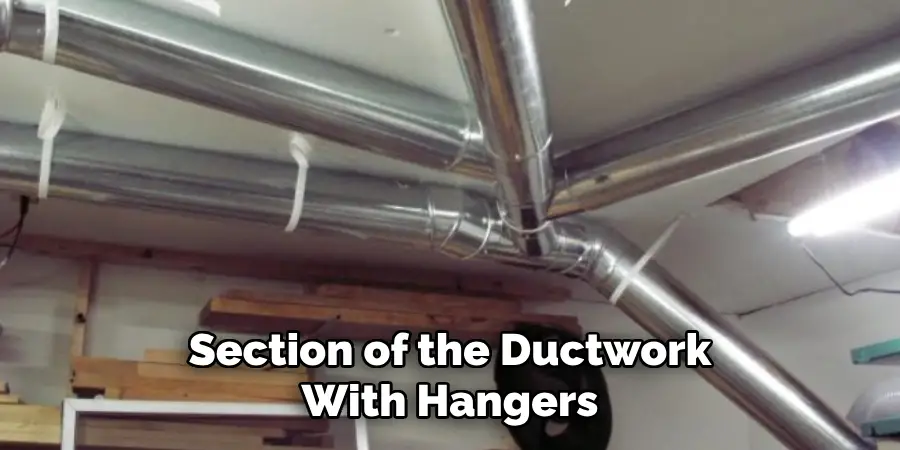
Support each section of the ductwork with hangers or supports to prevent sagging and ensure a stable installation. Remember to install register boxes at the end of duct runs where the air will enter the room, making sure they’re securely fastened and sealed. This step requires precision and patience to ensure that the ductwork is installed correctly and efficiently for optimal airflow and heating efficiency.
Step 6: Connect the Ductwork to the Furnace
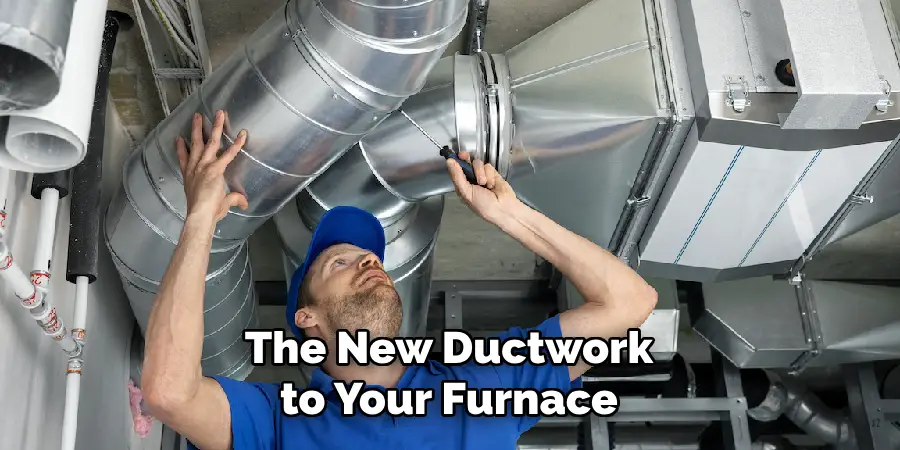
Once all new ductwork sections are properly installed and secured, the next step is to connect them to your existing furnace. Begin by determining the best point of connection on your furnace—this could be an existing duct or directly on the furnace itself, depending on its design and your heating requirements.
Carefully cut an opening in the furnace plenum if necessary, ensuring it matches the size of your new ductwork. Attach the new ductwork to the furnace using HVAC tape or mastic sealant, and secure it with screws or other fasteners as required. This connection must be airtight to prevent any loss of efficiency in your heating system.
Step 7: Test for Air Leaks
After connecting the new ductwork to your furnace, the next crucial step is to test the entire system for air leaks. Turn on your furnace and allow it to run for a few minutes. Then, carefully inspect each joint and seam in the newly installed ductwork, using your hand or a smoke pencil to detect air movement that indicates a leak.
Pay special attention to the areas around the register boxes and the connection point to the furnace. If you find any leaks, use HVAC tape or mastic sealant to seal them properly. Testing and sealing any leaks ensures that your heating system operates efficiently, delivering warm air effectively to every part of your home without wasting energy.
Step 8: Install the Registers
Once you have ensured that all connections are airtight and there are no air leaks in the new ductwork, proceed to install the registers over the register boxes. Registers are vital for controlling the flow of air into the rooms, and they also serve an aesthetic function, blending the ductwork into your home’s interior design.
Select registers that match the décor of your home and ensure they fit snugly into the register boxes. Secure them in place, making sure they can be easily opened or closed for airflow adjustment. Proper installation of the registers improves the efficiency of your heating system and enhances the overall comfort level in your home.
Step 9: Insulate the Ductwork
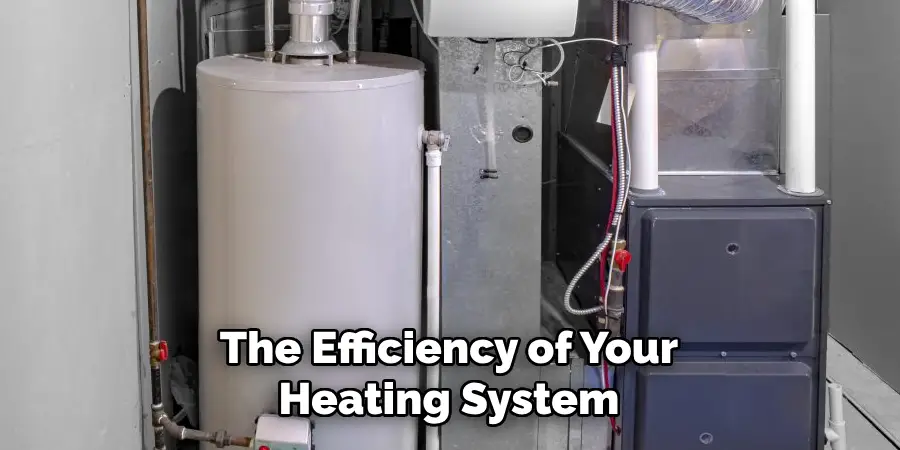
To maximize the efficiency of your heating system, insulating the newly installed ductwork is a critical final step. Insulation helps to keep the air within the ducts warm as it travels from the furnace to the rooms in your home, reducing heat loss and preventing energy wastage. Choose insulation materials that are specifically designed for HVAC systems, such as fiberglass duct insulation or foil-faced insulation wraps.
Cut the insulation to fit around the ducts snugly, and secure it using adhesive tape or wire ties. Pay special attention to insulating ductwork that runs through unheated spaces such as attics, basements, or crawlspaces to ensure optimal heating efficiency and comfort throughout your home.
Step 10: Final Inspection and System Calibration
After the ductwork is properly insulated, it’s essential to inspect the entire HVAC system to ensure everything is installed correctly and functioning as intended. Check all ductwork connections, seals, and supports to confirm they are secure and airtight. Make sure the furnace filter is clean and properly in place. Having a professional HVAC technician perform a system calibration may also be beneficial.
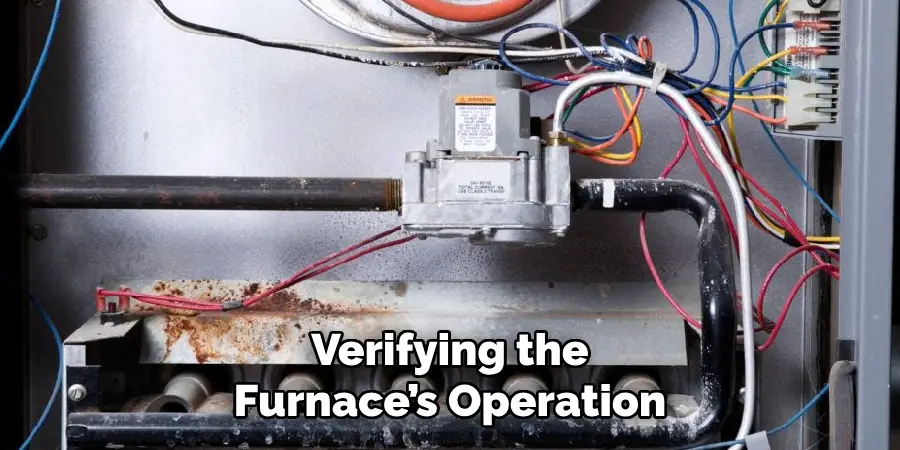
This includes verifying the furnace’s operation, adjusting the thermostat settings, and ensuring proper airflow to each room. Calibration guarantees that your heating system operates at its peak efficiency, providing consistent comfort throughout your home while minimizing energy consumption.
By following these steps, you can successfully replace your old ductwork and improve the efficiency of your heating system.
5 Additional Tips and Tricks
1. Measure Twice, Cut Once: Always ensure accurate measurements of both the space where the ductwork will be installed and the ducts themselves. Missteps in measurement can lead to unnecessary material waste and additional expenses.
2. Seal Ducts Properly: Make use of mastic sealant or metal-backed tape to seal all seams and connections within your ductwork. Proper sealing is crucial to prevent air leaks, which can significantly reduce the efficiency of your heating system.
3. Insulate Exposed Ductwork: To prevent heat loss, insulate ductwork that runs through unheated spaces such as attics, crawlspaces, and garages. This ensures that the air inside the ducts stays at the intended temperature.
4. Maintain Clearance: Keep a safe distance between ducts and any other objects, such as beams or pipes. This is especially important for supply ducts to ensure proper airflow.
5. Consider Hiring a Professional: While adding ductwork to an existing furnace can be a DIY project, it may also require advanced skills and experience. It’s always best to consult with a professional if you need clarification on any steps of the installation process or if you want to ensure maximum efficiency and safety.
These additional tips and tricks can help make your ductwork installation more successful and efficient.
5 Things You Should Avoid
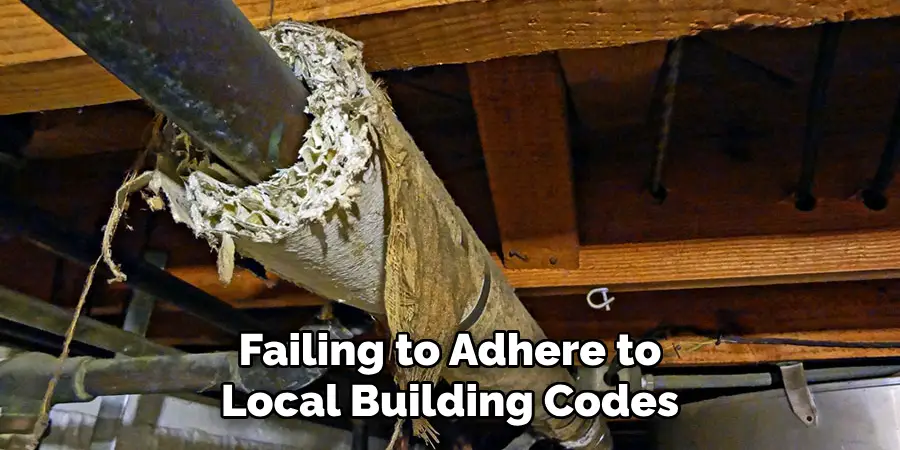
- Avoid Ignoring Local Codes and Regulations: Failing to adhere to local building codes and regulations can lead to safety, insurance, and future property sales issues. Always check and comply with local guidelines before starting your project.
- Don’t Skip the Planning Stage: Jumping straight into installation without proper planning can lead to inefficiencies and system performance problems. Take the time to design your system considering airflow, vent placement, and the layout of your home.
- Never Use Unapproved Materials: Using materials not designed for HVAC systems can compromise system efficiency and pose a fire hazard. Always choose materials that meet the recommended standards for ductwork.
- Avoid Blockages and Tight Bends: Ensure that the ductwork path allows for smooth airflow. Tight bends and blockages can restrict air movement, reducing system efficiency and increasing wear on the furnace.
- Don’t Underestimate Ventilation Needs: Incorrectly calculating a room’s ventilation needs can lead to poor air quality and uncomfortable living conditions. When adding ductwork, make sure to account for the size of the space and the number of occupants.
By avoiding these common mistakes, you can ensure a successful and efficient ductwork installation.
What are the Disadvantages of DIY Ductwork Installation?
While installing ductwork yourself may seem like a cost-effective option, it comes with some potential disadvantages. These include:
- Lack of Experience: If you have experience in HVAC installation, you may notice important steps or make mistakes that could affect the functionality and efficiency of your system.
- Safety Hazards: Working with tools and materials without proper knowledge can pose a safety risk to both you and your property.
- Time and Effort: Installing ductwork requires time and attention to detail. If you’re not experienced in this type of project, it may take longer than expected and result in frustration.
- Potential for Hidden Costs: Without proper planning and knowledge, unexpected issues may arise during installation, leading to additional expenses.
- Warranty and insurance: DIY installation may void the warranty on your furnace and potentially affect your homeowners’ insurance coverage.
It’s important to consider these potential disadvantages carefully before tackling a ductwork installation on your own. In some cases, it may be best to consult with a professional for a safe and efficient installation process.
How Do You Calculate the Size of Ductwork Needed?
To calculate the size of ductwork needed for your home, you will need to consider several factors, including:
- The size and layout of your home
- The type and efficiency of your furnace
- The recommended airflow for each room in your home
Using these factors, a professional HVAC technician can determine the appropriate size and layout of your ductwork through a process called Manual D calculation. This involves measuring the total area to be heated, determining the required airflow for each room, and determining the types and sizes of ducts needed.
It’s important to have this calculation done by a professional to ensure proper sizing and maximum heating system efficiency. Incorrectly sized ductwork can lead to uneven heating and cooling, higher energy costs, and potential damage to your furnace.
How Do You Clean and Maintain Your Ductwork?
Proper maintenance of your ductwork is essential for the efficiency and longevity of your heating system. Here are a few tips to keep in mind:
- Change air filters regularly: Dirty filters can restrict airflow, making your furnace work harder and consuming more energy. It’s recommended to change air filters every 1-3 months.
- Check for leaks: Inspect your ductwork regularly for any signs of leaks and seal them promptly to prevent energy waste.
- Schedule professional cleaning: It’s recommended to have your ducts professionally cleaned every 3-5 years. This can remove built-up debris and improve the air quality in your home.
- Keep vents clear: Ensure that all supply and return vents are free from any obstructions, such as furniture or rugs, to ensure proper airflow.
By following these maintenance tips, you can keep your ductwork in good condition and ensure optimal heating system performance. It’s also important to consult with a professional HVAC technician for additional guidance on maintaining your specific type of ductwork.
Conclusion
How to add ductwork to existing furnace can be a complex but rewarding project that enhances the comfort and efficiency of your home heating system. Homeowners can approach this task with greater confidence and preparedness by understanding the common pitfalls to avoid, the disadvantages of DIY installation, the importance of accurate size calculation, and the best practices for maintenance.
Whether you undertake this project yourself or hire a professional, the key to success lies in thorough planning, adherence to local building codes, and a commitment to regular maintenance. Properly installed and maintained ductwork will ensure efficient heating distribution, improve indoor air quality, and contribute to your home’s overall energy efficiency.
Remember, when in doubt, consulting with a professional can provide the guidance and expertise needed to ensure a safe and successful installation.

