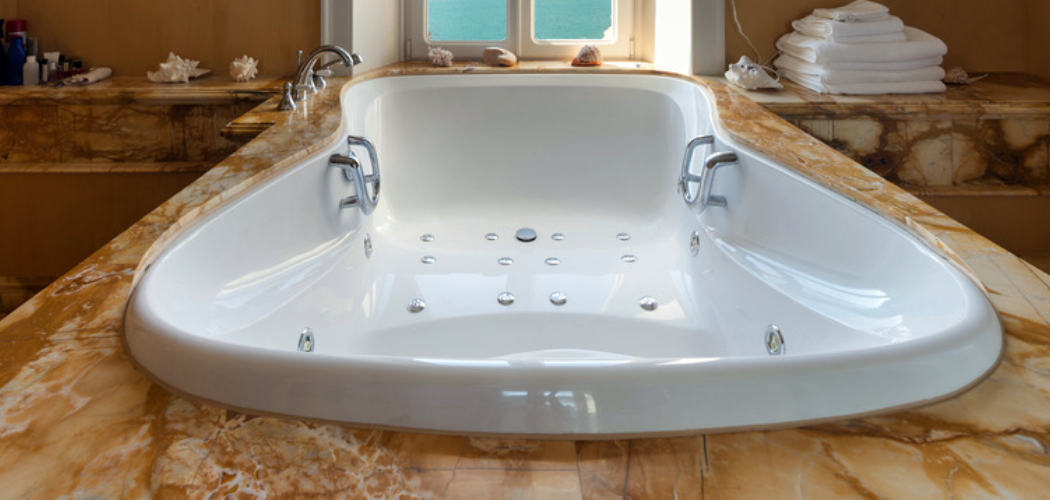
Adding jets to a bathtub can transform an ordinary bathing experience into a soothing, spa-like retreat. Whether you’re looking to relax sore muscles, improve circulation, or simply enjoy the luxury of a whirlpool bath, retrofitting your existing tub with jets is a practical and rewarding upgrade. This guide will outline the steps and considerations for how to add jets to a bathtub, making it easier for you to enjoy the ultimate comfort in your bathroom.
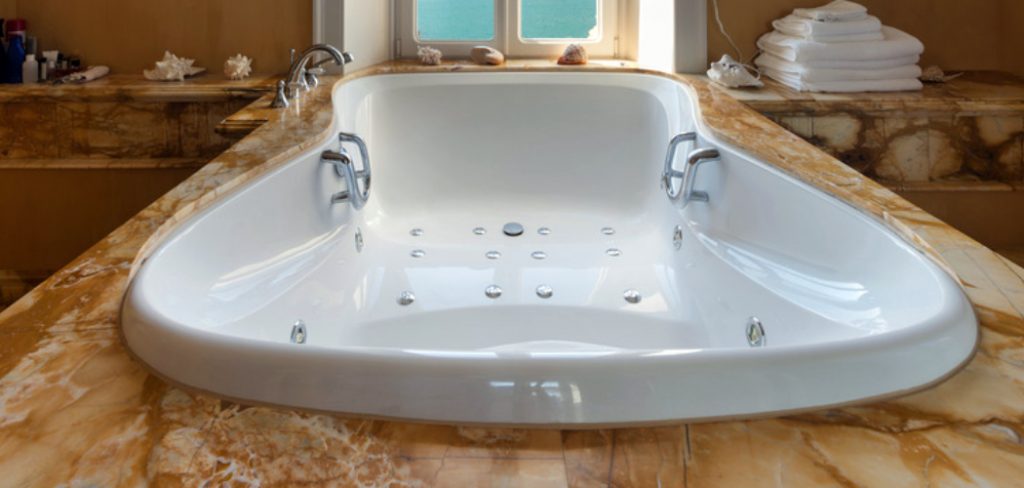
Can You Add Jets to Any Bathtub?
Not all bathtubs are suitable for retrofitting with jets. The feasibility of adding jets depends on factors such as the material, size, and structural integrity of the tub. Most standard tubs made of acrylic or fiberglass can accommodate jets, but cast iron or ceramic tubs may pose challenges due to their weight and rigidity.
Additionally, the size of the bathtub must have enough space for the jet system components, including the pump and plumbing connections. It’s essential to evaluate the condition of your bathtub before proceeding, as older or worn-out tubs may not be strong enough to handle the installation. Consulting with a professional can help determine whether your specific tub is suitable for this upgrade.
Types of Tubs Suitable for Jet Installation
When considering a tub for jet installation, it’s important to understand which materials and designs are most compatible with retrofitting. Acrylic and fiberglass tubs are the most commonly recommended options due to their lightweight nature and flexibility. These materials are easy to drill into, making it simpler to install jets without compromising the tub’s structure. Steel tubs with an enamel coating can also be fitted with jets, though extra care may be required during installation to prevent damage to the coating.
On the other hand, heavy-duty tubs like cast iron or ceramic are typically not suitable for jet installation because of their weight and difficulty in modifying. Drop-in tubs and alcove tubs are the most practical styles for jet additions, as they often have enough space for the required plumbing and pump system. Always check the compatibility of your tub material and design before committing to the installation process.
10 Methods How to Add Jets to a Bathtub
1. Choosing the Right Jet System
Before starting the installation, selecting the right jet system is crucial. Options include air jets, water jets, or combination systems. Consider the tub’s size, material, and structure to ensure compatibility with the chosen jet system. Researching different brands and their installation requirements can help determine the best choice.
2. Measuring and Planning Jet Placement
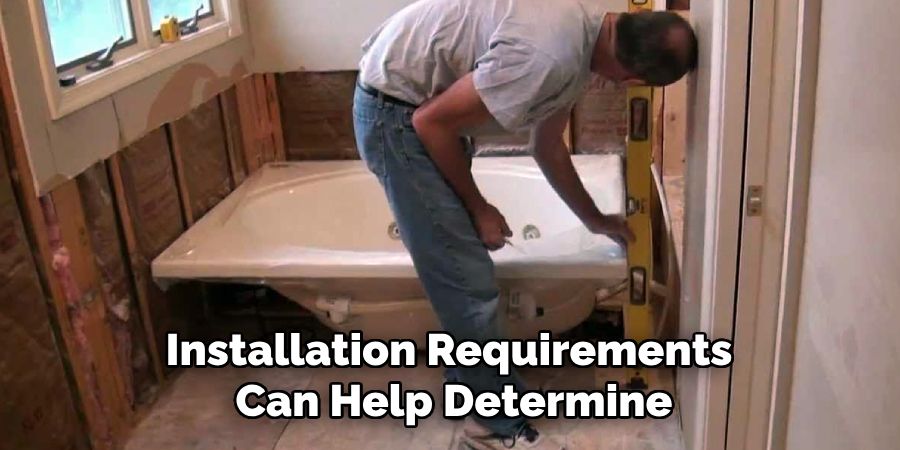
Marking the locations for the jets is a critical step. Jets should be evenly spaced for an optimal massage effect and positioned to target key muscle areas. Use a measuring tape and a waterproof marker to indicate where each jet will be installed. Proper spacing ensures comfort and efficiency in water circulation.
3. Cutting Openings for the Jets
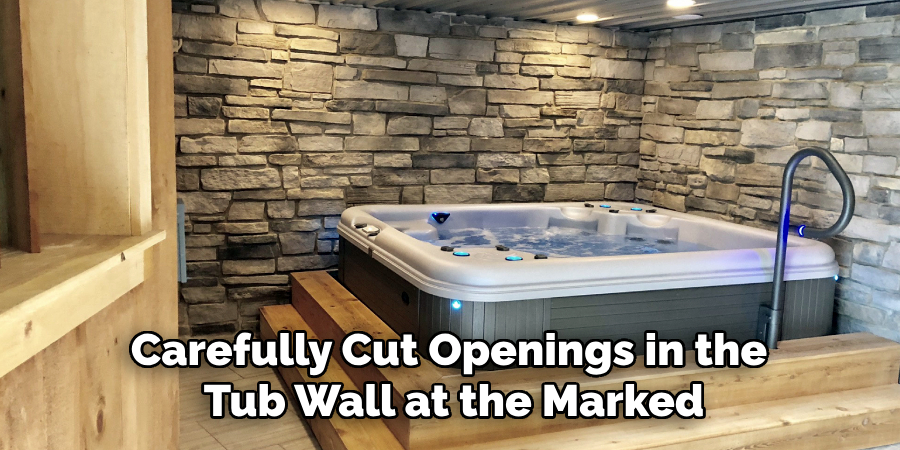
Using a hole saw or drill, carefully cut openings in the tub wall at the marked positions. The drill bit should be appropriate for the tub material, whether it’s acrylic, fiberglass, or cast iron. Cutting slowly and evenly prevents cracking or damage to the tub. After cutting, smooth the edges with sandpaper or a deburring tool.
4. Installing Jet Housings
Once the holes are cut, insert the jet housings into the openings. Most jet kits include rubber gaskets and washers to create a watertight seal. Secure the housings tightly using the provided hardware. Ensuring a firm, leak-proof connection at this stage prevents water leakage and long-term damage.
5. Connecting the Pump and Motor System
The pump and motor are the heart of the jetted system. Position the pump in a location that allows easy access for maintenance. Connect the jet housings to the pump using flexible water hoses or PVC piping. The motor should be properly ventilated to prevent overheating and must be connected to a power source according to the manufacturer’s specifications.
6. Installing an Air Supply System (For Air Jets)
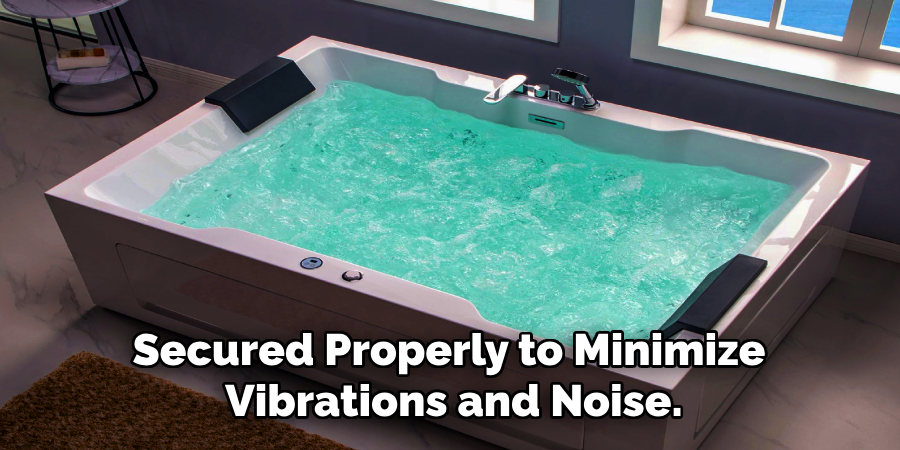
If adding air jets, an air supply system must be installed. Air tubes connect each jet to an air blower, which injects air into the water to create a bubbling effect. The air blower should be placed in a well-ventilated area and secured properly to minimize vibrations and noise.
7. Sealing and Waterproofing Connections
Using waterproof sealant or plumber’s putty, seal all pipe and hose connections to prevent leaks. Applying silicone caulk around the jet housings adds an extra layer of protection. Allow sufficient drying time before testing the system to ensure all seals are fully set.
8. Testing the Jet System
Before permanently securing all components, test the jet system by filling the tub with water and turning on the jets. Check for leaks, proper water flow, and even air distribution. If any issues arise, troubleshoot by tightening connections, adjusting the motor settings, or repositioning hoses.
9. Adding Electrical Safety Measures
Since water and electricity are involved, safety precautions must be followed. A Ground Fault Circuit Interrupter (GFCI) should be installed to prevent electrical hazards. Ensure all wiring is done by a licensed electrician and meets local building codes for bathroom installations.
10. Finalizing and Enjoying the Jetted Tub
Once the installation is complete and the system is functioning properly, clean the tub thoroughly to remove debris. Add bath salts or essential oils designed for jetted tubs and enjoy a relaxing, therapeutic bath. Regular maintenance, such as cleaning the jets and checking for leaks, ensures long-lasting performance.

Things to Consider When Adding Jets to a Bathtub
Adding jets to a bathtub is an excellent upgrade, but it requires careful planning and consideration to ensure a successful installation. Here are some key factors to keep in mind:
Tub Material
Verify that the material of your existing tub is suitable for retrofitting. Acrylic and fiberglass are highly compatible, while heavy materials like cast iron or ceramic may pose challenges.
Structural Integrity
Ensure that your tub is in good condition and structurally sound. Cracks, weaknesses, or signs of wear could worsen during the modification process.
Space Availability
Evaluate whether your bathroom has enough space to accommodate the pump, motor, and additional plumbing required for the jet system.
Water and Electricity Access
Check if your bathroom’s plumbing can handle the increased water demands of a jetted tub. Additionally, ensure there is a safe and accessible electrical outlet for the system, ideally installed by a licensed electrician.
Noise Levels
Jet systems, especially those with air blowers or high-powered motors, can generate noticeable noise. Consider soundproofing options or selecting quieter systems if this is a concern.
Maintenance Requirements
Jetted tubs require regular cleaning and upkeep to prevent clogs and maintain water quality. Be prepared for additional maintenance routines after installation.
Budget Constraints
Determine a budget that includes not only the cost of the jet system but also professional installation, additional materials, and potential electrical or plumbing upgrades.
Local Regulations
Check your local building codes to ensure compliance with safety standards for plumbing and electrical systems. Obtaining necessary permits may also be required in some areas.
By considering these factors, you can make an informed decision and ensure the process of adding jets to your bathtub is smooth and hassle-free.
Common Mistakes to Avoid
When adding jets to a bathtub, careful planning and execution are essential to avoid costly mistakes. Here are some common pitfalls to watch out for during the process:
Skipping Measurements
Failing to take accurate measurements of the tub and jet placements can result in misaligned jets, uneven water flow, or an uncomfortable bathing experience.
Using the Wrong Tools
Attempting to cut holes, connect pipes, or tighten fittings with inappropriate tools can damage the tub or components. Always use tools recommended for the specific materials involved.
Ignoring Weight Considerations
Adding a jet system increases the overall weight of the tub, especially when filled with water. Neglecting to check if the bathroom floor can support this added weight could lead to structural issues.
Improper Sealing
Without thorough sealing of pipe and jet connections, leaks can develop over time, leading to water damage and expensive repairs. Always double-check seals and apply extra waterproofing materials as needed.
Failing to Test the System
Skipping the testing phase can result in unnoticed issues, such as leaks, low pressure, or malfunctioning pumps. Always test the system thoroughly before finalizing the installation.
Overlooking Electrical Safety
Improper wiring or failing to install a Ground Fault Circuit Interrupter (GFCI) increases the risk of electrical accidents. All electrical components should be handled by a licensed electrician to ensure safety.
Choosing the Wrong Jet System
Selecting a system incompatible with the existing tub or plumbing can lead to significant installation challenges. Research products carefully and consult manufacturers’ guidelines before purchasing.
Underestimating Noise Levels
Some jet systems can be louder than expected, especially if installed improperly. Failing to account for noise may lead to dissatisfaction with the system later on.
Conclusion
Adding jets to a bathtub is an effective way to enhance comfort and relaxation at home. By following these ten methods, homeowners can successfully transform their standard tubs into luxurious spa-like retreats while ensuring safety and efficiency. Thanks for reading, and we hope this has given you some inspiration on how to add jets to a bathtub!
You Can Also Check It Out To Keep Toilet Drain Clear

