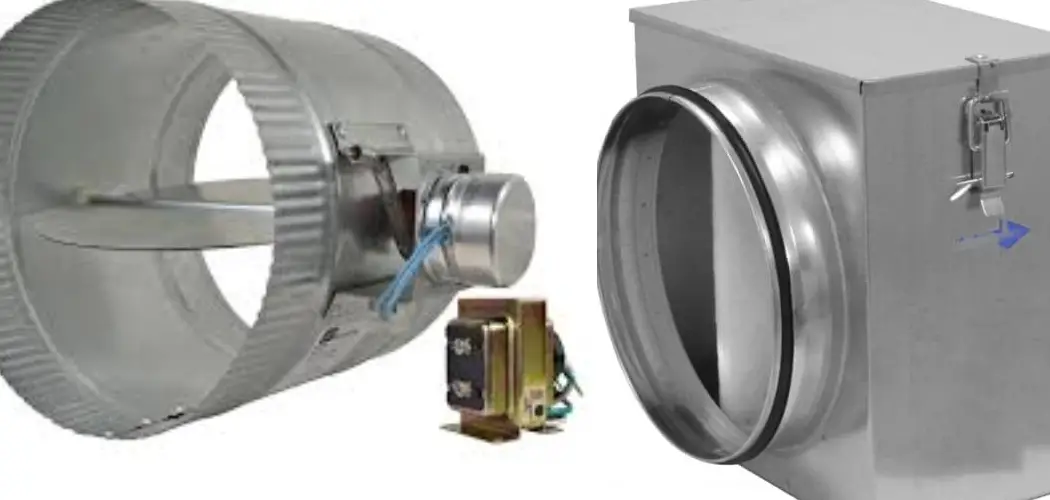
Properly adjusting dampers in HVAC duct systems is crucial for maintaining balanced airflow and ensuring efficient heating and cooling throughout a building. Dampers control the volume of air passing through ducts, allowing you to direct more air to certain rooms and less to others as needed.
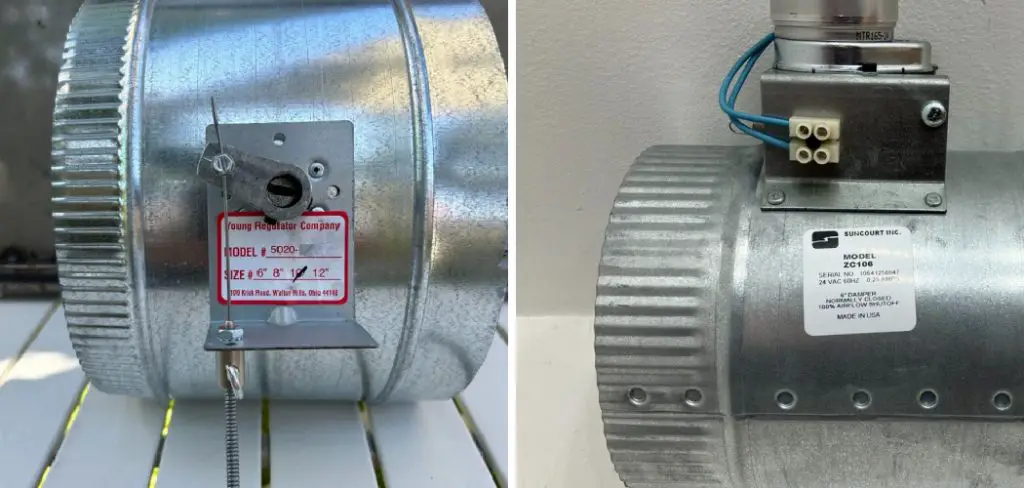
Understanding how to adjust these dampers can help optimize your HVAC system’s performance, enhance comfort levels in individual rooms, and potentially save on energy costs. In this guide on how to adjust dampers in ducts, we will walk you through the steps to adjust dampers in ducts, providing you with the knowledge to manage your home’s airflow more effectively.
What is a Damper?
A damper is a plate or valve that regulates airflow in duct systems. Dampers are typically located in the main ducts leading to individual rooms and sometimes can be found in the ducts themselves. They can be manually operated or motorized, and are designed to open and close to control the volume of air passing through the ducts.
Dampers may also have sensors that allow them to automatically adjust based on temperature or pressure differentials within a building. This allows for better control over airflow and temperature distribution throughout a space.
Why Adjust Dampers?
Adjusting dampers is an important aspect of maintaining a well-functioning HVAC system. When dampers are not adjusted properly, it can lead to imbalanced airflow, resulting in some rooms being too warm or too cold. This creates discomfort for occupants and puts unnecessary strain on your HVAC system, potentially leading to higher energy bills.
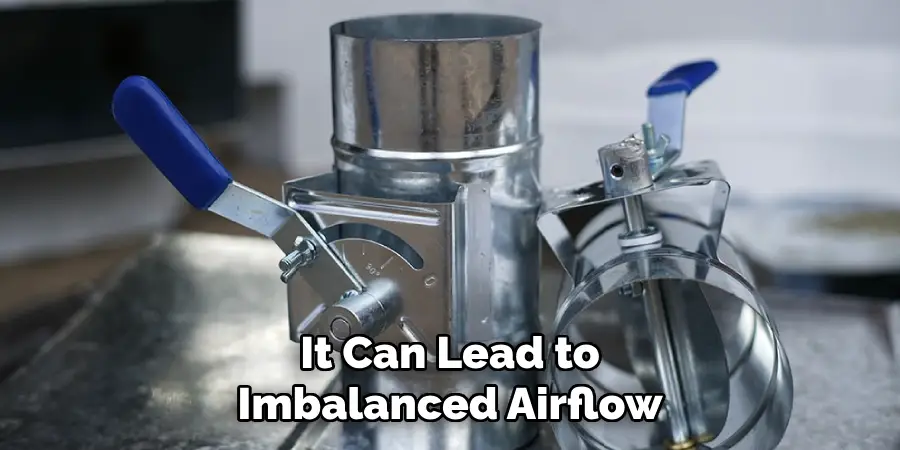
In addition, proper damper adjustment can help with zoning, which is the process of dividing a building into different zones and controlling the temperature in each zone independently. By adjusting dampers, you can direct more air to rooms that are used frequently and less to rooms that are not occupied as often, resulting in better overall energy efficiency.
Needed Tools and Materials
Screwdriver:
A screwdriver is essential for adjusting dampers, as they often have screws that secure the damper blades in place. Depending on the type of screw used on your dampers, you may need either a flathead or a Phillips head screwdriver. Ensure the screwdriver you select is the correct size and type to avoid stripping the screws or damaging the damper. Using the appropriate screwdriver will allow you to tighten or loosen the screws easily, helping you to accurately adjust the position of the damper blades for optimal airflow control.
Dampers:
Before adjusting the dampers, you will need to identify which ones control the airflow to specific rooms or zones. Dampers can be found in different sizes and shapes, so it is essential to know where they are located and what type of damper you have before beginning the adjustment process.
Ladder:
If your dampers are located high up in the ductwork, you may need a ladder to access them safely. Remember to always follow ladder safety guidelines when using a ladder.
10 Simple Step-by-step Guidelines on How to Adjust Dampers in Ducts
Step 1: Turn Off the HVAC System
Before you begin adjusting the dampers, it is essential to turn off your HVAC system. This step ensures your safety and prevents any accidental changes to the airflow while you work on the damper adjustments.
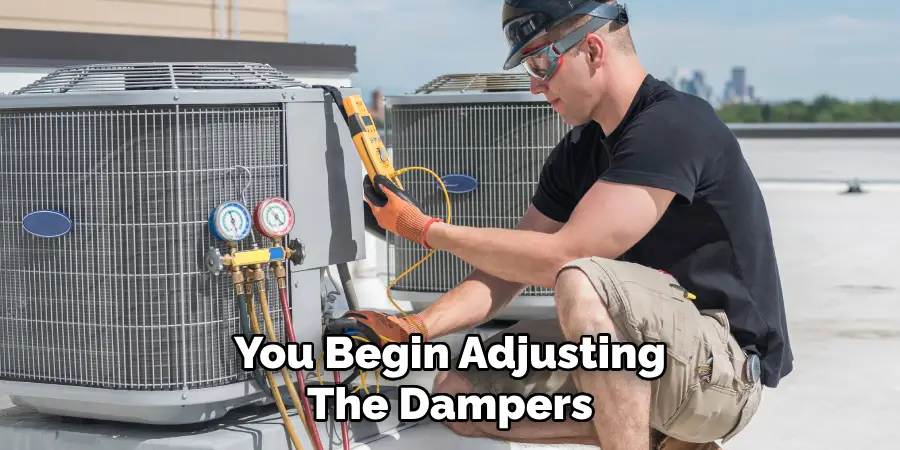
Locate your thermostat and switch the system to the “Off” position. Alternatively, you can turn off the power supply to the HVAC system at the breaker panel. Once the system is off, you can proceed confidently, knowing that no air will be flowing through the ducts as you make your adjustments.
Step 2: Identify the Dampers and Their Locations
As mentioned earlier, it is crucial to know where your dampers are located and what type of damper you have. You may need to refer to your HVAC system’s user manual or consult with an HVAC professional if you are unsure.
Once you have identified the dampers, make a note of which ones control the airflow in each room or zone. This will help guide your adjustments later on.
Step 3: Inspect the Damper Blades
Inspect the damper blades for any signs of damage or debris that may be hindering their movement. If you notice any issues, clean the blades and remove any obstructions before proceeding. Damaged damper blades may need to be replaced to ensure proper airflow control.
You can also use this opportunity to lubricate the damper blades’ hinges or joints if necessary. This will help them move more smoothly for more precise adjustments.
Step 4: Determine Which Way to Adjust the Damper
To increase airflow, you will need to open the damper by turning it counterclockwise. To decrease airflow, turn the damper clockwise to close it. Keep in mind that some dampers may have different adjustment methods, such as sliding instead of rotating, so refer to your user manual if needed.
But as a general rule, remember the phrase “lefty loosey, righty tighty” to help you determine which way to turn the damper.
Step 5: Start With Small Adjustments
It is essential to make small adjustments at first and then check the airflow in the corresponding room or zone. This will prevent making large changes that may result in imbalances in other areas of the building.
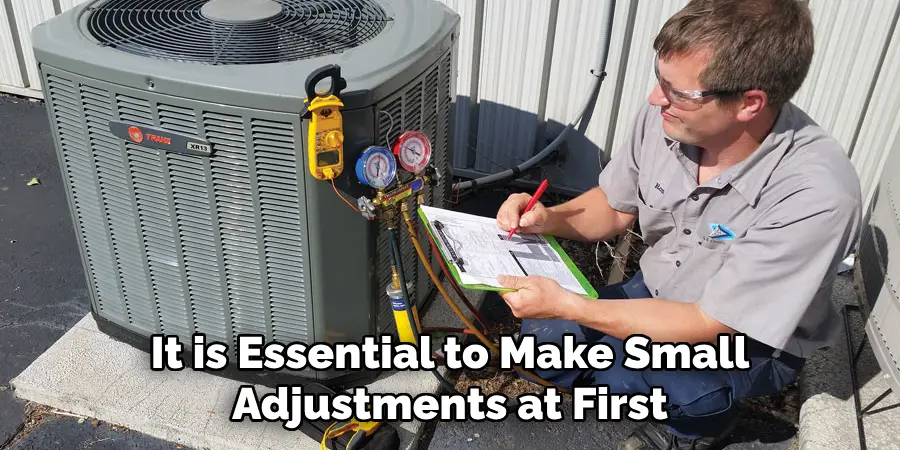
Start by turning the damper only a few degrees and see how it affects the airflow in the designated room or area. If more adjustment is needed, you can incrementally increase or decrease accordingly until you reach your desired airflow level.
Step 6: Re-check Airflow
After making your initial adjustments, it is crucial to re-check the airflow in the corresponding rooms or zones. Turn your HVAC system back on and allow it to run for a few minutes to stabilize. Then, visit each room and assess whether the airflow meets your requirements. You can use an anemometer to measure the airflow more precisely or simply hold your hand near the vent to feel the difference.
If the airflow is still not balanced, make additional small adjustments to the dampers and re-check until you achieve the desired distribution. This step ensures that your adjustments are effective and that all areas of your home receive the appropriate level of airflow.
Step 7: Repeat for Each Damper
Once you have successfully adjusted the airflow in one room or zone, repeat the process for each remaining damper. Turn off your HVAC system before making any adjustments, inspect the damper blades, and make small incremental changes to either increase or decrease airflow as needed. Re-check the airflow in each corresponding room or zone after every adjustment to ensure optimal balance.
Continue this process until all dampers have been adjusted and you are satisfied with the overall airflow distribution throughout the building. By methodically adjusting each damper, you will achieve a more efficient and comfortable environment for all occupants.
Step 8: Document Your Adjustments
It is helpful to keep a record of the adjustments you make for future reference. If necessary, you can refer back to these notes to remind yourself of previous adjustments or use them as a guide if any issues arise in the future. This step will also be beneficial for any HVAC professionals who may need this information for maintenance or repairs.
Although it may seem like a tedious task, documenting your adjustments can save you time and effort in the long run. It also allows you to properly track and monitor changes in your HVAC system’s performance.
Step 9: Clean Up and Secure Dampers
After making all your adjustments, clean up any debris and secure the damper blades in place with their respective screws using your screwdriver. Ensure they are securely tightened but not overly so that slight tension is enough to keep the dampers in place. This step will prevent any accidental changes and maintain proper airflow distribution.
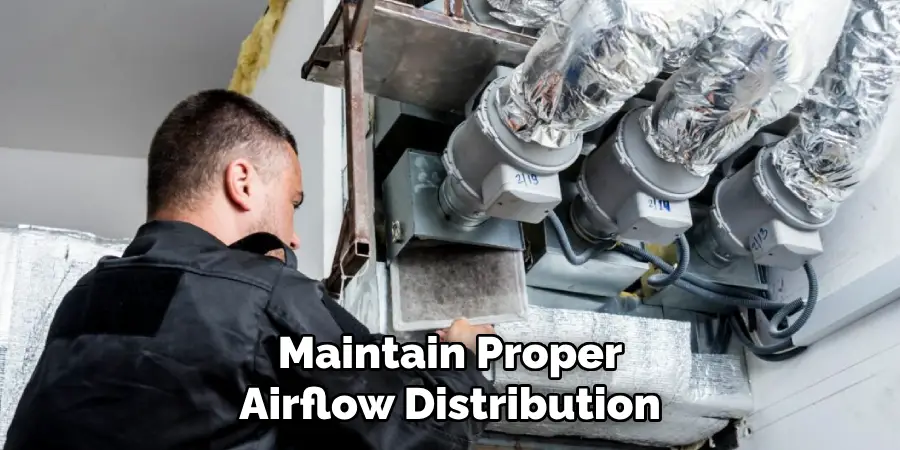
The ductwork may also need to be secured with metal foil tape or duct sealant if there are any leaks present. Consult with an HVAC professional for proper sealing techniques if needed.
Step 10: Turn On the HVAC System
Once you have completed all your adjustments and ensured that everything is securely in place, it is safe to turn your HVAC system back on. Allow it to run for a few minutes and check the airflow in each room or zone again to confirm that everything is balanced and functioning correctly.
Congratulations, you have successfully adjusted the dampers in your ducts, and your HVAC system should now be providing optimal airflow throughout your home! Remember to regularly check and adjust dampers as necessary for changes in season or occupancy levels. Keep these steps on how to adjust dampers in ducts in mind, and you can ensure efficient and comfortable airflow distribution for years to come. Happy adjusting!
Troubleshooting Common Issues
Even after following the steps to adjust dampers, you might still encounter some common issues with airflow. Here are a few troubleshooting tips to help you resolve these problems:
Uneven Airflow
If you notice that some rooms are still receiving more or less airflow despite adjusting the dampers, there might be an obstruction in the ductwork. Check for any visible debris or blockages in the ducts and clear them out if possible. Additionally, ensure that all air vents in the rooms are fully open and unobstructed by furniture or drapes.
No Airflow in Certain Rooms
If certain rooms are experiencing no airflow at all, it may indicate a closed or malfunctioning damper. Double-check the damper settings for those specific rooms and ensure they are open and functioning correctly. If the issue persists, consult an HVAC professional to inspect the system for any underlying problems, such as a dislodged duct or a malfunctioning blower.
Persistent Noise
Sometimes, adjusting dampers can introduce noise into the HVAC system, such as whistling or banging sounds. This often results from improperly secured dampers or ducts. Ensure that all dampers are firmly in place and secured with screws. Check for any loose ductwork and use metal foil tape or duct sealant to secure any gaps or leaks.
Inadequate Cooling or Heating
If your HVAC system is still not providing adequate cooling or heating, even with the dampers adjusted, the issue might lie elsewhere in the system. Possible causes could include a clogged air filter, low refrigerant levels, or a malfunctioning thermostat. Inspect the air filter and replace it if necessary. If the problem persists, it’s best to contact an HVAC technician for a thorough inspection and diagnosis.

Frequent Cycling On and Off
Frequent cycling of the HVAC system could indicate that the system is short-cycling, often caused by an improperly sized system, low refrigerant, or thermostat issues. Check the thermostat settings and placement to ensure it’s not located in a drafty area. If the problem continues, consult an HVAC professional to examine the system further and provide solutions.
By addressing these common issues with careful troubleshooting, you can maintain efficient and comfortable airflow in your home. Regular maintenance and timely professional inspections will also help avoid many of these problems and keep your HVAC system running smoothly.
Maintenance and Care of Dampers
Proper maintenance and care of dampers are crucial for ensuring that your HVAC system operates efficiently and effectively. Regular upkeep not only prolongs the life of the dampers but also prevents many common issues related to airflow distribution. Here are some vital steps to maintain and care for your dampers:
Inspect Dampers Regularly
Make it a habit to inspect your dampers periodically, at least twice a year. Look for any signs of wear and tear, rust, or damage that could affect their functionality. Regular inspections will help you identify problems early before they lead to larger issues.
Clean Dampers and Ducts
Dust and debris can accumulate on dampers and within the ducts over time, obstructing airflow. Use a vacuum or a damp cloth to clean the damper blades and surrounding ductwork. Ensure that all components are free from dirt and grime, which can impact efficiency.
Lubricate Moving Parts
Ensuring that all moving parts, such as damper blades and hinges, are well-lubricated will help them operate smoothly. Apply a silicone-based lubricant to these parts to reduce friction and prevent sticking. Avoid using oil-based lubricants as they can attract dust and cause build-up over time.
Check Damper Settings
Periodically review the settings of your dampers to ensure they are adjusted correctly for the current season or occupancy levels. Adjust them as needed to maintain a balanced and efficient airflow throughout your home or building.
Secure Dampers
Verify that all dampers are securely in place and that any screws or other fasteners are tight. Loose dampers can shift out of position and cause imbalance or noise. If necessary, use metal foil tape to secure any loose parts.
Address Rust and Corrosion
If you notice any rust or corrosion on dampers or ducts, address it immediately by cleaning the affected area and applying a rust-inhibiting primer and paint. This will help prevent further deterioration and maintain structural integrity.
Professional Inspection
In addition to your own maintenance efforts, schedule a professional inspection of your HVAC system, including the dampers, at least once a year. A qualified technician can identify and address issues that may not be apparent to you, ensuring optimal performance.
By following these maintenance and care practices, you can ensure that your dampers remain in good condition and that your HVAC system continues to provide efficient and comfortable airflow. Regular maintenance reduces the risk of costly repairs and helps extend the life of your system.
Frequently Asked Questions
Q: What is the Purpose of Adjusting Dampers in Ducts?
A: The primary purpose of adjusting dampers in ducts is to balance the airflow throughout your heating, ventilation, and air conditioning (HVAC) system. By doing so, you can ensure that each room or zone in your home or building receives the appropriate amount of air, resulting in a more comfortable and energy-efficient environment.
Adjusting dampers allows you to correct any imbalances caused by the layout of your ductwork, changes in the building’s usage, or varying heating and cooling needs of different areas. This leads to improved temperature regulation, reduced energy consumption, and enhanced overall performance of your HVAC system.
Q: Can I Adjust Dampers in My Ducts on My Own?
A: Yes, you can adjust dampers in your ducts on your own as long as you are comfortable working with tools and have the necessary knowledge. However, if you are not confident in your abilities or have a complex HVAC system, it is best to consult with a professional for proper guidance and assistance.
You should also exercise caution when working with any HVAC components to avoid damaging the system or causing injury. Always turn off your HVAC system before making any adjustments and refer to manufacturer instructions for specific guidelines.
Q: How Often Should I Adjust Dampers in My Ducts?
A: It is recommended to check and adjust dampers at least twice a year – once before the heating season and again before the cooling season. However, it is also essential to monitor airflow regularly and make necessary adjustments if there are any changes in occupancy levels or usage patterns in certain areas of the building.
It is also beneficial to document any adjustments made for future reference, especially if there are recurring issues with your HVAC system’s performance. Consulting with an HVAC professional can also help determine a suitable adjustment schedule based on your specific needs and system design.
Conclusion
Properly adjusting the dampers in your HVAC ducts is a vital aspect of maintaining an efficient and comfortable indoor environment. By following a systematic approach to making small adjustments and checking airflow, you can ensure each room or zone receives the appropriate amount of air. This not only enhances comfort but also improves energy efficiency, which can lead to cost savings on your utility bills.
Remember to regularly inspect and adjust dampers, particularly during seasonal transitions or changes in occupancy levels. Document your adjustments to keep a record of any changes made, aiding future maintenance or professional consultations. By taking these steps on how to adjust dampers in ducts, you can optimize the performance of your HVAC system and enjoy a consistently balanced and pleasant indoor climate throughout the year. Happy adjusting!

