Are you struggling to find the right temperature in your shower? You’re not alone. Many homeowners have difficulty adjusting their Delta shower faucet, but there is no need to worry – this task is surprisingly easy!

Shower faucet temperature adjustments can be made in minutes, and you don’t need any special tools or expertise to do it. Just follow these simple steps, and you’ll be enjoying the perfect shower temperature in no time.
In this blog post, we will show you step-by-step instructions for how to adjust the temperature on a Delta shower faucet. We will provide all the information you need to achieve optimal results quickly and safely, so get ready, and let’s get started!
What Will You Need?
Before beginning, you will need to gather a few items:
- A flat-head screwdriver
- Your Delta shower faucet manual (if available)
- A thermometer (if desired)
Having these items on hand will make the process smoother and ensure that you can make the necessary adjustments accurately.
10 Easy Steps on How to Adjust the Temperature on a Delta Shower Faucet
Step 1. Turn Off the Water Supply:
It’s crucial to ensure your safety by turning off the water supply to your shower before you start making any adjustments. This will prevent any unexpected water outbursts while you’re working on the faucet. Be careful not to turn off the main water supply for your home, as this will cut off the water supply to other areas of your house as well.
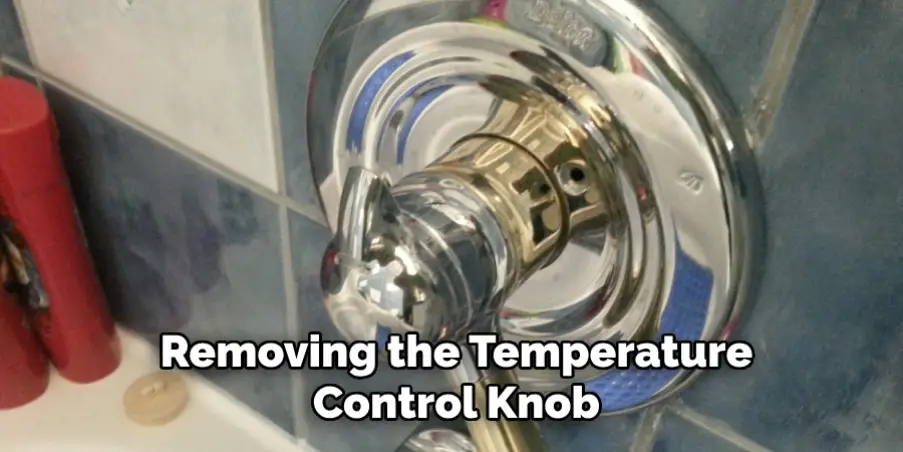
Step 2. Remove the Temperature Control Knob:
With the water supply off, removing the temperature control knob from your Delta shower faucet is next. This is typically done by loosening the screw in the center of the knob using your flat-head screwdriver. Once the screw is loose, gently pull off the knob, revealing the temperature control mechanism beneath. Be sure to place the knob and screw safely to avoid losing them.

Step 3. Locate the Temperature Control Mechanism:
Once the knob is removed, you’ll notice a rotation stop limit in the shape of a small plastic disk. This is the temperature control mechanism. You will see marks on the disk which represent different temperature levels. Note the current position of the disk before you make any adjustments, as this will be your baseline temperature setting.
Step 4. Adjust the Temperature Control Mechanism:
Now comes the part where you adjust the temperature. Rotate the plastic disk clockwise to decrease the water temperature or counterclockwise to increase it. The markings on the disk are your guide – a slight movement can significantly affect the water temperature. Make a slight adjustment first; then, you’ll test it later to see if it’s at your desired level. After making your adjustment, ensure the disk is securely in place so it won’t move independently.
Step 5. Reattach the Temperature Control Knob:
Next, reattach the temperature control knob. Align the knob with the screw hole and push it back into place. Secure it by tightening the screw you set aside using your flat-head screwdriver. Ensure it’s snug, but be careful not to overtighten as this could damage the knob.
Step 6. Turn On the Water Supply:
Now that you have adjusted and everything is back in place, you can turn your water supply back on. Be sure to turn it on slowly to prevent any sudden water bursts. Once the water is running, turn on your shower and let it run for a few minutes to ensure the new temperature setting works as desired.
Step 7. Test the Temperature:
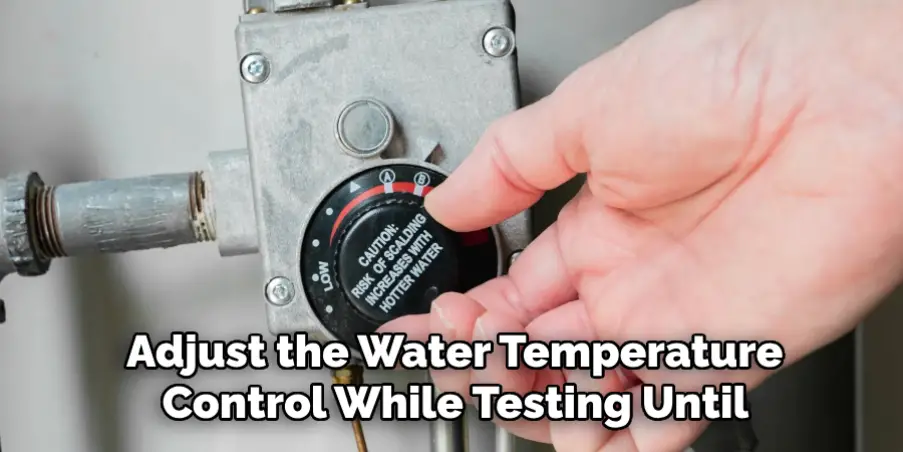
To be sure your adjustments are accurate, you can use a thermometer to test the temperature of your shower water. Adjust the water temperature control while testing until you reach your desired level. Keep in mind that tap water temperatures typically range from 100-120°F (38-49°C), so make sure you are comfortable with the temperature before moving on to the next step.

Step 8. Recheck the Rotation Stop Limit Position:
After testing the temperature, check the rotation stop limit position again. The disk should still align with the original marks you noted in Step 3. If it has moved, make any necessary adjustments to ensure the temperature stays consistent.
Step 9. Adjusting for Safety:
Suppose your shower is used by children or elderly individuals who may be sensitive to hot water. In that case, you can adjust the rotation stop limit to a lower temperature as an added safety precaution. Just follow the same steps of removing the knob, adjusting the disk, and reattaching the knob. Remember to test the temperature again to ensure it’s safe.
Step 10. Enjoy Your Perfect Shower Temperature!
Congratulations – you have successfully adjusted the temperature on your Delta shower faucet! Now, you can enjoy a comfortable shower every time without worrying about inconsistent temperatures. Remember, if you ever need to make further adjustments, simply follow these steps again.
By now, you should better understand how to adjust the temperature on a Delta shower faucet. With these simple steps, you can quickly achieve your desired water temperature and ensure everyone using your shower is safety.
5 Additional Tips and Tricks
- Understanding the Control System: The first step to adjusting the temperature on a Delta shower faucet is to understand the control system. Most Delta shower faucets use a rotational limit stop, a small plastic disc that controls the hot water range.
- Safety First: Always turn off the water supply before adjusting the temperature. This will prevent any accidental scalding or flooding.
- Proper Tools: Ensure you have a Phillips head screwdriver and an Allen wrench at hand; these are generally the tools needed to remove the handle and adjust the temperature limit stop.
- Testing the Temperature: After adjusting the temperature, remember to test it. Allow the water to run for a minute, and then check the temperature to ensure it’s at a comfortable level.
- Maintenance: Like any faucet, regular maintenance is key. Keep an eye out for leaks or drips, as these may indicate a need for further adjustments or replacements.

With these additional tips and tricks, you should have no trouble adjusting the temperature on your Delta shower faucet.
5 Things You Should Avoid
- Forcing the Control System: Never attempt to force the control system while adjusting the temperature. Doing so may lead to damage.
- Skipping the Safety Measures: Pay attention to the safety step of turning off the water supply before starting the process. It can prevent accidental injuries.
- Using Improper Tools: Avoid using tools other than a Phillips head screwdriver and an Allen wrench while making the adjustments, as they may cause unnecessary damage to the faucet.
- Not Testing the Temperature: Remember to test the water temperature after adjusting. Please do so to avoid an unpleasant shower.
- Ignoring Regular Maintenance: Avoid neglecting regular maintenance. Observing for any leaks or drips regularly is crucial, as these issues may indicate a need for further adjustments or replacements.
By following these tips and avoiding these mistakes, you can easily adjust the temperature on your Delta shower faucet and maintain it for years to come.
Is It Possible to Increase Shower Pressure?
Yes, increasing the shower pressure on a Delta shower faucet is possible. Here are some tips to help you achieve a more robust water flow:
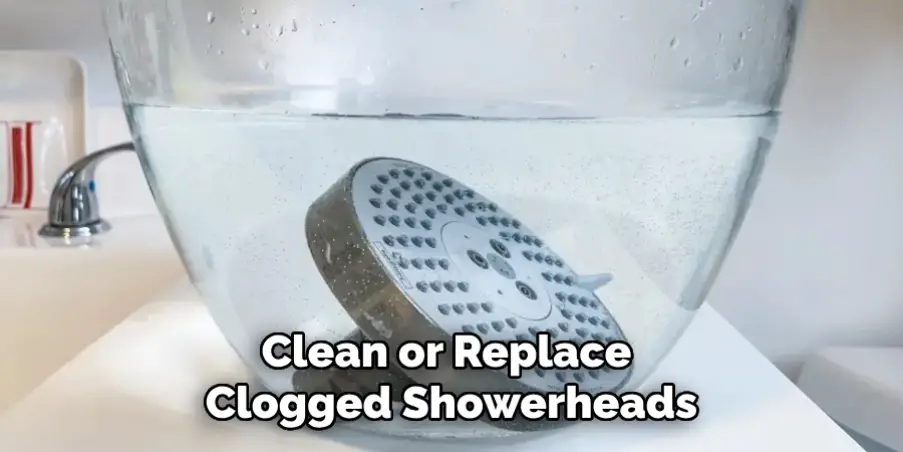
- Clean or replace clogged showerheads and faucets.
- Check for any blockages in the water supply line.
- Install a high-pressure showerhead or an adjustable flow restrictor.
- Check the hot and cold water valves to ensure they are fully open.
By following these steps, you should be able to increase the shower pressure on your Delta faucet and enjoy a more satisfying shower experience. Remember always to follow safety precautions and regularly maintain your faucet for optimal performance.

Why is the Water in My Shower Not Hot Enough?
If the water in your shower is not hot enough, there could be a few possible reasons:
- The temperature limit stop on your Delta shower faucet may need to be correctly set. Try adjusting it to a higher temperature if needed.
- Your hot water heater may need to be adjusted or replaced.
- There could be an issue with the hot water supply line, such as a blockage or leak.
It’s important to troubleshoot and address these issues promptly to ensure a comfortable and enjoyable shower experience. If you are unsure of how to make any necessary adjustments, it’s always best to consult a professional plumber for assistance.
Conclusion
All in all, how to adjust the temperature on a delta shower faucet is quite simple, and now that you’ve had this helpful guide, you should be able to do it without much difficulty.
Remember that if you don’t feel comfortable doing this yourself or run into any difficulties during the process, it may be time to call in a professional. Plumbing can be hazardous if not taken care of, so adequately calling in the experts may save you from a lot of hassle!
Overall, with this information at your fingertips, anyone can easily take control of their home’s plumbing and adjust their Delta shower faucet temperatures as desired. So go ahead and give it a try; you never know what other amazing things you may learn!

