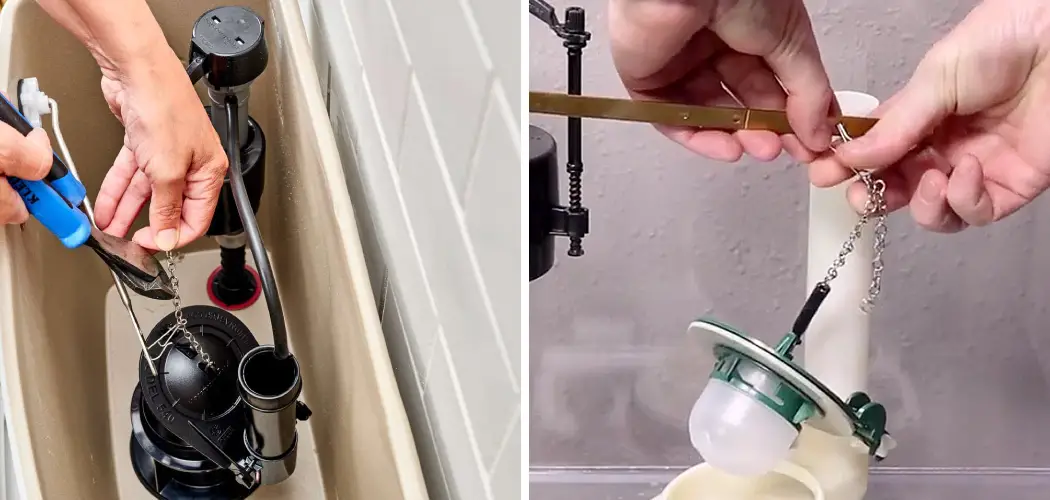
Adjusting the toilet flapper chain is a crucial maintenance task that can help prevent common toilet issues, such as constant running water or incomplete flushing. A properly adjusted chain ensures that the flapper opens and closes correctly, allowing for efficient water usage and preventing waste.
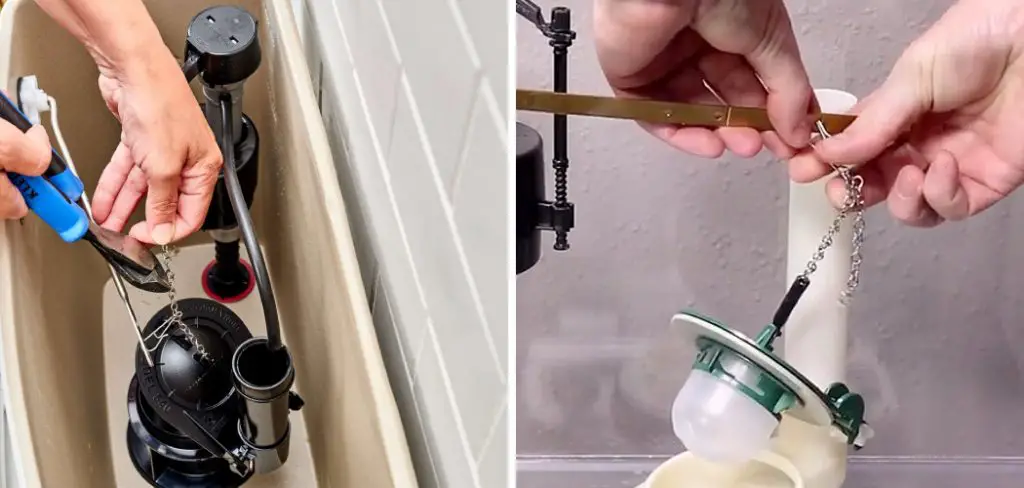
In this guide on how to adjust toilet flapper chain, we’ll walk you through the steps to ensure your toilet functions optimally, saving you both water and money in the long run. Whether you’re a seasoned DIYer or a beginner, this straightforward process can be accomplished in just a few minutes with minimal tools.
Why is Adjusting the Toilet Flapper Chain Important?
As mentioned earlier, the toilet flapper chain is responsible for opening and closing the flapper when you flush. If the chain is too loose or too tight, it can cause issues with flushing, resulting in water wastage and potential leaks. It’s essential to adjust the chain periodically to ensure proper functioning of your toilet.
Moreover, an incorrectly adjusted chain can cause damage to other parts of the toilet, such as the flapper itself or the flush valve. These damages can lead to costly repairs in the future. By regularly adjusting the chain, you can prevent these problems from occurring and extend the longevity of your toilet.
Tools Required
Before we dive into the steps for adjusting the chain, here are a few tools you’ll need:
Pliers:
These will come in handy for loosening and tightening the chain.
Screwdriver:
If you have a toilet with a ballcock-style fill valve, you may need a screwdriver to adjust the float level as well.
Measuring Tape:
You’ll need this to measure the length of the chain accurately.
8 Steps on How to Adjust Toilet Flapper Chain
Step 1: Turn Off the Water Supply
Before making any adjustments to the toilet flapper chain, the first step is to turn off the water supply to your toilet. Locate the shut-off valve, which is typically found on the wall behind the toilet, near the floor. Turn the valve clockwise until it stops.
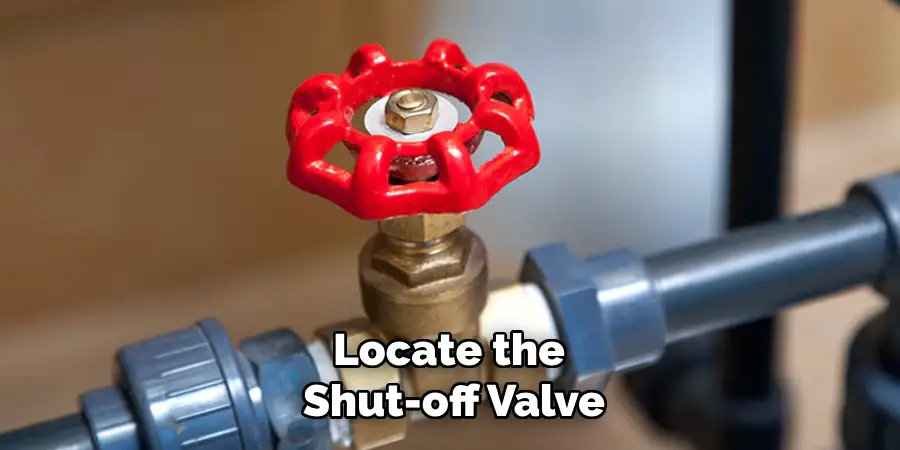
This will prevent any accidental overflow or flooding while you work on your toilet. Once the water supply is turned off, you can safely proceed to the next steps in adjusting the flapper chain.
Step 2: Remove the Toilet Tank Lid
Once the water supply is turned off, the next step is to carefully remove the toilet tank lid. Gently lift the lid straight up to avoid damaging the tank or the lid itself. Place it in a safe location to prevent it from falling or getting scratched.
With the lid removed, you will have access to the internal components of the toilet tank, including the flapper and chain, allowing you to assess the current condition and make the necessary adjustments. Be cautious while handling the lid, as it can be heavy and may break if dropped.
Step 3: Measure the Chain Length
With the toilet tank lid safely removed, the next step is to measure the length of the flapper chain. Using your measuring tape, carefully stretch it alongside the chain while ensuring that it is not tangled or twisted.
The ideal length of the chain should allow the flapper to open fully when you flush but should not be so long that it gets caught on any of the tank’s internal components. Typically, a good length allows about half an inch of slack in the chain when the flapper is in a closed position. Once you have measured the chain length, you can determine if it needs adjustment or replacement.
Step 4: Adjust the Chain Length
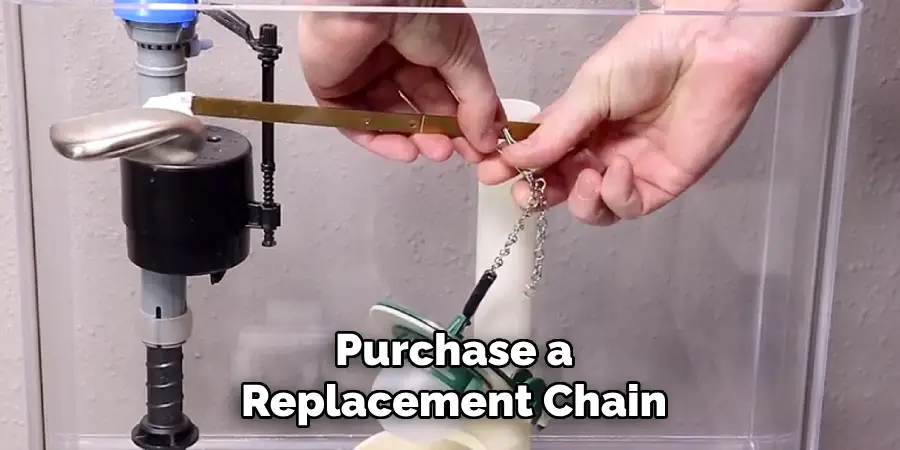
Now that you know the correct length of the chain, you can adjust it accordingly. If the chain is too long, use your pliers to remove any excess links. On the other hand, if the chain is too short, you may need to add an additional link using extra pieces of wire or by purchasing a replacement chain from a hardware store.
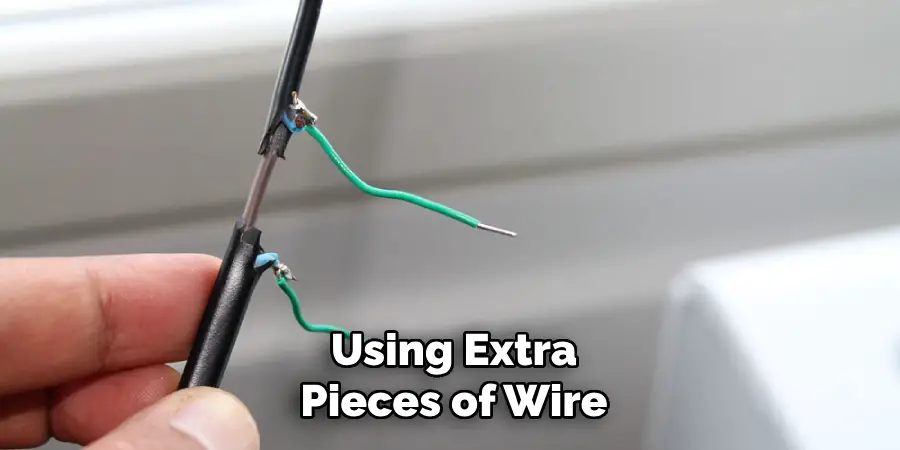
As you make adjustments, be sure not to over-tighten or stretch out the chain, as this can cause issues with flushing later on.
Step 5: Check Flapper Alignment
After adjusting the chain length, it’s important to check the alignment of the flapper. Ensure that the flapper sits evenly over the flush valve opening and that there are no gaps. A misaligned flapper can lead to incomplete flushing or leakage, wasting water and reducing efficiency.
To check the alignment, gently press down on the flapper to see if it creates a seal. If it appears to be misaligned, you may need to adjust the positioning of the flapper itself or the chain further. Proper alignment will enhance the toilet’s flushing performance and contribute to better water conservation.
Step 6: Reinstall the Toilet Tank Lid
Once you have made all the necessary adjustments and ensured proper flapper alignment, it’s time to reinstall the toilet tank lid. Carefully place it back on top of the tank, making sure that it is sitting securely.
Avoid placing any pressure or weight on the lid while installing it, as this can cause cracks or damage to the porcelain material. If your toilet has a two-piece flush valve system, be sure to reconnect the chain back to its original position before securing the lid.
Step 7: Turn On the Water Supply and Test Flushing
With everything reinstalled, you can now turn on the water supply by turning the shut-off valve counter-clockwise until it stops. Wait for the tank to fill up and then proceed to test flush your toilet a few times.
Observe the flushing performance and listen for any unusual sounds or leaks. If everything appears to be working properly, congratulations! You have successfully adjusted your toilet flapper chain. However, if you notice any issues, such as weak flushing or leakage, you may need to make further adjustments or consult a professional plumber.
Step 8: Perform Periodic Checks and Adjustments
Adjusting the toilet flapper chain is not a one-time task but rather requires periodic checks and adjustments. As parts wear down over time, the chain length may need to be readjusted to maintain optimal performance. It’s recommended to check the chain length at least once a year or whenever you notice any issues with flushing.
By regularly adjusting the chain, you can prevent costly repairs and extend the life of your toilet. Additionally, it contributes to efficient water usage, helping you save on your utility bills and conserve this precious resource for future generations.

Following these easy steps on how to adjust toilet flapper chain can help you adjust your toilet flapper chain and ensure that your toilet is functioning properly. Remember to always turn off the water supply before making any adjustments, and be sure to check for proper alignment after every adjustment. With a little bit of maintenance, you can keep your toilet running smoothly for years to come.
Frequently Asked Questions
Q: Can I Use Any Type of Pliers for Adjusting the Toilet Flapper Chain?
A: Yes, you can use regular household pliers as long as they are in good condition and do not have sharp edges that could damage the chain or other components. However, needle-nose pliers or chain-nose pliers may provide better precision and grip for adjusting the chain.
Q: How Can I Tell if My Flapper Chain Needs Adjustment?
A: If your toilet is not flushing properly, it could be a sign that the flapper chain needs adjustment. Additionally, if you notice any leakage or unusual sounds coming from your toilet tank after flushing, these are also indications that the chain may need to be adjusted.
Q: What Should I Do if My Toilet Flapper Chain Keeps Getting Tangled or Twisted?
A: This is often caused by an excessively long chain or improper positioning of the chain. Try shortening the chain and making sure it is not twisted or caught on any other components in the tank. If the issue persists, consult a professional plumber for further assistance.
Q: Can I Replace My Flapper Chain Instead of Adjusting It?
A: Yes, if the chain is severely damaged or too short to be adjusted, it may be necessary to replace it. You can purchase a replacement chain from a hardware store or online and follow the same steps as adjusting the chain length. You may also opt for a longer-lasting chain made of stainless steel or brass to prevent frequent replacements.
Conclusion
Adjusting the toilet flapper chain is an important maintenance task that should not be overlooked. By following these 8 simple steps on how to adjust toilet flapper chain and performing periodic checks, you can ensure that your toilet continues to function properly and efficiently.
Remember to always turn off the water supply before making any adjustments and handle all components with care to avoid damage. By taking care of your toilet, you are not only saving money and resources but also contributing to a cleaner and healthier environment.

