Are you planning to install a new pipe or fix a leaky one? One crucial step in the process is applying thread sealant. Thread sealant creates a watertight seal between threaded pipes and fittings, preventing leaks and ensuring smooth flow.
Applying thread sealant is crucial in ensuring a secure and leak-free connection for threaded pipes and fittings. Whether working on plumbing systems, automotive repairs, or industrial equipment, using the right sealant and proper technique can prevent leaks, enhance durability, and maintain system efficiency. Additionally, by creating a tight seal, thread sealant can also prevent contamination and corrosion in pipes and fittings, prolonging their lifespan.
This guide on how to apply thread sealant will walk you through the key steps and best practices for applying thread sealant effectively, ensuring reliable results for your project.
What Are the Benefits of Using Thread Sealant?
Thread sealant, pipe dope, or PTFE tape offers numerous advantages when used correctly. Some of the key benefits include:
- Preventing Leaks: By sealing gaps or irregularities between threaded connections, thread sealant ensures that fluids and gases do not escape pipes or fittings.
- Enhancing Durability: Thread sealant helps to protect threads from wear and tear, reducing the risk of damage or failure over time.
- Maintaining System Efficiency: Leaks and corrosion can impact the efficiency of a system, leading to higher energy costs. With thread sealant, you can maintain optimal performance and save on maintenance expenses.
- Preventing Contamination: In industries where contamination is a concern, such as food production or pharmaceuticals, thread sealant helps to prevent foreign substances from entering the system.
- Compatibility with Various Materials: Thread sealant can be used on various materials, including metal, plastic, and rubber. This versatility makes it a convenient solution for various applications.
What Will You Need?
- Thread sealant (such as Teflon tape or pipe dope)
- Clean rag or towel
- Pipe wrench or pliers (if necessary)
Once you have gathered all the necessary materials, follow these steps to apply thread sealant.
8 Easy Steps on How to Apply Thread Sealant
Step 1. Prepare the Threads:
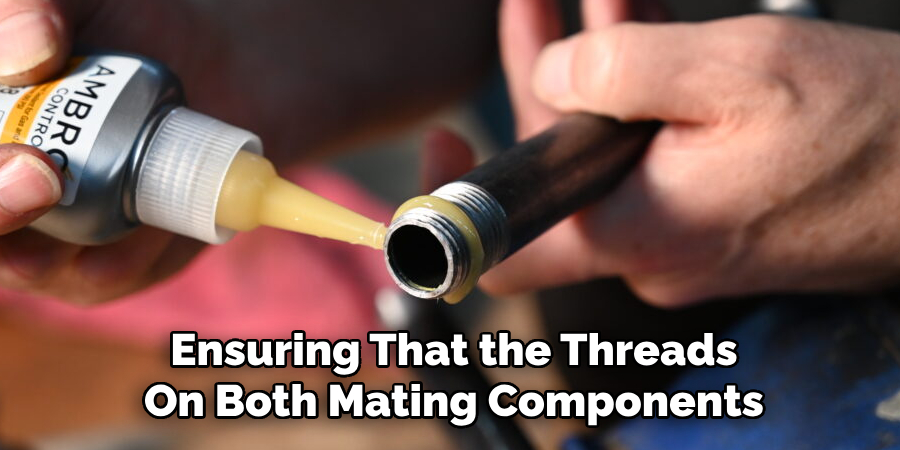
Begin by ensuring that the threads on both mating components are clean and debris-free. Use a clean rag or towel to wipe away any dirt, grease, or residue that may interfere with the proper adhesion of the thread sealant. If old thread sealant or tape remains on the threads, carefully remove it using a wire brush or another suitable tool. This step is crucial because any leftover residue or contaminants can compromise the seal and lead to potential leaks. Additionally, inspect the threads for signs of damage or wear—damaged threads may not seal properly, and you should replace or repair them before proceeding.
Step 2. Choose Your Thread Sealant:
Choosing the proper thread sealant is critical to ensuring a secure and leak-proof connection. Various thread sealants are available, each designed for specific applications and conditions. For instance, liquid thread sealants work well in high-pressure systems and provide excellent sealing capabilities in industrial and residential settings. Teflon tape, on the other hand, is a versatile option that is easy to apply and commonly used in plumbing for water and gas lines.
Additionally, some sealants are designed to withstand extreme temperatures or corrosive environments, so it is essential to consider the environmental conditions your system will be exposed to. Always check the manufacturer’s specifications to ensure compatibility with the materials and the application you are working with. Properly selecting your thread sealant enhances the connection’s durability and reduces the risk of future maintenance issues.
Step 3. Check for Leaks
Checking for any potential leaks is essential once you have properly prepared and sealed your threaded connections. Even with thread sealants, there is a slight chance that leaks can still occur due to human error or unforeseen circumstances.
To check for leaks, you can perform a simple pressure test by applying air or water pressure to the system and inspecting for any visible signs of leakage. It is recommended to thoroughly inspect all connections, including those in hard-to-reach areas such as corners or joints.
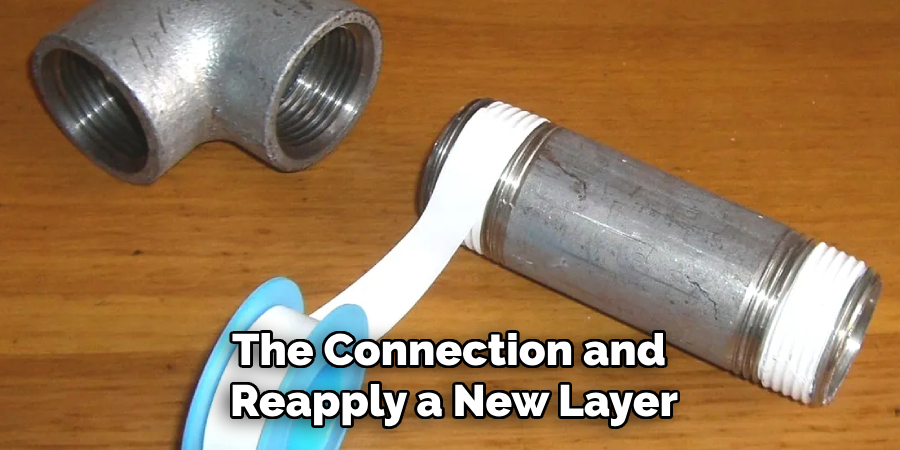
If any leaks are found, do not panic. Simply remove the connection and reapply a new layer of sealant before reconnecting. This step may seem tedious, but it is crucial for ensuring the safety and effectiveness of your plumbing system.
Step 4. Apply Sealant
Applying sealant is a critical step to ensure the integrity and durability of your plumbing system. Begin by selecting a high-quality sealant compatible with the type of material you are working with, such as Teflon tape for threaded connections or pipe joint compound for non-threaded joints. Before applying, ensure the surfaces are clean and dry, as dirt, grease, or moisture can weaken the seal and lead to potential leaks.
For threaded connections, wrap Teflon tape tightly around the threads in a clockwise direction, overlapping each layer slightly to create a uniform coating. Use a pipe joint compound in moderate amounts for smooth surfaces or larger joints, spreading it evenly with a brush or applicator for thorough coverage. Avoid over-applying sealant, as this can cause excess material to squeeze into the pipe or joint, potentially obstructing water flow or creating an unnecessary mess.
Step 5. Follow Proper Curing Times
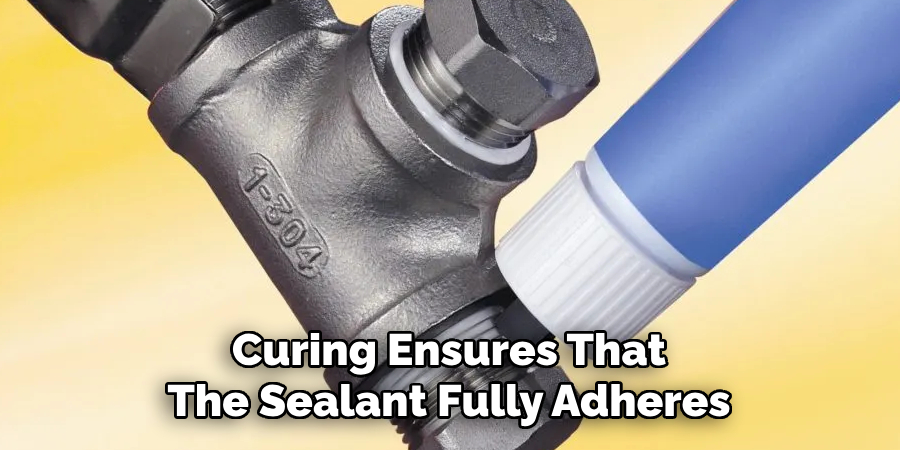
After applying the sealant, allow adequate curing time as specified by the manufacturer before testing the connection. Curing ensures that the sealant fully adheres and achieves an airtight and watertight bond. For Teflon tape, connections are typically ready for use immediately upon assembly. However, pipe joint compounds or other liquid sealants may require several hours or even days to cure completely. Rushing this process can lead to leaks or compromised seals, so always adhere to the recommended drying or curing period for optimal results.
Step 6: Test the Connection
Once the curing period has passed, it’s time to test the integrity of the connection. Gradually introduce pressure or flow to the pipe system while inspecting for any signs of leakage. Start by slowly turning on the water or gas supply and carefully monitoring the joint. If any leaks are observed, tighten the connection or reapply the sealant following the proper procedures. Ensure the system operates at full pressure for a few minutes without issues before considering the seal fully secure.
Step 7: Final Inspection and Maintenance
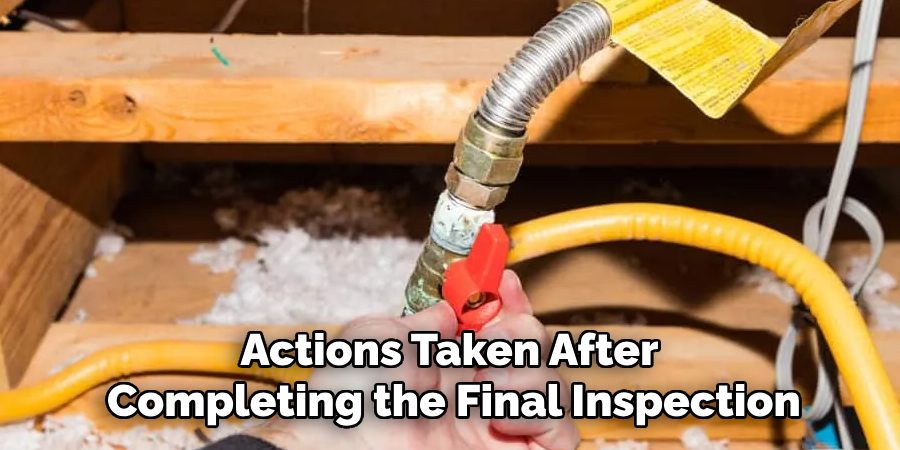
Once the system has been tested and deemed secure, perform a thorough final inspection to ensure all connections are correctly tightened and sealed. Check for residual moisture, gas odors, or irregular sounds that might indicate a potential issue. Clean the area around the joints to remove excess sealant or debris. Additionally, a regular maintenance schedule should be established to inspect and service the system periodically, ensuring long-term reliability and safety.
Step 8. Documentation and Handover
Document all findings and actions taken after completing the final inspection and maintenance. Ensure that any maintenance logs, inspection reports, and system manuals are updated and stored in an accessible location. Clearly label the components of the system and provide detailed instructions on operation and troubleshooting. Once documentation is complete, conduct a handover briefing to familiarize all relevant personnel with the system’s functions, safety measures, and maintenance requirements.
By following these best practices, organizations can ensure their systems’ smooth and efficient operation, minimize downtime, and reduce costs associated with repairs or replacements.
5 Things You Should Avoid
- Applying Excessive Sealant
Using too much thread sealant can lead to excess material squeezing into the system, potentially clogging passageways and affecting performance. Always apply the recommended amount as per the manufacturer’s guidelines.
- Skipping Surface Preparation
Applying thread sealant to dirty, oily, or wet threads can prevent proper adhesion and compromise the seal. Always thoroughly dry the threads before application to ensure a secure fit.
- Using the Wrong Type of Sealant
Not all thread sealants are suitable for every material or system. Using the wrong type can result in leaks, corrosion, or system failure. Always select a sealant compatible with your system’s materials and operating conditions.
- Failing to Allow Proper Curing Time
Many thread sealants require a specific curing period before the system can operate at full pressure. Rushing the process or skipping the curing time can lead to leaks and inefficiencies. Always follow the curing instructions provided by the manufacturer.
- Over-Tightening Connections
Over-tightening fittings after applying thread sealant can damage threads and the seal itself, causing leaks or system damage. Use the appropriate torque specifications to avoid this common mistake.
Conclusion
Correctly applying thread sealant is essential for creating a secure and leak-free connection in any system.
You can ensure effective and durable results by carefully selecting the right type of sealant, preparing the surfaces correctly, and adhering to manufacturer guidelines for application and curing. Avoid common mistakes like insufficient curing time or over-tightening connections to prevent potential system failures. Following these steps with attention to detail will help maintain the integrity and performance of your system over time.
Hopefully, the article on how to apply thread sealant has provided valuable insights and tips for ensuring leak-free connections in your plumbing, HVAC, or other systems. Happy sealing!

