Attaching a toilet chain to the handle is a simple yet important maintenance task that ensures your toilet functions properly. Over time, the chain connecting the handle to the flapper inside the tank can become loose, damaged, or disconnected, leading to flushing problems.
This guide on how to attach toilet chain to handle will provide clear and easy-to-follow steps to help you reattach the chain and restore your toilet’s efficiency. No advanced tools or plumbing expertise are required!
Understanding the Parts
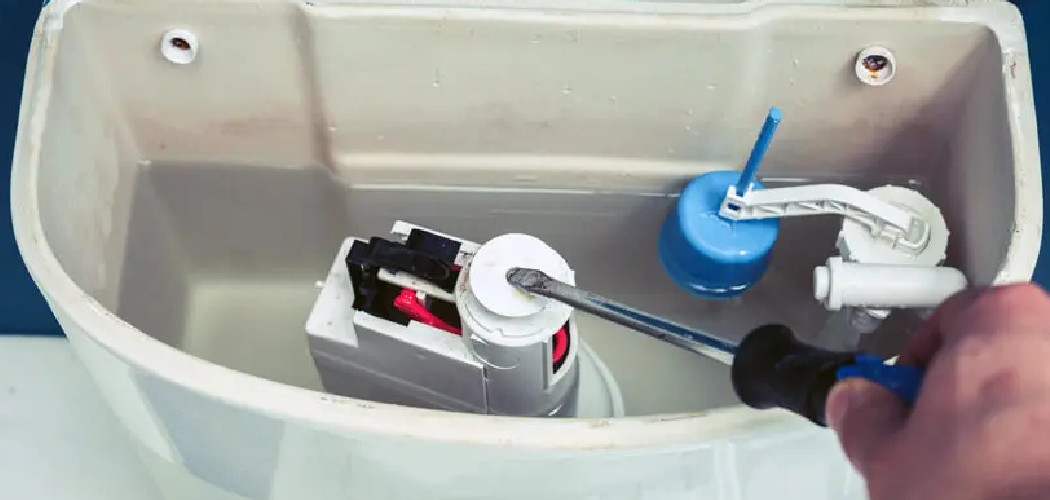
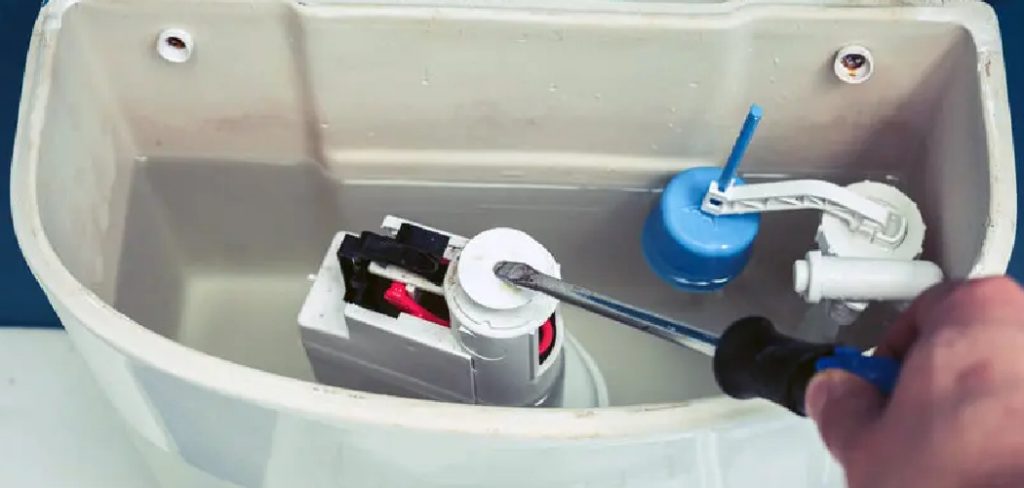
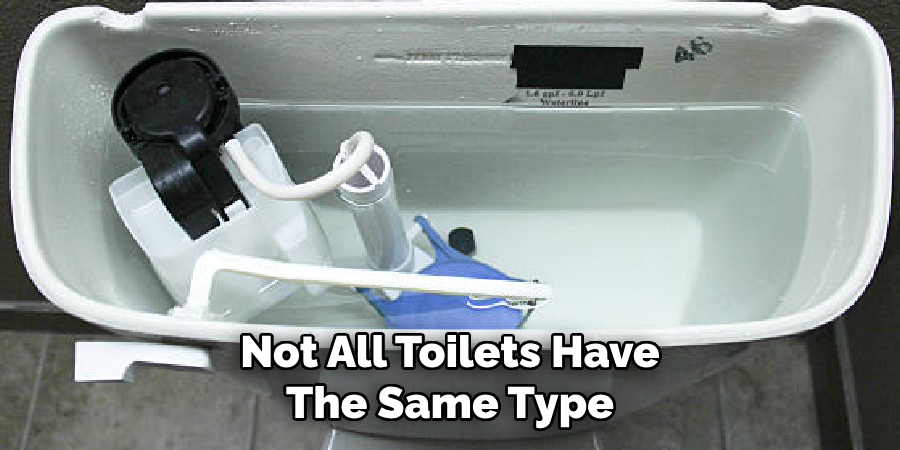
Before you can reattach the toilet chain, it’s important to familiarize yourself with the key components involved in the process. Inside the toilet tank, you’ll find the handle, which is connected to a lever on the inside of the tank. The chain links this lever to the flapper, a rubber or plastic valve that seals the opening at the bottom of the tank.
When the handle is pressed, the lever lifts the chain, which in turn raises the flapper to release water into the bowl for a flush. Understanding these parts and how they work together will make it easier to diagnose and fix any issues with the chain.
Tools and Materials Needed
Replacement Chain:
- Make sure to measure the length of your current chain and purchase a replacement that is the same size. It’s always a good idea to have an extra replacement chain on hand in case of emergency.
Pliers:
- These will be used to remove the old chain and attach the new one.
Adjustable Wrench:
- This tool may be needed to loosen or tighten any bolts that hold the toilet tank in place.
Screwdriver:
- You may need this tool if you need to unscrew any parts for easier access during the replacement process.
Bucket:
- Having a bucket on hand will be helpful to catch any excess water that may spill during the replacement process.
Cleaning Supplies:
- It’s always a good idea to have some cleaning supplies on hand, such as disinfectant wipes or paper towels, to clean up any messes that may occur.
- You can also use these supplies to wipe down the toilet and surrounding area after the replacement is complete.
6 Steps on How to Attach Toilet Chain to Handle
Step 1: Shut Off the Water Supply
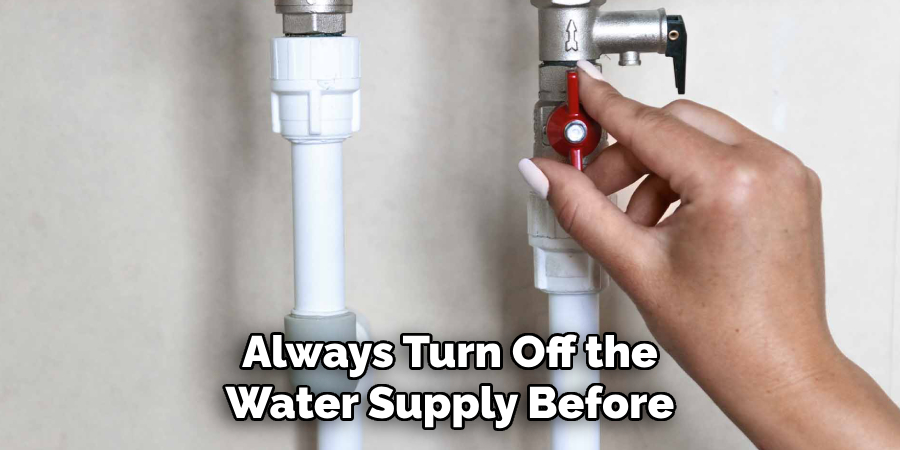
Before starting the replacement process, locate the water supply valve, typically found on the wall behind or near the toilet. Turn the valve clockwise to shut off the water supply completely.
This step is crucial to prevent any water from flowing into the tank while you work, ensuring a clean and manageable repair process. Once the water is off, flush the toilet to drain as much water as possible from the tank. Use a towel or sponge to remove any remaining water for a dry workspace.
Step 2: Remove the Toilet Tank Lid
Carefully lift the lid off the toilet tank and set it aside in a safe location to avoid any damage. The lid can often be heavy or fragile, so handle it gently to prevent cracking or chipping. Place it on a soft surface, such as a towel, to ensure it stays secure while you work.
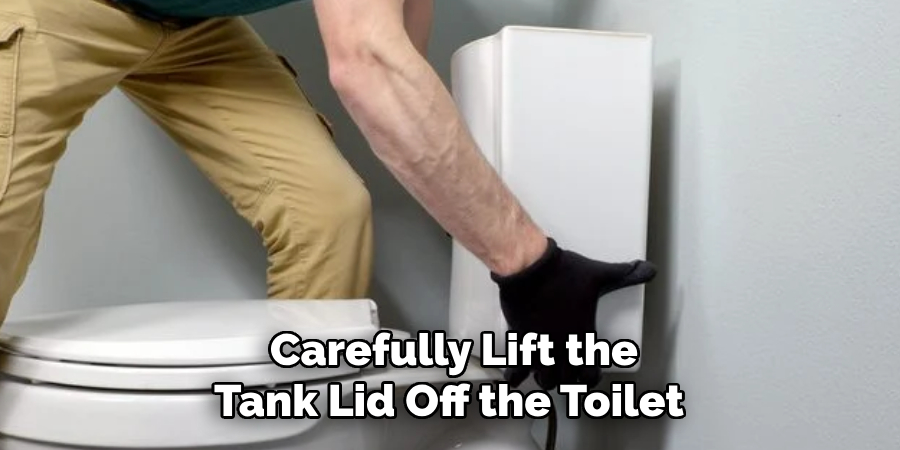
Removing the lid provides access to the internal components of the tank, allowing you to inspect and replace the necessary parts with ease.
Step 3: Locate the Chain and Handle
Once the lid is removed, identify the chain and handle mechanism inside the tank. The handle is connected to a lever that extends into the tank, and the chain links this lever to the flapper at the bottom of the tank.
Examine the connection points to ensure the components are intact and functioning properly. If the chain appears tangled, disconnected, or broken, this may be the cause of the toilet’s malfunction. Identifying these parts is essential for making any necessary adjustments or repairs.
Step 4: Adjust Chain Length
To ensure proper functioning of the toilet, the chain connecting the handle lever to the flapper needs to have the correct length. If the chain is too long, it may prevent the flapper from sealing tightly, causing the toilet to run continuously.
Conversely, if the chain is too short, it might not allow the flapper to open fully, reducing the flushing efficiency. Adjust the chain by carefully removing it from the lever or the flapper and reattaching it at a different link to achieve the ideal length. Ensure there is a slight slack in the chain when the handle is at rest, allowing smooth and effective operation.
Step 5: Check Flapper
Inspect the flapper for any signs of wear, damage, or improper alignment. A worn-out or warped flapper can prevent a proper seal, leading to water leakage. Gently lift the flapper and ensure it moves freely without obstruction. If the flapper appears damaged or does not sit flush against the valve seat, consider replacing it with a new one.
Make sure to choose a flapper that matches the specific model of your toilet for optimal performance. After replacing or adjusting the flapper, test the toilet by flushing to confirm that it seals properly and stops the water flow once the tank refills.
Step 6: Test Flush
With everything in place and properly adjusted, flush the toilet to see if the issue has been resolved. If not, there may be a deeper problem with your toilet’s plumbing that will require professional assistance.
Following these steps on how to attach toilet chain to handle will help you troubleshoot and fix a common toilet issue. Remember to always turn off the water supply before making any adjustments and to properly tighten all connections to avoid leaks. Regular maintenance of your toilet can also prevent future issues from occurring, such as checking for any cracks or wear on the flapper or chain.
Additional Tips
- If you notice water continuously running into the toilet bowl, it could indicate a faulty flapper or chain. In this case, it is recommended to replace these parts to prevent water waste and potential damage.
- It is important to use proper tools when making adjustments to your toilet handle and chain. Using pliers or wrenches can help tighten connections securely without causing any damage.
- If you are unsure of how to properly troubleshoot or fix an issue with your toilet, it is best to consult a professional plumber for assistance. They have the knowledge and experience to resolve any problems effectively and efficiently.
- Regularly cleaning and maintaining your toilet can also prevent issues with the handle and chain from occurring. Clearing away any debris or buildup in the tank and regularly checking the condition of the handle and chain can help prolong their lifespan.
- In some cases, the handle or chain may need to be replaced if they become too worn or damaged. You can purchase replacement parts from a hardware store or plumbing supply store, and following the manufacturer’s instructions for installation.
- It is important to note that not all toilets have the same type of handle and chain mechanism. Some newer toilets may have a push-button flush instead of a traditional lever handle. If this is the case, it is best to consult the toilet’s manual for specific instructions on troubleshooting and maintenance.
Frequently Asked Questions
Q1: Can I Fix a Constantly Running Toilet on My Own?
A: Depending on the issue, it is possible to fix a constantly running toilet yourself. However, if you are unsure of what the problem is or do not feel comfortable attempting the repair, it is always best to consult a professional plumber.
Q2: What Causes a Toilet to Run Constantly?
A: There are several potential causes for a toilet to run constantly. Some common reasons include a faulty flapper or fill valve, a leak in the toilet tank, or an issue with the flush handle or chain.
Q3: How Can I Tell if My Toilet is Running?
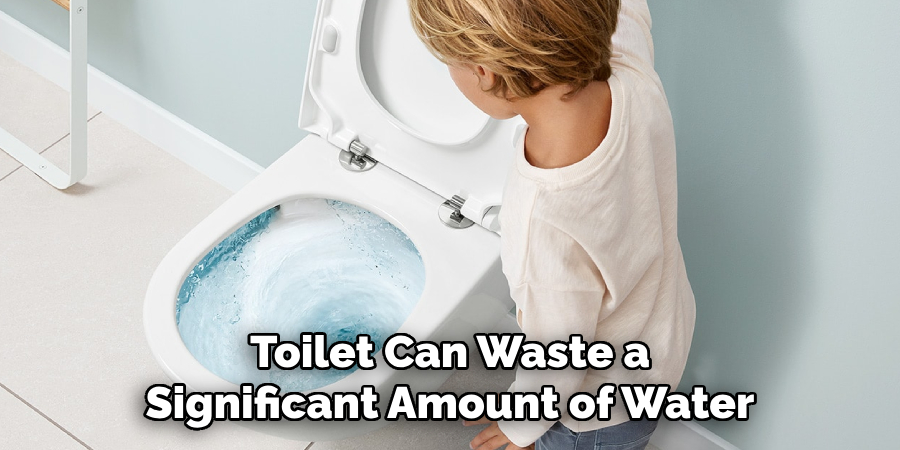
A: If you hear a continuous hissing sound coming from your toilet or notice that the water level in the tank is constantly dropping and refilling, then your toilet is most likely running. It’s also a good idea to check your water bill for any unexpected increases in usage, as a running toilet can waste a significant amount of water and lead to higher bills.
Q4: Is a Constantly Running Toilet Wasting Water?
A: Yes, a constantly running toilet can waste a significant amount of water. In fact, it can waste up to 200 gallons of water per day, which can significantly increase your water bill.
Conclusion
A running toilet may seem like a minor inconvenience, but it can lead to substantial water waste and higher utility bills if left unaddressed. By identifying the cause early, such as a faulty flapper, flush handle, or chain, you can take the necessary steps to fix the issue and conserve water.
Regular maintenance and prompt repairs can not only save you money but also contribute to more sustainable water usage in the long run. Thanks for reading this article on how to attach toilet chain to handle.

