Backflushing water lines is an essential maintenance procedure for homeowners, designed to remove sediment, debris, and minerals that can accumulate over time. This buildup can restrict water flow, reduce the efficiency of your plumbing system, and even lead to costly repairs if not addressed.
By utilizing a backflush technique, you can help restore optimal functionality to your water lines, ensuring clean and efficient water delivery throughout your home.
In this guide on how to backflush water lines in house, we will walk you through the steps involved in properly backflushing your water lines, highlighting the tools you’ll need and best practices to follow for a successful outcome.
Why Backflushing is Important
Backflushing is crucial for maintaining the health and efficiency of your home’s plumbing system. Over time, contaminants such as dirt, rust, and mineral deposits can accumulate in the water lines, leading to decreased water quality and flow. This buildup not only compromises the integrity of your plumbing but can also cause appliances to function inefficiently, potentially resulting in increased energy costs and premature wear.
Regular backflushing helps prevent these issues, ensuring that your water remains fresh and that your plumbing system operates smoothly. Additionally, it can extend the lifespan of your fixtures and appliances, saving homeowners both time and money in repair costs.
Needed Materials
Backflushing Kit:
To successfully backflush your water lines, you will need to have a backflushing kit. This kit typically includes a hose, adapter, and backflow preventer. You can purchase a backflushing kit at most home improvement stores or online.
Wrench:
You may also require a wrench to loosen any stubborn sediment that has accumulated in your pipes. A standard pipe wrench is usually sufficient for this task.

Bucket:
Having a bucket on hand is essential for collecting any dirty water that comes out of the water lines during the backflushing process. This prevents messes and allows for easy disposal of the contaminated water.
8 Step-by-step Guidelines on How to Backflush Water Lines in House
Step 1: Shut Off the Main Water Supply
Before beginning the backflushing process, it is crucial to shut off the main water supply to your home. This step will prevent any water from flowing through the pipes while you are working, minimizing the risk of leaks or water damage.
Locate the main shut-off valve, typically found near where the water line enters your home, and turn it clockwise until it is fully closed. Once the water supply is off, you can proceed confidently to the next steps of the backflushing procedure.
Step 2: Locate the Backflow Preventer
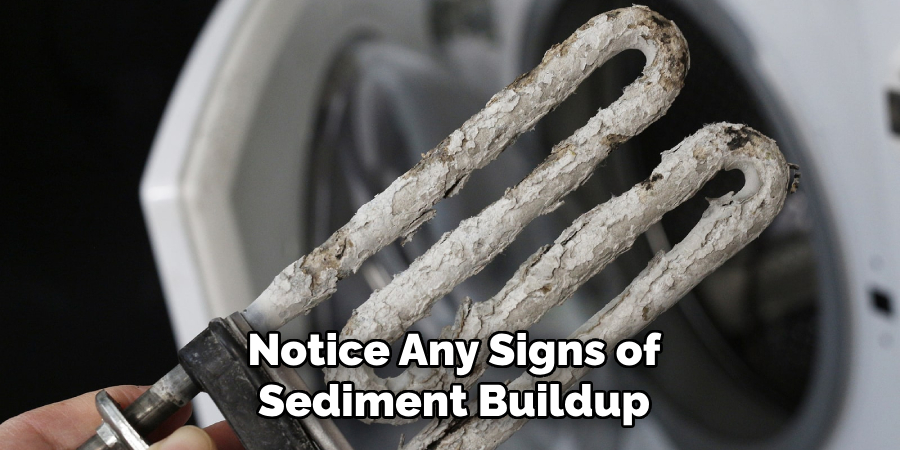
After shutting off the main water supply, the next step is to locate the backflow preventer in your plumbing system. This device is typically installed near the water entry point into your home and is essential for preventing contaminated water from flowing back into the main water supply. Once you’ve identified the backflow preventer, inspect it for any signs of damage or sediment buildup.
If you notice any issues, it’s advisable to clean or replace the component before proceeding. Properly maintaining the backflow preventer ensures that your backflow process will be effective and that your water supply remains clean and safe.
Step 3: Connect the Backflushing Kit
Once you have located the backflow preventer, it’s time to connect your backflushing kit. Begin by attaching the adapter from the kit to the backflow preventer’s outlet. Make sure it fits snugly to avoid any leaks during the process. Next, connect one end of the hose to the adapter and the other end to a nearby faucet or hose bib.
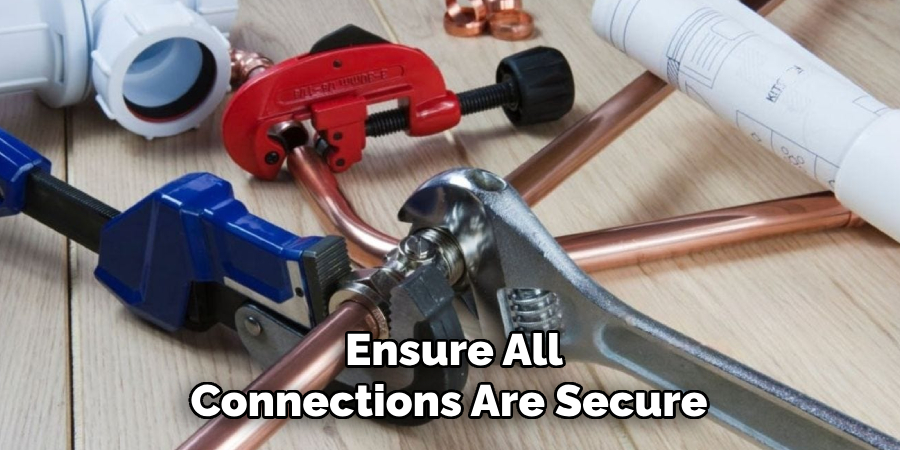
This connection will allow the water to flow through the hose when the backflush is initiated. Ensure all connections are secure, as this will help maintain consistent pressure once the backflushing begins. With the kit properly connected, you’ll be ready to proceed to the next step.
Step 4: Turn On The Water and Flush the Lines
Before initiating a backflush, it’s essential to turn off any appliances connected to your water supply. This will prevent potential damage to these devices during the process. Next, turn on the water supply by opening the faucet or hose bib attached to the end of your backflushing kit.
Allow the water to flow for a few minutes until you notice that it is running clear without any signs of sediment or debris. Once this occurs, you can proceed with the actual backflushing process.
Step 5: Begin Backflushing
To begin the backflushing process, close off all faucets and valves throughout your home, except for the one connected to the backflushing kit. Next, turn on the water supply and allow it to flow through your plumbing system in reverse direction, loosening any sediment or debris that has accumulated over time.
It may be necessary to use a wrench to loosen stubborn buildup in your pipes. Continue this process until you see clear water flowing from the faucet or hose bib attached to the backflushing kit.
Step 6: Monitor for Signs of Progress
As the backflushing process continues, it’s important to monitor the flow of water carefully. Watch for changes in the clarity of the water, as this will indicate whether sediment and debris are being successfully dislodged from your pipes. Initially, you may notice discolored water, which is expected during this process.
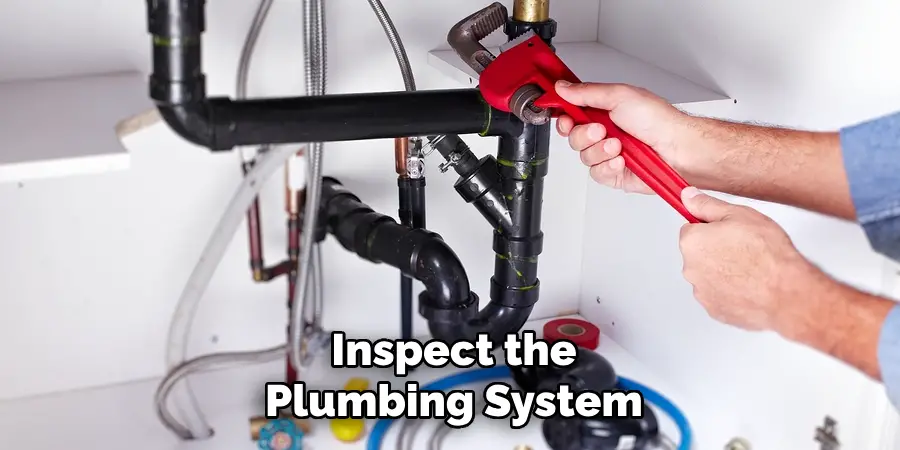
However, as you proceed, the water should gradually clear. Additionally, listen for any unusual noises from the plumbing system that may signal excess pressure or further blockages. If the water does not seem to be clearing after several minutes, it may be necessary to pause the backflushing process and inspect the plumbing system for more significant issues. Keeping an eye on these signs will ensure that you achieve the best results from your backflushing efforts.
Step 7: Rinse and Repeat
After completing the initial backflushing process, it’s essential to rinse out your pipes thoroughly. To do this, turn off the water supply and disconnect all connections from the backflushing kit. Next, reopen the main shut-off valve and run cold water through all faucets in your home for several minutes until you notice clear water flowing.
This final step ensures that any loosened debris is flushed out of your plumbing system completely. If necessary, you can repeat the backflushing process until you achieve satisfactory results.
Step 8: Reconnect Appliances and Test Water Quality
Finally, once you have completed the backflushing process, it’s time to reconnect any appliances that were disconnected and turn them back on.
Before using your home’s water supply, it’s essential to test its quality by filling a glass with cold water and inspecting it for any signs of sediment or discoloration. If the water appears clear, you have successfully completed the backflushing process and have restored clean, safe water flow in your home’s plumbing system.
Following these steps on how to backflush water lines in house periodically can help maintain the quality of your home’s water supply and prevent potential health hazards associated with contaminated water. Regular backflushing is particularly important for homes that rely on well water or have older plumbing systems. By taking these simple steps, you can ensure the continued safety and functionality of your home’s water supply.
Frequently Asked Questions
Q: How Often Should I Backflush My Water Lines?
A: It is recommended to backflush your water lines at least once a year, or more frequently if you notice any signs of sediment buildup or discoloration in your water. It is also a good idea to backflush after any plumbing repairs or upgrades.
Q: Can I Backflush My Water Lines Without a Kit?
A: While it is possible to backflush your water lines without a kit, using a backflushing kit is highly recommended for optimal results. The kit provides the necessary adapters and connections to make the backflushing process more efficient and effective.
Q: Can I Use Hot Water During the Backflushing Process?
A: No, it is essential to only use cold water during the backflushing process. Hot water can loosen sediment and debris in your pipes, but it can also cause them to expand and potentially create blockages or bursts. Always use cold water for backflushing to avoid any potential damage to your plumbing system.
Q: Why is Backflushing Important?
A: Backflushing is crucial in maintaining the quality and functionality of your home’s water supply. Over time, sediment and debris can build up in your pipes, leading to decreased water flow, discoloration, and potential health hazards. Regular backflushing helps prevent these issues and ensures that clean, safe water flows through your plumbing system.
Conclusion
Backflushing your water lines is an essential maintenance task that helps ensure the integrity of your home’s plumbing system. By following these step-by-step guidelines on how to backflush water lines in house, you can easily perform this process yourself and reap the benefits of fresh, clean water in your home. Remember to regularly schedule backflushing as part of your home maintenance routine to prevent any potential issues and maintain the quality of your water supply.
Check it out to Eliminate Air in Water Pipes

