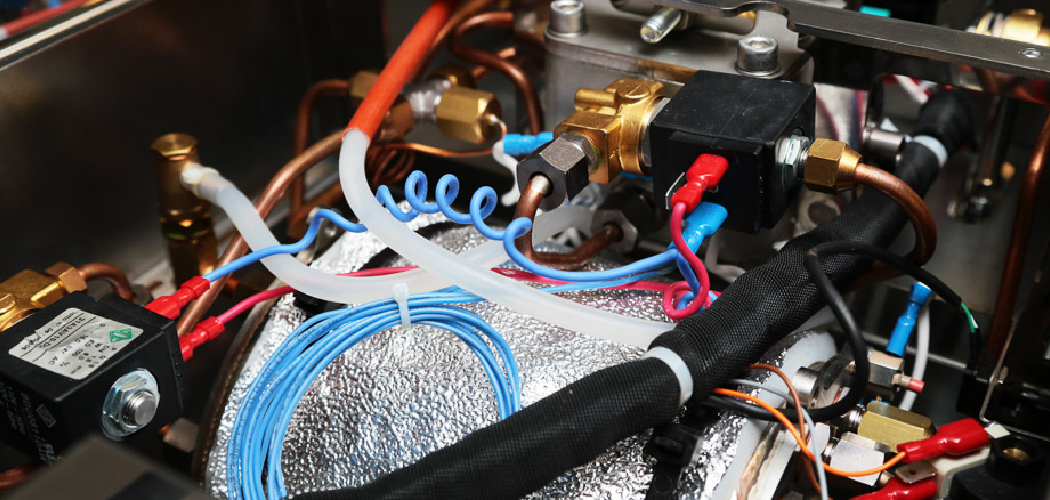
Are you tired of your radiators not heating up, making gurgling noises, or having cold spots? It might be time to bleed your boiler.
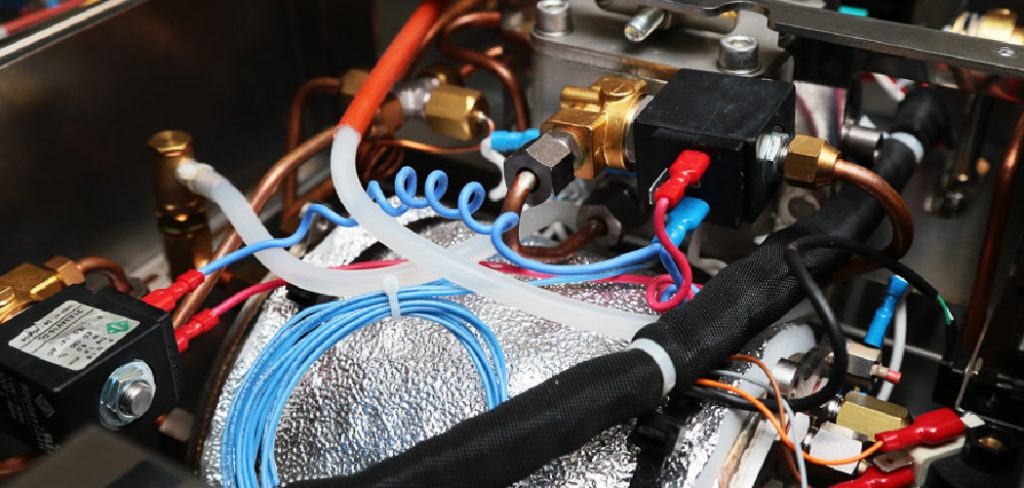
How to bleed a boiler is an essential maintenance task that helps ensure your heating system operates efficiently and effectively. Over time, air can become trapped inside the boiler or radiators, leading to uneven heating, strange noises, and reduced energy efficiency. Removing this trapped air can restore proper water circulation and improve overall heating performance. Additionally, bleeding your boiler can prevent costly repairs and extend the lifespan of your heating system.
This guide will walk you through bleeding a boiler step by step, ensuring your heating system remains in optimal condition and keeps your home warm and comfortable.
What Are the Benefits of Bleeding Your Boiler?
Bleeding your boiler offers several benefits, including improved heating performance and energy efficiency. By removing trapped air in the system, you can ensure that hot water flows freely through the pipes and radiators, resulting in more even heating throughout your home. This can also help reduce strange noises coming from the boiler or radiators.
Moreover, bleeding your boiler can save you money in the long run by preventing costly repairs. When air builds up in the system, it can cause pressure imbalances that put extra strain on various components of your boiler. Over time, this strain can lead to malfunctions and breakdowns that require expensive repairs. Regularly bleeding your boiler can prevent these issues and save money on repair costs.
What Will You Need?
You will need a few simple tools and materials to bleed your boiler. These include:
- A Radiator Bleed Key: This minor metal key is designed for bleeding radiators. It has a square or hexagonal head that fits into the valve on the side of your radiator.
- A Cloth or Towel: Use this to catch water that may spill out when bleeding the system.
- A Container: For safety purposes, it’s always a good idea to have a container or bucket nearby to catch any excess water that may come out while bleeding the boiler.
Once you have gathered all the necessary tools and materials, it’s time to bleed your radiator.
8 Easy Steps on How to Bleed a Boiler
Step 1. Turn Off the Heating System:
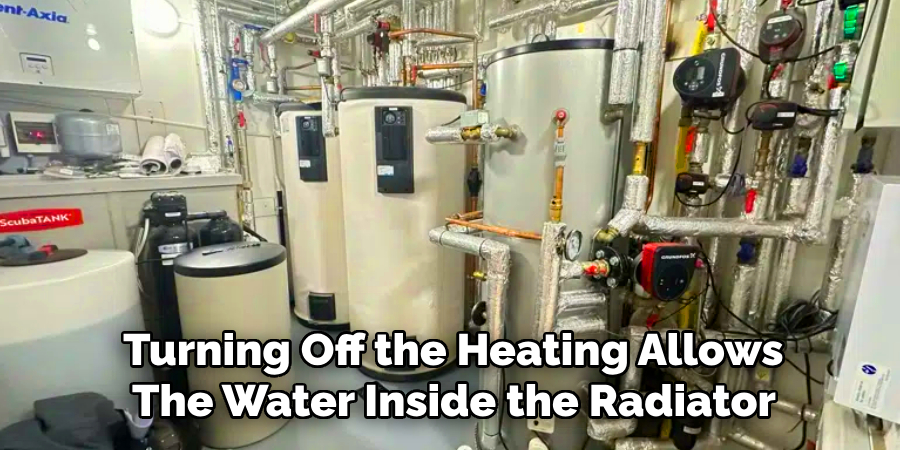
Before you start bleeding your radiator, ensure that your heating system is completely turned off. This step is critical for your safety and to avoid any accidents. Turning off the heating allows the water inside the radiator to cool down, preventing burns from hot water or steam that may escape during the process. Additionally, it ensures the system remains stable while performing the task. Wait 30-60 minutes after shutting down the heating system to allow the radiator to cool completely before proceeding to the next step.
Step 2: Prepare Your Tools and Workspace
Before starting, gather all the tools you’ll need, such as a radiator key, a small container or bowl to catch water, and a towel or cloth to protect your flooring. Place the container underneath the radiator bleed valve to catch any dripping water. Ensure the workspace around the radiator is clear of any obstacles or items that water could damage. Proper preparation will make the process smoother and help prevent any mess or accidents.
Step 3: Locate the Bleed Valve
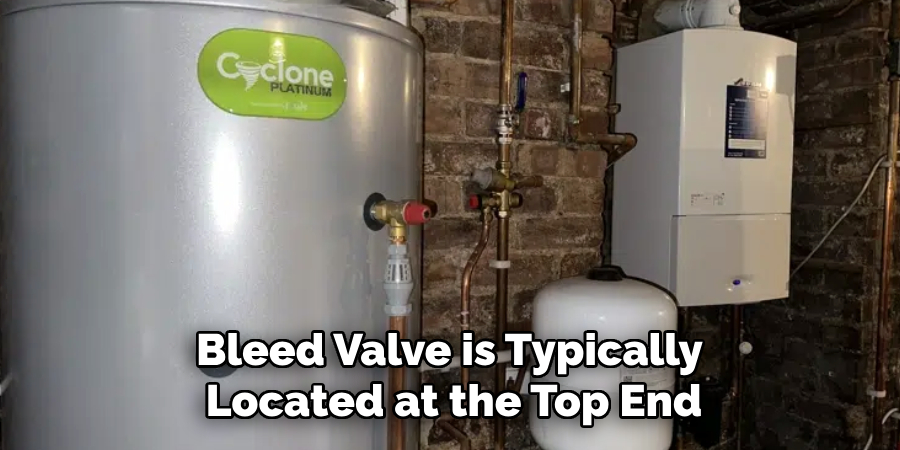
The bleed valve is typically located at the top end or side of the radiator and can usually be identified as a small metal valve with a square or slotted head. Before proceeding, inspect the radiator to ensure you’ve correctly located the valve. Some modern radiators may have a slightly different design, so consult your radiator’s manual if unsure.
Once you’ve found the valve, confirm that the radiator is cool to the touch to avoid any risk of burns from hot water. Position your radiator key or a flathead screwdriver (depending on the valve design) firmly on the valve to ensure complete control when turning it. Taking the time to locate and prepare the right valve properly is crucial for successfully bleeding your radiator.
Step 4: Turn the Valve
Slowly turn the valve counterclockwise with the radiator key or flathead screwdriver securely in place. You should hear a faint hissing sound as trapped air begins to escape from the radiator. Keep turning gently until the noise subsides and water flows steadily from the valve. Be sure to have a cloth or small container ready to catch any water that drips. Once the air is wholly released and only water is coming through, tightly close the valve by turning it clockwise.
Step 5: Check the Radiator’s Performance
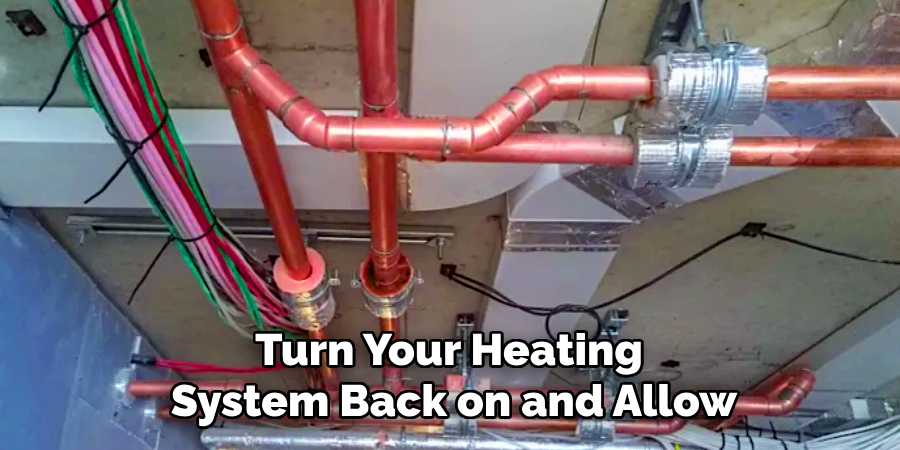
After closing the valve, turn your heating system back on and allow the radiator to warm up. Check to ensure the entire surface of the radiator is heating evenly. If there are still cold spots, repeat the bleeding process or consult a professional for further assistance. Regularly bleeding your radiator helps maintain its efficiency and ensures consistent warmth throughout your home.
Step 6: Perform Routine Maintenance
To keep your radiator functioning optimally, perform routine maintenance by periodically checking for signs of wear, leaks, or corrosion. Clean the radiator’s surface to prevent dust buildup, which can reduce its efficiency. Additionally, consider scheduling a professional inspection annually to ensure the entire heating system is in good working order. Consistent upkeep prolongs your radiator’s lifespan and enhances your heating system’s overall performance.
Step 7: Bleed the Radiator
Bleeding your radiator is a simple yet essential step to ensure it operates efficiently. Over time, air can become trapped inside the radiator, causing cold spots and reducing heating effectiveness. To bleed the radiator, turn off your heating system and locate the bleed valve, which is usually found at the top. Use a radiator key to turn the valve counterclockwise until you hear a hissing sound as the trapped air escapes. Once water begins to drip, tighten the valve back. Performing this step regularly can improve heat circulation and help maintain a comfortable home environment.
Step 8: Check the Boiler Pressure
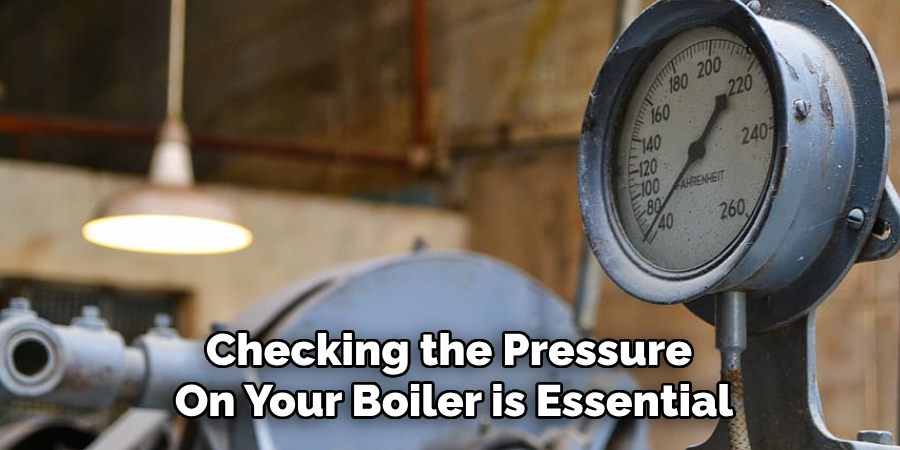
After bleeding your radiator, checking the pressure on your boiler is essential. Bleeding the radiator can sometimes cause the pressure to drop, which may affect the performance of your heating system. Locate the pressure gauge on your boiler, typically found on the front panel. The pressure should be within the recommended range marked on the indicator, often between 1.0 and 2.0 bar.
If the pressure is too low, use the filling loop on your boiler to add water until the correct pressure is reached. Always refer to your boiler’s manual for specific instructions, and if you’re unsure, consult a professional. Proper boiler pressure ensures that your heating system operates efficiently.
By following these maintenance tips, you can help prolong the life of your boiler and keep it running smoothly.
5 Things You Should Avoid
- Bleeding the Boiler While It’s Switched on: Always ensure that your boiler is turned off and has cooled down before attempting to bleed it. Bleeding a boiler while it’s operating can be dangerous and could lead to burns or other injuries.
- Ignoring Safety Precautions: Failing to use appropriate tools or protective gloves can increase the risk of accidents. Always take proper safety measures to protect yourself during the process.
- Over-tightening the Bleed Valve: When closing the bleed valve after releasing air, avoid over-tightening it. Doing so might damage the valve, making future maintenance or repairs more difficult.
- Forgetting to Monitor the Pressure Gauge: During and after bleeding, it’s vital to check your boiler’s pressure gauge. Bleeding can cause the pressure to drop significantly, requiring topping up the water to return to the recommended level.
- Not Consulting the Boiler Manual: Each boiler model is different, and neglecting to consult the manual could lead to mistakes. Always refer to your boiler’s specific instructions or seek professional advice if unsure about any step in the process.
How Often Should You Bleed Your Boiler?
The frequency of boiler bleeding depends on several factors, including the type and age of your boiler and the level of air in the system. Ideally, a boiler should be bled once or twice a year to maintain efficiency and ensure it runs properly. However, if you notice any signs of air build-up in your radiators or your boiler seems struggling to heat up, it may be necessary to bleed it more frequently.
Regular monitoring of the water pressure gauge is also essential, especially after bleeding. If the pressure drops significantly within a short period, this could indicate a more significant boiler issue requiring professional attention.
Conclusion
How to bleed a boiler is an essential maintenance task that ensures your heating system operates efficiently.
By following the correct steps—such as turning off the boiler, preparing the necessary tools, and carefully releasing trapped air—you can improve the performance of your heating system and prevent potential issues caused by air buildup. Monitor the pressure gauge during the process and consult your boiler’s manual for specific guidance.
If you feel unsure or encounter any difficulties, it is advisable to seek professional assistance to ensure the task is completed safely and effectively.

