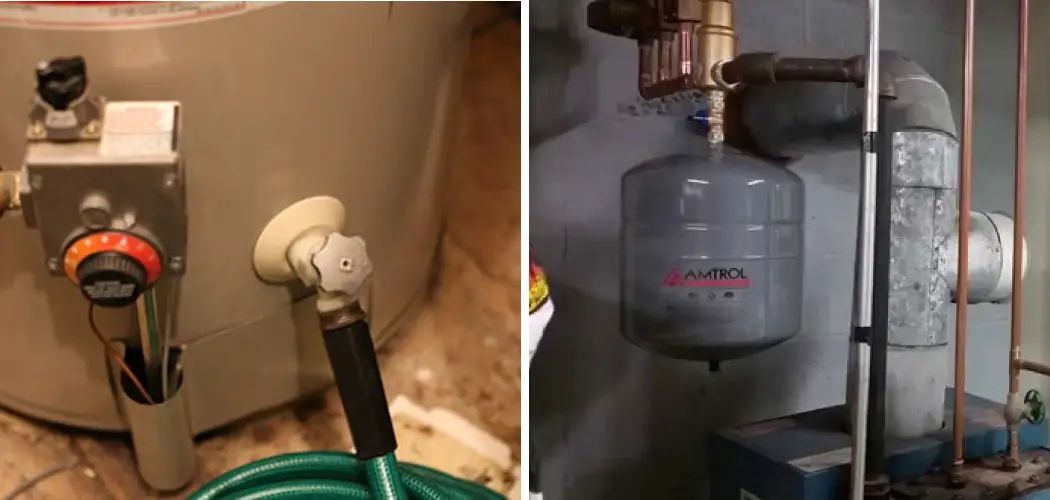
Bleeding a hot water tank is an essential maintenance task that helps to ensure your system operates efficiently and effectively. Over time, air can become trapped within the tank, leading to reduced heating performance and potential damage to the system. This process involves releasing air from the tank to restore its optimal functioning.
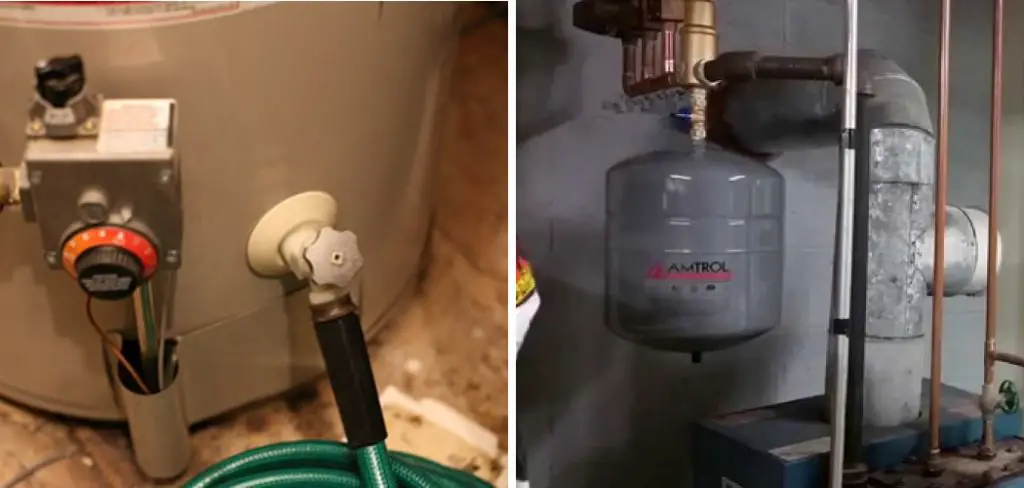
In this guide on how to bleed a hot water tank, we will walk you through the steps necessary to safely and effectively bleed your hot water tank, empowering you to maintain a comfortable and consistent supply of hot water in your home.
Why is Bleeding a Hot Water Tank Important?
Bleeding a hot water tank is crucial for maintaining the proper functioning of your water heating system. Over time, air can become trapped within the tank, creating pockets of air that interfere with the flow and circulation of hot water. This results in reduced heating performance and potential damage to the system.
Furthermore, over time, sediment and mineral deposits can accumulate at the bottom of your tank, reducing its capacity and efficiency. By bleeding your hot water tank regularly, you can prevent this buildup from occurring and ensure that your system operates at its maximum potential.
Necessary Materials
Before proceeding with bleeding your hot water tank, make sure that you have the following materials on hand:
A Screwdriver or Wrench:
You will need a screwdriver or wrench to access the valves on your hot water tank.
A Bucket:
A bucket is necessary to catch any water that may be released during the bleeding process.
Gloves and Protective Eyewear:
It is crucial to wear gloves and protective eyewear when working with your hot water tank to avoid potential burns or injury.

8 Step-by-step Guides on How to Bleed a Hot Water Tank
Step 1: Locate the Pressure Relief Valve
The first step in bleeding your hot water tank is to locate the pressure relief valve, which is typically situated near the top of the tank. This valve is designed to release excess pressure that may build up within the system. It is usually a lever or knob that can be operated easily. Ensure the area around the valve is clear of any obstructions before proceeding. Familiarising yourself with the valve’s location is essential, as it will be crucial for the bleeding process.
It is important to note that if your hot water tank is relatively old, the pressure relief valve may be faulty or not working correctly. In this case, it is best to contact a professional plumber for assistance.
Step 2: Turn off the Power or Gas Supply
Before beginning any maintenance on your hot water tank, it is essential to turn off the power or gas supply to prevent potential accidents. For electric tanks, switch off the circuit breaker connected to your hot water tank. If you have a gas-powered tank, locate the gas valve and turn it off. Ensure that you follow all safety precautions during this step.
You should also turn off the cold water supply to prevent any additional water from entering the tank during the bleeding process.
Step 3: Attach a Hose to the Drain Valve
Next, attach a hose to the drain valve located at the bottom of your hot water tank. This will allow you to safely drain any excess water that may be released during the bleeding process. Make sure that the other end of the hose is placed in a bucket or directed towards a nearby drain.
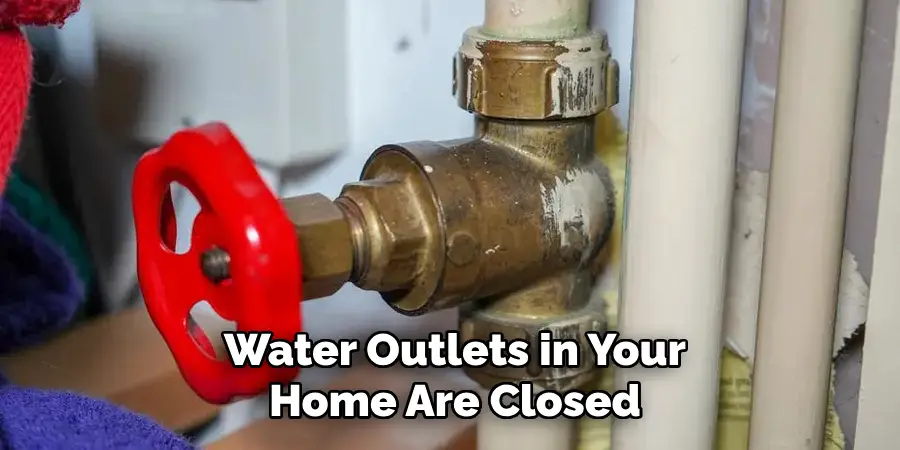
But before opening the drain valve, ensure that all faucets and other water outlets in your home are closed to prevent any air from getting into the system.
Step 4: Open the Pressure Relief Valve
Once you have securely attached the hose to the drain valve and ensured that all water outlets in your home are closed, proceed by carefully opening the pressure relief valve. This step is essential as it allows trapped air to escape from the tank. To do this, turn the lever or knob of the pressure relief valve slowly, ensuring you are positioned to manage any water that may spout out.
You should hear a hissing sound as air is released. Keep the valve open until a steady stream of water flows from the hose, indicating that the air pockets have been successfully cleared. After a few moments, close the pressure relief valve securely to prevent any further water from escaping.
Step 5: Drain the Tank
Once you have closed the pressure relief valve, proceed by opening the drain valve at the bottom of your hot water tank. Allow all remaining water to drain through the attached hose into a bucket or nearby drain. This will help to flush out any sediment or mineral deposits that may have accumulated in your tank over time.
You can also use this opportunity to inspect the drained water for any signs of discoloration, which could indicate potential issues with your hot water tank.
Step 6: Close the Drain Valve
After allowing the tank to fully drain, it’s time to close the drain valve. Carefully turn the drain valve handle clockwise until it is securely closed, ensuring no water is leaking from the joint. Double-check that the hose is detached properly and that there are no remaining obstructions in the valve.
It’s essential to confirm that the drain valve is completely closed before proceeding to the next step, as this will help prevent any unwanted water spillage in your workspace. Once you are certain the valve is secure, you can move on to refilling the tank with water.
Step 7: Turn on the Water Supply
With the drain valve securely closed, the next step is to turn on the cold water supply to your hot water tank. Locate the cold water supply valve, which is typically situated at the top of the tank, and open it to allow fresh water to flow into the tank. As the tank begins to refill, you may hear water entering, which is a sign that the process is underway.
It’s important to monitor the tank closely, checking for any leaks around the valves or fittings. Allow the tank to fill completely before proceeding to the next step, ensuring that all air pockets are purged from the system.
Step 8: Turn on the Power or Gas
Once the tank has been refilled, it is time to turn the power or gas supply back on. For electric tanks, switch the circuit breaker back on, and for gas-powered tanks, turn the gas valve back on. Double-check that all safety precautions have been followed before proceeding.
Congratulations! You have successfully bled your hot water tank and prevented any potential issues caused by trapped air or sediment buildup. Regularly repeating this process will ensure that your hot water system operates efficiently and continues to provide you with a reliable source of hot water for your daily needs. Don’t forget to keep track of when you last performed this maintenance task so you can schedule it for future cleanings.
Now that you have learned how to bleed a hot water tank, you may also want to consider implementing other maintenance tasks such as draining and flushing your tank periodically to prevent sediment buildup.
Do You Need to Get Additional Support?
If you encounter any difficulties during the bleeding process or notice any unusual signs such as persistent leaks, strange noises, or discolored water after completing the maintenance, it may be time to seek professional support. Consulting a licensed plumber can provide insights into underlying issues that may not be immediately apparent.
Additionally, if your hot water tank is older or exhibiting serious malfunction symptoms, replacing it might be the more sensible solution. Always prioritize safety and efficiency—don’t hesitate to reach out for help if you’re unsure about any aspect of your hot water tank maintenance.
Frequently Asked Questions
Q: How Often Should I Bleed My Hot Water Tank?
A: It is recommended to bleed your hot water tank at least once a year to prevent sediment buildup and ensure maximum efficiency. However, if you notice any discoloured water or unusual noises from your tank, it may be necessary to bleed it more frequently.
Q: Can I Bleed My Hot Water Tank Without a Hose?
A: While using a hose is the recommended method for draining excess water during the bleeding process, it is possible to use a bucket instead. Just make sure to regularly empty the bucket as needed and take precautions to prevent spills.
Q: Why Do I Need to Bleed My Hot Water Tank?
A: Over time, sediment and air can build up in your hot water tank, causing efficiency issues and potential damage to the tank. Bleeding helps purge these impurities and ensure optimal performance of your hot water system.
Q: Is It Necessary to Turn Off the Power or Gas Supply Before Bleeding My Hot Water Tank?
A: Yes, it is essential to turn off the power or gas supply to your hot water tank before bleeding it to prevent any accidents or injuries. Always follow proper safety precautions when performing maintenance on your hot water system.
Conclusion
In conclusion, properly bleeding your hot water tank is a critical maintenance task that promotes the longevity and efficiency of your water heating system. By following the outlined steps on how to bleed a hot water tank, you can effectively remove trapped air and sediment, ensuring optimal performance.
Regular maintenance not only prevents potential issues but also contributes to a reliable supply of hot water for your home. Remember to keep track of your maintenance schedule and consider additional tasks, such as periodic draining and flushing, to further enhance the functionality and lifespan of your hot water tank. By taking these proactive measures, you can enjoy a consistent and dependable hot water experience.

