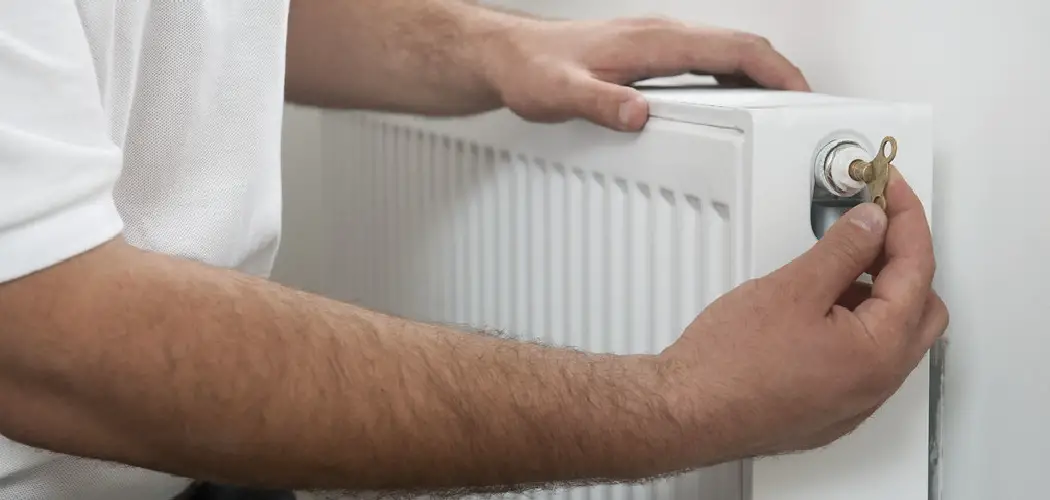
Bleeding a radiator is an essential maintenance task that ensures your heating system operates efficiently and effectively. Over time, air can become trapped within the radiator, leading to uneven heating and decreased performance.
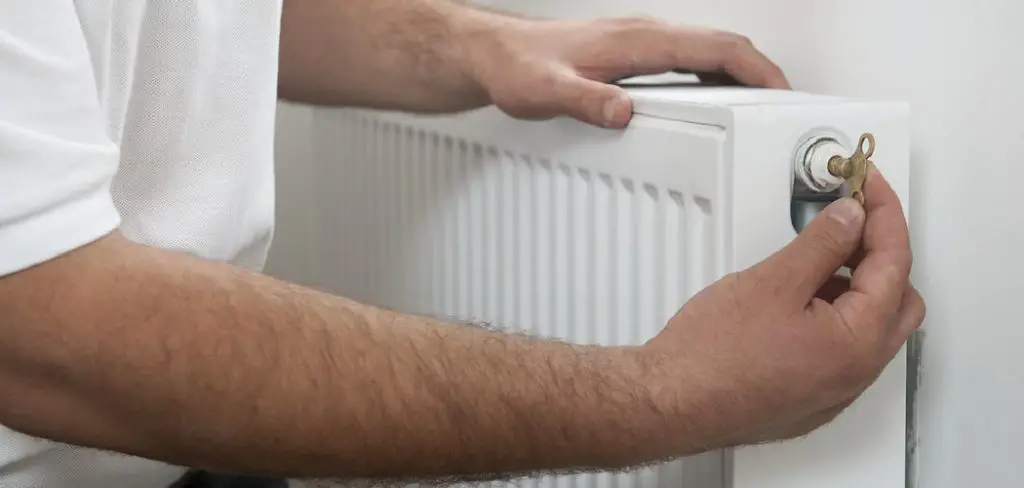
This guide on how to bleed a radiator without a radiator key will walk you through the straightforward process of bleeding your radiator without the need for a specialized radiator key. With just a few basic tools and some caution, you can restore optimal heating to your space, improving comfort and energy efficiency in your home.
What is a Radiator Key?
A radiator key is a small, specialized tool designed to operate the bleed valve on radiators. This valve is typically located at the top of the radiator and is used to release trapped air that can hinder heating efficiency. Radiator keys are usually made of metal and have a square or hexagonal shape that fits snugly into the valve, allowing the user to turn it and release built-up air.
While having a radiator key can make the bleeding process easier, it is not always necessary. As this guide demonstrates, other common tools can also be effectively used to achieve the same result.
Why Do Radiators Need to be Bled?
Radiators need to be bled to remove trapped air, which can significantly impact their performance. When air gets trapped in the radiator, it occupies space that should be filled with hot water, leading to cold spots where the heat cannot effectively circulate. This results in inconsistent heating throughout the room, making it uncomfortable and inefficient.
Additionally, failing to bleed radiators can cause increased energy consumption, as the heating system works harder to maintain the desired temperature. Regularly bleeding your radiators ensures that they operate at peak efficiency, providing even warmth and prolonging the lifespan of your heating system.
Needed Materials
To bleed a radiator without a radiator key, you will need the following tools and materials:
Flathead Screwdriver or Coin:
The flathead screwdriver or coin will be used to turn the bleed valve. The size of the screwdriver should match the size of the valve, as using an incorrect size may damage it.
Towel:
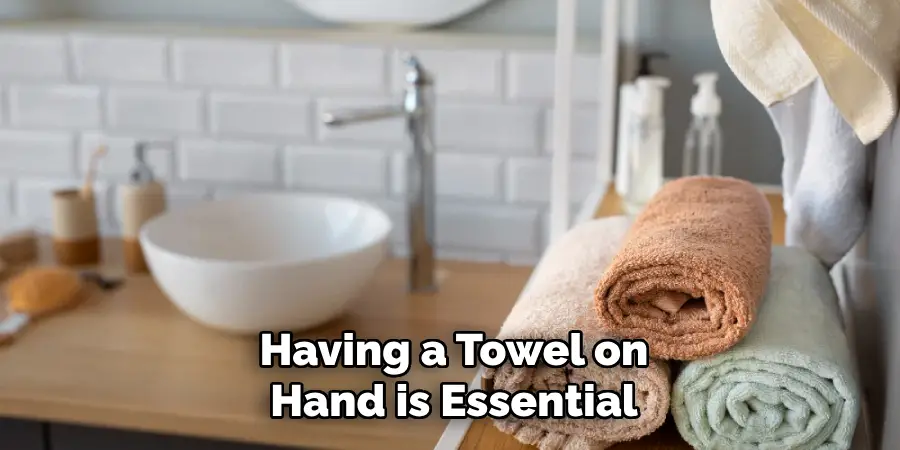
Having a towel on hand is essential in case any water spills out while bleeding the radiator. It will help prevent any potential mess and protect your floors.
Container:
A small container, such as a cup or bowl, will be needed to catch any water that comes out of the bleed valve during the process.
8 Steps on How to Bleed a Radiator Without a Radiator Key
Step 1: Turn Off the Heating System
Before you begin the bleeding process, it is crucial to turn off your heating system. This ensures that the water inside the radiator is not heated, reducing the risk of burns or injury while you work.
Allow the radiator to cool completely to ensure a safe and comfortable environment for bleeding. Once the heating system is off and the radiator has cooled, you can proceed to the next steps with confidence.
Step 2: Locate the Bleed Valve
Once the heating system is turned off and the radiator has cooled, the next step is to locate the bleed valve. The bleed valve is typically found at the top of one end of the radiator and may appear as a small square or circular nob. If you’re unsure, it can often be identified by a small protrusion or slot designed to accept a radiator key or similar tool.
Ensure you have clear access to the valve, as this will allow you to work efficiently during the bleeding process. If the valve is particularly dirty or caked with dust, it may be helpful to clean the area lightly to ensure a proper seal when you begin to bleed the radiator.
Step 3: Loosen the Bleed Valve
With the bleed valve located, it’s time to loosen it. Using your flathead screwdriver or a coin, gently insert it into the slot of the bleed valve. Turn the valve counterclockwise a quarter turn or until you feel it start to give way. Be cautious not to over-tighten or force the valve, as this may cause damage. As you begin to loosen the valve, you should hear a hissing sound, which indicates that the trapped air is escaping.
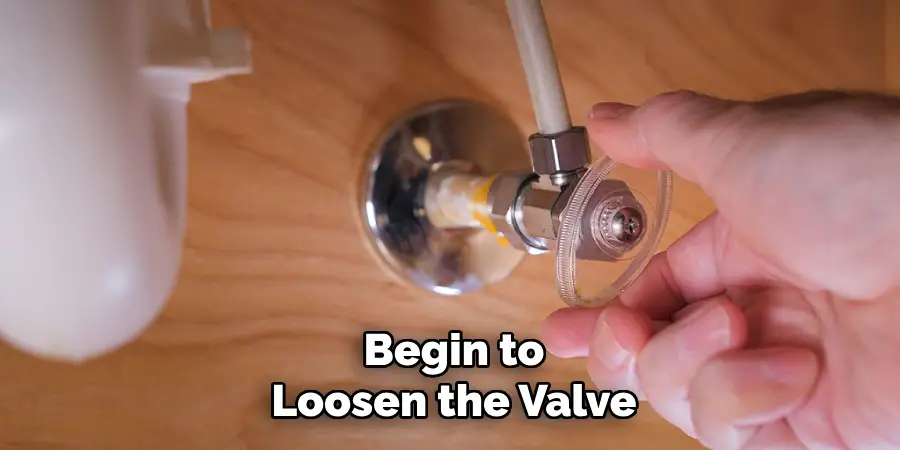
Keep a towel handy to catch any water that may begin to leak out as the air is released. Continue loosening until you see a steady stream of water flowing from the valve, at which point you can proceed to the next step.
Step 4: Wait for the Water to Flow Steadily
Once you’ve loosened the bleed valve and noticed the escape of air, it’s important to wait until the water begins to flow steadily from the valve. This signifies that all the trapped air has been purged from the radiator, and only water is now present. During this time, keep your towel close to catch any water that may spill out.
The steady stream of water indicates that your radiator is now filled with hot water, ensuring efficient heating throughout your space. This step might take a minute or two, so be patient and hold the valve open until you achieve a consistent flow before proceeding to the next step.
Step 5: Close the Valve
After ensuring that a steady stream of water is flowing from the bleed valve, it’s time to close the valve to prevent any water from leaking further. Carefully turn the bleed valve clockwise using your flathead screwdriver or coin until it is snugly closed. Take care not to overtighten, as this can damage the valve or lead to leaks.
Make sure there are no more hissing sounds or water escaping before you consider the valve fully closed. Once secured, wipe away any excess water around the bleed valve area with your towel to maintain a clean and safe environment.
Step 6: Repeat the Process for Other Radiators
Once you have successfully bled the first radiator, it’s essential to check and bleed any other radiators in your home, especially those that are farthest from the heating system. This ensures that each radiator is operating efficiently and maintaining consistent heat distribution throughout your space. Follow the same six steps for each radiator, starting with turning off the heating system and allowing the radiators to cool completely before locating and loosening the bleed valves.
As you proceed, monitor for air escaping or inconsistent water flow, which may indicate additional trapped air. Regularly bleeding all radiators helps enhance the overall performance of your heating system and contributes to a more comfortable living environment.
Step 7: Turn On the Heating System
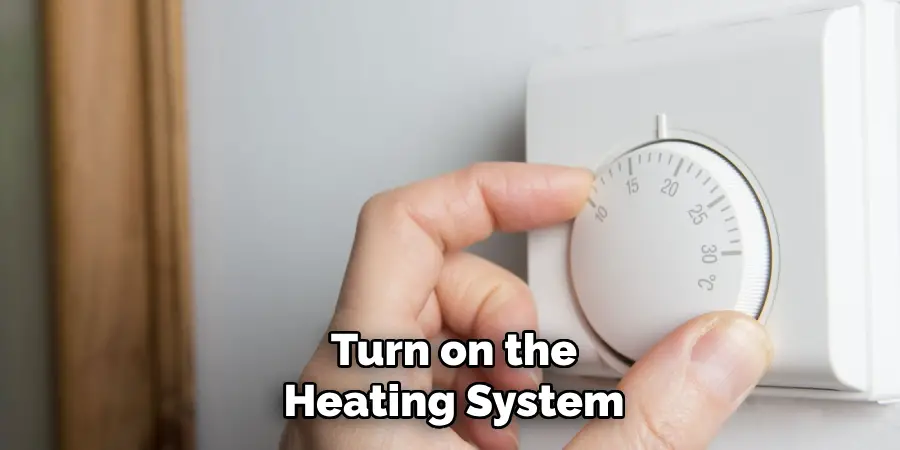
After bleeding all the radiators, it’s time to turn on your heating system and enjoy the warmth and efficiency of a properly functioning heating system. You may notice that your space heats up faster and more evenly now that air is no longer trapped in the radiators. Additionally, you might see a decrease in your energy bill as your heating system operates more efficiently without the added strain of trapped air.
It’s also a good idea to check your boiler pressure and ensure it falls within the recommended range. A balanced boiler pressure helps maintain efficient heating while preventing any potential damage caused by high or low pressures.
Step 8: Clean Up
Once you have turned on the heating system and confirmed that it is operating efficiently, it’s time to tidy up the workspace. Remove any towels used during the bleeding process, making sure to wring them out and allow them to dry properly to prevent mildew. Dispose of any excess water caught in your container, ensuring the area around your radiator remains clean and dry to avoid damage to your floors.
Additionally, inspect your tools and store them in their designated place for future use. Lastly, take a moment to check each radiator for any signs of leaks or persistent hissing, ensuring your heating system is fully functional before concluding the task. Regular maintenance of your radiators not only promotes efficient heating but also extends their lifespan, contributing to a more comfortable home environment.
Frequently Asked Questions
Q1: How Often Should I Bleed My Radiators?
A1: It is recommended to bleed your radiators at least once a year to maintain their efficiency and ensure consistent heating throughout your space. However, if you notice any signs of trapped air in your radiators or uneven heating, it is best to bleed them immediately.
Q2: Can I Bleed My Radiators While the Heating System is On?
A2: No, it is not recommended to bleed your radiators while the heating system is on as this could cause hot water to spray out and potentially cause burns. Additionally, turning off the heating system allows the radiators to cool down, making it easier to locate and work with the bleed valves.
Q3: Why Is It Important to Bleed My Radiators?
A3: Bleeding your radiators helps remove trapped air that may prevent proper water flow within the radiators, resulting in inefficient heating and potential damage to your heating system. Regular bleeding also helps maintain the lifespan of your radiators and contributes to a more comfortable living environment.
With these steps on how to bleed a radiator without a radiator key, you can easily and safely bleed your radiators at home. Remember to always prioritize safety and take precautions when working with hot water and tools. Regular maintenance of your heating system not only ensures efficient operation but also helps save on energy costs in the long run. Stay warm!
Conclusion
Maintaining your heating system through regular radiator bleeding is essential for ensuring efficient performance and a comfortable living environment. By following the outlined steps on how to bleed a radiator without a radiator key, you can easily remove trapped air, allowing for consistent heat distribution throughout your home. Remember to make radiator maintenance a routine task, ideally once a year, to prevent any issues that may arise from air buildup.
Not only will this enhance your heating experience, but it can also lead to energy savings and prolong the lifespan of your heating system. Taking these proactive steps will keep your home warm and inviting during the colder months.

