Are you looking for help on how to bleed your water lines? If so, you’ve come to the right place. Bleeding air from water lines is a simple process that can help to prevent water hammering, reduce noise levels and restore the pressure of your system.
Working with water lines can be intimidating, but repairing broken or leaking hydraulic systems is an essential maintenance task that everyone should know how to do. Knowing the basics of bleeding a water line will save time, money, and stress when dealing with plumbing problems in your home or office. Whether it’s changing out old pipes for new ones, replacing fixtures, or flushing out clogged systems, sometimes it’s necessary to remove excess water before making repairs.
In this blog post, we will cover how to bleed water lines in order to effectively bleed a water line so that you can get back on track as quickly as possible!
Why Do Water Pipes Bleed?
Water pipes can become clogged or blocked over time due to mineral build-up, sediment or other debris. This will lead to water hammering, which is the sound of air rushing out of the pipe in an effort to make room for more water. The best way to solve this problem is by bleeding the pipe.
Additionally, if you’ve just replaced your water pipes, it’s important to bleed them before using them. This will ensure that all air has been released from the line and it’s ready for use.
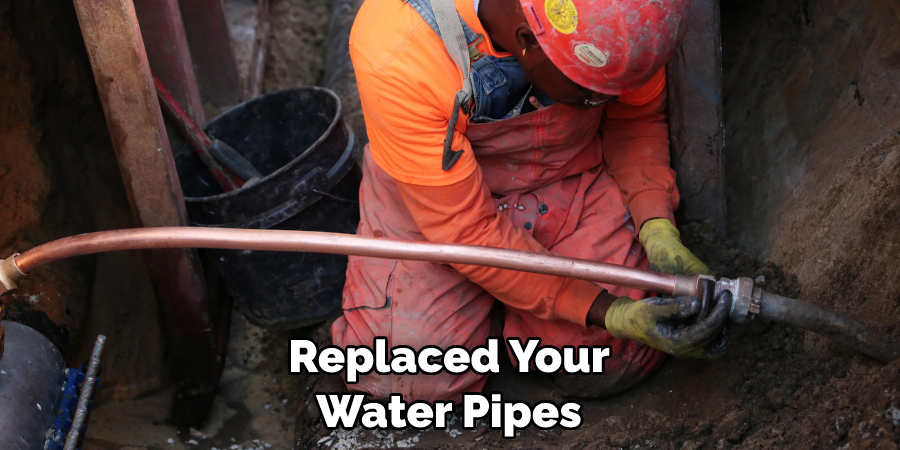
Overall, bleeding water lines should be done regularly to maintain your system’s efficiency and pressure.
What Will You Need?
Before you start, make sure you have all the necessary tools and materials. Depending on the location of your system, these can include:
- A wrench
- An adjustable wrench or pliers
- Safety goggles
- A container to catch any excess water or debris
- A screwdriver
- An adjustable wrench or pliers
- A container to catch any excess water or debris
Now that you have all the necessary tools and supplies, it’s time to begin the process of bleeding your water lines.
10 Easy Steps on How to Bleed Water Lines
Step 1. Shut Off the Water Supply:
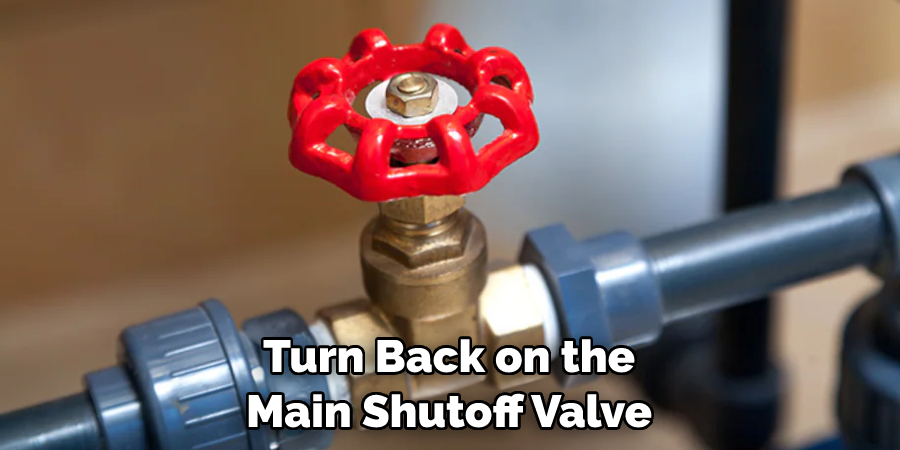
Make sure to turn off the main shutoff valve for all incoming water. This will prevent any excess water from entering your system while you are working on it. If possible, it’s also a good idea to turn off individual shutoffs within the system as well.
Step 2. Inspect the Pipes and Fittings:
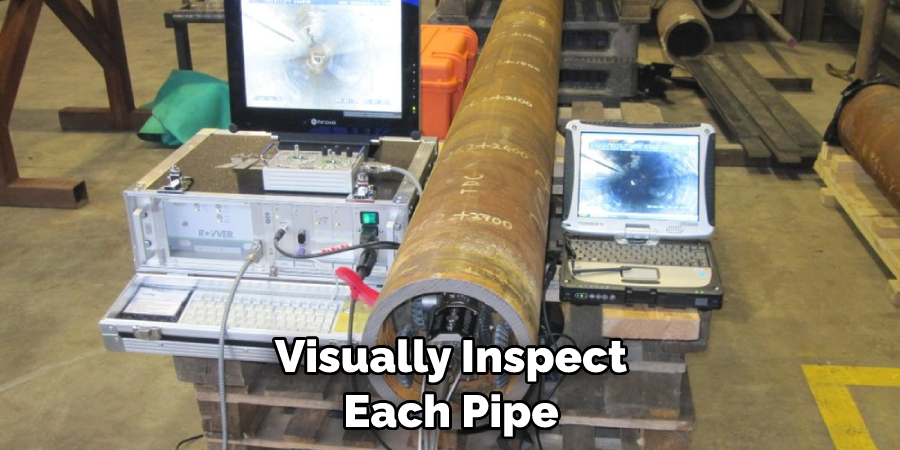
Visually inspect each pipe, valve, and fitting to make sure that there is no visible damage or wear. If any of the damaged components, they should be replaced before the bleeding begins. As an additional safety measure, make sure to wear safety goggles when inspecting the pipes.
Step 3. Unscrew the Bleed Valve:
If your water system has a bleed valve, use an adjustable wrench or pliers to unscrew it slightly until water starts to drip out of it. Ensure a container is handy to catch any water that may escape during this step. Don’t loosen the valve too much, or you may end up with a bigger mess than necessary.
Step 4. Turn On The Water Supply:
Once you’ve opened up the bleed valve, turn back on the water supply. This will start to fill up the pipes with fresh water and push out any remaining air bubbles that may have been trapped inside. Additionally, if the system has a pressure tank, it will start to fill and create back pressure.
Step 5. Open Any Air Vents:
Your system may have small vents along its length, allowing air to escape as your lines are filled with water. Make sure to open them up to allow any excess air out of the system. Otherwise, you may end up with air pockets or low pressure.
Step 6. Turn Off The Water Supply:
Once all the air is out of the lines, turn off the main shutoff valve again to prevent more water from entering your system. Be careful not to leave the valve open for too long, or you may end up with a huge mess. Because of this, it’s a good idea to have a container handy just in case some water does escape.
Step 7. Close The Bleed Valve:
Tighten the bleed valve using an adjustable wrench or pliers until it is firmly closed. You can then remove the container that you were using to catch any excess water. Just make sure to dispose of the water in a safe manner.
Step 8. Check For Leaks:
Visually inspect each pipe and fitting for any water that may be leaking from them. If you see any, make sure to address them immediately before continuing with the process. Don’t forget to wear safety goggles for this step as well.
Step 9. Turn On The Water Supply & Check For Air Pockets:
Turn back on the main shutoff valve and check for any air pockets that may have been trapped within the system. If you find any, repeat steps 3-8 until they are all gone. As an additional precaution, checking for leaks once the system is pressurized is also a good idea.
Step 10 Monitor System Performance:
Once your system is all setup, monitor its performance by checking for noisy pipes, low water pressure, and any other signs of a leak. If you do notice something, it’s important to address the issue immediately to prevent further damage or loss of water. Remember, it’s better to be safe than sorry when it comes to maintaining your plumbing system!
Following these ten simple steps is the best way to effectively bleed a water line and restore your system back to its original working condition. Proper maintenance and regular inspections can save time, money, and hassle when dealing with plumbing problems in your home or office.
5 Additional Tips and Tricks
1. Always use the correct tools when attempting to bleed a water line. It is important to ensure that your components are properly tightened and sealed to avoid any water leaks.
2. If you do not have the right tools for the job, consider renting or purchasing a set of plumbing tools from a local hardware store. This will ensure that you have all the necessary components to perform the job correctly and efficiently.
3. Make sure to always turn off the main water line before attempting to bleed your lines. This can help prevent any flood or other disaster while ensuring no pressure on the system, which could cause damage when bleeding your lines.
4. When bleeding multiple lines at once, it’s best to start with the highest point in your home’s plumbing system and work towards lower points until you are satisfied with its performance.
5. Finally, never attempt to bleed any water lines without proper safety precautions, and always be aware of the potential hazards (such as electric shock) that can occur when working with plumbing systems. Make sure to take all necessary steps and use appropriate tools in order to ensure your safety during this process.
By following these simple tips, you’ll be able to safely and effectively bleed your water lines like a pro! With some patience, practice, and careful attention to detail, you’ll have no problem getting the job done right the first time.
5 Things You Should Avoid
1. Never use a tool not designed for plumbing work. This could easily damage the components of your water lines and lead to further problems.
2. Avoid using excessive force when attempting to loosen stubborn fittings. It may be best to contact a professional plumber for assistance if it appears too difficult.
3. Avoid attempting to bleed water lines that you are not familiar with working on. Make sure you completely understand your home’s layout and plumbing system before starting the job.
4. Take caution when using specialized tools such as blow torches or pipe cutters, as these can cause severe injury if used incorrectly.

5. Lastly, always remember to pay attention to the pressure levels when bleeding water lines. Excessive pressure can cause damage to the pipes and fittings, leading to future problems.
Following these simple tips will help ensure that you’re able to bleed your water lines without any issues or danger. If you need extra help with this process, contact a professional plumber for assistance. With some patience and effort, you’ll be able to get the job done successfully!
Conclusion
If you were struggling to figure out how to bleed water lines, this article clarified the process. While knowing how to do it yourself is great, it is always wise to call a professional if you’re feeling out of your depth. Safety should come first when dealing with any kind of plumbing and piping, so if anything goes wrong during the bleeding process – don’t hesitate to call a knowledgeable person in! It can save you time and money down the road. The key takeaway here is that there’s more than one method for bleeding your water lines — which method works best depends on the specific situation.
As long as you understand the basic mechanics of each approach and exercise necessary caution when operating tools or opening pipes, then you’ll be able to take care of any mishap in no time. With that said happy plumbing!
Hopefully, this article has given you the information and confidence to safely and effectively bleed your water lines. Remember, safety always comes first, so take all necessary precautions when attempting the task.

