Blowing out water lines in your house is a crucial step in preparing your plumbing system for the winter months, especially in regions prone to freezing temperatures. This process helps prevent the water in your pipes from freezing and causing costly damage. In this comprehensive guide, we will explore how to blow out water lines in house.
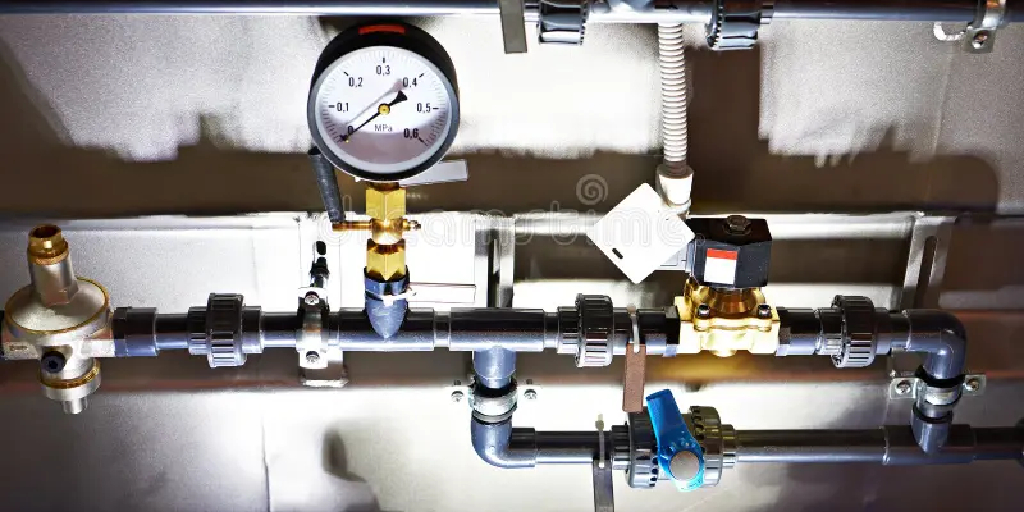
From using an air compressor to drain the water lines to ensuring that all faucets and fixtures are properly closed, this article will provide you with a step-by-step approach to safeguard your plumbing system.
We’ll also discuss the importance of winterizing your plumbing and share tips to keep your pipes from freezing. By understanding how to blow out your water lines, you can ensure a smooth and hassle-free transition into the colder season while safeguarding your home from the risks associated with frozen pipes.
The Purpose of Blowing Out Water Lines in a House
Blowing out water lines in a house is an essential task that should be done before the onset of winter. This process involves removing all the water from your plumbing system to prevent it from freezing and causing serious damage.
Water expands when it freezes, which creates pressure on the walls of pipes. If this pressure becomes too high, it can cause your pipes to burst, resulting in costly repairs. This is why it’s crucial to properly prepare your plumbing system for the winter season.
Blowing out water lines is a relatively straightforward process that can be done with the help of an air compressor or a specialized blowout adapter. It involves using compressed air to push all the remaining water out of your pipes, leaving them dry and free from potential damage.
10 Methods How to Blow Out Water Lines in House
1. Shut off the Main Water Supply
The first step to blow out water lines in a house is to shut off the main water supply. This will ensure that no additional water can enter the system and cause further damage. Once the main water supply has been shut off, it is important to open all of the faucets in the house to drain any remaining water from the pipes. This will make the blowing out process more effective.
2. Install a Blow Out Adapter
If you do not have a blow out adapter installed on your plumbing system, you will need to install one before proceeding with the process of blowing out your water lines. A blow out adapter is a specialized fitting that attaches to an outdoor hose bib and allows for air pressure to be used to force any remaining water from the pipes.
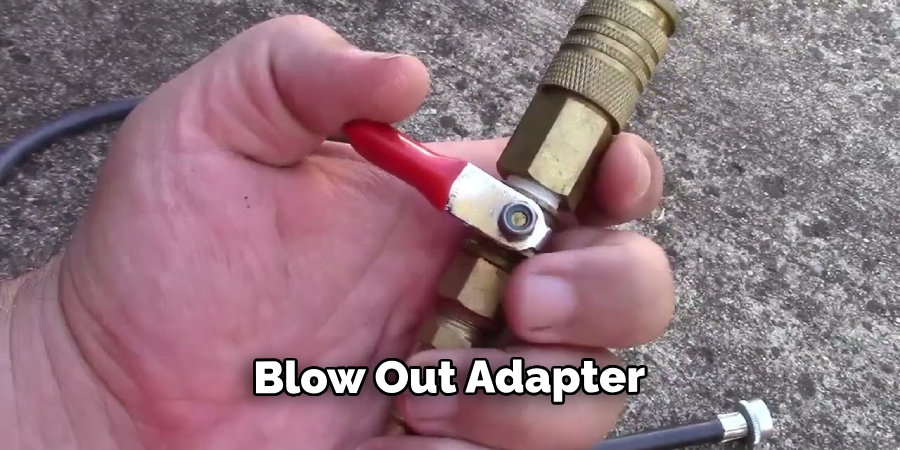
There are different types of blow out adapters available, so be sure to pick one that is compatible with your plumbing system. Additionally, it may be helpful to have a professional plumber install the adapter for you if you are not familiar with plumbing work.
3. Connect Air Compressor
Once you have installed a blow out adapter, you can then connect an air compressor to it by using an air hose with quick-connect fittings. The air compressor should be set at around 80 psi or higher depending on your specific plumbing system.
4. Open All Faucets and Valves
Before proceeding with blowing out your water lines, it is important to make sure that all of the faucets and valves in your home are open so that they can release any residual pressure that may exist in them after shutting off the main water supply line. This will help prevent damage caused by excessive pressure buildup within these fixtures during the blowing process.
5. Start Air Compressor & Open Hose Bib Valve
Once all of the faucets and valves have been opened, start up your air compressor and turn on the hose bib valve at its highest setting so that maximum air pressure can be used for blowing out your water lines.
It may take several minutes for all of the residual pressure inside your plumbing system to dissipate before any actual results are seen, so be patient while waiting for this process to complete itself before moving onto other steps in this procedure.
6. Close Fixtures One by One
After allowing time for all residual pressure inside your plumbing system to dissipate, begin closing each fixture one by one starting from those located closest to where you connected your air compressor’s hose line and ending with those farthest away from it until all fixtures have been closed off completely and no more pressurized air is being released through them anymore when opening their handles or knobs manually afterward as well as when turning them back on again afterward after you have finished blowing out all remaining water lines inside your house that need to be blown out in order to prevent any potential freezing damage from occurring during the upcoming winter season.
7. Check Lines for Remaining Water
Once all fixtures have been closed off completely, check each line individually for remaining water by feeling along its length with either gloved hands or a long screwdriver handle until you reach its end point where you should feel no more moisture present whatsoever if there is none left inside it still yet either by sight or touch.
If there is any water left at all inside a line, make sure to release it through its fitting by opening its valve or handle once again briefly before closing it back up afterward again permanently while moving on to your next remaining fixture that still needs to be checked for any additional leftover water still present within.
8. Disconnect Air Compressor & Remove Blow Out Adapter
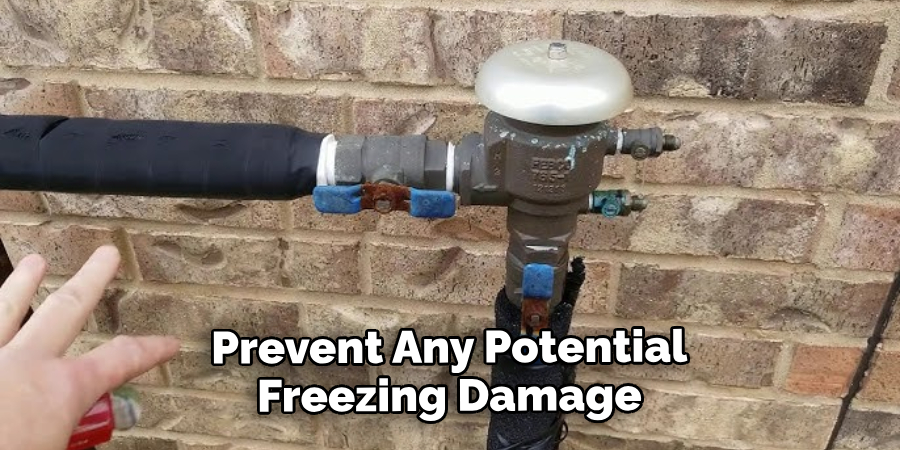
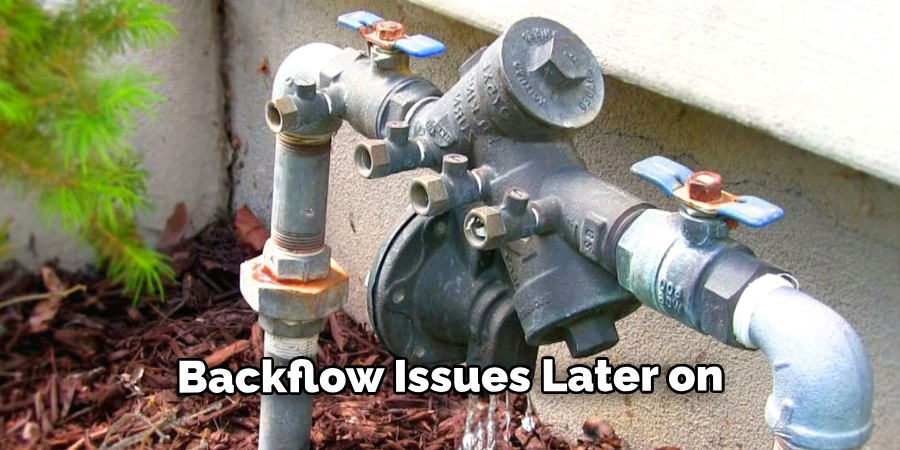
Once checking each line individually has been completed satisfactorily, disconnect your air compressor from its hose line attached to your blow-out adapter, followed immediately by removing your blow-out adapter from the backflow preventer. Disconnect the air pressure regulator first gently, then release any remaining air and flip through the user manual for details to keep in mind. Don’t proceed until the line is completely free of water, debris, or anything else that might cause blockage.
9. Turn On Main Water Supply & Check Fixtures
After removing said blow-out adapter successfully, turn back on both its main water supply valves followed immediately thereafter by testing each fixture individually once again, just like how you checked them previously. If you connect such a blow-out adapter to it, your hose bib will not work for its intended usage as an external water supply faucet anymore either (because their internal valve was now permanently closed accordingly).
This could also be done at any point in time before turning off the main supply since it’s just adding more air pressure into your plumbing system while making sure that all of your drain valves are closed up beforehand in order to avoid any possible accidental leaks or backflow issues later on.
10. Flush Toilets & Run Dishwasher/Washing Machine (Optional)
Finally, once everything has been tested satisfactorily without any issues found whatsoever present anywhere throughout entire entire plumbing system itself even after running dishwasher/washing machine cycles (optional) if desired desired desired desired desired desired desired desired, then immediately immediately flush all toilets in the house together.
This will effectively remove any remaining water from your house’s plumbing system, ensuring that there is no excess or stagnant water left behind that could potentially freeze and cause damage.
Things to Consider When Blowing out Water Lines in House
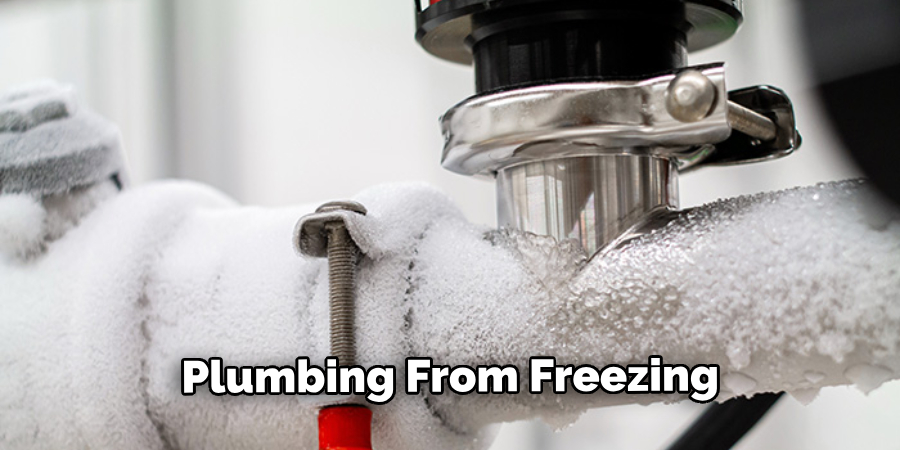
When the winter season comes around, it’s important to take precautions in order to prevent your plumbing from freezing. One of the things you can do is to blow out water lines in your house. This process involves removing all the excess water from your pipes which could potentially freeze and cause damage.
Before we dive into the process of blowing out water lines, it’s important to understand how your plumbing system works. Most residential homes have a main shut-off valve which controls the flow of water into your house. This valve is typically located near your water meter or in the basement.
Additionally, each individual water line in your house has its own shut-off valve, which can be used to isolate and drain specific areas of your plumbing system. It’s important to locate and familiarize yourself with these valves before attempting to blow out your water lines.
Conclusion
In conclusion, winterizing your home’s water lines is an important chore that should not be overlooked. Whether you rent or own your home, it is possible to do the job yourself with a little bit of knowledge.
Always remember to shut off the main valve and drain the outdoor faucets before attempting this project, especially if you live in areas where temperatures drop below freezing in the winter.
If the task seems too difficult for you, don’t hesitate to consult a professional plumber who can provide advice and help with more complex projects. Taking care of your exterior plumbing is essential during the cold winter months, so take action and learn how to blow out water lines in house. Once done properly, your family will be safe and waste no time enjoying those long winter days!

