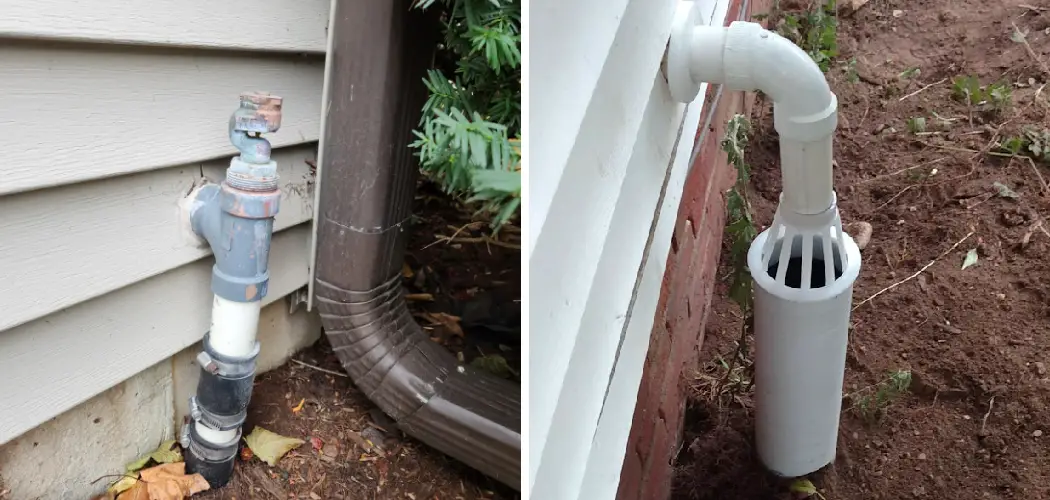
A sump pump discharge line is a crucial component in the fight against basement flooding and water damage. It efficiently directs water away from your home, reducing the risk of structural damage and mold growth. Proper drainage is essential to ensure the longevity and effectiveness of your sump pump system. By burying the discharge line, you protect it from damage caused by weather, lawn equipment, and wear and tear while also enhancing the aesthetic appeal of your yard.
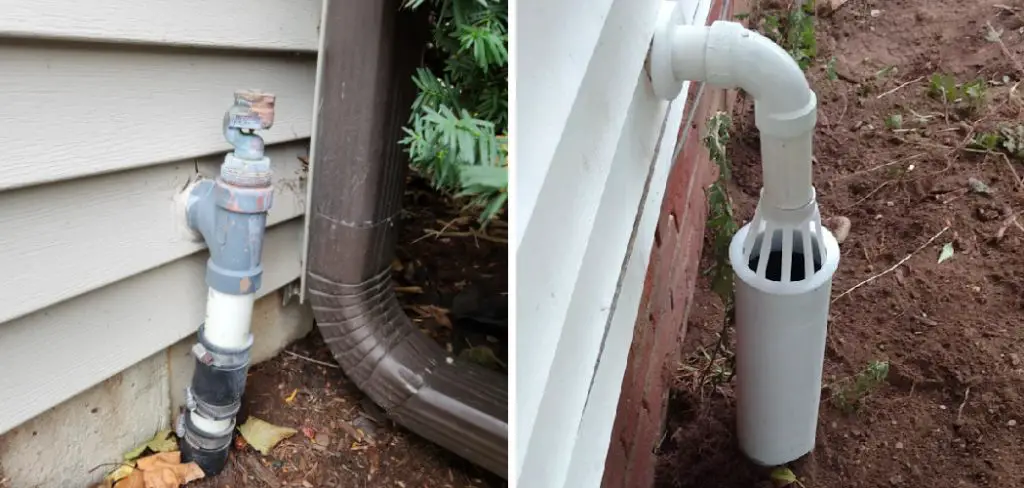
This guide will walk you through how to bury sump pump discharge line, providing clear steps for planning, excavation, installation, and backfilling. Following these steps ensures a durable and effective drainage system, safeguarding your home from potential water hazards. Let’s dive into the process to understand each phase of the project and ensure a seamless installation.
Planning and Preparation
Proper planning and preparation are essential first steps to successfully bury a sump pump discharge line. Begin by assessing your property’s terrain and drainage patterns. Identifying the natural flow of water will help in determining the most efficient and effective route for the discharge line, ensuring that water is directed away from your home’s foundation and low-lying areas prone to pooling.
Before breaking ground, check your local building codes and regulations to familiarize yourself with any rules governing sump pump discharge and the installation of underground utility lines. Adhering to these regulations not only ensures compliance but also promotes safety and effectiveness in your drainage efforts.
Next, it’s crucial to call utility companies to locate and mark any underground utilities on your property. This step is necessary to prevent damaging important services like gas, electricity, water, and communication lines, which could cause severe disruptions or hazardous conditions. Many regions in the United States provide a “Call Before You Dig” service, which can be reached by dialing 811. With a clear picture of where existing utilities are located and a well-thought-out plan, you can proceed to the excavation phase with confidence and peace of mind.
Materials and Tools Needed
To bury a sump pump discharge line effectively, having the right materials and tools is paramount. Here’s a list of essential items you’ll need:
Materials:
- PVC Pipe and Fittings: The primary material for the discharge line. PVC is durable, resistant to corrosion, and easily available. Ensure the pipe diameter matches your sump pump’s outlet.
- Gravel: Required to create a stable base and facilitate drainage around the PVC pipe.
- Drainage Fabric: Used to line the trench, it prevents soil and debris from clogging the pipe, ensuring long-term functionality.
- Backfill Material: This can be soil, sand, or a mix of both. Backfilling secures the pipe and restores the trench area to its original level.
Tools:
- Shovel: Standard digging tool for creating the trench. A sturdy, durable shovel is recommended.
- Trenching Shovel or Trencher: A trenching shovel offers precision for deeper or longer trenches, while a trencher can expedite the process.
- Pipe Cutter or Saw: To cut the PVC pipe to the required lengths for fitting and installation.
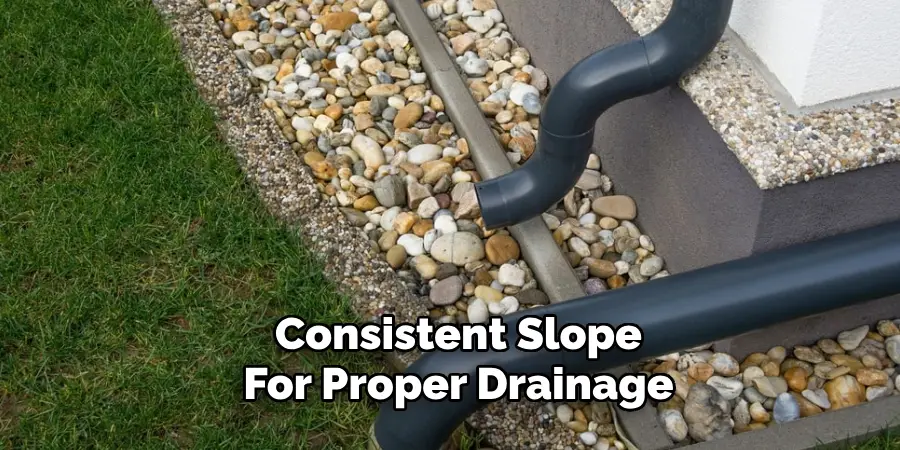
- Level: Essential for ensuring the trench and pipe maintain a consistent slope for proper drainage.
- Tape Measure: This measure measures the trench dimensions and pipe lengths to ensure accuracy and fit.
Having these materials and tools on hand will streamline the installation process, ensuring your sump pump discharge line is both durable and efficient.
How to Bury Sump Pump Discharge Line: Excavation
Excavating the trench for your sump pump discharge line is a critical step that ensures proper water flow and the longevity of the installation. Here’s a detailed guide to help you through the process:
Step 1: Digging the Trench
Begin by marking the planned route of your discharge line using stakes and string, or spray paint. This will provide a visual guide for your digging efforts. Use a shovel or a trenching shovel to start digging along this route. If you need to dig a longer or deeper trench, you might consider renting a trencher to expedite the process and reduce labor.
Step 2: Slope
It is important to ensure the trench has a slight slope away from the house. This gradient supports natural water flow and prevents backflow toward the foundation. Typically, a 1/8 inch to 1/4 inch slope per foot of trench is recommended. Use a level to measure and maintain this slope throughout the entire length of the trench.
Step 3: Depth
The depth of your trench should be sufficient to provide adequate cover for the discharge pipe, typically ranging between 12 to 18 inches. This depth protects the pipe from freezing temperatures, lawn equipment, and foot traffic. If you live in an area with harsh winters, it might be prudent to dig deeper to prevent the pipe from freezing. Ensure that your pipe will sit snugly beneath this cover once the trench is backfilled.
Step 4: Width
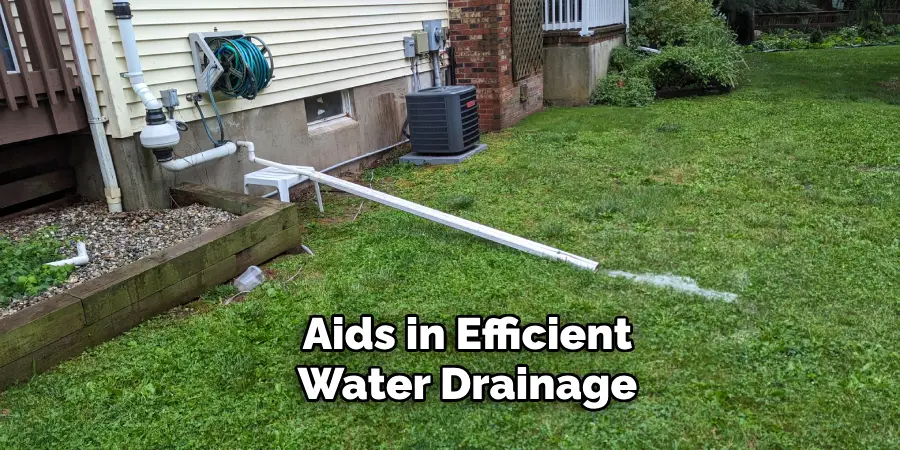
Make the trench wide enough to fit the discharge pipe comfortably and allow for easy installation and backfilling. A width of about 6 to 12 inches should suffice, depending on the diameter of your pipe. This space not only makes laying the pipe easier but also allows for the proper placement of gravel and drainage fabric, which adds stability and aids in efficient water drainage.
Step 5: Smooth Bottom
The bottom of the trench should be level and smooth. Any bumps or uneven areas can create places where water might pool, potentially causing clogging or damage to the pipe. Use a rake or a trowel to level out the bottom of the trench and remove any rocks or debris that might interfere with the pipe’s placement.
Throughout the excavation process, periodically check the trench’s slope, depth, and width to ensure they remain consistent with your initial planning. Taking the time to do this step correctly will pay off in the long run, making the installation smoother and more effective.
Once your trench is prepared, you’ll be ready to lay the drainage fabric, add gravel, and fit the pipe, ultimately backfilling to complete your project. Remember, meticulous excavation lays the foundation for a robust and efficient sump pump discharge line, safeguarding your home from water damage.
Installation
Lay Drainage Fabric
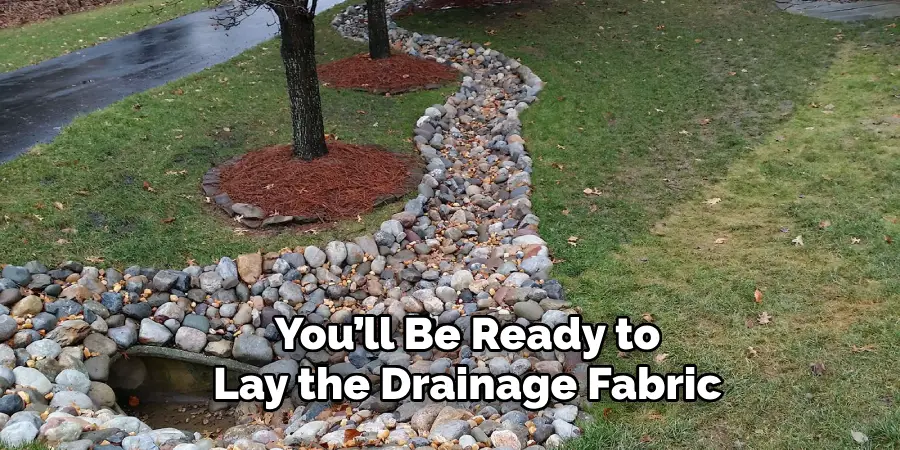
Begin the installation by lining the bottom and sides of the trench with drainage fabric. This step is crucial as it prevents soil and debris from entering the trench and clogging the drainage system. Extend the fabric across the entire length of the trench and ensure it overlaps slightly where separate pieces meet to provide comprehensive coverage.
Place Pipe
Next, following the planned route, place the PVC pipe into the trench. As you lay the pipe, ensure it maintains the desired slope that you established during the excavation phase. This slope is essential for directing water flow efficiently away from your home.
Connect Fittings
Use PVC fittings to connect sections of the pipe and accommodate any bends or turns in the discharge line. Properly fitted connections are vital for maintaining the integrity of the pipe and preventing leaks. Measure and cut the pipe accurately to ensure each segment connects seamlessly.
Test Fit
Before permanently securing the pipes and fittings, conduct a dry-fit of the entire length of the discharge line. Assemble all the pipes and fittings without using adhesive to verify proper alignment and fit. This step allows you to make any necessary adjustments and ensures the installation will be precise once glued together.
By meticulously following these steps, you ensure a robust and effective sump pump discharge line that will safeguard your home from water damage.
Backfilling and Finishing
Backfill
Fill the trench with gravel around and on top of the pipe to provide additional support and enhance drainage. This gravel layer helps to carry water away efficiently and prevents the pipe from shifting over time. Ensure an even distribution of gravel along the entire length of the trench.
Add Soil
Next, backfill the trench with soil or sand, compacting it lightly as you go. This step is crucial to prevent settling and maintain the integrity of the discharge system over time. Gradually add the soil or sand, tamping down each layer to create a solid, stable fill.
Smooth Surface
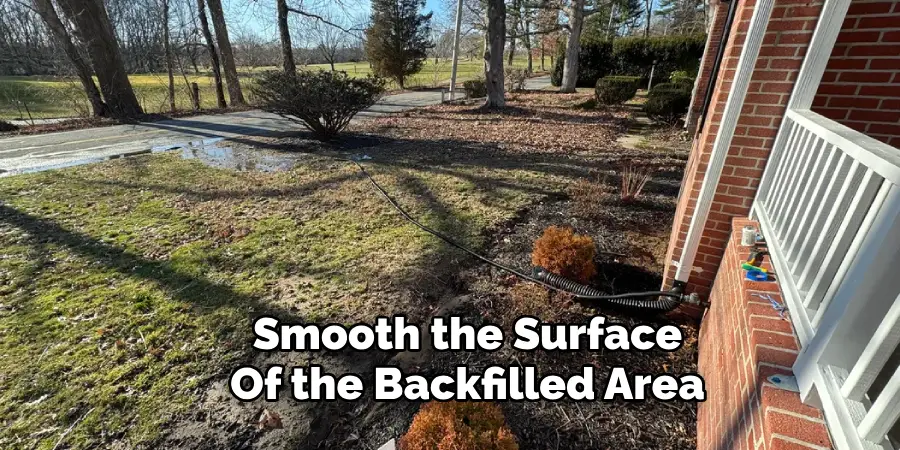
Finally, smooth the surface of the backfilled area. This ensures proper drainage away from the house and restores the appearance of your yard. Pay attention to the slope of the surface to direct water flow safely away from your foundation, preserving the effectiveness of your sump pump discharge line.
Testing and Maintenance
Test Operation
After completing the installation of the sump pump discharge line, it is crucial to test its operation to ensure that it functions correctly. Turn on the sump pump and observe the discharge of water through the newly installed line. Check for any issues such as backflow, leaks, or insufficient drainage. This initial test will confirm that the slope, connections, and overall setup are working as intended.
Monitor
Regular maintenance includes monitoring the discharge line for any signs of clogging, damage, or leaks. Periodically inspect the entire length of the line, paying close attention to areas where debris might accumulate or where the pipe is exposed to potential damage. Early detection of problems can prevent more severe issues down the line.
Maintenance
Maintaining the discharge line involves clearing any debris or obstructions that may hinder proper drainage. If any clogs or blockages are found, use a garden hose or plumbing snake to clear the pipe. Keeping the line free of obstructions will ensure that your sump pump system continues to protect your home from water damage. Regularly performing these simple maintenance steps will extend the lifespan of your sump pump discharge system.
Conclusion
Burying a sump pump discharge line involves several crucial steps, starting with thorough planning and trench excavation. Ensuring the trench is the correct width and depth, smoothing the bottom, and maintaining a proper slope are key preparatory tasks. The installation phase includes laying drainage fabric, placing the PVC pipe, connecting fittings, and conducting a test fit to verify alignment. Backfilling with gravel and soil layers after installation guarantees stability, and smoothing the surface ensures efficient water flow away from your home. Regular monitoring and maintenance keep the system performing optimally.
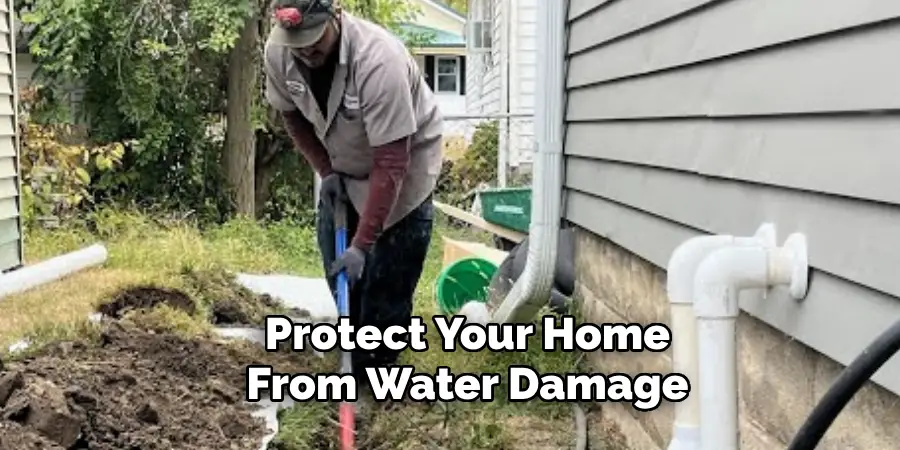
Proper drainage is vital to prevent flooding and water damage, safeguarding your home’s foundation and interior. A well-installed discharge line helps manage water effectively, reducing potential risks.
To enhance the success of your project, consider following local regulations on drainage systems and seek professional advice if necessary. Understanding “how to bury sump pump discharge line” correctly ensures a robust and reliable home protection system.

