Do you need to know how to cap a copper pipe? Are you looking for ways to get it done quickly and safely? If so, then we have the perfect solution for you! If so, you’d be glad to know that capping off a copper pipe is quite straightforward.
In this blog post, we’ll give you step-by-step instructions on how to properly cap off a copper pipe. We’ll cover everything from selecting the right materials and tools, preparing your space before starting work, purchasing quality fittings & supplies at a reasonable cost, and completing the project with minimal effort.
This article will provide simple step-by-step instructions on effectively closing the end of an existing copper pipe in your home. With basic tools and supplies—such as PTFE tape, a hacksaw, an adjustable wrench, and some lubricant—you can learn how to seal up metal pipes quickly! You don’t need any previous experience in plumbing or DIY projects – our comprehensive guide will show even novice homeowners how to accomplish this task easily.
Read on to learn more about capping copper pipes like an experienced professional!
Necessary Items
Before we capped a copper pipe, look at the needed items. Ensure you have all these materials before starting the project for a smooth and hassle-free experience.
- A copper pipe that needs capping
- A cap fitting (solder or push-on)
- Flux paste or liquid flux
- Solder (for solder cap fittings)
- PTFE tape
- A hacksaw
- An adjustable wrench
- Lubricant (e.g. WD-40)
10 Steps on How to Cap a Copper Pipe
Step 1: Choosing the Right Materials and Tools
When choosing materials for capping a copper pipe, ensuring you have the right ones for the job is vital. Copper pipes come in different sizes, so make sure to take note of the diameter of the pipe you need to cap. Additionally, select a cap fitting that is specifically designed for copper pipes. For tools, ensure a hacksaw is on hand for cutting the pipe and an adjustable wrench for tightening fittings.

Step 2: Preparing Your Work Area
Before starting any plumbing project, it is important to prepare your work area properly. In this case, ensure the water supply to the pipe you want to cap is shut off. Also, lay down some newspaper or a drop cloth to catch any debris falling during the process.
Step 3: Cleaning and Cutting
Clean the end of the copper pipe using a wire brush or sandpaper to remove any dirt or debris that may interfere with the capping process. Then, using a hacksaw, carefully cut the pipe as straight as possible to ensure a clean and tight fit for the cap.
Step 4: Applying Flux
Next, apply flux paste or liquid flux to both the inside of the cap fitting and the end of the copper pipe. Flux helps to remove any oxidation and allows for better soldering.
Step 5: Fitting the Cap
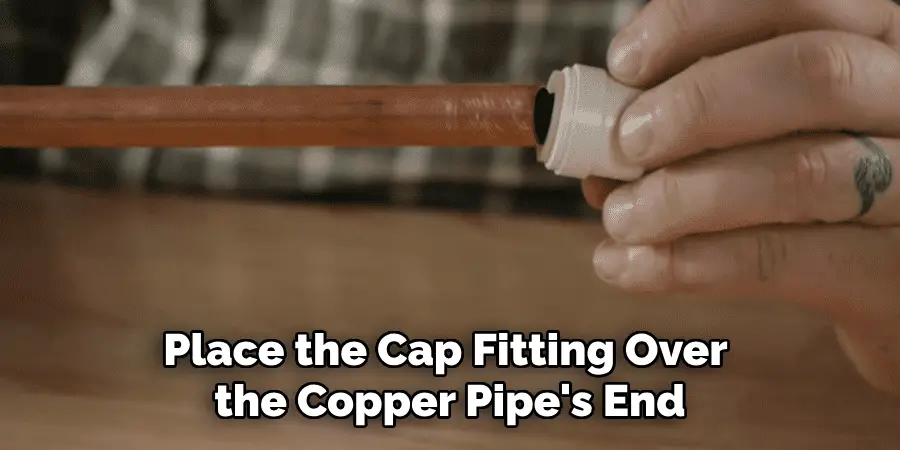
Place the cap fitting over the copper pipe’s end, ensuring it fits snugly. Use an adjustable wrench to tighten the fitting onto the pipe.
Step 6: Soldering (Optional)
You must sell the joint to create a secure seal if using a solder cap fitting. This step may require prior experience and caution, as soldering involves heating and melting metal.
Step 7: Using Push-On Cap Fittings
For push-on cap fittings, simply press the fitting onto the end of the copper pipe until it clicks into place. No soldering is necessary.
Step 8: Wrapping with PTFE Tape
For added security, you can wrap the cap fitting with PTFE tape. This helps to create a tighter seal and prevent any leaks.
Step 9: Tightening the Fitting
Tighten the cap fitting onto the pipe using an adjustable wrench until it feels secure. Be careful not to overtighten, as this can cause damage to the fitting or pipe.
Step 10: Test for Leaks
Once the cap is securely placed, turn the water supply back on and check for leaks. Congratulations if there are no signs of leakage – you have successfully capped a copper pipe!
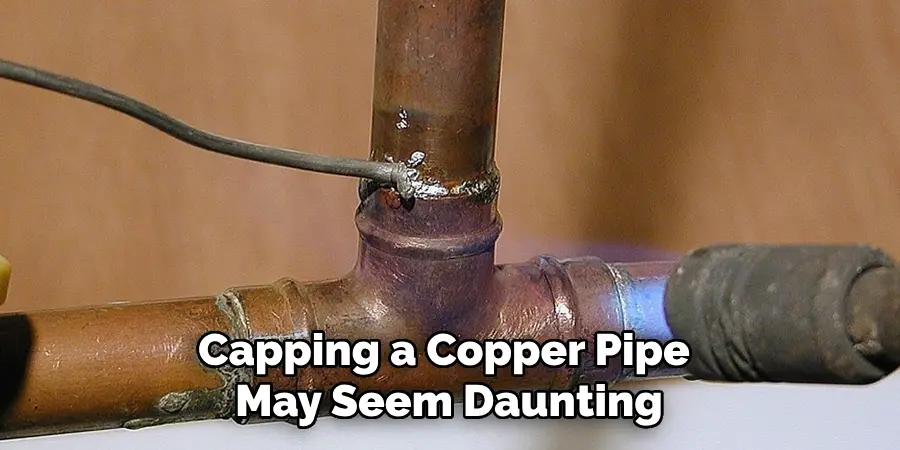
Capping a copper pipe may seem daunting, but it can be done easily and safely with the right materials and tools. Remember to prepare your work area properly, select the right fittings for your pipe size, and follow the steps carefully for a successful outcome. With this guide, you can confidently cap off any copper pipes in your home without calling a professional. So why wait? Get started on your next DIY project and become a pro at capping copper pipes! Keep this guide handy for future reference, and always prioritize safety when working with plumbing materials.
8 Care Tips for Your Copper Pipes
Now that you know how to cap a copper pipe, taking care of your pipes is important to ensure their longevity and prevent future issues. Here are some tips on how to properly maintain and care for your copper pipes:
1. Insulate Exposed Pipes
Copper pipes are susceptible to freezing and bursting in cold weather. To prevent this, insulate any exposed pipes in unheated areas of your home, such as the attic or basement. This will help prevent any costly damage.
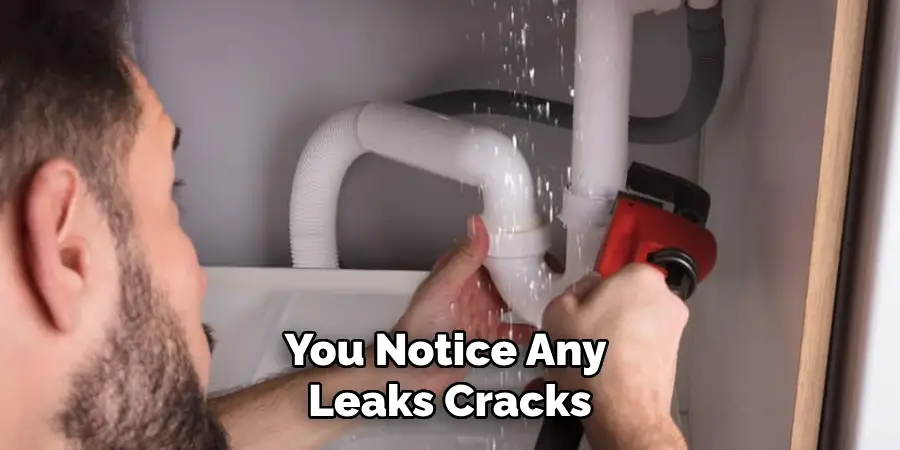
2. Check for Leaks Regularly
Make a habit of regularly checking your copper pipes for leaks or cracks. This can help catch any issues before they become major problems and save you from expensive repairs.
3. Avoid Chemical Drain Cleaners
Chemical drain cleaners can be harsh on copper pipes and may cause damage. Instead, opt for natural drain cleaners or use a plumbing snake to clear clogs.
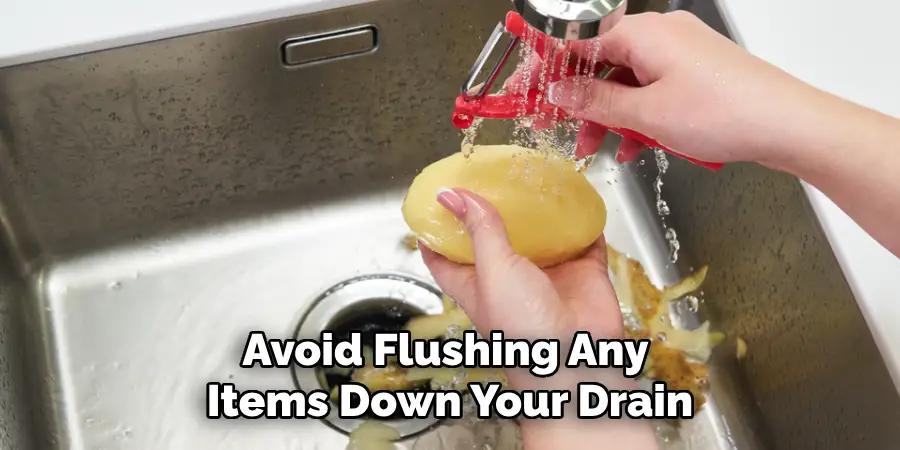
4. Be Mindful of What Goes Down the Drain
Avoid flushing any items down your drains that could cause clogs, such as paper towels, feminine products, and grease. These can all contribute to blockages in your pipes.
5. Schedule Regular Maintenance Checks
To ensure the overall health of your plumbing system, consider scheduling regular maintenance checks with a professional plumber. They can help catch any issues early on and keep your pipes in top condition.
6. Keep an Eye Out for Corrosion
Copper pipes are generally resistant to corrosion, but in some cases, they may be at risk. Inspect any signs of corrosion, such as green or white build-up, and address it immediately.
7. Avoid Excessive Water Pressure
High water pressure can strain your copper pipes unnecessarily and eventually lead to leaks. Consider installing a pressure regulator if your water pressure is consistently high.
8. Fix Issues Promptly
If you notice any leaks, cracks, or other issues with your copper pipes, it is important to address them promptly. Ignoring them can lead to bigger and more costly problems down the road.
By following these tips, you can ensure that your copper pipes stay in top condition for years. Remember, proper maintenance is key to avoiding plumbing disasters and saving money in the long run. Taking the time to understand how to cap a copper pipe is a great accomplishment. Now, you can put your knowledge into practice. It may seem daunting initially, but remember you have all the information necessary to complete the job.
Frequently Asked Questions
How Do You Cap Off Pipework?
Capping off pipework involves using a cap fitting to cover the end of a pipe securely. This is commonly done when removing or temporarily shutting the water supply to a specific area or fixture.
Can I Cap Off an Active Water Supply Line?
Yes, you can cap off an active water supply line by turning off the main water valve and following the steps outlined in this guide. However, it is recommended to seek the help of a professional plumber if you need more clarification or experience.
What If My Copper Pipe Is a Different Size?
If your copper pipe is a different size than the cap fitting you have, you can use an adapter to make them compatible. Make sure to check with your local hardware store for the appropriate fittings and sizes needed. Overall, capping a copper pipe is a relatively simple process that anyone can do with the right tools and knowledge.
Can I Cap a Copper Pipe Without Soldering?
Yes, push-on or compression fittings can cap a copper pipe without soldering. This method is easier and requires no prior experience, making it a popular choice for DIYers.
What Tools Do I Need to Cap a Copper Pipe?
To cap a copper pipe, you will need a hacksaw, wire brush or sandpaper, adjustable wrench, flux paste or liquid flux, and the appropriate cap fitting for your pipe size. Optional tools include PTFE tape and a soldering iron for solder fittings.
Can I Remove a Cap Fitting from a Copper Pipe?
You can remove a cap fitting from a copper pipe if needed. Simply use an adjustable wrench to unscrew the fitting in the opposite direction that it was tightened. You may need to apply propane torch heat to loosen stubborn fittings.
Is Capping a Copper Pipe a DIY Project?
Capping a copper pipe can be done as a DIY project, but having prior experience and knowledge of plumbing techniques is important. If you are unsure or uncomfortable with the process, it is best to consult a professional plumber for assistance.
Overall, capping a copper pipe is a relatively simple task that can save you time and money in the long run. With the right tools and methods, you can easily cap off any copper pipes in your home. So why wait? Get started on your next DIY project and become a pro at capping copper pipes! Keep this guide handy for future reference, and always prioritize safety when working with plumbing materials.
Conclusion
Now that you’ve learned how to cap a copper pipe, you can confidently take on this DIY project in your home. Always prioritize safety and follow the steps carefully for a successful outcome. Taking the time to cap off a copper pipe properly is a job that requires knowledge and patience.
With this guide, you are well on your way to becoming an expert in no time! Make sure to consider what size pipe you’re working with and have the necessary tools for the task; then, you can ensure that the job’s done right and that your copper pipes will be ready for continued use.
By properly maintaining your copper pipes, you can ensure their longevity and avoid costly repairs in the future. With these tips and guidelines, capping off copper pipes will no longer be daunting.
Keep this guide handy for future reference, and always prioritize safety when working with plumbing materials. Don’t be afraid to ask for help if needed; having another eye on the task can only improve results! Now, go ahead and start capping those copper pipes.

