Are you trying to cap a plastic water line? Don’t worry; it’s a simple task that you can easily do on your own. In this guide, we will walk you through capping a plastic water line.
Capping a plastic water line is often required during plumbing repairs, renovations, or when a water line is no longer in use. Properly sealing the end of a water line ensures that there are no leaks, which could lead to water damage or wasted resources. Whether you’re a seasoned DIY enthusiast or new to home projects, learning how to cap a plastic water line securely can save you time and money.

With the right tools, materials, and a little guidance, this task can be accomplished efficiently while maintaining the integrity of your plumbing system.
What Are the Benefits of Capping a Plastic Water Line?
Capping a plastic water line has several benefits, including the following:
- Preventing Leaks: A properly capped water line prevents any potential leakage from an open end. This helps to avoid costly repairs and saves you money on your water bill.
- Avoiding Contamination: An uncapped water line can allow dirt, debris, or even small animals to enter the line, contaminating your drinking water. Capping the line ensures that only clean water flows through it.
- Maintaining System Pressure: Leaving a water line open can decrease the overall pressure in your plumbing system. By capping the line, you can maintain proper pressure levels for efficient water use.
- Preventing Freezing: Uncapped water lines are vulnerable to freezing during colder months. This can cause damage to your pipes and disrupt the flow of water in your home. Capping the line helps prevent this issue and keeps your plumbing system running smoothly.
- Preserving Water Quality: When a water line is left open, it can introduce oxygen into the system. This leads to faster bacterial growth, which can affect the quality of your drinking water. Capping the line helps keep your water clean and safe.

What Will You Need?
- Capping Material: There are various materials you can use to cap a water line, such as rubber caps, metal caps, or PVC plugs. Make sure to choose a strong and durable material to withstand the pressure of your plumbing system.
- Pipe Cutter or Saw: You will need a pipe cutter or saw to clean the water line before capping it. This ensures a proper seal and prevents any leaks in the future.
- Teflon Tape: Teflon tape creates a watertight seal between the cap and the water line. It helps prevent leaks and keeps your capped water line secure.
- Adjustable Wrench: An adjustable wrench is a versatile tool that can tighten or loosen different types of fittings. It is an essential tool when working with plumbing systems.
- Pipe Wrench: A pipe wrench is a heavy-duty tool to tighten or loosen larger pipe fittings. It has a serrated jaw and provides more leverage than an adjustable wrench for tightening connections.
- Plumber’s Putty: Plumber’s putty is a soft, pliable material that creates a watertight seal around fixtures such as faucets and drains. It can also be used to seal small leaks in pipes.
- Plunger: A plunger may not seem like a prominent tool for plumbing, but it is a handy tool for clogged drains. A plunger works by creating suction and pressure to dislodge blockages.
- Snake/Auger: These tools remove blockages further down the drain or sewer line. They consist of a long, flexible wire with a spiral head that can break up and retrieve debris.
- Pipe Cutters: For larger plumbing projects, pipe cutters are necessary for accurately cutting through different types of pipes. These tools come in various sizes and can make clean cuts without damaging the surrounding area.
- Tubing Cutter: Similar to pipe cutters, tubing cutters are specifically designed for cutting copper tubing. They are perfect for smaller plumbing projects or repairs and can provide precise cuts.

8 Easy Steps on How to Cap a Plastic Water Line
Step 1. Turn Off the Water Supply:
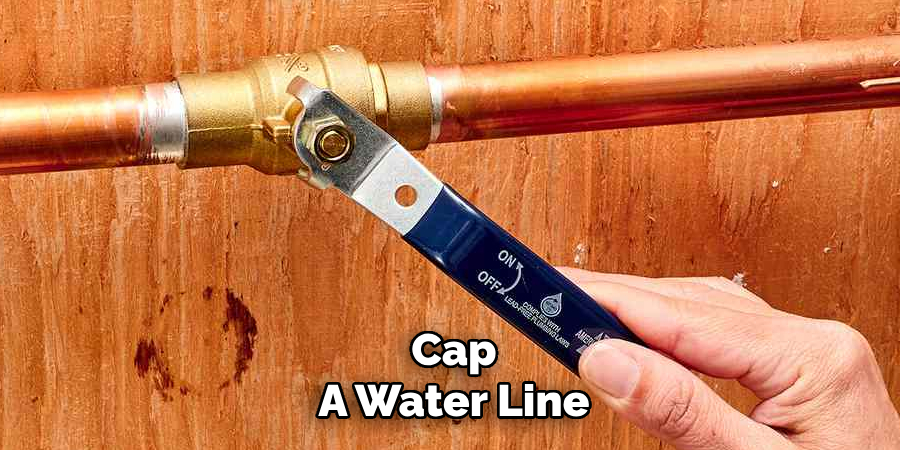
Before starting the project, turn off the water supply to prevent leaks or water damage. Locate the main water shutoff valve near your home’s perimeter, in the basement, or outside near the water meter. Turn the valve clockwise until it is fully closed.
If you are working on a specific fixture, you can shut off the water supply to just that area using the localized shutoff valve. After turning off the water, open the nearest faucet to the work area to relieve residual water pressure and drain excess water in the line. This precaution will make the capping process smoother and safer.
Step 2: Measure and Cut the Pipe
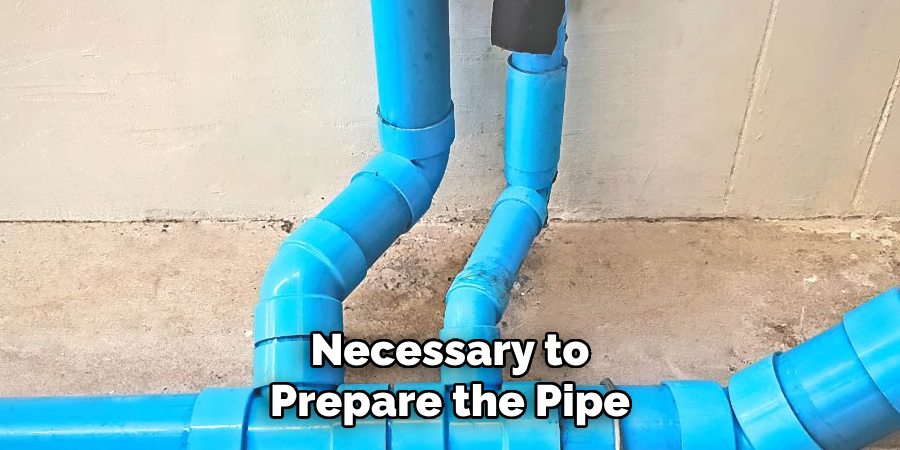
Using a measuring tape, determine the exact length of the pipe that needs to be capped. Mark the cutting point clearly with a marker to ensure precision. Employ a pipe cutter or a hacksaw to make a clean cut at the marked spot. Be sure to cut the pipe straight for the best results.
After cutting, use sandpaper or a pipe deburring tool to smooth out any sharp edges or burrs. This will prepare the pipe for a secure and tight cap fitting.
Step 3: Clean the Pipe End
Thoroughly clean the cut end of the pipe to ensure proper attachment of the cap. Use a clean cloth to wipe away any dust, debris, or residue left from cutting. If the pipe contains grease or oil, apply a pipe cleaner or rubbing alcohol to remove it entirely. Allow the pipe to dry completely before proceeding, as this step is crucial for creating a strong, leak-proof seal.

Step 4: Apply Primer (If Needed)
For PVC or CPVC pipes, applying a primer is often necessary to prepare the pipe and cap for solvent welding. Using a compatible primer, coat the pipe end’s outer edge and the cap’s inner surface lightly and evenly. The primer softens the material, ensuring a better bond between the components. Allow the primer to dry according to the manufacturer’s instructions before moving on to the next step.
Step 5: Apply Solvent Cement
Once the primer has dried, apply a generous and even layer of solvent cement to both the pipe’s outer edge and the cap’s inner surface. Use a brush or applicator provided with the cement to ensure complete coverage. Work quickly, as the cement begins to cure as soon as it is exposed to air.
Align the pipe and cap carefully, then push the cap onto the pipe with a slight twisting motion to ensure a tight fit. Hold the components together for a few seconds to allow the cement to set. Wipe away any excess cement with a clean rag before it hardens.
Step 6: Allow for Proper Curing Time
After assembling the components, it is crucial to allow sufficient time for the cement to cure fully. Curing ensures a secure and durable bond between the pipe and the cap. Refer to the manufacturer’s instructions for the recommended curing time, as it may vary depending on the type of cement and environmental conditions such as temperature and humidity.
Typically, most cements require at least 15 to 30 minutes to set enough for light handling and a full 24 hours to achieve maximum strength. During this time, avoid applying pressure or stress to the joint to prevent weakening the bond. Proper curing creates a reliable and leak-proof connection that will stand the test of time.
Step 7: Inspect the Joint
Once the curing process is complete, carefully inspect the joint for any gaps, cracks, or uneven edges that could affect its durability. A thorough visual check ensures that the bond is solid and well-aligned. Gently test the joint with light pressure to confirm its strength if necessary.
Address any imperfections promptly by applying additional adhesive or making essential adjustments before putting the joint into service. Proper inspection guarantees a secure and lasting connection.
Step 8: Finishing Touches
Once the joint has been inspected and any imperfections have been addressed, it’s time to apply the finishing touches. Sand down any excess adhesive or uneven surfaces around the joint to achieve a smooth and polished appearance.

Use fine-grit sandpaper for the best results, taking care not to damage the surrounding material. If required, apply a coat of paint, stain, or sealant to the area to ensure it matches the rest of the project and is protected from external elements. Allow any finishes to fully dry before putting the joint into use. These final steps will enhance both the aesthetics and longevity of your work.
Following these tips and techniques can create strong and seamless joints in your woodworking projects.
Conclusion
Capping a plastic water line is straightforward when approached with the right tools and techniques.
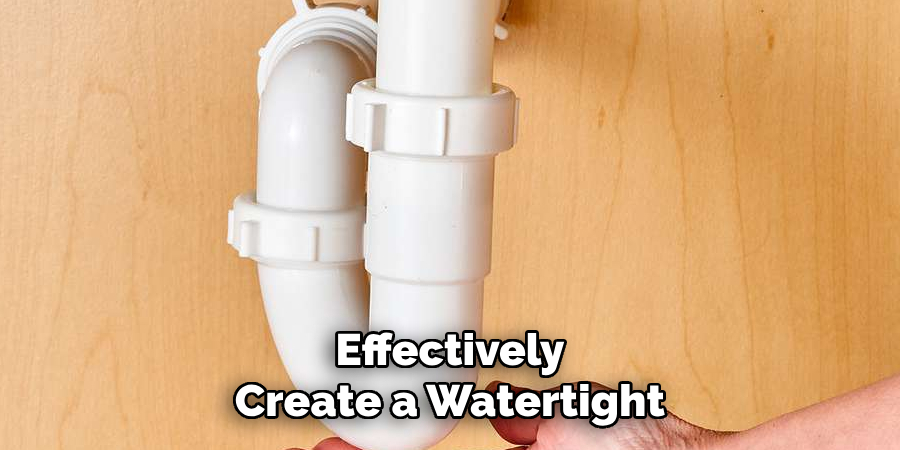
You can effectively create a watertight seal by ensuring the water supply is shut off, properly cutting and cleaning the pipe, and securely attaching a cap. Always double-check for leaks after installation to guarantee long-term reliability. With careful attention to each step, you can confidently cap a plastic water line while maintaining the integrity of your plumbing system.
Hopefully, the article on how to cap a plastic water line has helped you understand the process and feel confident in tackling this task on your own.

