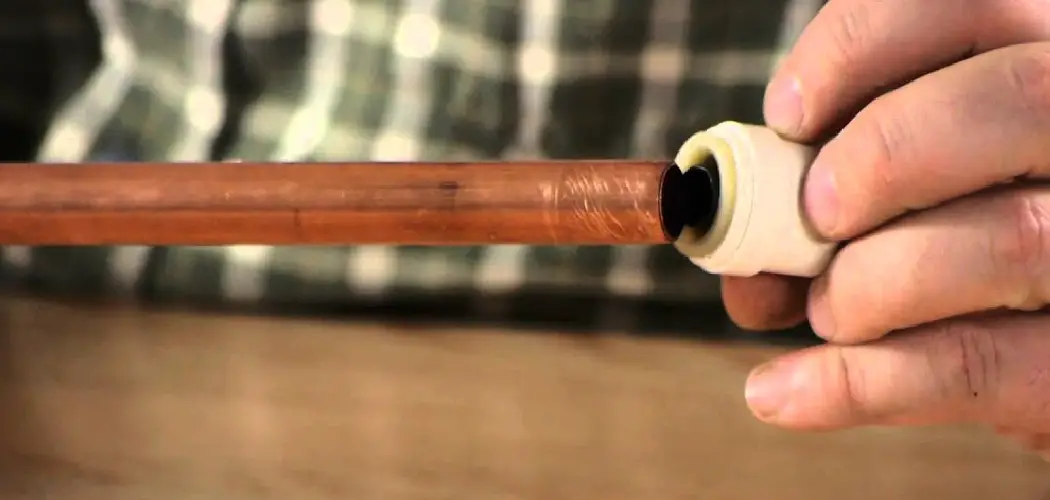
Are you trying to tackle a plumbing project and find yourself stumped on how to cap off copper water lines? Don’t worry, we’ve all been there. Fortunately, capping copper water lines is not an impossible task and can be done even by those with limited prior experience in the area of plumbing.
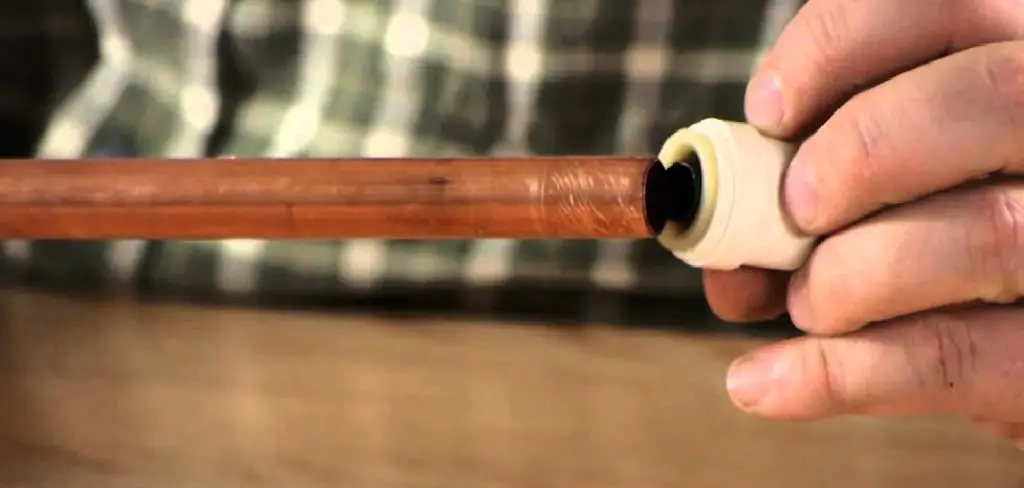
In this blog post, we’ll provide you with helpful instructions on how to cap copper water lines so that regardless of your skill level, capping your copper water lines will become a simple but important DIY job! Stay tuned as your interesting journey into mastering the art of plumbery begins here!
Why May You Want to Cap Copper Water Lines?
1 . To Prevent Contamination
Copper water lines are often used in plumbing systems as they are durable, flexible and resistant to corrosion. However, these pipes can sometimes become contaminated with bacteria or other harmful substances.
This can happen if the water source is polluted or if there is a break in the line that exposes it to external contaminants. In such cases, capping the copper water lines is essential to prevent contamination from spreading further into the plumbing system.
2 . To Stop Leaks
Over time, even durable copper water lines can develop leaks due to wear and tear. This can lead to water damage and mold growth if not addressed promptly. Capping the copper water lines is a simple and effective way to stop leaks and prevent potential damage to your property.
3 . To Prepare for Renovations
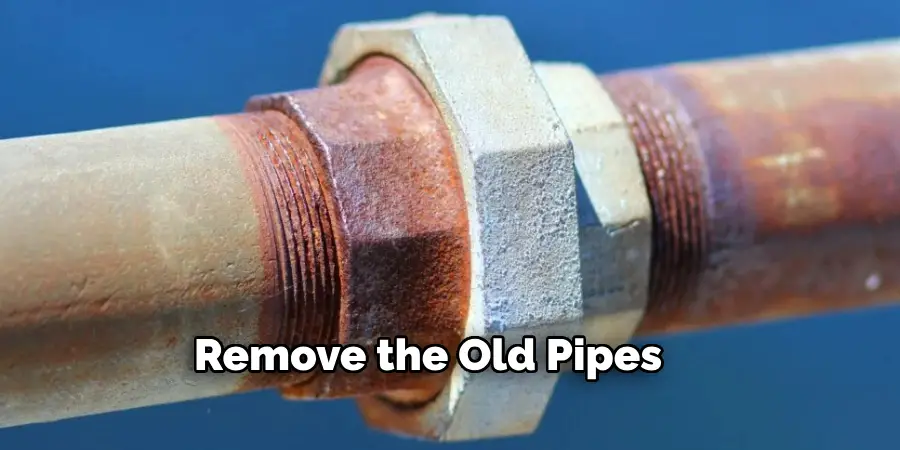
If you are planning on renovating your home or making changes to your plumbing system, capping the copper water lines is necessary. This will allow you to safely disconnect and remove the old pipes without causing any further damage or leaks. It also ensures that no water will flow through the lines during the renovation process, making it easier and safer to work on.
4 . To Save Money
By capping copper water lines that are no longer in use, you can save money on your water bill. This is especially beneficial for vacant properties or areas of your home that are rarely used. By eliminating any potential leaks or drips from unused lines, you can reduce your water consumption and save money on your monthly bills.
How to Cap Copper Water Lines in 5 Easy Steps
Step 1: Gather Your Materials
To begin capping your copper water lines, you will need a few materials on hand. These include:
- Safety gloves
- Pipe cutter or hacksaw
- Emery cloth or sandpaper
- Flux
- Soldering torch and solder
- End caps
Step 2: Turn Off Water Supply
Before beginning any work on your copper water lines, make sure to turn off the main water supply. This will prevent any water from flowing while you work. Also make sure to drain any remaining water from your pipes by opening faucets.
Step 3: Cut the Pipe
Using a pipe cutter or hacksaw, cut the copper pipe where you want to place the cap. Make sure to wear safety gloves while doing this step. After cutting, use emery cloth or sandpaper to remove any burrs or rough edges from the end of the pipe.
Step 4: Apply Flux and Solder
Apply flux to both the end of the pipe and the inside of the cap. This will help create a strong bond between the two pieces. Next, heat up your soldering torch and apply it evenly around the joint until the solder melts and fills in any gaps. Use caution while working with a soldering torch and make sure to wear safety goggles.

Step 5: Cool and Test
Allow the soldered joint to cool and then turn your main water supply back on. Check for any leaks by opening faucets and inspecting the capped area. If there are no leaks, you have successfully capped your copper water line!
Some Extra Tips to Cap Copper Water Lines
1 . Do Not Use Lead Solder
When capping copper water lines, it is important to ensure that no lead solder is used. The use of lead solder has been banned in many countries due to its potential health hazards. Instead, opt for a safer alternative such as silver solder or flux that does not contain lead.
2 . Clean the Pipes Thoroughly
Before capping the copper water lines, it is important to clean the pipes thoroughly. Any dirt or debris inside the pipes can prevent a proper seal and cause leaks. Use a pipe cleaner or sandpaper to remove any build-up on the inside of the pipes.
3 . Use Teflon Tape
One effective way to ensure a leak-free connection when capping copper water lines is to use Teflon tape. This tape is specifically designed to prevent leaks and create a tight seal between pipes. Apply the tape in a clockwise direction around the threads of the pipe before screwing on the cap.
4 . Consider Compression Fittings
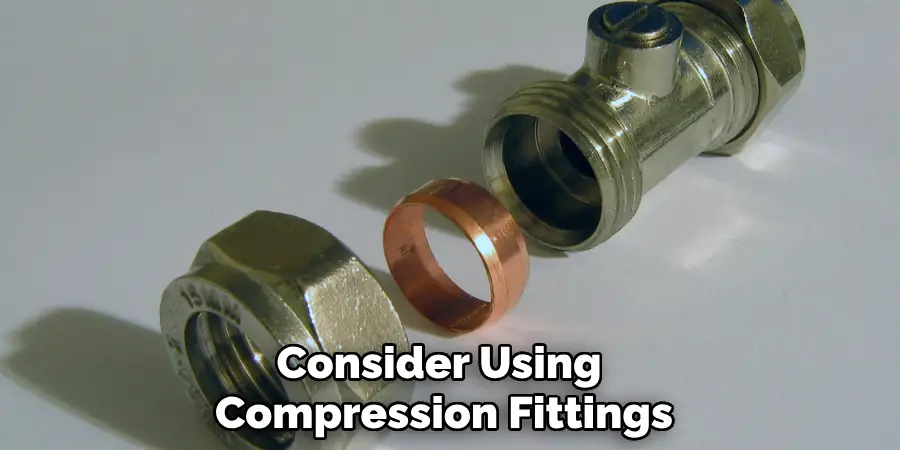
For a more secure and durable option, consider using compression fittings when capping copper water lines. These fittings do not require any soldering and can be easily tightened with a wrench. They also allow for easy disassembly if needed in the future
5 . Test for Leaks
After capping the copper water lines, it is important to test for leaks before assuming the job is complete. Turn on the water supply and check all connections for any signs of leakage. If there are any leaks, tighten the fittings or use additional sealing materials until the problem is resolved.
6 . Practice Safety Measures
When working with copper water lines, it is important to practice safety measures to avoid any accidents or injuries. Wear protective gear such as gloves and goggles, and use caution when handling tools and materials. It is also recommended to turn off the main water supply before capping the lines.
Frequently Asked Questions
What Precautions Should I Take Before Capping Copper Water Lines?
Capping copper water lines is a fairly simple task that requires minimal tools and can be done by anyone, even those who do not have any plumbing experience. However, as with any DIY project involving plumbing, there are some precautions you should take to ensure the safety of yourself and your home.
Firstly, it is important to turn off the main water supply before starting any work on your copper water lines. This will prevent any potential leaks or accidents from occurring. Additionally, you should wear protective gear such as gloves and safety glasses to protect yourself from any sharp edges or debris that may be present when cutting the copper pipes.
What Tools Do I Need for Capping Copper Water Lines?
To cap copper water lines, you will need a few basic tools such as a tube cutter, a deburring tool, and some emery cloth. These tools can easily be found at most hardware stores and are relatively inexpensive. It is also recommended to have a pipe wrench or pliers on hand to assist with tightening the caps onto the pipes.
Can I Use Any Type of Cap for Capping Copper Water Lines?
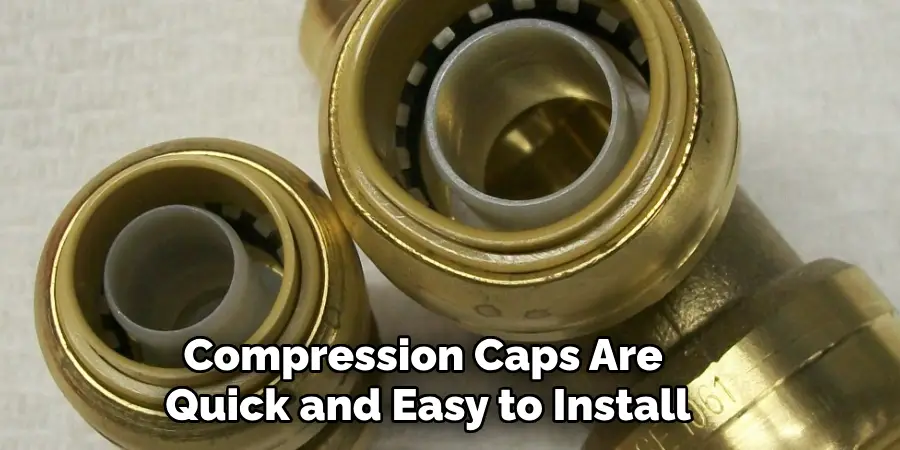
There are various types of caps available for capping copper water lines, such as push-on caps, soldering caps, compression caps, and threaded caps. It is important to choose the correct type of cap for your specific application.
Push-on and compression caps are quick and easy to install but may not provide a watertight seal. Soldering caps provide a more secure seal but require some soldering skills. Threaded caps are best used for larger pipes and may require the use of a pipe threader.
How Do I Cap a Copper Water Line?
The process of capping a copper water line is relatively straightforward. First, you will need to cut the copper pipe at the desired location using a tube cutter. Next, use a deburring tool to remove any rough edges from the cut end of the pipe. Then, clean the end of the pipe and the inside of the cap using an emery cloth. Finally, place the cap onto the end of the pipe and use pliers or a pipe wrench to tighten it securely in place.
What If I Need to Uncap the Copper Water Line in the Future?
If you ever need to uncap a copper water line in the future, simply use pliers or a pipe wrench to loosen and remove the cap. Be sure to turn off the main water supply before doing so. If the cap was soldered onto the pipe, you may need to heat it with a blow torch to melt the solder and remove the cap.
It is always a good idea to have spare caps on hand in case you need to uncap a pipe in the future. Overall, capping copper water lines is a simple and inexpensive way to temporarily or permanently seal off pipes that are no longer needed.
With the right tools and precautions, this task can easily be done by anyone, saving you time and money on calling a professional plumber. So next time you need to cap a copper water line, follow these tips and you’ll have it done in no time!
Conclusion
As we have seen, completing a copper water line installation is not only an important process, but it is easy to do. Now that you know how to effectively cap copper water lines, you can feel confident that your DIY project will be successful and void of potential leak issues in the future.
Now you know how to cap copper water lines! To ensure a quality job, always wear safety glasses, gloves, and protective clothing while dealing with the pipes and fittings. Spend some time on research, follow the instructions carefully and invest in suitable tools – and you’ll be able to tackle plumbing projects at home without being intimidated. So get your hands dirty and start capping your copper water lines today!

