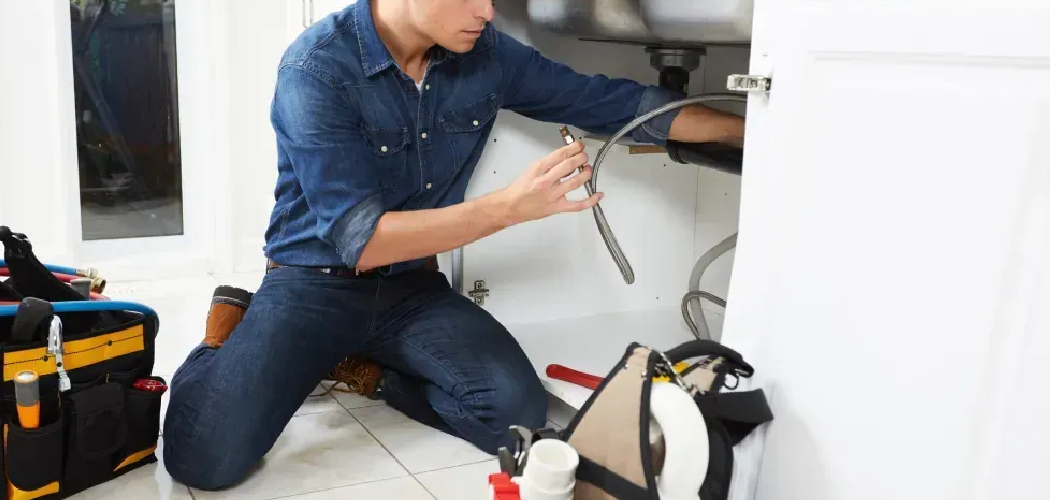
Will you move your refrigerator or do some plumbing work and need to cap the water line? Don’t worry; capping a water line for a refrigerator is not as complicated as it may seem. This guide will walk you through the steps on how to cap water line for refrigerator.
Capping the water line for a refrigerator is a necessary task when you need to disconnect the appliance or prevent water flow temporarily or permanently. Whether moving the refrigerator, upgrading to a new model, or eliminating the water connection, properly capping the line ensures safety and prevents leaks or water damage.
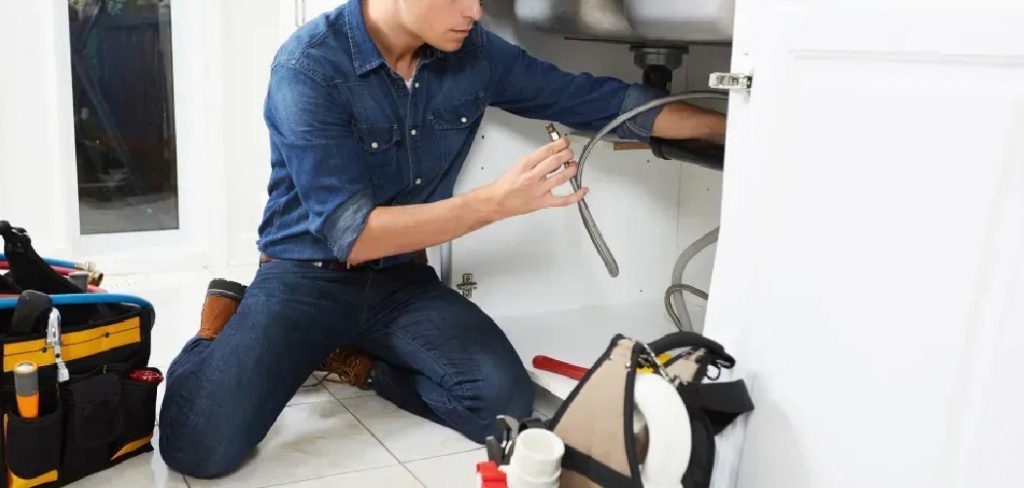
This guide will walk you through the process step by step, making it easy to secure the water line with the right tools and precautions.
What Are the Benefits of Capping a Refrigerator Water Line?
Capping a refrigerator water line offers multiple benefits, including safety and convenience. With the water line securely capped, you can move or replace your refrigerator without worrying about any potential leaks or damage to your home.
Moreover, if you’re eliminating the water connection, capping the line ensures there won’t be any residual water left in the line that could cause mold growth or foul odors over time.
What Will You Need?
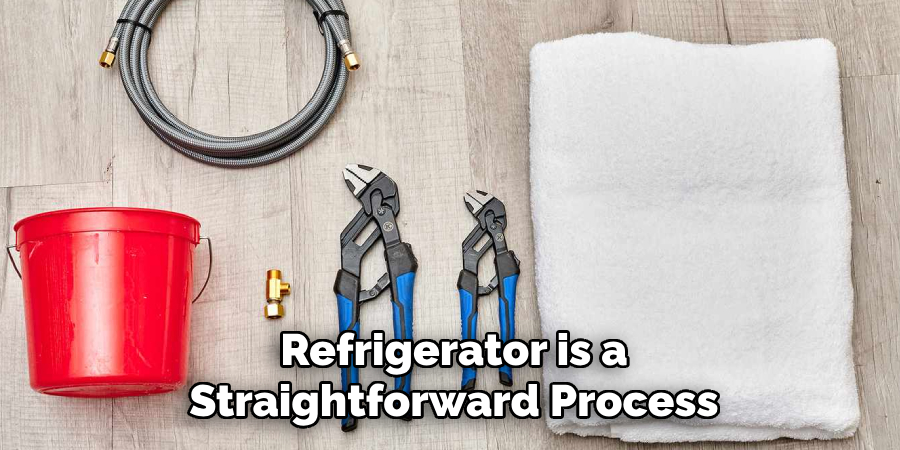
To cap a refrigerator water line, you will need the following tools:
- Adjustable wrench
- Teflon tape
- Pipe cutter (if necessary)
- Cap fitting (size will depend on the size of your water line)
- Pipe sealant (if necessary)
Before you begin, turn off the water supply to your refrigerator. This can be done by turning a valve near the water line’s connection point. If you cannot find a dedicated valve for your refrigerator, you may need to shut off the main water supply to your home.
8 Easy Steps on How to Cap Water Line for Refrigerator
Step 1. Locate the Water Line
To begin the process, you must find the water line connected to your refrigerator. Typically, this line is a small, flexible pipe at the back of the fridge, extending to the water supply valve. If your refrigerator has an ice maker or a water dispenser, the water line will be easy to locate.
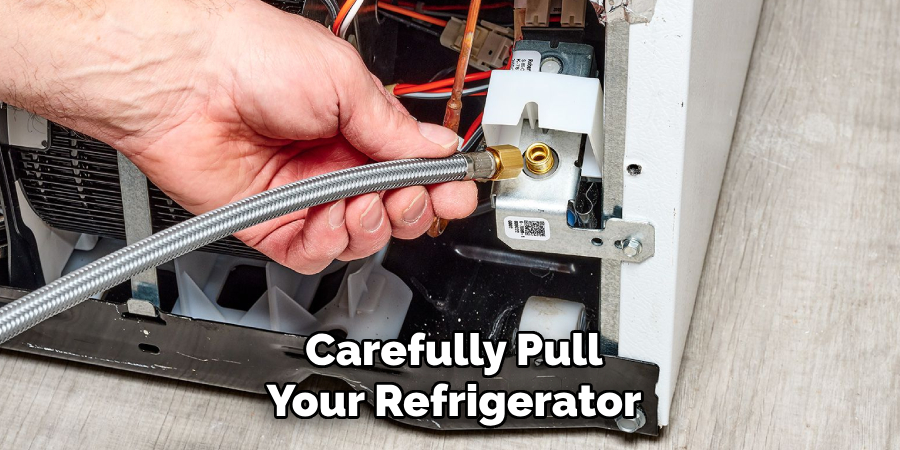
Carefully pull your refrigerator away from the wall to gain clear access to the rear. Be cautious during this step to avoid damaging the flooring or refrigerator. Once you have identified the water line, trace it to its connection point at the water supply valve to ensure you completely understand the layout before proceeding.
Step 2: Shut Off the Water Supply
Locate the water supply valve connected to the refrigerator’s water line. Turn the valve clockwise to shut off the water supply completely. This step is essential to prevent leaks or water spills during the upcoming tasks. Double-check that the water has been successfully turned off by attempting to use the refrigerator’s water dispenser or ice maker, ensuring no water flows out.
Step 3: Disconnect the Water Line
Carefully locate the water line at the back of the refrigerator. Use a wrench or appropriate tool to loosen the connection at both ends of the line. Once loosened, gently pull the water line away from the refrigerator and the water supply valve.
Be prepared with a towel or small container to catch any remaining water that may drip out during this process. Inspect the disconnected ends for damage or wear before moving on to the next step.
Step 4: Remove the Old Water Line
Double-check the condition of the old water line once it has been removed. Look for any cracks, kinks, or mineral deposits that might have led to reduced water flow or leaks. If the water line appears damaged, this could indicate the need for additional maintenance or a replacement filter to prevent similar issues in the future.
Ensure the area around the connection points is clean and free of debris or buildup that could interfere with the new installation. Taking the time to inspect and clean these components thoroughly will help ensure the proper functioning of the new water line and extend its longevity.
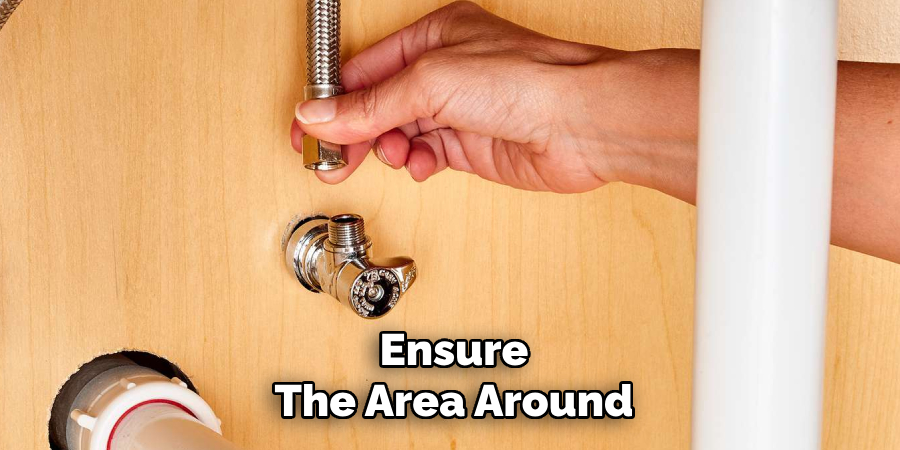
Additionally, confirm that the fittings at both ends are in good condition and securely attached, or consider replacing them if they show signs of wear. Once the old line is removed and the area is prepped, install the new water line.
Step 5: Use Proper Materials and Techniques
Now that you have thoroughly prepared the area for the new water line, using proper materials and techniques during installation is essential. This will help ensure a strong, durable connection that can withstand regular use.
Firstly, choose a high-quality water line made of sturdy materials such as copper or PEX (cross-linked polyethylene). These types of water lines are known for their durability and resistance to corrosion. Avoid using subpar materials such as plastic or galvanized steel, which may deteriorate quickly under pressure.
Next, use the appropriate tools for the job. Depending on the type of water line you are installing, you may need specific tools such as a pipe cutter, crimping tool, or compression fitting remover.
Step 6: Cut and Prepare the Water Line
Once you have all the necessary tools, it’s time to start cutting and preparing your water line. Begin by measuring the distance between your water source and where you want to install the fixture or appliance. This will determine how much water line you will need.
Using a pipe cutter, cut the water line to the desired length. Be sure to make clean cuts that are free of burrs or jagged edges. These imperfections can cause leaks in your new water line.
Next, use a deburring tool to remove any rough edges from the inside and outside of the cut ends of your water line. This will ensure a smooth connection and prevent any obstructions in the water flow.
Step 7: Connect the Water Line
Once your water line is cut and deburred, it’s time to connect it to your fixture or appliance. This may require special fittings depending on the type of fixture you are installing.
You will typically need a compression fitting or saddle valve for a refrigerator. Follow the manufacturer’s instructions for the proper installation of these fittings.
You may need a braided stainless steel supply line with attached dishwasher or washing machine fittings. These simply screw onto the water inlet valve on your appliance.
Make sure all connections are tight and secure before turning on the water supply. Testing for leaks by running water through the newly installed line and checking for any drips or seepage is also recommended.
Step 8: Maintaining and Replacing Water Supply Lines
In addition to proper installation, it’s vital to maintain your water supply lines regularly. Over time, these lines can become worn or damaged, leading to potential leaks or bursts. Inspecting your supply lines at least once a year and promptly replacing damaged or worn lines are recommended.
If you notice signs of corrosion, visible cracks or bulges, or any other damage to your water supply lines. Ignoring these warning signs can lead to costly repairs and potential water damage to your home.
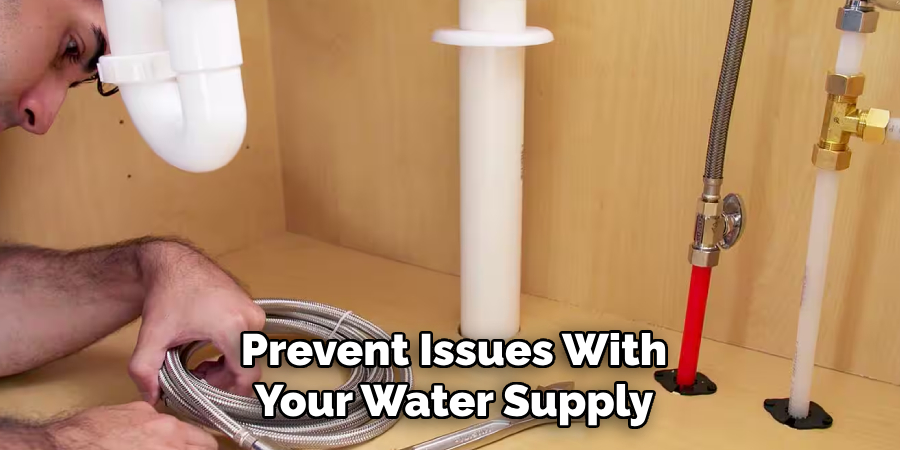
To prevent issues with your water supply lines, consider replacing them every 10-15 years. This will help ensure that your home has reliable and safe plumbing.
Following these tips and regularly maintaining your water supply lines can avoid potential problems and keep your home’s plumbing system running smoothly.
5 Things You Should Avoid
- Using the Wrong Tools
Avoid using improper tools, such as wrenches or pliers that do not fit correctly, as they can damage the cap or threads on the water line. Always ensure you use the right tools designed for plumbing tasks to prevent leaks or further issues.
- Forgetting to Shut Off the Water Supply
Never cap a water line without first shutting off the main water supply. Failing to do so can result in water spraying out, causing potential flooding and damage to the surrounding area.
- Neglecting to Check for Leaks
After capping the water line, checking for leaks is crucial. Overlooking this step may lead to water seeping out over time, causing hidden damage or mold growth under appliances or floors.
- Not Cleaning the Line Properly Before Capping
Ensure the water line is clean and residue-free before applying the cap. Dirt, rust, or debris can prevent a proper seal, leading to leaks or weak connections.
- Using Low-Quality or Incorrect Caps
Avoid using caps unsuited for your specific type of water line. Low-quality or incompatible caps may not hold up over time, increasing the risk of leaks or cap failure under water pressure. Always invest in high-quality materials designed for plumbing applications.
Conclusion
How to cap water line for refrigerator is a straightforward process when done correctly. By ensuring that the line is properly cleaned, using the right tools, and selecting high-quality caps designed for plumbing, you can effectively prevent leaks and maintain the integrity of your water system.
Always follow these steps carefully and double-check your connections to avoid potential issues in the future. If unsure, consult a professional plumber to ensure the job is done safely and efficiently.
Hopefully, the article has helped you connect a water line to your refrigerator.

