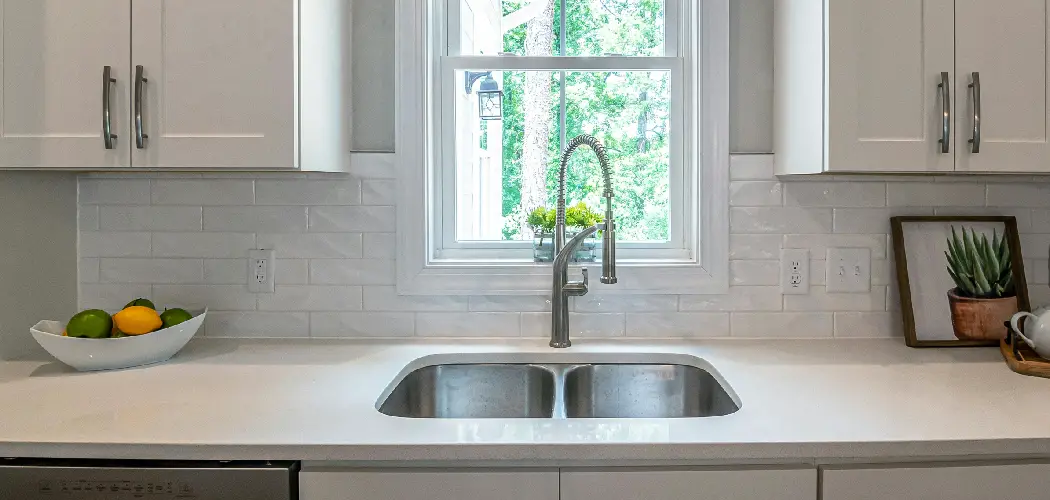
Upgrading your kitchen or bathroom can be a rewarding project, and one common renovation is converting a double sink into a single sink. This change can provide more counter space, streamline your sink area, and accommodate larger pots, pans, or dishes.
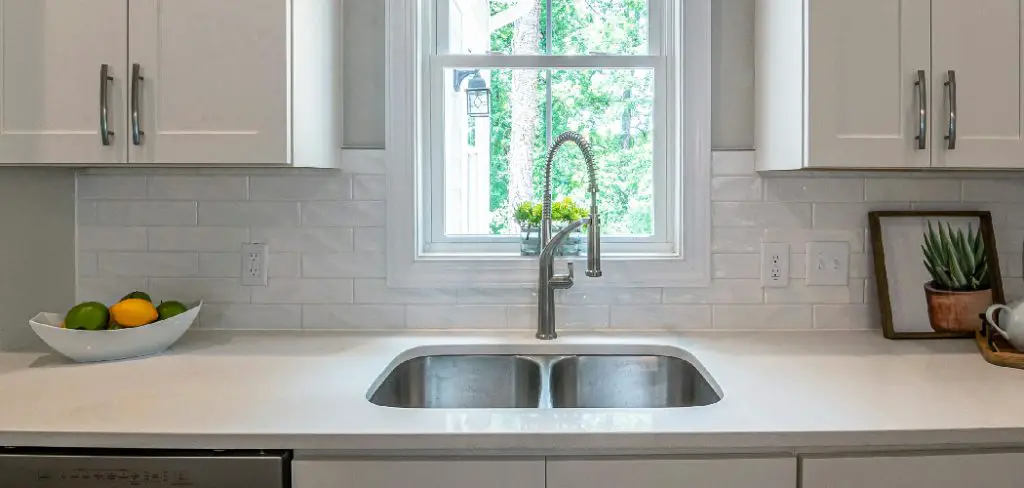
Whether your goal is to modernize the look of your space or enhance functionality, this guide on how to change double sink to single will walk you through the steps necessary to successfully make the switch from a double sink to a single sink. With the right tools and a bit of patience, you can achieve a professional-looking result without hiring a contractor.
What is a Double Sink?
A double sink, also known as a twin basin or dual sink, consists of two separate basins or bowls in one unit. This style of sink is commonly found in kitchens but can also be seen in some larger bathrooms. The purpose of a double sink is to provide two separate areas for washing and rinsing dishes, cleaning produce, or other tasks. While it may seem like a practical choice for busy households, the reality is that many people find themselves using only one side of the sink while the other sits unused.
You may also find that maintaining and cleaning a double sink can be more challenging, as food scraps or soap scum can easily fall between the two basins. This can lead to unpleasant odors and bacterial growth if not cleaned regularly.
Why Convert to a Single Sink?
There are several reasons why you may want to change your double sink to a single sink:
More Counter Space:
A single sink offers more counter space, which can be beneficial for food preparation, drying dishes, or placing small appliances.
Streamlined Look:
Removing a double sink can open up your kitchen or bathroom and create a more streamlined look. This can make the space appear larger and less cluttered.
Accommodates Larger Items:
When only one side of a double sink is used, it may not be large enough to accommodate larger pots, pans, or dishes. A single sink provides more room for these items.

Easier Maintenance:
A single sink is easier to maintain and keep clean compared to a double sink. Without the divider between the two basins, there are no hard-to-reach areas where dirt and grime can build up.
10 Step-by-step Guides on How to Change Double Sink to Single
Step 1: Gather Materials
Sink removal tool (optional):
A sink removal tool is a helpful device that can make the process of removing a sink easier. It can be purchased at most hardware stores.
Adjustable wrench or pliers:
You will need these tools to remove the nuts and bolts holding the sink in place.
Screwdriver:
A screwdriver may be needed to disconnect plumbing pipes and other fixtures.
Bucket:
Have a bucket nearby to catch any water remaining in the pipes.
Step 2: Shut off Water Supply
Before you begin any work on your sink, it is crucial to shut off the water supply to prevent any accidental leaks or flooding. Locate the shut-off valves under the sink; these are typically found inside the cabinet beneath the sink. Turn the valves clockwise to close them completely. For additional safety, you may also want to shut off the main water supply to your home.
Once the water is off, turn on both faucets to drain any remaining water from the pipes. This ensures that you won’t encounter any water flow while removing the sink and plumbing fixtures.
Step 3: Disconnect Plumbing Fixtures
With the water supply turned off, the next step is to disconnect the plumbing fixtures. Start by placing a bucket under the sink to catch any residual water that may drain out during the process. Using an adjustable wrench or pliers, carefully loosen and disconnect the water supply lines from the faucet. If there are compression fittings, you may need a wrench to loosen the nuts. Next, detach the drain pipes. Remove the P-trap by loosening the slip nuts that hold it in place; this will allow you to carefully remove the trap and any accompanying pipes.

Be prepared for some water to spill out, hence the bucket. After disconnecting the drain pipes, unscrew any additional mounting hardware that secures the faucet and other fixtures to the sink. Once all the plumbing fixtures are disconnected, you can proceed to the removal of the sink itself.
Step 4: Remove Sink Clips and Brackets
With the plumbing fixtures disconnected, the next step is to remove the sink clips and brackets that hold the sink in place. These clips and brackets are typically located underneath the sink and are used to secure the sink to the countertop. Using a screwdriver or an appropriate tool, carefully loosen and remove these clips and brackets. Be sure to keep a firm grip on the sink as you do this, as it may begin to shift once these supports are removed.
If your sink is additionally secured by adhesive or caulking, you may need to use a utility knife to carefully cut through this material. Once all fasteners and adhesives are removed, you can gently lift the sink out of the countertop. If the sink is heavy or cumbersome, consider asking for assistance to safely remove it without damaging your countertop or injuring yourself. After successfully removing the sink, take a moment to clean the area and prepare it for the installation of your new single sink.

Step 5: Prepare the Countertop for Installation
With the old sink removed, it’s time to prepare the countertop for the installation of your new single sink. Start by thoroughly cleaning the area where the new sink will be placed. Remove any remaining adhesive, caulk, or debris using a scraper or a utility knife. Once the surface is clean, wipe it down with a damp cloth to remove any dust or particles.
Next, inspect the countertop to ensure there are no damages or irregularities that could affect the installation. If there are any chips, cracks, or uneven spots, consider repairing these areas before proceeding. Depending on the type of countertop material, you may need specific fillers or adhesives to ensure a smooth and even surface.
Step 6: Measure and Mark the New Sink Placement
With the countertop prepped and clean, the next step is to measure and mark the placement for your new single sink. First, position the new sink on the countertop to ensure it fits within the existing space or make any necessary adjustments. Center the sink in the desired location, considering factors like faucet placement and space for any additional fixtures.
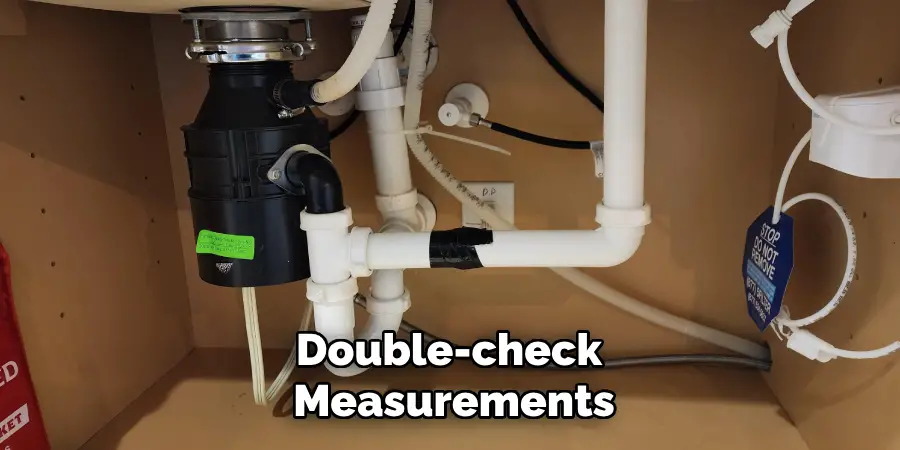
Next, measure the distance from the edge of the countertop to the outline or template to verify it is centered and properly aligned. Double-check all measurements to avoid any errors that could complicate the installation process. Once you are confident that the placement is accurate, you can move on to cutting the countertop, if needed, and preparing to install your new single sink.
Step 7: Cut the Countertop (if needed)
If your new single sink is larger than the previous double sink, you may need to cut the countertop to accommodate its size. Using a jigsaw or appropriate cutting tool, carefully cut along the marked lines to create a hole for your new sink. Be sure to wear protective gear and follow all safety precautions when using power tools.
After making any necessary cuts, clean up any debris and ensure that the hole is smooth and even before proceeding with installation. If you are unsure about cutting the countertop yourself, consider hiring a professional for this step.
Step 8: Install Sink Mounting Hardware
Before placing the sink in its designated spot on the countertop, it is essential to install the mounting hardware. This includes clips, brackets, and any other fasteners that will secure the sink in place. Follow the manufacturer’s instructions for your specific sink model when installing these components.
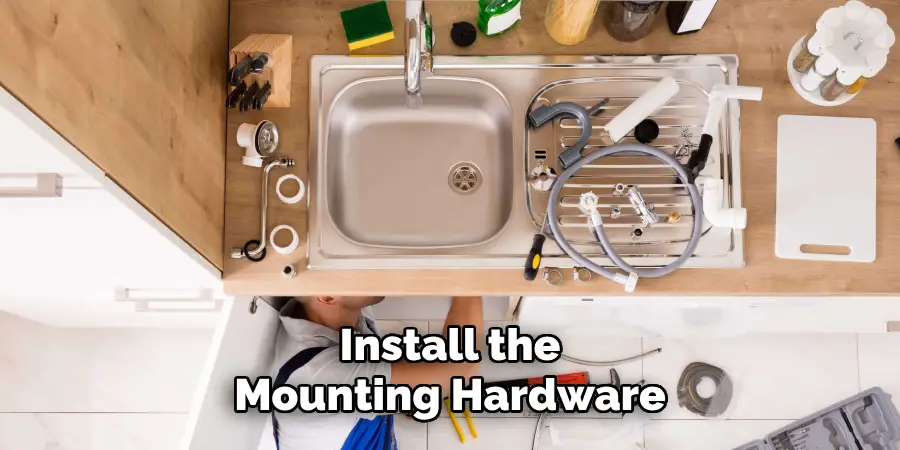
Be sure to use the proper tools and techniques when installing the mounting hardware to avoid damaging the sink or countertop. Once all hardware is securely in place, you can move on to placing and securing the sink in its designated location.
Step 9: Attach Plumbing Fixtures
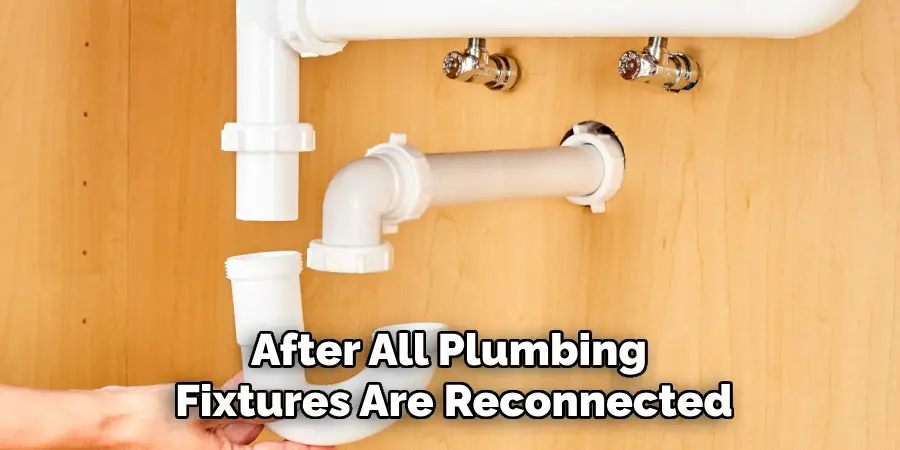
With the new single sink secured in place, it is time to reattach the plumbing fixtures. Start by attaching the drain pipes and carefully tightening them with a wrench or pliers; be careful not to over-tighten as this could cause damage.
Next, connect the water supply lines to the faucet and secure them using the appropriate fittings. Test all connections by turning on the water supply and checking for any leaks. If there are no leaks, you can proceed with installing any additional fixtures such as a garbage disposal or soap dispenser.
Step 10: Caulk Around Sink Edges
After all plumbing fixtures are reconnected, it is essential to caulk around the edges of the sink. This will help create a watertight seal and prevent any moisture from seeping underneath the sink. Using a waterproof silicone caulk, carefully apply a thin layer along the edge of the sink where it meets the countertop. Smooth out any excess caulk with your finger or a tool to ensure an even and secure seal.
You can also caulk around the base of any fixtures or accessories, such as a soap dispenser. Once the caulk has dried and set, usually within 24 hours, you can test out your new single sink by running water and checking for any leaks. Congratulations on successfully installing your new single sink! Be sure to regularly clean and maintain your sink to keep it in excellent working condition for years to come.
Following these steps on how to change double sink to single and taking your time to properly install a single sink can save you money on hiring a professional and give you the satisfaction of completing a DIY project. Remember to always follow safety precautions, read manufacturer’s instructions, and reach out for help if needed. Happy installing!
Safety Considerations
When undertaking a DIY project such as converting a double sink to a single sink, safety should always be a top priority. Here are some key safety considerations to keep in mind:
Use Proper Tools and Equipment:
Ensure that all tools and equipment you use are in good working condition. This includes ensuring power tools are properly maintained and hand tools are free from defects.
Wear Protective Gear:
Always wear appropriate protective gear such as safety glasses, gloves, and ear protection when working with tools, adhesives, or cleaners. This will help protect you from potential injuries.
Follow the Manufacturer’s Instructions:
Adhere strictly to the instructions provided by manufacturers for both tools and sink components. This will help prevent mishaps and ensure you are using items correctly.
Turn Off the Water Supply:
Before beginning work on removing or installing the sink, make sure the water supply is turned off to avoid any accidental flooding or water damage.
Lift Properly:
Some sinks can be quite heavy and cumbersome. Ensure you lift with your legs, not your back, and seek assistance if the weight or size of the sink is unmanageable on your own to prevent injuries.
Electrical Safety:
If your sink setup involves electrical components for garbage disposals or other accessories, ensure the power is off before starting any work to prevent electrical shocks.
Ventilation:
Ensure your work area is well-ventilated, especially when using adhesives, caulks, or other chemicals to avoid inhaling potentially harmful fumes.

Dispose of Waste Properly:
Be mindful of disposing of old sink components, adhesives, and other waste materials properly. Follow local regulations for disposal of hazardous materials.
By following these safety considerations, you can help ensure a safe and successful sink installation project. Always prioritize your safety and seek professional help if you are uncertain about any step in the process.
Common Challenges and Solutions
While installing a new single sink can be a rewarding DIY project, it’s not without its challenges. Here are some common issues you might encounter and how to address them:
1. Measuring and Cutting the Countertop
Challenge:
Accurately measuring and cutting the countertop to fit the new sink can be tricky, especially if the sink’s dimensions differ significantly from the old one.
Solution:
Double-check all measurements before making any cuts. Use a template if your sink comes with one, and employ a jigsaw with a fine blade to cut the countertop. If you are unsure about your cutting skills, consider practicing on a scrap piece of material first or hiring a professional to make the cuts.
2. Aligning Plumbing Fixtures
Challenge:
Ensuring that the new sink’s drain and water supply lines align correctly with the existing plumbing can be difficult, leading to potential leaks or misalignment issues.
Solution:
Carefully plan the alignment before securing the sink. Flexible plumbing connectors can help accommodate slight misalignments. If needed, adjust the plumbing setup or consult with a plumber for assistance.

3. Sealing the Sink Properly
Challenge:
Applying caulk unevenly or inadequately around the sink’s edges can result in water leaks and potential damage to the countertop.
Solution:
Use painter’s tape to outline the area where the caulk will be applied for a cleaner finish. Apply a consistent bead of waterproof silicone caulk and smooth it out with a wet finger or a caulking tool. Allow sufficient drying time before using the sink.
4. Dealing with Heavy Sink Materials
Challenge:
Some sinks, especially those made from cast iron or stone, can be extremely heavy and difficult to maneuver into place.
Solution:
When handling heavy sinks, always lift with your legs to avoid back injuries. Enlist the help of another person to safely position the sink. Consider using lifting straps or a dolly if necessary.
5. Ensuring a Secure Installation
Challenge:
Failing to install the mounting hardware correctly can result in an unsecured sink that may shift or become damaged over time.
Solution:
Thoroughly read and follow the manufacturer’s instructions for installing mounting hardware. Use all recommended clips, brackets, and fasteners to ensure the sink is securely attached to the countertop. Double-check the tightness of all hardware before finalizing the installation.

By anticipating these common challenges and preparing solutions in advance, you can successfully navigate the process of converting a double sink to a single sink and ensure a lasting, professional-quality installation.
Frequently Asked Questions
Q: Can I Install a Single Sink in Place of My Current Double Sink?
A: It is possible to install a single sink in the location of a previous double sink, but it may require some adjustments and cutting of the countertop. Be sure to measure and plan accordingly before proceeding with installation. It may also be beneficial to consult a professional for this step.
Q: What Tools Will I Need for This Project?
A: The tools needed will depend on the specific sink and countertop materials, but some essential tools include a wrench or pliers, utility knife, scraper, jigsaw or other cutting tool, and caulk gun. Always read the manufacturer’s instructions for your specific sink model for a complete list of necessary tools.
Q: How Can I Avoid Damage to My Sink or Countertop During Installation?
A: To avoid damage to your new single sink or countertop during installation, be sure to use proper techniques and tools when handling and securing them. Take your time with each step, double-check measurements, and consider hiring a professional if you are unsure about any part of the process. Additionally, wear protective gear and follow safety precautions when using power tools.
Q: Do I Need to Hire a Professional for This Project?
A: While it is possible to complete this project on your own, it may be beneficial to hire a professional if you are not confident in your skills or have limited experience with installing sinks. A professional can ensure proper measurements, cutting, and installation techniques for a smooth and successful project. Also, if you encounter any challenges during the installation process, do not hesitate to seek help from a professional. Your safety and the quality of the final result should always be top priorities.
Conclusion
Installing a new single sink in place of a double sink can significantly enhance both the functionality and aesthetics of your kitchen. By following these detailed steps on how to change double sink to single, you can ensure a successful and hassle-free installation process. From carefully removing the old sink to meticulously preparing the countertop and reattaching plumbing fixtures, each step is crucial to achieving a professional-looking result. Remember to take your time, double-check measurements, and use the proper tools throughout the process.
Whether you are an experienced DIY enthusiast or a novice, this guide provides you with the knowledge and confidence to transform your kitchen space effectively. Enjoy your new single sink, and take pride in the accomplishment of completing this rewarding home improvement project.

