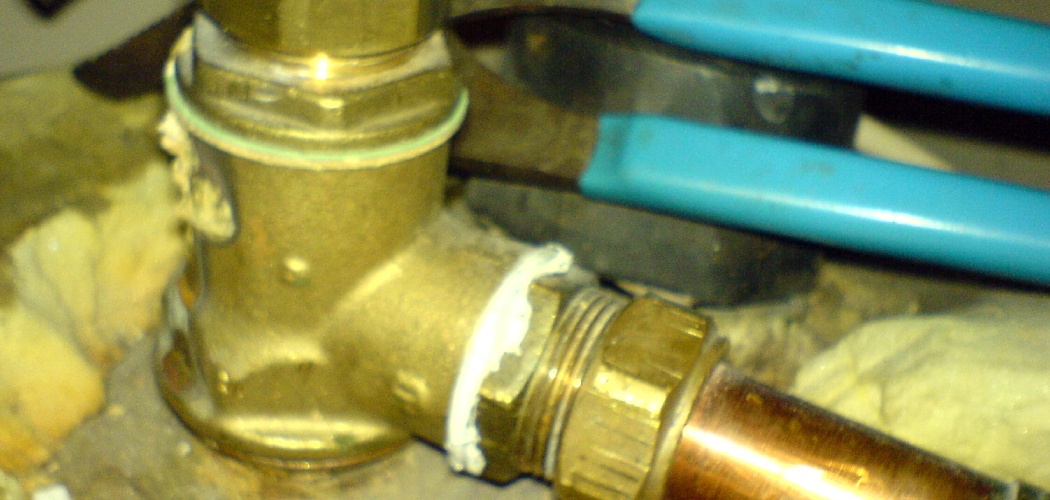
Are you experiencing a decreased hot water temperature or noticing leaks around your water heater?
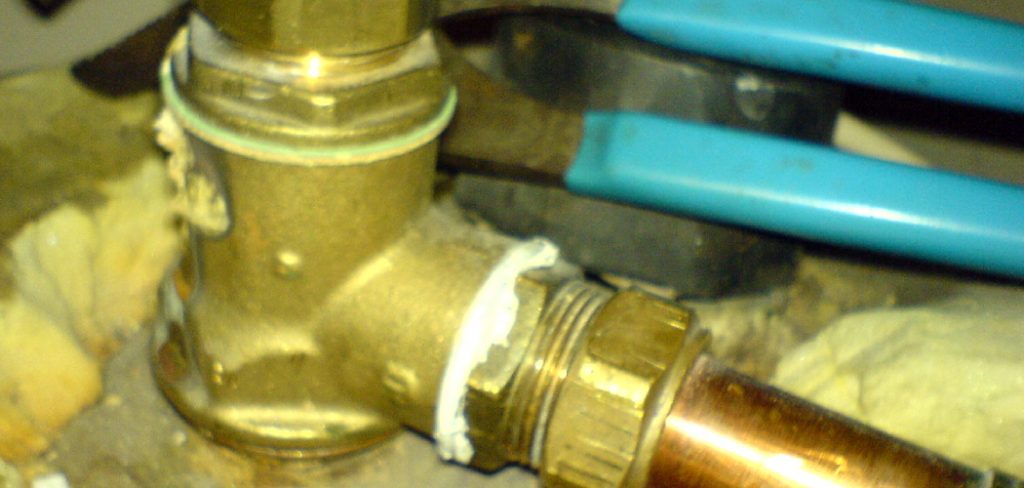
How to change pressure relief valve on water heater is an essential maintenance task that ensures your system operates safely and efficiently. The pressure relief valve, often referred to as the T&P (temperature and pressure) valve, is a critical safety component designed to prevent excessive pressure buildup within the water heater tank. Over time, the valve can wear out or become faulty, leading to leaks or potentially hazardous conditions.
Fortunately, changing the valve is a relatively straightforward process that can typically be handled with a few basic tools and some careful steps. This guide will walk you through everything you need to know to replace the pressure relief valve on your water heater successfully.
What Are the Causes of Pressure Relief Valve Failure?
There are a few common reasons why a pressure relief valve may fail, including:
- Age: Over time, the valve can become worn out or degraded due to regular use and exposure to hot water.
- Mineral Buildup: If your water has a high mineral content, deposits can accumulate within the valve, causing it to malfunction.
- High Temperature and Pressure Fluctuations: Constant changes in temperature and pressure within the water heater tank can strain the relief valve excessively, leading to failure.
What Will You Need?
If you suspect that your pressure relief valve may be failing, there are a few things you will need to properly inspect and replace it:
- New Pressure Relief Valve: You must purchase a replacement pressure relief valve suitable for your water heater model.
- Wrenches: Depending on the type of valve on your water heater, you may need an adjustable or pipe wrench to remove the old valve and install the new one.
- Teflon Tape: This tape creates a watertight seal between the threads of the valve and the water heater tank.
- Bucket or Container: To catch any water that may leak out during the valve replacement process.
8 Easy Steps on How to Change Pressure Relief Valve on Water Heater
Step 1. Turn Off the Power and Water Supply:
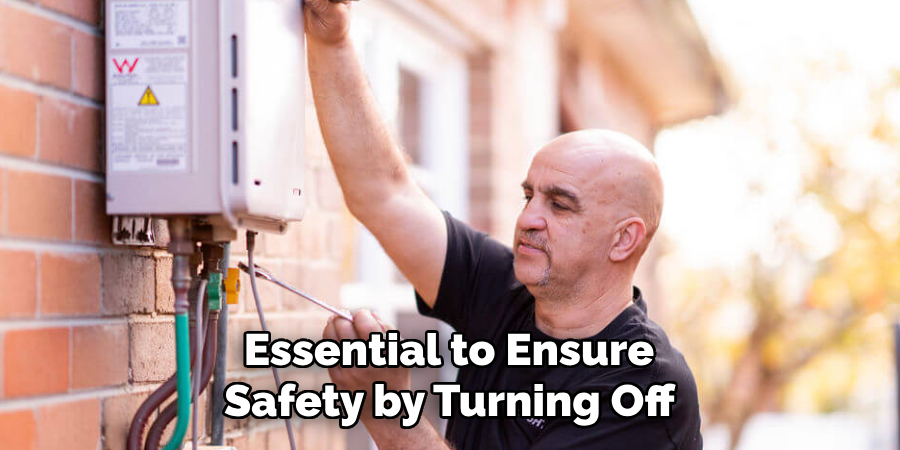
Before beginning the replacement process, it is essential to ensure safety by turning off both the power and water supply to your water heater. If you have an electric water heater, locate the circuit breaker in your home’s electrical panel and switch it off. For gas water heaters, set the gas control valve to the “Off” position to prevent any risk of gas leaks or accidental ignition. Next, turn off the cold water supply to the water heater.
This is typically done by shutting the valve on the cold water pipe leading to the tank. Confirm that the power and water supply are entirely off before proceeding to the next step. This precaution helps avoid accidents and ensures a smooth valve replacement process.
Step 2: Drain the Water Heater
Attach a garden hose to the drain valve located near the bottom of the water heater tank. Place the other end of the hose in a suitable drainage location, such as a floor drain or outside area, ensuring it is lower than the tank to allow proper water flow. Open the drain valve to begin draining the water from the tank. Open a hot water faucet in your home to speed up the process and prevent a vacuum from forming. Allow the water to drain completely before moving forward. Always use caution, as the water may still be hot.
Step 3: Flush the Tank

Once the tank is empty, turn on the cold water supply to flush out any remaining sediment at the bottom. Allow the water to run through the tank and out of the hose until the water runs clear. This step is crucial for maintaining the efficiency and longevity of your water heater. After flushing, turn off the cold water supply to stop the water flow.
Step 4: Refill the Tank
To refill the tank, close the drain valve securely to prevent leaks. Remove the garden hose if it was attached and double-check that all valves and caps are properly tightened. Next, turn on the cold water supply and allow the tank to fill. This process might take several minutes, depending on the size of your water heater. While the tank is filling, open a nearby hot water faucet to allow air to escape.
Keep the faucet open until you observe a steady stream of water, which indicates that the tank is full and the air has been purged. Once this is done, close the faucet and proceed to the next step. Properly refilling the tank is essential to ensure your water heater functions correctly.
Step 5: Reconnect the Power or Gas Supply
Once the tank has been refilled and the air purged, it’s time to restore the power or gas supply to the water heater. If your water heater is electric, switch the circuit breaker back to the “on” position. For gas water heaters, carefully relight the pilot light following the manufacturer’s instructions or switch the gas control knob to the appropriate setting.
Ensure that all connections are secure and that no gas leaks are present if using a gas system, as safety is paramount. After restoring the power or gas supply, allow the water heater some time to heat the water to the desired temperature.
Step 6: Test the System
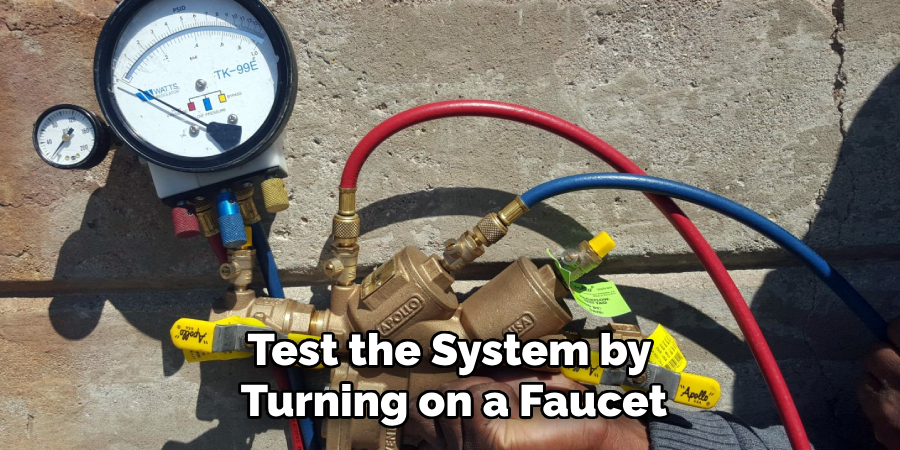
Once the water has had time to heat, test the system by turning on a faucet and allowing hot water to flow. Check for consistent water temperature and pressure to ensure the water heater functions properly. If you notice any issues, such as fluctuating temperature or unusual noises, consult the manufacturer’s troubleshooting guide or contact a professional.
Step 7: Perform Regular Maintenance
Establish a routine maintenance schedule to ensure the longevity and efficiency of your water heater. This includes flushing the tank periodically to remove sediment buildup, inspecting the anode rod for corrosion, and checking for leaks or damage. Regular maintenance will help prevent issues and keep the system running smoothly. Refer to the owner’s manual for specific maintenance recommendations tailored to your water heater model.
Step 8: Monitor Energy Efficiency
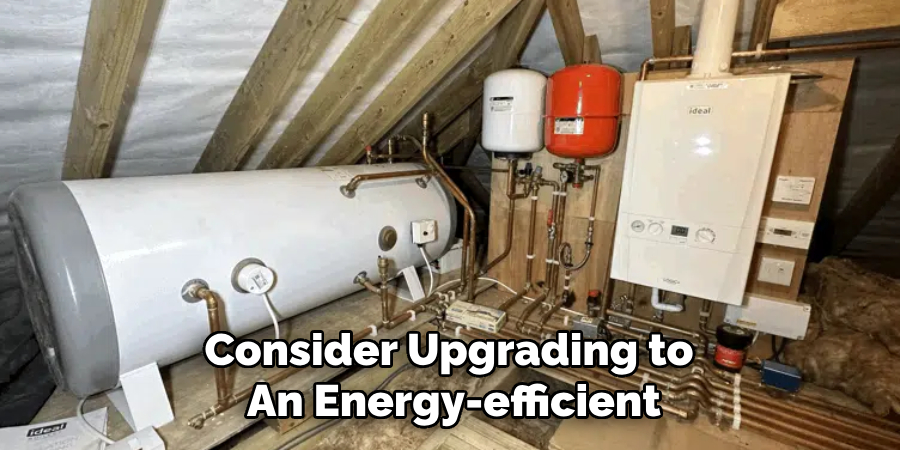
Track your water heater’s energy performance to ensure it is operating efficiently. Check your energy bills for any unexpected increases, and consider upgrading to an energy-efficient model if your current system is outdated. Installing insulation on the tank and pipes can also help reduce energy loss, lowering overall costs. Staying proactive about energy efficiency will save money and reduce your environmental impact.
By following these steps, you can ensure that your water heater remains in good condition and operates efficiently for many years.
5 Things You Should Avoid
- Skipping Safety Precautions: Always ensure the power supply to the water heater is turned off and the water is cooled down before starting. Skipping these steps can lead to severe burns or electrical shocks.
- Ignoring the Pressure in the Tank: Failing to release the pressure inside the tank before removing the valve can cause hot water to spray out forcefully, potentially causing injury or damage.
- Using the Wrong Tools: Using inappropriate tools or makeshift equipment can damage the valve or surrounding components. Always use the correct wrench or pliers specifically designed for plumbing work.
- Forgetting to Turn Off the Water Supply: Not turning off the water supply can lead to constant water flow during the replacement process, making it challenging to install the new valve and increasing the risk of flooding.
- Poor Sealing of the New Valve: Improperly sealing the new valve’s threads can lead to leaks. Always use plumber’s tape or pipe thread sealant to ensure a water-tight fit.
You can successfully replace a plumbing valve and avoid any further issues by avoiding these common mistakes.
What are the Signs of a Damaged Valve?
A damaged valve can cause many problems, including leaks and lack of water flow. Here are some signs to look out for that may indicate a damaged valve:
- Visible Corrosion: If you can see corrosion on the valve, it is a sign that it is damaged and may need to be replaced.
- Leaks: Water leaks around the valve or from the piping connected to it are an obvious sign of a damaged valve.
- Difficulty Turning: Valves that are difficult to turn or stick in one position may indicate damage within the valve.
- Lack of Water Flow: If you notice a decrease in water flow when using fixtures connected to a specific valve, it could indicate damage within the valve.
Conclusion
How to change pressure relief valve on water heater is an important maintenance task that can ensure the safety and efficiency of your appliance.
To successfully replace the valve, always begin by turning off the water supply and power to the water heater. Drain some water from the tank to relieve pressure, then carefully remove the old valve. Install the new valve securely, ensuring a proper seal to prevent leaks. Once completed, restore the water supply and power, and check for any issues.
Regular maintenance and timely replacement of the pressure relief valve can extend the lifespan of your water heater and prevent potential hazards.

