A Roman tub faucet is a stylish and functional fixture that adds elegance and practicality to any bathroom. Unlike wall-mounted faucets, it is typically installed on the deck surrounding a bathtub, offering both aesthetic appeal and ease of use. However, like any plumbing fixture, Roman tub faucets may require replacement over time due to leaks, wear and tear, outdated design, or a simple desire for a refreshed bathroom look.

This article aims to provide a clear, step-by-step guide on how to change roman tub faucet properly. Whether you’re upgrading your bathroom’s style, fixing a leaky faucet, or replacing a damaged fixture, you’ll find helpful instructions to accomplish the task efficiently and safely. With the right tools, preparation, and patience, even a DIY enthusiast can transform their tub into a centerpiece with a new, functional, and attractive faucet.
Tools and Materials Needed
Essential Tools
- Adjustable wrench or basin wrench.
- Screwdriver set (Phillips and flat-head).
- Allen wrenches (for set screws).
- Plumber’s tape (Teflon tape).
- Bucket and towels (for potential water spillage).
Materials
- New Roman tub faucet kit (ensure compatibility with existing plumbing if reusing valves).
- Silicone sealant (optional, for waterproofing).
- Replacement supply lines (if needed).
Preparation Tip
Turn off the water supply and verify all parts are included in the new faucet kit before starting. This simple step can prevent interruptions during installation and ensure the process runs smoothly from start to finish.
Understanding Roman Tub Faucet Configurations
Roman tub faucets come in two basic types, each affecting how replacements are performed.
With Access Panel
If your tub setup includes an access panel behind it, replacing the faucet becomes significantly easier. This panel provides straightforward access to the plumbing connections, making for smoother removal and installation processes.
Without Access Panel
Tubs without an access panel present greater challenges, as you may need to work from above the tub or access the plumbing through limited areas below. This method typically requires more precision and effort due to restricted working space.
Compatibility Check
Before proceeding with the replacement, it’s crucial to verify whether the existing valves can be used with the new faucet. Compatibility is especially important if switching between different faucet brands, as not all systems are interchangeable. If the valves cannot be reused, a full replacement of the valve system may be necessary.

Different Handle Styles
Roman tub faucets are available in various handle styles, including lever, knob, and cross handles. Each style may have unique removal and installation steps, so understanding your specific configuration is essential to ensure a seamless replacement process.
Removing the Old Roman Tub Faucet
Step 1: Shut Off Water Supply
Before starting, locate the water shutoff valves for the Roman tub. These are typically located beneath the tub or near an access panel. If the valves are not easily accessible or don’t exist, shut off the main household water line to prevent leaks and water damage during the replacement process.
Step 2: Remove Faucet Handles
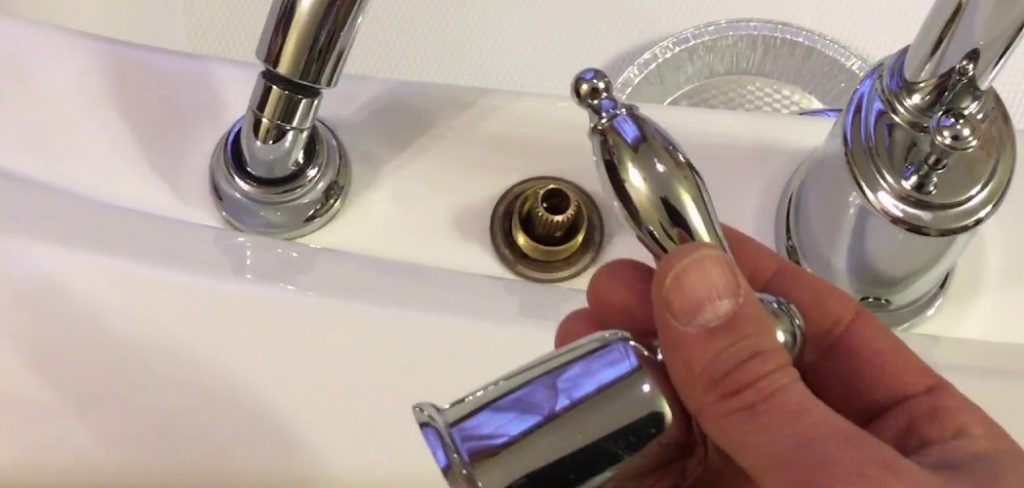
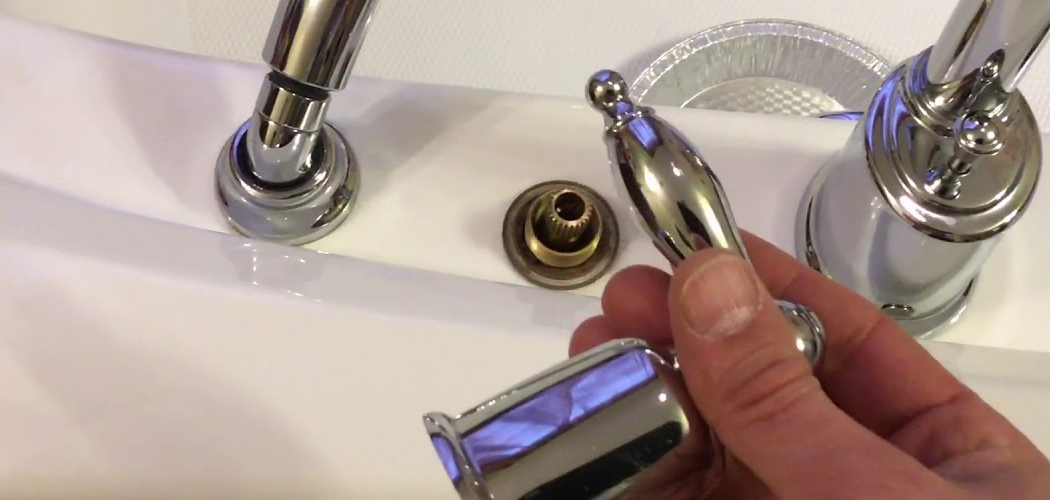
Inspect the faucet handles for set screws, which are often hidden under decorative caps. Gently pry off the cap using a flathead screwdriver if necessary. Use an Allen wrench to loosen the set screws, turning counterclockwise until the handles can be pulled off. Keep the screws and any components in a safe place to avoid losing them.
Step 3: Remove the Spout
The spout is usually attached with a set screw located underneath it. Look carefully for the screw, and use an Allen wrench to loosen it. Once the screw is loosened, lift the spout off the base gently to avoid damaging surrounding fixtures.
Step 4: Disconnect and Remove Valves (If Needed)

If the valves need to be replaced, disconnect the supply lines attached to the valve bodies. This can typically be done using an adjustable wrench. Once the supply lines are disconnected, unscrew and remove the valve bodies carefully. Be mindful of any water remaining in the lines, and use a towel to catch drips.
Pro Tip: Take detailed pictures of the faucet and valve setup before removing any parts. These reference photos will be invaluable during the reinstallation process, ensuring everything is reassembled correctly.
Preparing for New Faucet Installation
Inspecting the Mounting Area
Before installing the new faucet, carefully inspect the mounting area. Check for any debris, corrosion, or damage around the sink openings and surrounding surfaces. Corrosion or buildup can interfere with the faucet’s proper sealing, leading to potential leaks. Use a brush or cloth to clean away any debris, and if necessary, use a mild cleaning agent to remove tougher build-ups. Once the area is clear, make sure it is scorched before proceeding.
Assessing Valve Condition
If you plan to reuse the existing valves, take the time to inspect their condition thoroughly. Ensure that the valves are free from any mineral build-up or significant wear that could impact performance. If you notice issues, consider replacing the valves to avoid future complications. When the valves are in good condition, clean them carefully and ensure they fit correctly with the new faucet configuration.
Dry-Fit the New Faucet
Before final installation, dry-fit the new faucet by positioning the handles and spout into place. This step is crucial to confirm the spacing and alignment suit the sink layout and match the pre-drilled holes. Adjust as necessary to ensure proper positioning, and make sure all components sit flush against the mounting surface.
How to Change Roman Tub Faucet: Installing the New Roman Tub Faucet
Step 1: Attach New Valves (If Needed)
If your new faucet requires separate valves, follow the manufacturer’s instructions to attach them securely to the water lines and the deck. Be sure to use plumber’s tape on any threaded connections to create a watertight seal and prevent leaks. Double-check the alignment to ensure smooth operation once installed.
Step 2: Install Faucet Handles
Next, secure the faucet handles onto the valve stems. Align each handle properly to ensure they are straight and sit evenly before tightening the set screws. Take care when tightening to avoid over-tightening, which could strip the screws or damage the handles. Test the movement of the handles to make sure they operate smoothly.
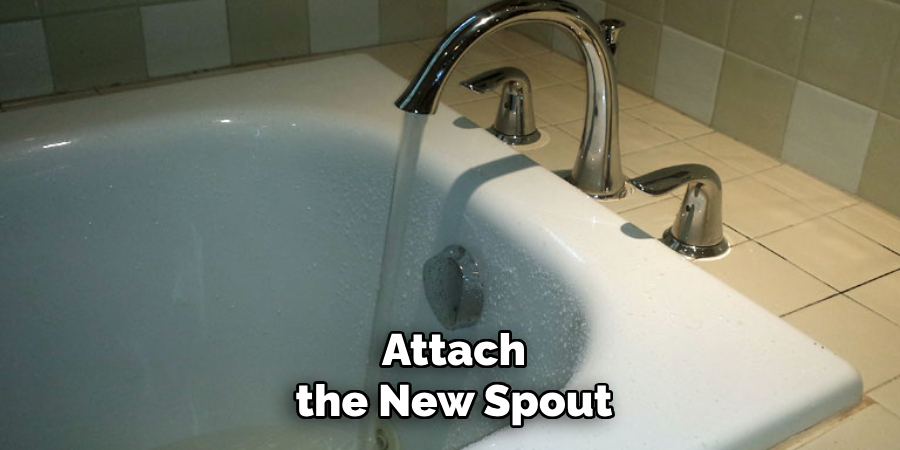
Step 3: Install New Spout
Attach the new spout to the designated outlet, making sure it fits snugly in place. Once positioned correctly, fasten it firmly using the set screws located underneath the spout. Confirm that it is securely connected and aligned correctly with the handles and sink.

Step 4: Seal Connections (Optional)
For additional waterproofing, apply a thin, even bead of silicone sealant around the base of the spout and handles. This step helps to create a sealed barrier against water seepage around these fixtures. Wipe away any excess sealant with a clean cloth to maintain a neat appearance. Once dry, verify that all components are properly secured and sealed before proceeding to the next step.
Testing and Final Adjustments
Turn the Water Supply Back On
Slowly turn the water supply valves back on to allow pressure to build gradually. Ensure that no sudden surges occur, as this could disturb the installation or cause leaks.
Check for Leaks
Carefully inspect all connections around the handles, spout, and any accessible areas underneath the sink. Look for any visible water droplets or seepage. If you notice leaks, tighten the connections gently or apply additional sealant as needed to address the issue.
Adjust Handle Positioning
Examine the alignment of the handles to ensure they operate smoothly and sit properly. If adjustments are needed, gently reposition the handles to achieve both functional ease and visual symmetry. This fine-tuning ensures that the faucet not only works efficiently but also adds aesthetic value to your sink area.
Final Cleaning
Before finishing, wipe away any visible silicone residue, fingerprints, or dust from the faucet surface and surrounding areas. Use a soft, damp cloth to clean gently, leaving the fixtures looking polished and pristine. This final step will leave your installation spotless and ready for use, completing the project on a high note.

Tips for a Successful Roman Tub Faucet Replacement
Choose a Quality Replacement
Opt for a faucet from a reputable brand known for durability and reliability. High-quality models not only last longer but also offer easier maintenance and part replacement if needed in the future.
Save the Manufacturer Instructions
Do not discard the manufacturer’s documentation after purchase. These instructions are invaluable for understanding the specific installation process and troubleshooting, and they are crucial for making warranty claims if issues arise.
If No Access Panel Exists
Some setups may lack an access panel, making it challenging to reach the plumbing. In such cases, it’s wise to consult a professional plumber. Attempting to replace it yourself without proper access could lead to damage to surrounding surfaces or pipes. Hiring an expert ensures the job is done correctly and avoids costly repairs later.
Conclusion
Learning how to change roman tub faucet involves a series of straightforward but critical steps. First, turn off the water supply to prevent any mess or damage. Next, carefully remove the old hardware, taking care not to harm surrounding surfaces. Prepare the deck area thoroughly before installing the new faucet to ensure a smooth fit. Install the new fixture securely, and test for leaks to confirm everything is functioning properly. Patience and thorough preparation are essential throughout the process. With the right tools and approach, even DIY enthusiasts can achieve a professional-looking upgrade to their Roman tub faucet.

