Changing a shower mixing valve can be a straightforward DIY task that enhances both comfort and efficiency in your plumbing system. Over time, mixing valves can wear out, leading to inconsistent water temperatures and pressure issues. This guide will walk you through the necessary steps for how to change shower mixing valve, gather the required tools, and execute the replacement process safely and effectively. With the right information and preparation, you can restore your shower to its optimal function and enjoy a refreshing experience once again.
What is a Shower Mixing Valve?
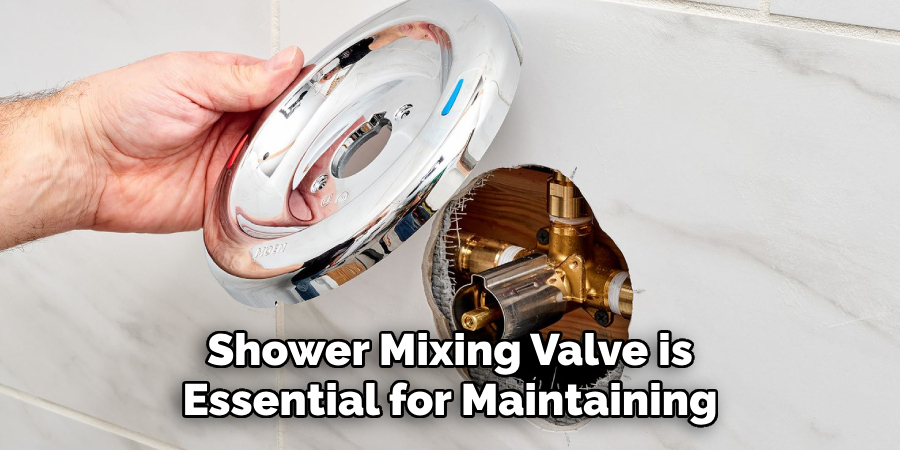
A shower mixing valve is a critical component in your plumbing system that regulates the temperature of the water flowing to your shower head. It works by blending hot and cold water, allowing you to achieve a comfortable and consistent temperature. When you adjust the temperature settings, the mixing valve responds by adjusting the flow rates of hot and cold water, ensuring a balanced output.
There are various types of mixing valves, including thermostatic and pressure-balancing valves, each offering different levels of control and convenience. Understanding the function of your shower mixing valve is essential for maintaining an efficient and pleasant shower experience.
Common Reasons for Needing to Replace a Shower Mixing Valve
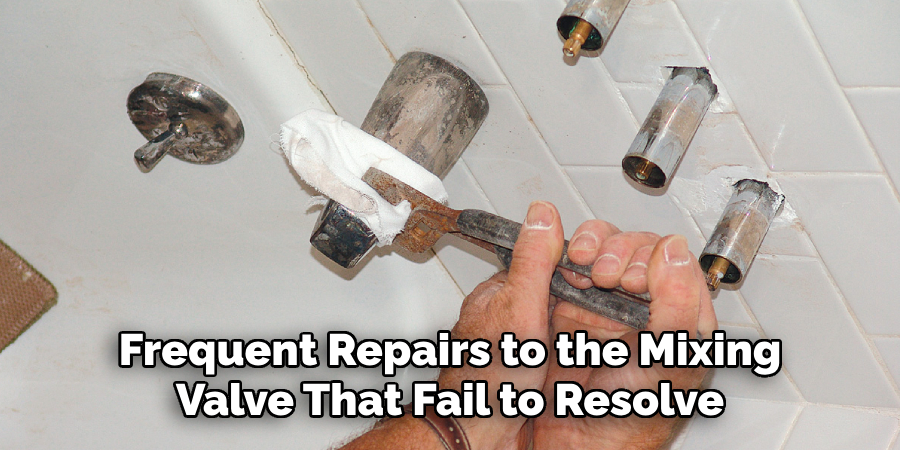
There are several common issues that can indicate it’s time to replace your shower mixing valve. One primary reason is inconsistent water temperature, where the shower may switch unexpectedly between hot and cold, making it uncomfortable to use. Another indicator is a drop in water pressure, which can suggest that the valve is partially blocked or malfunctioning. Additionally, leaks around the valve or excessive noise during water flow can be signs of degradation. Frequent repairs to the mixing valve that fail to resolve these issues may also lead to the decision to replace it entirely, ensuring reliable and efficient water delivery in your shower system.
10 Methods How to Change Shower Mixing Valve
1. Turn Off the Water Supply
Before you begin any work on the shower mixing valve, the first and most crucial step is to turn off the water supply. This ensures you won’t have water gushing out while removing the valve. Locate the water shut-off valves, which are typically found in the basement or behind an access panel near the shower. Turn off both the hot and cold water valves. If you cannot find individual shut-off valves, you may need to shut off the main water supply to your home. Once the water is off, turn on the shower to drain any remaining water from the lines.
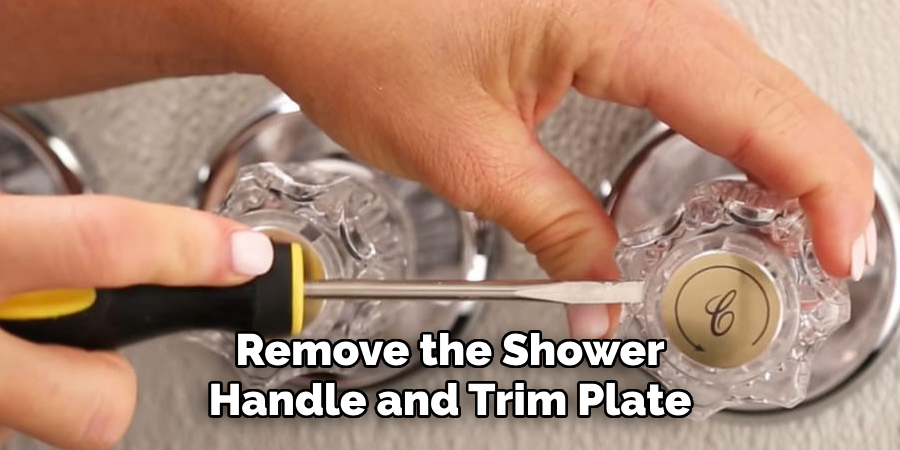
2. Remove the Shower Handle and Trim Plate
Once the water is shut off, the next step is to remove the shower handle and trim plate to access the mixing valve. Begin by unscrewing the handle with a screwdriver or Allen wrench, depending on the type of fastener used. Once the handle is removed, carefully take off the trim plate, which covers the valve and the hole in the wall. Use caution when removing the trim to avoid damaging the wall or tile. If the trim plate is sealed with caulk, use a utility knife to cut through the caulk before removing it.
3. Inspect the Old Valve and Connections
Before removing the old mixing valve, inspect it closely to familiarize yourself with how it is installed and connected to the water supply lines. Take note of the type of valve (pressure-balancing or thermostatic) and how the pipes are connected—whether with soldered joints, compression fittings, or threaded connections. This inspection will help you prepare the right tools and materials for installing the new valve. Additionally, look for any signs of corrosion, leaks, or damage in the surrounding area that may need attention during the replacement.
4. Remove the Old Mixing Valve
Once you’ve inspected the setup, it’s time to remove the old mixing valve. If the valve is soldered in place, use a propane torch to heat the joints and a pipe wrench or pliers to remove the valve. If the valve is connected using threaded fittings or compression nuts, simply use an adjustable wrench to unscrew the connections. Be cautious when using heat near walls or tiles to avoid causing damage. Once the old valve is loose, carefully pull it out from the wall. Be mindful of the pipes to ensure they don’t bend or break during this process.
5. Prepare the Area for the New Valve
Before installing the new shower mixing valve, clean the area where the old valve was located. Check the condition of the pipes and remove any old Teflon tape or debris from the pipe threads. If you had to cut or damage any surrounding material to remove the old valve, now is the time to make any necessary repairs to the wall or plumbing. This will ensure a secure and leak-free installation of the new valve. Also, make sure that the replacement valve you have purchased matches the configuration of your plumbing.
6. Install the New Mixing Valve
To install the new mixing valve, start by following the manufacturer’s instructions specific to your model. If your valve has threaded connections, wrap the threads on the pipes with Teflon tape to ensure a watertight seal. Then, use an adjustable wrench to carefully screw the valve onto the pipes, tightening it until secure. If the valve requires soldering, apply flux to the pipes and valve, heat the joints with a propane torch, and apply solder to create a strong connection. Be sure to align the valve properly so that the hot and cold water pipes are connected to the correct sides of the valve.
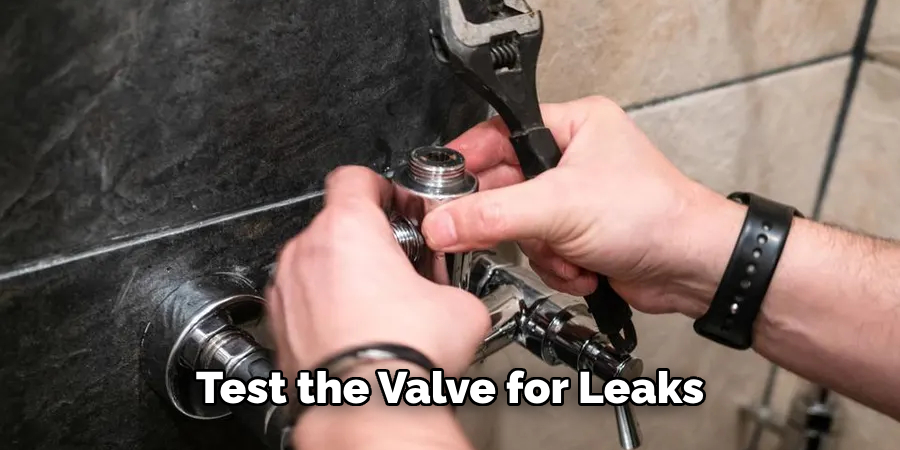
7. Test the Valve for Leaks
Once the new valve is installed, it’s crucial to test the connections for any leaks before sealing everything back up. Turn the water supply back on and let the water flow through the valve while monitoring the connections for leaks. If you see any dripping or water escaping, turn the water off and tighten the connections or reapply Teflon tape as necessary. Allow the water to run for a few minutes to ensure that the valve is functioning properly and that there are no hidden leaks in the pipes.
8. Adjust the Temperature Settings
Many modern shower mixing valves have built-in temperature adjustment settings to prevent scalding. Once your new valve is installed and leak-free, take the time to adjust the maximum water temperature according to your preferences. Consult the manufacturer’s manual to learn how to make these adjustments. Typically, there will be a dial or lever inside the valve that can be adjusted to control the temperature range. Ensuring that the valve is set to a safe and comfortable temperature will help prevent accidental burns and provide a better showering experience.
9. Reinstall the Trim Plate and Handle
After you have tested the valve and made any necessary adjustments, it’s time to reinstall the trim plate and shower handle. Place the trim plate over the valve and secure it with screws, making sure it sits flush against the wall. If the plate was originally caulked, apply a fresh bead of silicone caulk around the edges to create a watertight seal. Next, reattach the shower handle by aligning it with the valve stem and tightening the screws or fasteners. Make sure the handle operates smoothly and that it aligns properly with the temperature settings.
10. Check Water Pressure and Functionality
With the new valve installed and the handle in place, turn on the shower to check the water pressure and overall functionality. Ensure that both hot and cold water are flowing at the correct temperature and that the pressure is consistent. Adjust the mixing valve if necessary to improve performance. Run the water for several minutes to ensure the valve is functioning as it should and that there are no leaks from the trim plate or handle area. If everything works correctly, your valve replacement is complete.
Common Mistakes to Avoid
When replacing a shower mixing valve, there are several common pitfalls to be aware of to ensure a successful installation. One mistake is neglecting to turn off the water supply completely before starting work; failing to do so can result in unexpected water flow when you remove the old valve. Another frequent error is not taking thorough notes or photos during the disassembly process, which can make reassembly confusing. Additionally, be cautious not to overtighten connections, as this can cause damage to the pipes and fittings. Lastly, skipping the leak test after installation is a common oversight — always verify the integrity of your work to prevent water damage in the future.
Conclusion
Replacing a shower mixing valve may seem like a daunting task, but with the right tools and careful attention to detail, it is entirely manageable for most homeowners. From shutting off the water supply and removing the old valve to testing the new installation for leaks and adjusting the temperature settings, each step is critical for ensuring a successful valve replacement. Thanks for reading, and we hope this has given you some inspiration on how to change shower mixing valve!

