A tub faucet is an essential fixture in any bathroom, providing a steady water flow for bathing and cleaning. It serves both functional and aesthetic purposes and is crucial in ensuring a comfortable and efficient bathing experience. Over time, tub faucets may need to be replaced due to common issues such as leaks, corrosion, outdated design, or malfunctioning diverters, which can disrupt the water flow between the faucet and showerhead.
This article offers a beginner-friendly, step-by-step guide on how to change tub faucets safely and effectively. Whether addressing a plumbing issue or refreshing your bathroom’s style, this guide will help you complete the project confidently and easily. By following these instructions, you can restore your tub’s functionality and enhance its appearance in no time.
Tools and Materials Needed
Before starting your faucet replacement project, gather all the necessary tools and materials to ensure a smooth process. Having the right equipment at hand will save you time and frustration while helping you achieve professional results.
Essential Tools
- Adjustable wrench – For loosening and tightening connections.
- Screwdrivers (flathead and Phillips) – To remove screws on the existing faucet.
- Allen wrench – Useful if your faucet’s set screws require it.
- Plumber’s tape (Teflon tape) – This ensures a watertight seal on threaded connections.
- Bucket or towel – To catch any water drips or protect surfaces from damage.
Replacement Parts
- New tub faucet – Select a faucet that is compatible with your current plumbing setup.
- Replacement spout adapter – This may be required if the existing adapter is worn or incompatible with the new faucet.
Optional Items
- Pipe thread sealant – Provides additional sealing for threaded components.
- Utility knife – To cleanly remove old sealant or caulk.
- Vinegar – Useful for cleaning mineral deposits from old threads or surfaces.
By organizing these tools and materials beforehand, you can efficiently replace your tub faucet and restore your bathroom’s functionality.
Identifying Your Faucet Type
Determining the type of faucet spout you have is crucial in successfully replacing it. The two most common types of tub spouts are the slip-on spout and the threaded spout, each with its own method of installation and removal.
Slip-On Spout
A slip-on spout is secured by a set screw located underneath the spout, often near the wall. This screw holds the spout in place over a smooth copper pipe. Slip-on spouts are frequently found in modern homes due to their straightforward installation process.
Threaded Spout
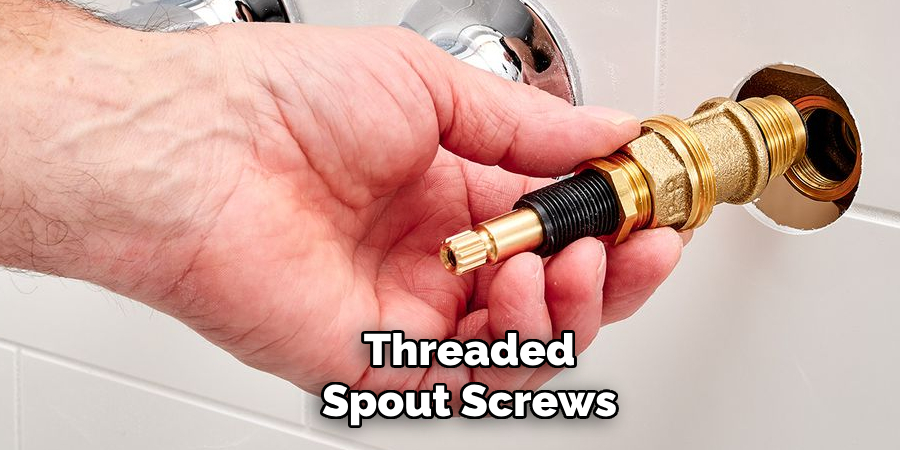
A threaded spout screws directly onto the pipe that extends from the wall. To remove this type, you’ll typically need to unscrew it by turning it counterclockwise. Some threaded spouts may require additional tools for removal if they are tightly secured or have mineral buildup.
Why It Matters
Identifying whether your faucet is a slip-on or threaded type is essential for choosing the correct replacement and applying the proper removal technique. Each type requires specific handling, and misidentifying could lead to purchasing incompatible parts or causing damage during installation. Ensuring you know the correct type simplifies the process and prevents unnecessary complications.
Turning Off the Water Supply and Preparing the Area
Water Shutoff
Locate the water supply valve for the bathroom, typically found under the sink or near the pipes leading to the faucet. Turn the valve clockwise to shut off the water completely. Once the water is off, open the faucet and allow any remaining water in the pipes to drain fully. This ensures a dry workspace and reduces the chances of accidental spillage during the process.
Protect the Work Area
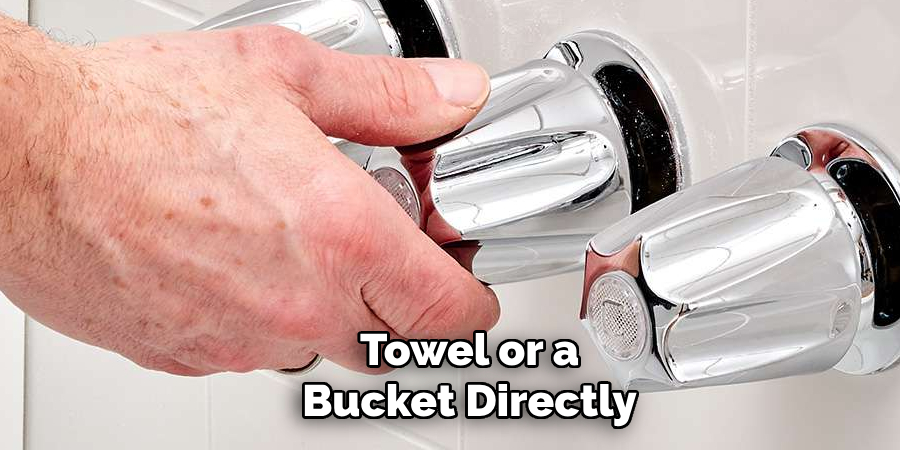
Place a towel or a bucket directly under the faucet to catch any remaining drips that might escape. This simple step keeps your work area clean and prevents water from pooling on the floor or counter. Additionally, remove any nearby items, accessories, or fragile decorations to create a clear, uncluttered space for the task.
Inspect for Additional Issues
Take a moment to examine the area around and behind the faucet spout. Look for any signs of mold, leaks, or water damage that may indicate hidden issues needing attention. If you notice anything unexpected, address these before proceeding. For convenience, take photos of the current setup. These can serve as a helpful reference for reassembly or when consulting assistance is needed.
How to Change Tub Faucets: Removing the Old Tub Faucet
For Slip-On Spouts
Locate the set screw on the underside of the spout. Using an appropriately sized Allen wrench, loosen the set screw gently until the spout can slide off the pipe. Carefully remove the spout by pulling it straight back without forcing it to avoid causing any damage to the plumbing.
For Threaded Spouts
Check if the spout twists off by turning it counterclockwise. Use an adjustable wrench for added leverage if the spout is particularly tight or stuck. Wrap a soft cloth around the spout before applying the wrench to prevent scratches or damage. Apply consistent, even pressure while turning to minimize the risk of bending or breaking the pipe.
Clean the Pipe
Once the old spout is removed, clean the exposed pipe thoroughly. Remove any lingering plumber’s tape, old adhesive, or buildup of corrosion. A soft cloth works well for general cleaning, and for tougher residue, a vinegar solution can help dissolve rust or mineral deposits. This step ensures a smooth surface for the new spout to fit properly.
Inspect the Plumbing
Scrutinize the pipe for any signs of damage, wear, or leaks. Look closely at the threads or smooth pipe surface to ensure it is in good condition and ready for the new spout. If there are any visible issues, consider addressing them before moving on to the next steps in your installation process. Proper preparation here will save time and prevent potential problems later.
Installing the New Tub Faucet
Slip-On Spout Installation
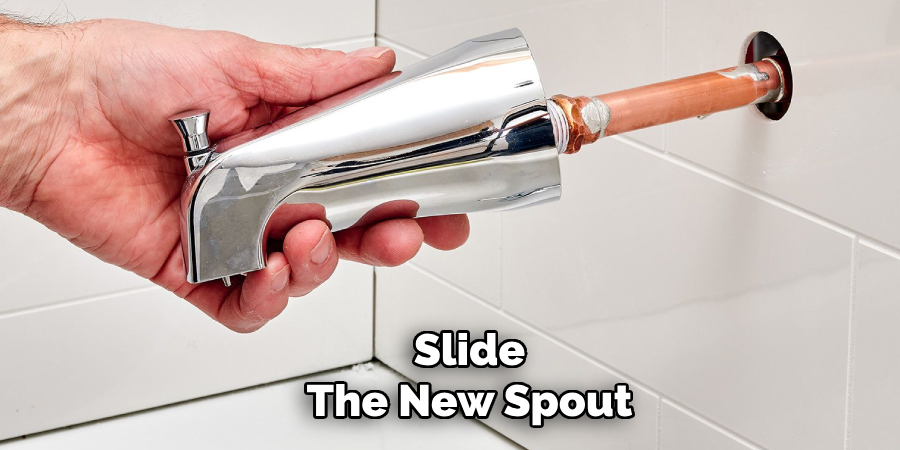
Slide the new spout over the pipe carefully, ensuring a proper fit. Align the spout so that it sits flush against the wall and tighten the set screw securely. It is important to avoid over-tightening the set screw, as this can damage the spout or the pipe. Once tightened, double-check that the spout is firmly in place and cannot be moved or rotated.
Threaded Spout Installation
Wrap the threads on the pipe with Teflon tape for a threaded spout. This step ensures a watertight seal and helps prevent leaks. Wrap the tape clockwise around the threads, applying it evenly.
Next, thread the new faucet onto the pipe by hand, turning it clockwise until it is snug. To achieve a secure fit, carefully use a wrench to tighten the spout. Take care not to overtighten as this could strip the threads or damage the pipe.
Check for Proper Alignment
After installing the new spout, check to ensure it is properly aligned. The spout should face downward and line up perfectly with the tub opening.
Misalignment can affect water flow and the overall appearance of your installation. Adjust as needed, but avoid overtightening, which could weaken or damage the components. Once aligned and securely installed, test the spout to ensure water flows smoothly and there are no leaks.
Testing and Sealing
Turn the Water Back On
Slowly restore the water supply to avoid any sudden pressure that could disrupt the installation. Turn on the faucet and run both hot and cold water to test the functionality of the spout. Observe the water flow and check that it is consistent and unobstructed.
Inspect for Leaks
Carefully inspect the area around the base of the spout and the pipe connections for any signs of leaks. Pay close attention to small droplets or persistent drips that may indicate an issue. If you notice any leaks, gently tighten the fittings to create a better seal. Avoid overtightening, as this could damage the components.
Seal the Base
If necessary, apply waterproof caulk around the base of the faucet to create a watertight seal. This step is crucial if the spout is mounted on a surface that is prone to water exposure.
Use a caulking tool or your finger to smooth the caulk, ensuring an even and clean finish. According to the manufacturer’s instructions, allow the caulk to dry fully before using the tub to prevent any water intrusion. A properly sealed base will protect the installation and improve its longevity.

Conclusion
Changing a tub faucet is a manageable DIY project with the right tools and preparation. Understanding “how to change tub faucets” and identifying your faucet type can ensure a smooth removal and installation process. Always check for leaks and verify a secure fit to prevent future plumbing issues.
Paying attention to details, such as adequately sealing the base and following manufacturer instructions, will guarantee a successful upgrade. With a bit of care, you can improve your tub’s appearance and functionality in under an hour, making it a practical and rewarding home improvement task.

