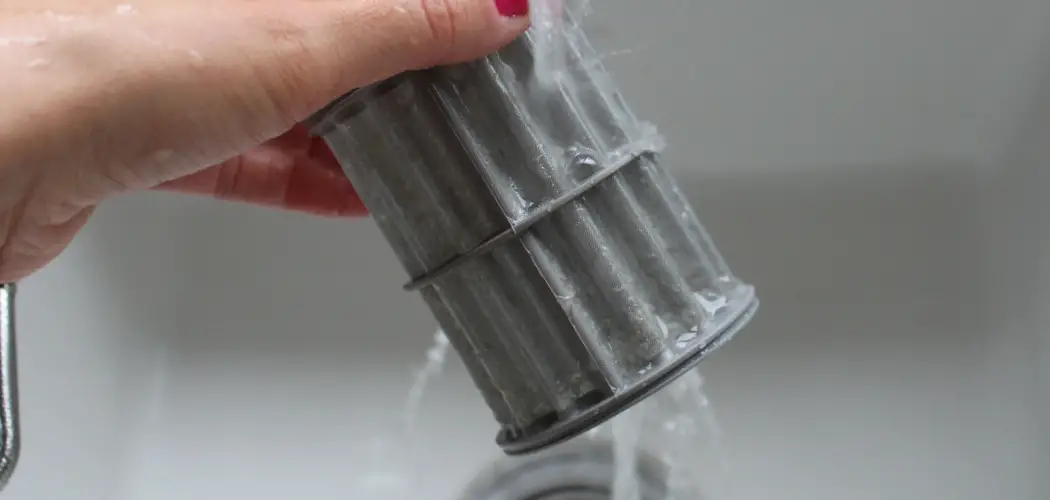
Changing the water filter cartridge under your sink is an important maintenance task that should be done regularly to ensure clean and safe drinking water. Water filters are designed to remove impurities and contaminants from tap water, providing better-tasting and healthier water for consumption.
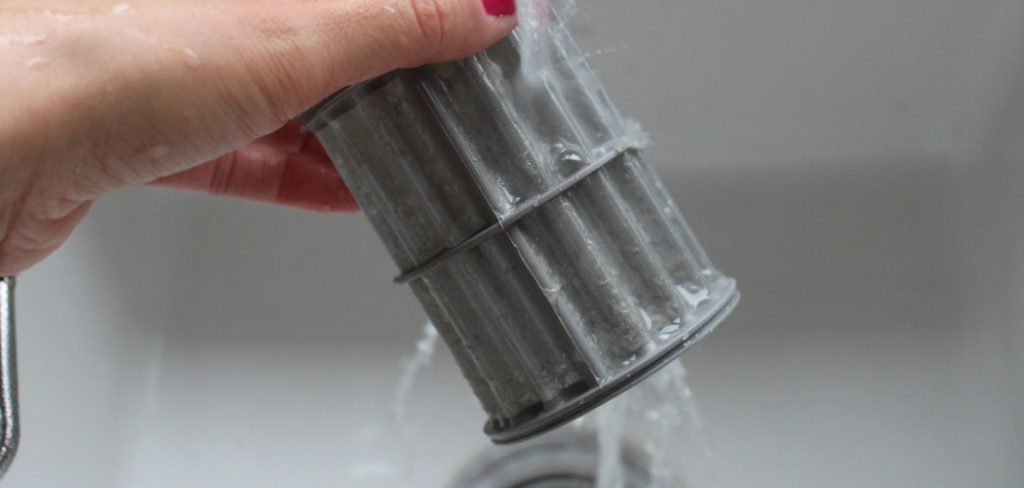
When it comes to changing the water filter cartridge under the sink, there are a few key steps that need to be followed in order to ensure proper installation and functionality. In this guide on how to change water filter cartridge under sink, we will go through these steps in detail so you can easily change your own water filter cartridge and enjoy clean and fresh drinking water.
Necessary Items
Before you begin the process of changing your water filter cartridge, it is important to gather all the necessary items. These include:
- A new water filter cartridge
- Wrench or pliers for loosening and tightening connections
- Clean cloth for wiping any spills or leaks
- A bucket or container to catch excess water
8 Things to Know Before You Start
1) Check the Manufacturer’s Instructions
Before you start changing your water filter cartridge, it is important to check the manufacturer’s instructions for specific details and guidelines. Different brands and models may have variations in the installation process, so make sure to read through these instructions carefully.
2) Turn off the Water Supply
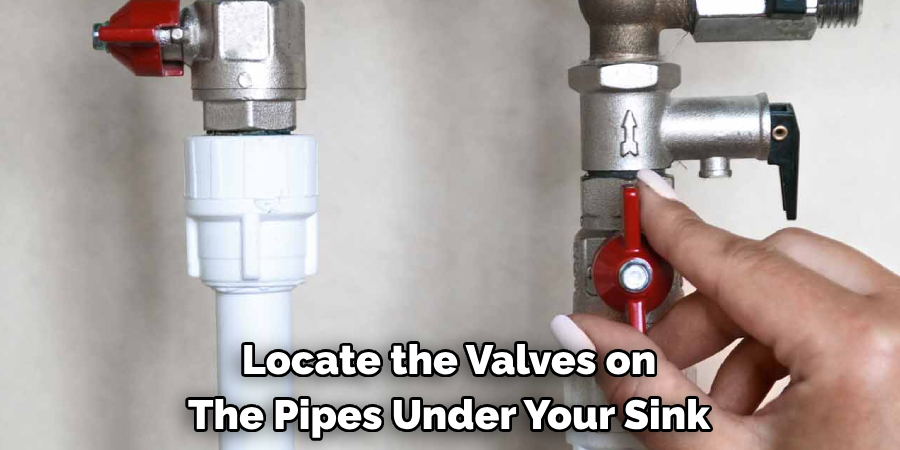
The first step in changing a water filter cartridge is to turn off the water supply to your sink. This can usually be done by turning the valves on the pipes under the sink in a clockwise direction.
3) Release Pressure
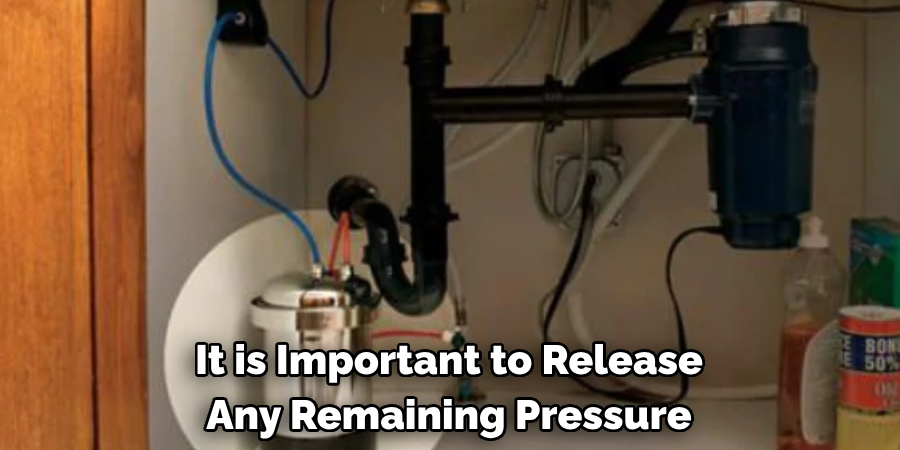
After turning off the water supply, it is important to release any remaining pressure in the system. You can do this by opening a faucet connected to your filter or by pressing and holding the dispensing button on your filter for a few seconds.
4) Locate the Filter Cartridge
The next step is to locate the water filter cartridge. It is usually located under your sink, either on the cold water line or in a dedicated filtration system. Make sure to also identify the inlet and outlet connections of the cartridge.
5) Remove Old Cartridge
Using a wrench or pliers, carefully loosen and remove the connections from the old water filter cartridge. Make sure to have a bucket or container ready to catch any excess water that may spill.
6) Clean Connections
Before installing the new water filter cartridge, it is important to clean the connections where the old one was removed. This will help ensure a proper seal and prevent any leaks. If needed, you can use a clean cloth and some white vinegar to remove any buildup or debris.
7) Install New Cartridge
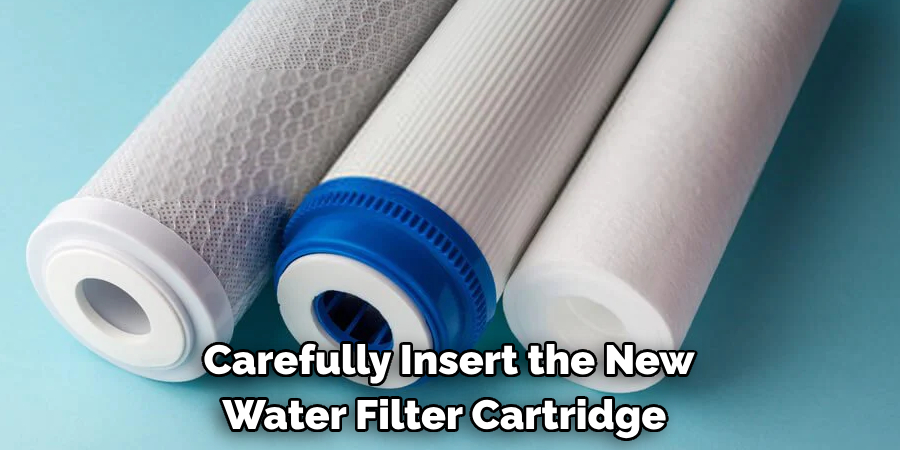
Carefully insert the new water filter cartridge into the connections, making sure it is positioned correctly and securely. Use your wrench or pliers to tighten the connections, but be careful not to over-tighten, as this could damage the cartridge.
8) Turn On Water Supply
Once the new cartridge is securely in place, you can turn on the water supply to your sink. Check for any leaks and make sure the water is running smoothly through the filter before using it for drinking or cooking.
12 Steps on How to Change Water Filter Cartridge Under Sink
Step 1: Determine the Type of Water Filter System
Before attempting to change your water filter cartridge, it is important to identify the type of system you have installed. This could be a single-stage or multi-stage filtration system, and knowing this will help you understand how to properly replace the cartridge.
Step 2: Gather Necessary Items
As mentioned earlier, it is important to gather all necessary items before starting the process of changing your water filter cartridge. This includes tools like a wrench or pliers, as well as a new cartridge and clean cloth.
Step 3: Turn Off Water Supply
Locate the valves on the pipes under your sink and turn them in a clockwise direction to shut off the water supply. If you are unsure which valves to turn, you can shut off the main water supply to your house.

Step 4: Release Pressure
To release any remaining pressure in the system, open a faucet or press and hold the dispensing button on your filter for a few seconds. And make sure to place a bucket or container under the filter to catch any excess water.
Step 5: Remove Old Cartridge
Using a wrench or pliers, carefully loosen and remove the connections from the old water filter cartridge. Be careful not to damage any of the connections in the process. While removing the old cartridge, make sure to keep it upright to prevent any spills.
Step 6: Clean Connections
Before installing the new cartridge, it is important to clean the connections where the old one was removed. This will help ensure a proper seal and prevent any leaks. You can use a clean cloth and some white vinegar for this step if needed.
Step 7: Check for Any Leaks
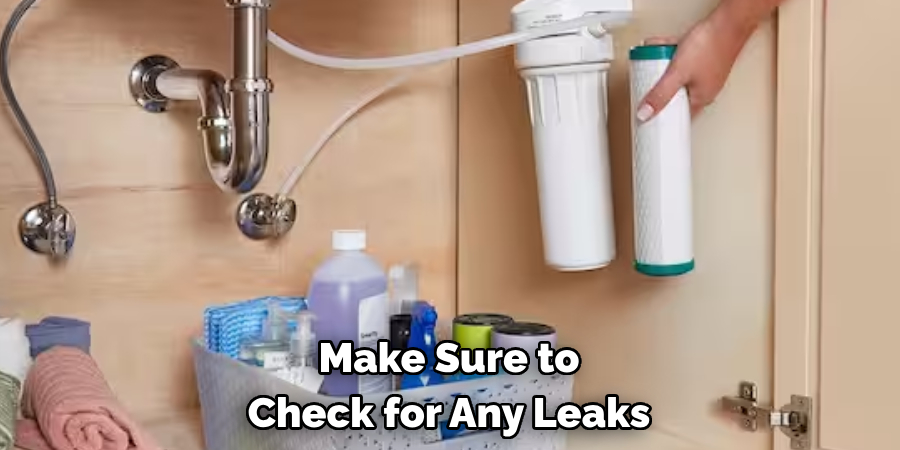
Before installing the new cartridge, it is important to check for any leaks in the connections or pipes. If you notice any leaks, make sure to address them before proceeding with the installation. As a precaution, it is also a good idea to check for leaks after the new cartridge is installed.
Step 8: Prepare New Cartridge
Before installing the new cartridge, make sure to prepare it according to the manufacturer’s instructions. This could include soaking it in water or flushing it with cold water before installation. To ensure proper filtration, it is important to follow these instructions carefully.
Step 9: Install New Cartridge
Carefully place the new cartridge into the connections, making sure it is positioned correctly and securely. Use your wrench or pliers to tighten the connections, but be careful not to over-tighten, as this could damage the cartridge.
Step 10: Turn On Water Supply
Once the new cartridge is securely in place, you can turn on the water supply to your sink. Make sure to check for any leaks and run the water for a few minutes to flush out any remaining debris or air pockets.
Step 11: Dispose of the Old Cartridge
Properly dispose of the old cartridge according to local regulations and guidelines. This could include recycling it if possible or disposing of it in a designated waste container.
Step 12: Set a Reminder for the Next Replacement
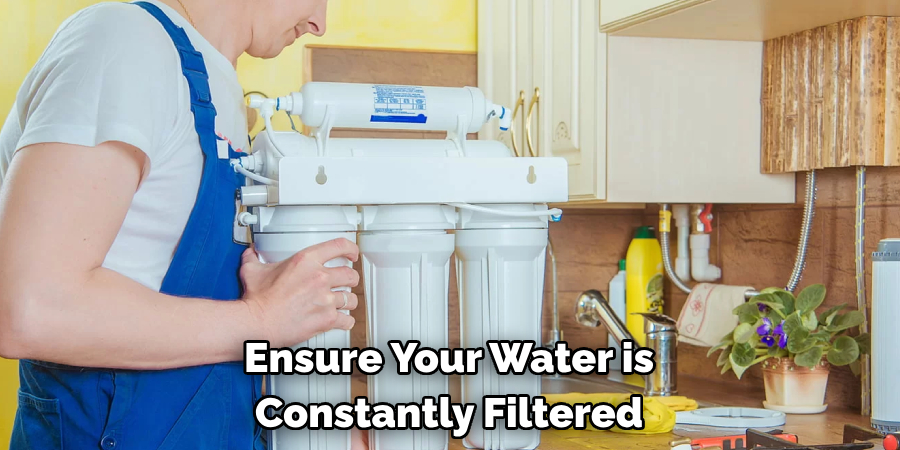
To ensure your water is constantly filtered, make sure to set a reminder for the next time you should replace your water filter cartridge. This will help keep your drinking water clean and safe for consumption. Remember to consult the manufacturer’s instructions
for the recommended replacement schedule. It is typically recommended to replace water filter cartridges every 6-12 months, but this can vary depending on usage and water quality.
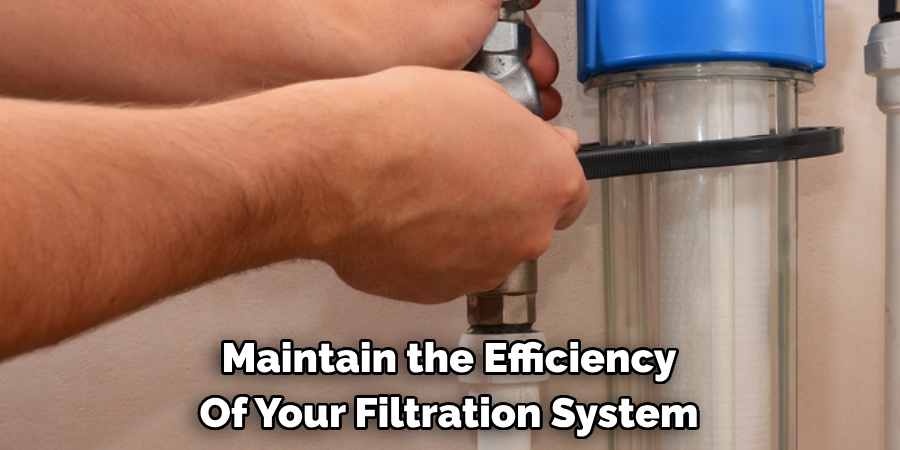
Regularly replacing your water filter cartridge will also help maintain the efficiency of your filtration system. By following these steps on how to change water filter cartridge under sink, you can easily change your water filter cartridge under the sink and ensure clean drinking water for you and your family. So, don’t forget to regularly check and replace your water filter cartridge for a healthier and safer lifestyle.

8 Things to Avoid When Replacing Your Water Filter Cartridge
When it comes to replacing your water filter cartridge, there are a few things to avoid in order to ensure a successful and efficient replacement process. Here are eight things you should avoid when changing your water filter cartridge under the sink:
1. Not Gathering All Necessary Items Beforehand
Before starting the process of changing your water filter cartridge, make sure to gather all necessary items, such as a wrench or pliers, a new cartridge, and a clean cloth. This will prevent any delays or interruptions during the replacement process.
2. Not Turning Off Water Supply
It is important to turn off the water supply before replacing your water filter cartridge. Failure to do so can result in water spills and make the process more difficult and messy. As a precaution, it is also recommended to turn off the power supply to your sink as well.
3. Not Removing Old Cartridge Correctly
Carefully remove the old water filter cartridge using a wrench or pliers. Avoid damaging any of the connections in the process, and make sure to keep the old cartridge upright to prevent any spills. While doing so, also make sure to clean the connections where the old cartridge was removed.
4. Not Following Manufacturer’s Instructions
It is important to follow the manufacturer’s instructions when preparing and installing your new water filter cartridge. This will ensure proper filtration and prevent any damage to the cartridge or your plumbing system.
5. Over-Tightening Connections
When installing the new cartridge, be careful not to over-tighten the connections. This could damage the cartridge and result in leaks or other issues. Use a wrench or pliers to tighten the connections just enough to secure them.
6. Not Checking for Leaks
After installing the new cartridge, make sure to check for any leaks before turning on your water supply. If you notice any leaks, turn off the water supply and re-adjust the connections as needed.
7. Not Disposing of Old Cartridge Properly
Properly disposing of your old water filter cartridge is important for both safety and environmental reasons. Make sure to follow local regulations and guidelines for disposal. You can also consider recycling or using a refillable cartridge to reduce waste.
8. Not Setting a Reminder for Next Replacement
Lastly, it is important to set a reminder for the next time you should replace your water filter cartridge. This will help ensure clean and safe drinking water and maintain the efficiency of your filtration system. Refer to the manufacturer’s instructions for the recommended replacement schedule based on usage and water quality.
By avoiding these common mistakes, you can successfully replace your water filter cartridge under the sink and maintain a clean and safe drinking water supply. Don’t forget to regularly check and replace your cartridge for a healthier lifestyle! So, follow these steps and avoid these mistakes for an efficient and hassle-free replacement process.
8 Additional Tips for Maintaining Your Under Sink Water Filter System
In addition to regularly replacing your water filter cartridge, there are other ways to maintain and improve the efficiency of your under-sink water filter system. Here are eight additional tips to keep in mind:
1. Clean and Replace Pre-Filters
If your under sink water filter system has pre-filters, make sure to regularly clean or replace them as recommended by the manufacturer. This will keep your system running smoothly and prolong the lifespan of your water filter cartridge.
2. Keep Extra Cartridges on Hand
It is always a good idea to have an extra water filter cartridge on hand in case of emergencies. This will prevent any delays in replacing your cartridge and ensure continued access to clean drinking water.
3. Regularly Test Water Quality
To ensure your under-sink water filter system is effectively filtering your drinking water, it is important to regularly test the quality of your water. This can be done using home testing kits or by sending a sample to a professional laboratory.
4. Clean Faucet Aerator
Over time, mineral deposits and debris can build up in your faucet aerator, reducing water flow and affecting the efficiency of your under-sink water filter system. Regularly clean the aerator to prevent this issue.
5. Check for Leaks
Regularly check all connections for leaks and address any issues immediately. This will not only ensure efficient filtration but also prevent any potential damage to your plumbing system. For added protection, consider using a leak detector or sensor.
6. Follow Maintenance Schedule
Refer to the manufacturer’s instructions for a recommended maintenance schedule for your specific under-sink water filter system. This may include tasks such as sanitizing the system and checking for any damaged parts.
7. Monitor Water Usage
Be aware of how much water you are using and adjust your filtration system accordingly. This will not only save energy and water but also help extend the lifespan of your water filter cartridge.
8. Consider Upgrading Your System
If you are experiencing frequent issues with your under-sink water filter system or have noticed a significant decrease in water quality, it may be time to consider upgrading to a newer and more efficient model. Consult with a professional if needed.
By following these additional tips on how to change water filter cartridge under sink, you can maintain an efficient and effective under-sink water filter system for clean and safe drinking water. Don’t forget to also regularly replace your water filter cartridge as needed. Keep these tips in mind to ensure the longevity of your filtration system and the health of your drinking water. So, make sure to take care of your under-sink water filter system for a healthier lifestyle!
Frequently Asked Questions
How Often Should I Replace My Water Filter Cartridge?
It is recommended to replace your water filter cartridge every six months, but this may vary depending on usage and water quality. Refer to the manufacturer’s instructions for a specific replacement schedule.
Can I Install the Water Filter Cartridge Myself?
Yes, you can install the water filter cartridge yourself by following the steps outlined in this guide. However, if you are unsure or uncomfortable with doing so, it is recommended that you seek professional assistance.
Are There Different Types of Water Filter Cartridges?
Yes, there are various types of water filter cartridges available on the market. Some examples include activated carbon filters, reverse osmosis filters, and sediment filters. It is important to choose a cartridge that is compatible with your under-sink water filter system and meets your specific filtration needs.
Can I Recycle My Old Water Filter Cartridge?
Some manufacturers offer recycling programs for their water filter cartridges. You can also check with local recycling facilities to see if they accept used cartridges. Alternatively, consider using a refillable cartridge to reduce waste.
How Do I Know When It’s Time to Replace My Water Filter Cartridge?
Signs that it may be time to replace your water filter cartridge include a decrease in water flow and pressure, changes in water taste or odor, and visible particles in the filtered water. However, it is always best to follow the manufacturer’s recommended replacement schedule for optimal filtration and water quality. Keep an eye out for these signs to ensure your water filter cartridge is replaced at the right time. So, stay vigilant and maintain a healthy water filtration system with regular replacements.
Conclusion
Replacing your under-sink water filter cartridge may seem daunting at first, but with these tips on how to change water filter cartridge under sink and proper maintenance, it can become a simple and routine task. Remember to follow the manufacturer’s instructions and consult with a professional if needed. By maintaining your water filter system, you can ensure clean and safe drinking water for you and your family. So, don’t neglect your under-sink water filter system – keep it in top condition for a healthier lifestyle!

