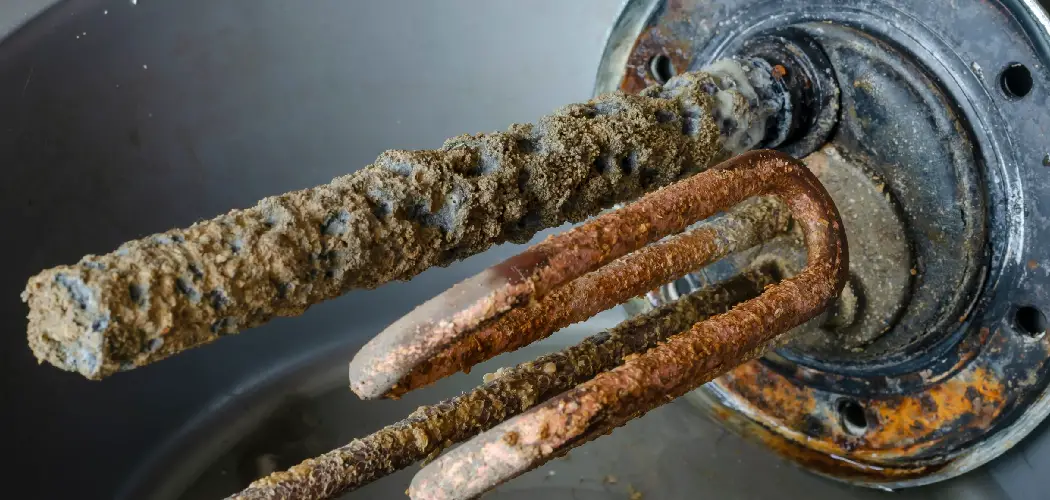
Checking the anode rod in your water heater is an essential maintenance task that can help prolong the life of the unit and improve its efficiency. The anode rod is designed to prevent rust and corrosion within the tank by attracting corrosive elements in the water, effectively sacrificing itself in the process. Over time, the rod can degrade, making it crucial to inspect and replace it as needed.
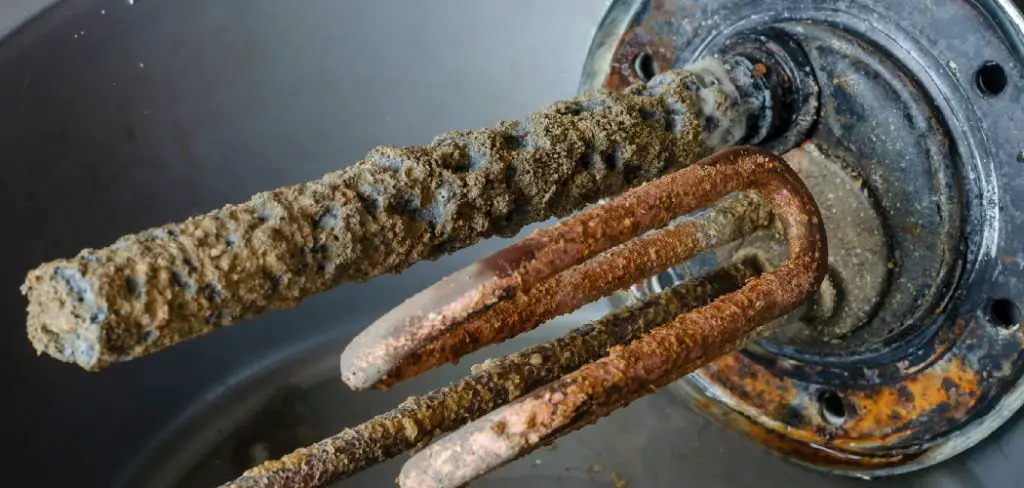
In this guide on how to check anode rod, we will walk you through the steps to check the anode rod, ensuring you keep your water heater in optimal condition and avoid costly repairs.
What is an Anode Rod?
An anode rod is a crucial component in water heaters, typically made of aluminum, magnesium, or a combination of both. Its primary function is to protect the metal tank from corrosion by attracting corrosive impurities present in the water. As the rod gradually deteriorates, it sacrifices itself, which helps prevent rust formation inside the tank.
By ensuring the anode rod remains in good condition, you can significantly extend the lifespan of your water heater and maintain its efficiency. Regular checks and replacements of the anode rod are advisable to ensure optimal performance and avoid premature tank failure.
Needed Materials
Before we dive into the steps for checking the anode rod, let’s take a look at the materials you’ll need:
Safety Gloves:
Inspecting the anode rod requires you to open the water heater, which can be dangerous if not done correctly. Wearing safety gloves will protect your hands from hot surfaces and any sharp edges that may harm you during the process.
Flashlight:
The inside of a water heater tank is often dark, making it difficult to see the condition of the anode rod. Having a flashlight handy will help you get a better view of the rod and determine its level of deterioration.

Measuring Tape:
Measuring tape or ruler is needed to determine the length of the anode rod accurately. This measurement is essential when determining whether it needs replacement or not.
Replacement Anode Rod:
If the anode rod is significantly corroded, it will need to be replaced. It’s best to have a replacement rod on hand before starting the inspection so you can easily replace it if needed.
8 Step-by-step Guides on How to Check Anode Rod
Step 1: Turn off your Water Heater
Before you begin the inspection process, it is essential to ensure your safety by turning off the water heater. For electric water heaters, locate the circuit breaker associated with the unit and switch it off to cut the power supply. If you have a gas water heater, set the thermostat to the “pilot” position to stop the heating process.
This precaution prevents any risk of burns or other injuries while you inspect the anode rod. After turning off the water heater, allow the unit to cool for at least 30 minutes to ensure safe handling.
Step 2: Locate the Anode Rod
Once the water heater has cooled down, the next step is to locate the anode rod. Typically, the anode rod can be found at the top of the water heater tank. Look for a hexagonal head protruding from the tank’s upper surface; this is where the anode rod is threaded into place. In some models, you may find the anode rod alongside the hot water outlet, which is often connected to a pipe.
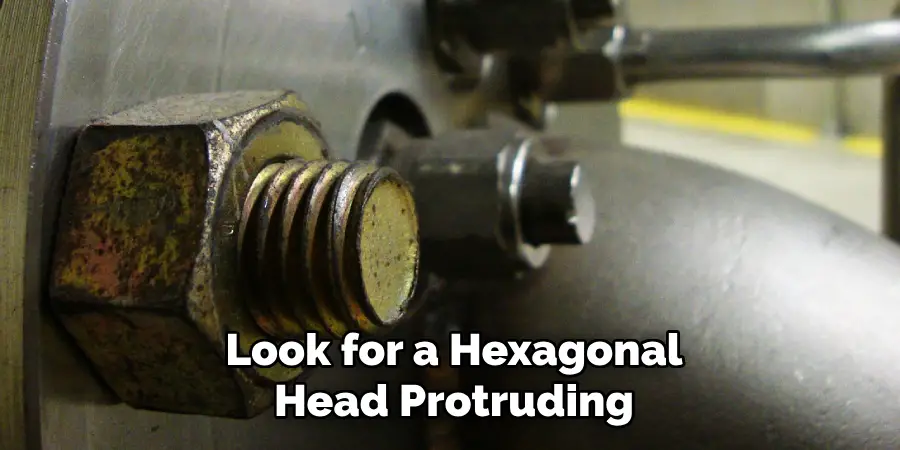
If your water heater has multiple anode rods, ensure you identify each one correctly, as they can be positioned in different locations. Having located the correct rod, you are now prepared to proceed with the inspection.
Step 3: Inspect the Anode Rod’s Length
Using a measuring tape or ruler, measure the length of the anode rod. A new rod typically measures between ¾ to 1 inch in diameter and extends up to several inches from its installation point. If the rod is less than ½ inch thick, it may be time for a replacement.
As the rod deteriorates, it loses its thickness, making it less effective at attracting corrosive elements. If you notice that your anode rod is significantly thinner than when you first installed it, consider replacing it with a new one.
Step 4: Check for Corrosion
Once you have measured the anode rod’s length, the next step is to closely examine it for signs of corrosion. Carefully inspect the rod for any rust, pitting, or other signs of wear. A healthy anode rod will typically have a silver-grey appearance; however, if you notice any discoloration or a rough texture, it may indicate that the rod is beginning to corrode.
Pay special attention to the ends of the rod, as these areas are often more susceptible to damage. If you find significant corrosion, it is advisable to proceed with replacing the anode rod to ensure your water heater remains protected from rust and prolong its lifespan.
Step 5: Determine the Type of Anode Rod
Anode rods can be made from different materials, each with its own set of pros and cons. The most common materials used are aluminum and magnesium, and a combination of both is known as a “sacrificial” anode rod. Each type has varying levels of effectiveness in preventing corrosion, so it’s important to determine the type of anode rod you have before considering a replacement.
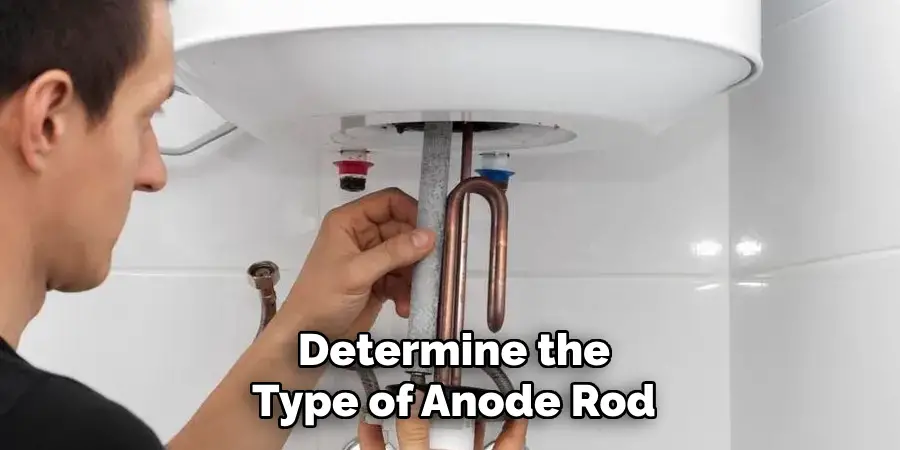
Aluminum rods are lighter and more affordable but may not last as long as other types due to their softness. Magnesium rods are more durable and effective at preventing rust; however, they tend to corrode at a faster rate than aluminum rods. Sacrificial anode rods, made of a combination of both materials, are the most effective at preventing corrosion and have a longer lifespan than individual aluminum or magnesium rods.
Step 6: Check the Anode Rod’s Core
After determining the type of anode rod, the next step is to assess its core condition. The core of the anode rod, which is typically a steel or iron component, may also show signs of wear over time. To inspect the core, carefully check for any noticeable bends, fractures, or severe rusting on the exposed portions of the rod.
A compromised core can mean that the anode is no longer performing effectively, risking rust formation inside the water heater tank. If you notice that the core is significantly damaged or corroded, it is prudent to replace the entire anode rod to ensure continued protection against corrosion and prolong the lifespan of your water heater.
Step 7: Reinstall or Replace the Anode Rod
Once you have completed the inspection and determined whether to replace the anode rod, it’s time to reinstall it back into place. If there is significant corrosion or damage, carefully remove the old rod and replace it with a new one. Ensure that you properly secure the anode rod by using Teflon tape to seal any potential leaks.
However, if your anode rod is still in good condition and does not need replacing, simply screw it back into place using a wrench. Tighten the anode rod until firm, but avoid over-tightening as this can cause damage to the tank’s threads.
Step 8: Turn on the Water Heater
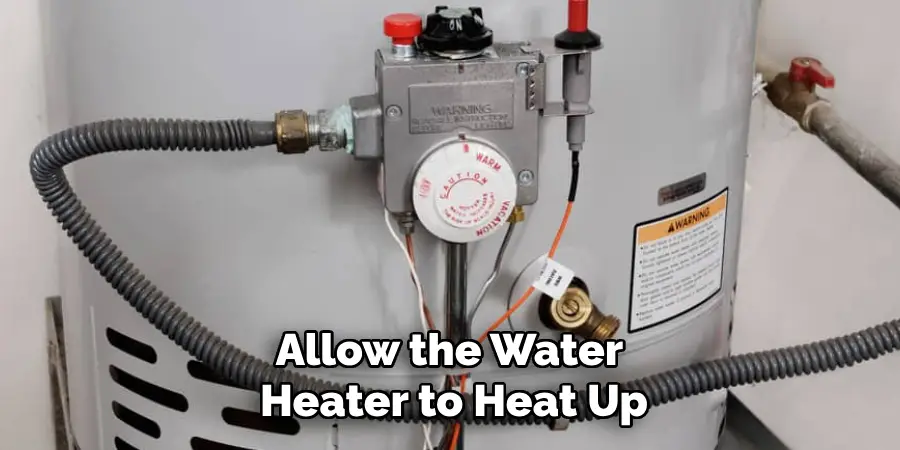
With the anode rod securely in place, it’s time to turn your water heater back on. For electric heaters, switch the circuit breaker back on, and for gas heaters, set the thermostat back to its original temperature setting. Allow the water heater to heat up fully before using hot water again.
Congratulations! You have successfully checked your anode rod and taken necessary precautions to prevent corrosion and extend the lifespan of your water heater. Remember to perform this inspection at least once a year to ensure your anode rod remains in good condition and protect your investment in a functional and efficient water heating system.
Additional Tips
- If you notice that your anode rod needs frequent replacements, consider installing a powered anode rod, which uses electricity to attract corrosive elements and prolong its lifespan.
- If you are unsure about the type of anode rod in your water heater or need assistance with replacing it, consult a professional plumber for guidance.
- Flushing your water heater regularly can also help prevent corrosion by removing any sediment buildup that can cause damage to the tank and anode rod.
- Consider keeping a record of when you last inspected and replaced your anode rod as part of your regular home maintenance routine. This will help you stay on top of necessary replacements and ensure your water heater stays in good working condition.
With these steps on how to check anode rod in your water heater, you can now be confident in protecting your investment and having a reliable supply of hot water for your household. Happy inspecting!
Conclusion
In conclusion, regular inspection of your water heater’s anode rod is a crucial step in maintaining its efficiency and prolonging its lifespan. By understanding the importance of the anode rod, inspecting its condition, and knowing when to replace it, you can effectively prevent corrosion and avoid costly repairs. Make it a part of your annual home maintenance routine to ensure that your water heater remains in optimal condition.
By taking these proactive measures, you safeguard your investment and enjoy the reliability of hot water for years to come. Remember, if you’re ever unsure about the maintenance process or need assistance, don’t hesitate to seek professional help. Thanks for reading this article on how to check anode rod.

