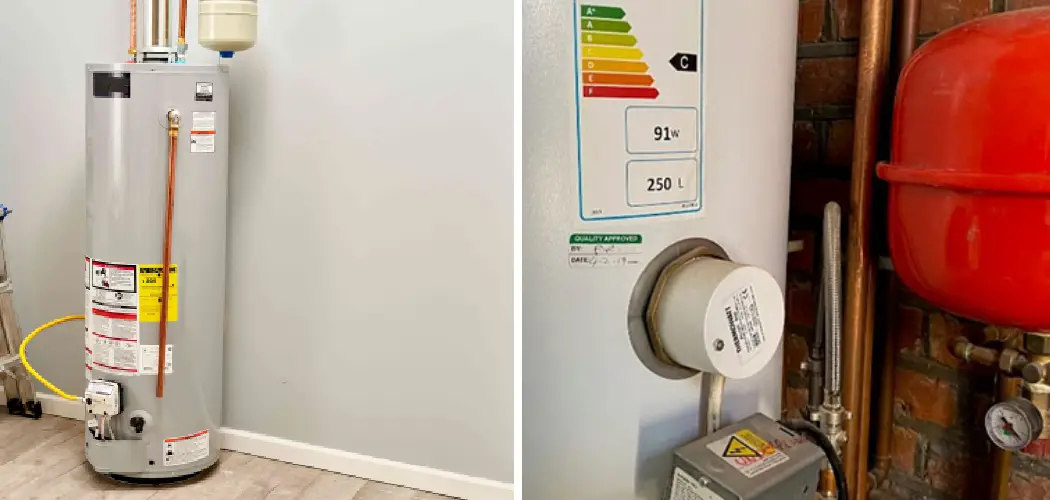
Ensuring that your boiler is efficiently producing hot water is crucial for maintaining a comfortable living environment. Regular checks can prevent unexpected breakdowns, reduce energy costs, and extend the boiler’s lifespan.
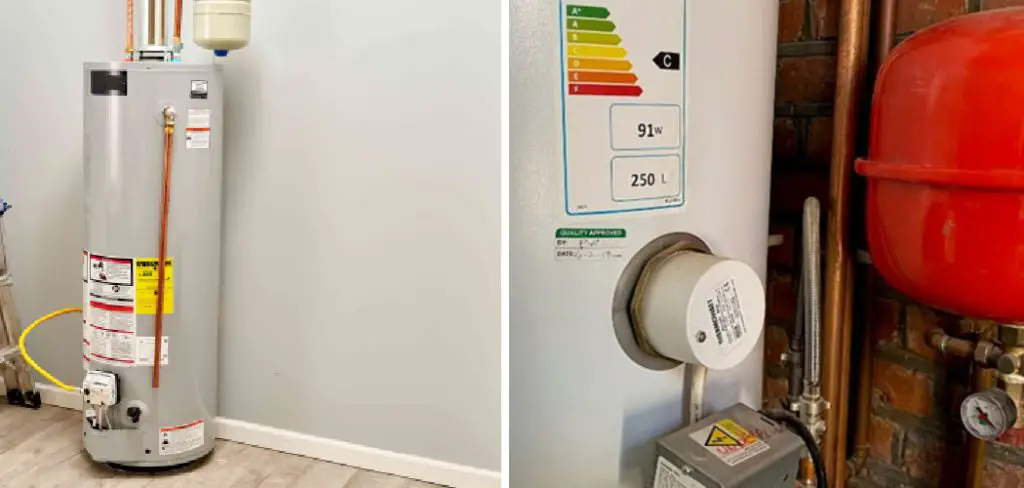
Boiler heating systems are a vital component of many homes, providing both heating and hot water. These systems work by heating water to a preset temperature and circulating it throughout the home.
This article provides a comprehensive guide on how to check boiler for hot water, aiming to equip homeowners with the knowledge to perform basic maintenance tasks. By following the steps outlined, you can ensure your boiler operates efficiently and reliably.
Understanding Boiler Operation
A. Explanation of Boiler Functionality
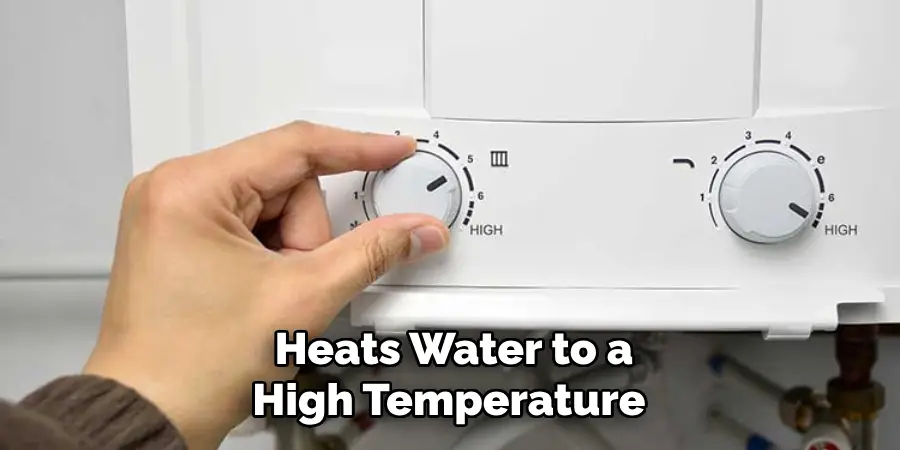
A boiler operates on a simple but efficient principle: it heats water to a high temperature. Then, it distributes this hot water or steam through pipes to radiators, underfloor heating systems, or taps and showers in your home. The process begins when cold water from the mains enters the boiler.
This water is then heated by a gas flame or electric coils, depending on the type of boiler. Once heated to the desired temperature, the water or produced steam is circulated throughout the home, providing heat and hot water as needed.
B. Components of a Boiler System
The main components of a boiler system include the boiler itself, which heats the water; the burner, which provides the heat source (for gas and oil boilers); the flue, which exhausts combustion gases outside; and the heat exchanger, which transfers heat from the burner to the water in the system.
Other critical components include the expansion tank, which absorbs excess pressure, the circulation pump, which moves water through the system, and the thermostat, which controls the system’s temperature.
C. Importance of Hot Water Circulation
Hot water circulation is essential for the efficient operation of a boiler system. Without proper circulation, heat transfer cannot occur effectively, leading to uneven heating and potential cold spots in the home. Adequate circulation ensures that hot water or steam reaches all parts of the system, maintaining an even temperature throughout the house.
Furthermore, good circulation helps prevent issues such as pipework corrosion and noise, making the heating system more durable and quieter in operation.
How to Check Boiler for Hot Water: Checking Boiler Settings
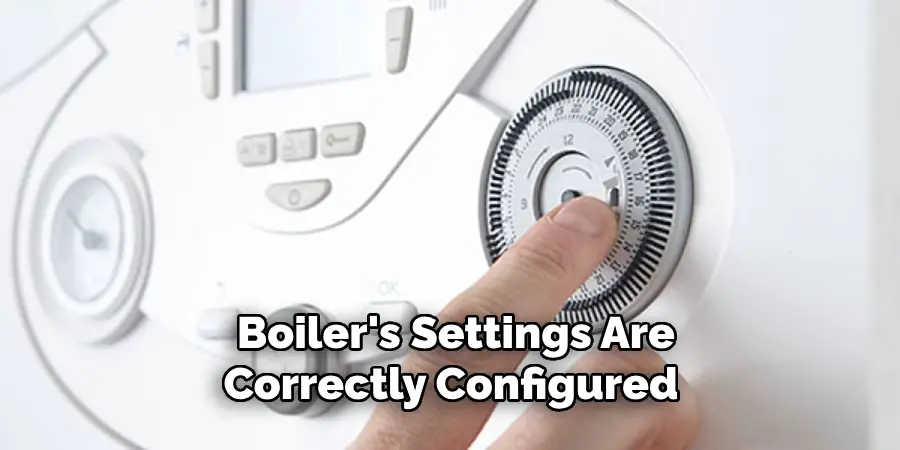
Ensuring that your boiler’s settings are correctly configured is vital for maintaining optimal operation and hot water supply. Here are the steps to check the boiler settings effectively:
A. Verifying Thermostat Settings
The thermostat controls the temperature of the hot water and heating system. It’s crucial to check that the thermostat is set to your desired temperature. If the hot water is not reaching the expected temperature, it might be because the thermostat is set too low.
Adjust the thermostat to a higher setting and wait to see if the water temperature increases. It’s recommended to keep the thermostat setting between 60°C and 65°C to prevent the growth of harmful bacteria in the water system.
B. Ensuring Boiler Power Supply

A lack of power supply is a common issue that can affect boiler operation. Check if the boiler’s electrical components, such as the display and control panel, function. If there’s no sign of power, ensure the boiler’s plug is securely connected to the outlet and that the electrical circuit is active.
Sometimes, a tripped circuit breaker or blown fuse can cut off power to the boiler, so inspect your home’s electrical panel and reset the breaker or replace the fuse if necessary.
C. Adjusting Boiler Temperature Settings
If your boiler is operational but not producing hot enough water, adjusting the boiler temperature settings may be required. Locate the temperature control knob or panel on your boiler, which usually has settings for both the domestic hot water and the central heating system.
Increase the temperature slightly and wait for the boiler to adjust. Be cautious not to set the temperature too high, as overly hot water can increase the risk of scalding and result in higher energy consumption. For most households, setting the hot water temperature to about 60°C is sufficient for comfort and safety.
Regularly checking and adjusting your boiler settings can significantly improve its efficiency and reliability. It ensures that you always have access to hot water when needed and can prevent common problems that may lead to more significant issues or require professional repair down the line.
How to Check Boiler for Hot Water: Checking Boiler Pressure
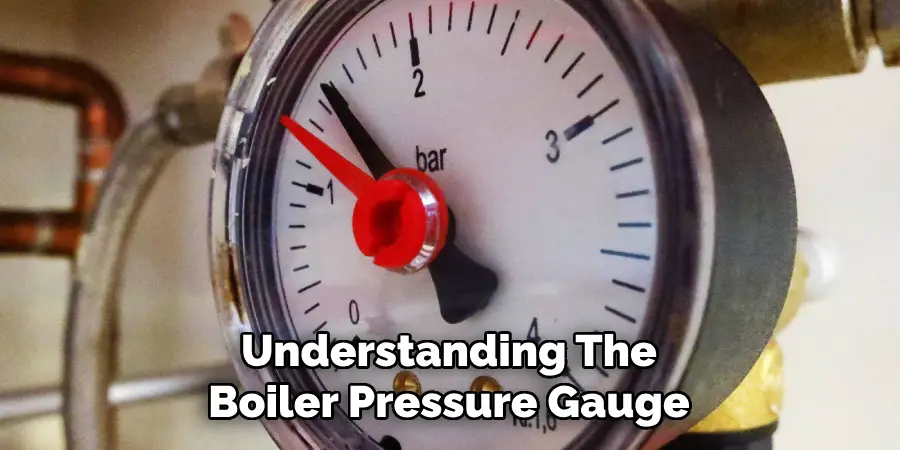
Maintaining the correct pressure is crucial for the boiler’s operation. The pressure level influences how efficiently and effectively the heating system operates throughout your home. This section will guide you on understanding the boiler pressure gauge, monitoring pressure levels, and safely releasing pressure if necessary.
A. Understanding Boiler Pressure Gauge
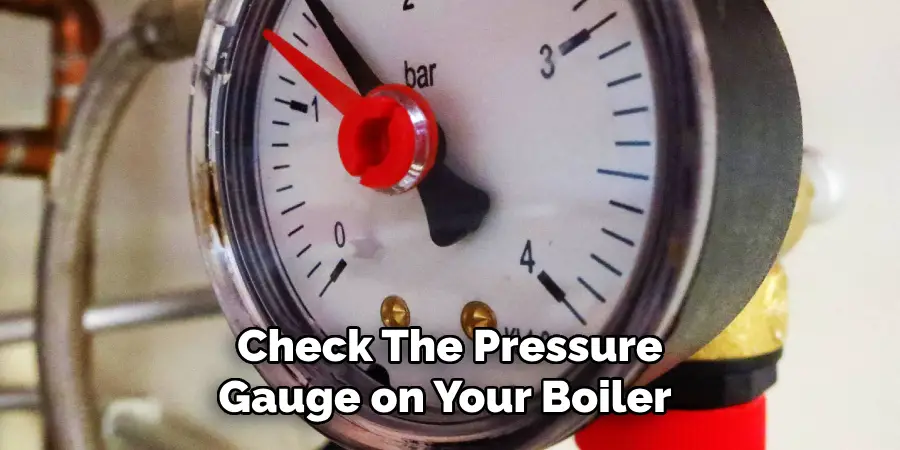
The pressure gauge is an integral part of your boiler system, providing a visual representation of the system’s internal pressure. Typically, the gauge will have a green zone indicating the optimal pressure range, which usually falls between 1 and 1.5 bars. Consistently running your boiler within this range ensures efficient operation and longevity of the system.
A dial that falls below this range signifies low pressure, whereas a reading above indicates high pressure, both of which can affect the system’s performance.
B. Monitoring Boiler Pressure Levels
Regularly checking the pressure gauge should become a part of your routine boiler maintenance. Sudden drops in pressure could indicate leaks within the system, whereas a consistent increase could suggest an issue with the pressure relief valve. Both scenarios require immediate attention to prevent further damage or inefficiency.
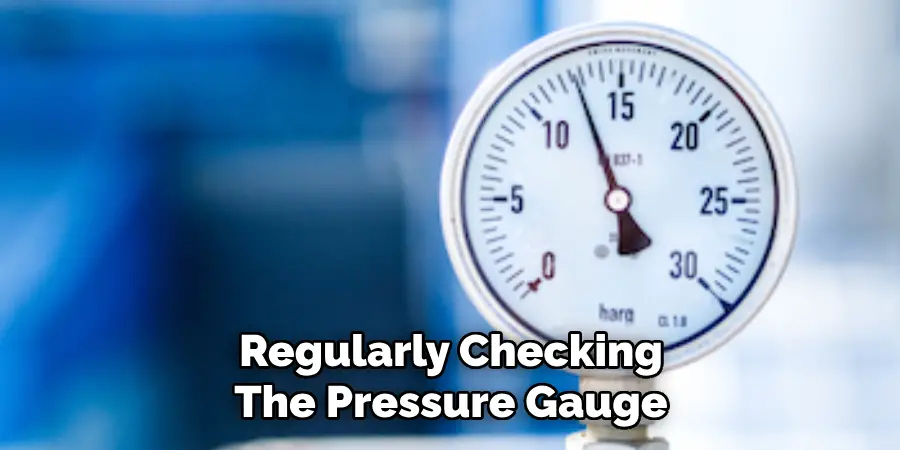
Maintaining the pressure within the recommended levels ensures that your heating system operates smoothly without putting undue strain on the boiler components.
C. Releasing Pressure if Necessary
If the pressure gauge indicates a high pressure level, you may need to release some pressure to bring it back within the normal range. This can be achieved by bleeding the radiators or opening the boiler’s pressure relief valve. However, it’s essential to proceed with caution.
Begin by turning off your boiler and allowing it to cool. If you’re bleeding the radiators, use a radiator key to slowly turn the valve, releasing trapped air and excess pressure.
To release pressure via the boiler’s valve, slowly open the valve and monitor the pressure gauge until it returns to the recommended level. If you’re unsure about performing these tasks or if adjusting the pressure doesn’t resolve the issue, it may be time to consult a professional for further diagnosis and repair.
Maintaining the appropriate pressure in your boiler system ensures efficient and effective heating throughout your home. By understanding how to read the pressure gauge, keeping an eye on pressure levels, and safely releasing excess pressure when necessary, you can help keep your boiler in optimal condition year-round.
Inspecting Boiler Controls
Your boiler’s control mechanisms play a pivotal role in its operation, ensuring that heating is provided efficiently and safely. Regular inspection of these controls is essential for detecting any potential issues that could affect performance or safety.
This section will outline the steps to inspect the boiler’s control panel, verify the status of the pilot light, and guide you on resetting the boiler controls if necessary.
A. Checking Boiler Control Panel
The boiler’s control panel is the nerve center of your heating system, containing indicators, switches, and settings that regulate its operation. To ensure it’s functioning correctly, visually inspect the panel for any warning lights or error messages that could indicate a malfunction.
It’s also crucial to check that all buttons and switches are responsive and that displays are clear and correctly showing the current settings. If the control panel is unresponsive or displaying continuous error messages, it may be a sign of a deeper underlying issue requiring professional attention.
B. Verifying Pilot Light Status

Ensuring that it is lit for boilers that use a pilot light is fundamental to the boiler’s ability to heat your home. The pilot light should produce a steady blue flame; if the light is out or the flame is an irregular color, this could indicate a problem. An unlit pilot light can often be relit following the manufacturer’s instructions.
However, a flame that does not stay lit or burns with a yellow or orange flame may indicate a gas supply issue or a fault with the boiler’s thermocouple. In such cases, it’s advisable to contact a professional for inspection and repair.
C. Resetting Boiler Controls if Needed
If your boiler is not responding as expected or if there has been a fault or error, resetting the boiler controls may rectify the issue.
Most modern boilers have a reset button or sequence designed to clear minor errors and restore normal operation. Before attempting a reset, ensure that there is no clear danger or unresolved issues like gas leaks.
Follow your boiler’s instruction manual carefully to perform a reset correctly. If the boiler does not resume normal operation after a reset or frequently requires resetting, this is a sign that a professional service is needed.
Checking for Boiler Faults
Ensuring your boiler operates without faults is essential for maintaining a safe and comfortable home environment. In this part, we’ll discuss identifying potential boiler faults by inspecting for error codes, listening for unusual noises, and being vigilant about the smell of gas, which could indicate a leak.
A. Inspecting for Error Codes
Modern boilers are equipped with digital displays that can indicate a variety of error codes when the system detects a fault. These codes are usually specific to each manufacturer and model, so it’s important to refer to your boiler’s manual to understand what each code means.
Common issues might include low water pressure, ignition failures, or overheating. Recognizing these codes early can help you diagnose and address problems before they escalate. Regularly checking the display, even when the boiler seems to be functioning normally, can preempt future issues.
B. Listening to Unusual Noises
Changes in the sounds your boiler makes can be a telltale sign of underlying issues. Sounds to be aware of include banging, whistling, gurgling, or any other noises that are irregular and persistent.
These sounds can indicate various issues, from the air in the system to limescale build-up or even imminent pump failure. Identifying and addressing these noises early can prevent more significant damage to the boiler and, in turn, avoid costly repairs.
C. Smelling for Gas Leaks
One of the most critical safety checks for any boiler system is to be alert for the smell of gas, which could indicate a dangerous leak. Natural gas is odorless, but a mercaptan odorant that smells like rotten eggs is added to alert homeowners to leaks.
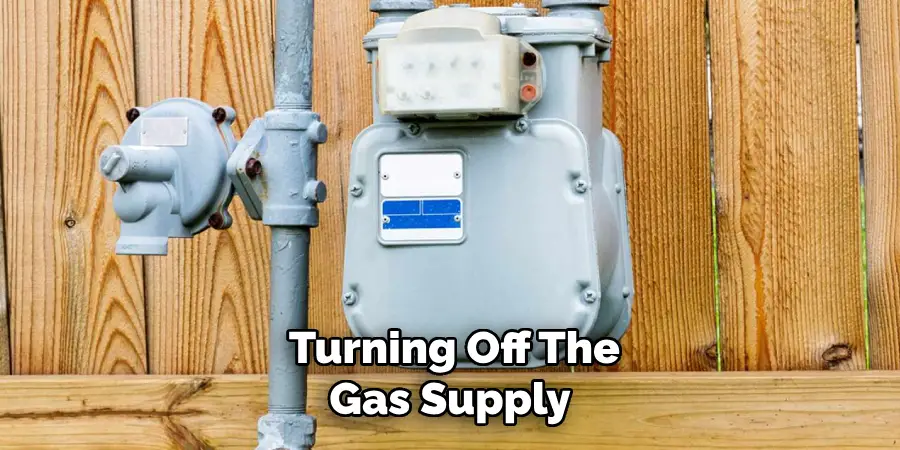
If you detect this smell, it’s crucial to act immediately by turning off the gas supply, ventilating the area, and not using any electrical switches or appliances that could ignite the gas. Contact a certified professional right away to address the leak. Gas leaks are hazardous and should only be handled by experts to ensure safety.
Bleeding Radiators
Bleeding radiators is a crucial maintenance task that ensures your heating system operates efficiently and effectively. This process removes any air trapped within your radiators, which can cause cold spots and reduce the overall efficiency of your heating system.
In this section, we will guide you through identifying if your radiators have trapped air, the method to bleed them properly, and how to check for improvements in hot water circulation afterward.
A. Identifying Air Trapped in Radiators
The first step in maintaining optimal radiator performance is to identify whether there is air trapped inside. Signs that indicate trapped air include uneven heating of the radiator, with the top feeling cooler than the bottom, and gurgling sounds as the heating system operates.
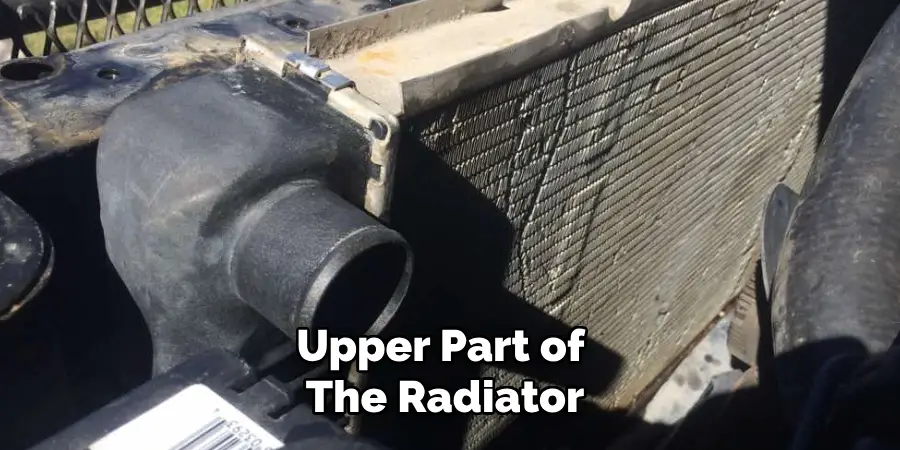
These symptoms suggest that air, and not hot water, is occupying the upper part of the radiator, which diminishes its ability to heat your space effectively.
B. Bleeding Radiators to Improve Circulation
To bleed your radiators and improve circulation, start by ensuring your heating is turned off and the system has cooled down; this prevents the risk of burns.
You will need a radiator key or a flat-blade screwdriver, depending on the type of valve your radiator has. Insert the key into the valve located at the top end of the radiator and slowly turn anticlockwise. You should hear a hissing sound as the trapped air escapes.
Once the water starts to dribble out, this indicates that all the air has been released, and you can retighten the valve. Remember to place a cloth or container under the valve to catch any drips.
C. Checking for Hot Water After Bleeding
After bleeding your radiators, it’s important to check that hot water is circulating properly. Turn your heating system back on and wait for the radiators to warm up. They should now heat more evenly across their surface without cold spots.
Additionally, your system may require the pressure to be readjusted if bleeding from the radiators has impacted it. Check the pressure gauge on your boiler and refill the system, if necessary, according to the manufacturer’s instructions. Ensuring even heating and proper system pressure after bleeding your radiators will optimize your home’s heating efficiency and comfort.
Inspecting Boiler Pump
The boiler pump plays a pivotal role in the operation of your heating system by circulating hot water throughout it.
Ensuring its proper function is crucial for maintaining an efficient and reliable heating system. In this section, we will cover how to check the operation of your boiler pump, verify the circulation of hot water, and troubleshoot common pump issues.
A. Checking Boiler Pump Operation
First, ensure that the boiler is switched on and the heating system is activated to check the operation of your boiler pump. You should hear the pump running—it will emit a low humming noise if it is working correctly.
The pump’s casing should feel warm to the touch but not excessively hot. Overheating could indicate an issue. Additionally, you can check the flow and return pipes connected to the pump; both should get warm, indicating that hot water is being circulated.
B. Verifying Circulation of Hot Water
After confirming the pump is operational, the next step is to verify that hot water is circulating efficiently through your heating system. This can be assessed by feeling the radiators across your home.
If they are heating evenly and there are no cold spots, it is a good indication that the pump effectively circulates hot water. Uneven heating or radiators not heating up could signify potential circulation issues, often related to the pump or air trapped within the system.
C. Troubleshooting Pump Issues
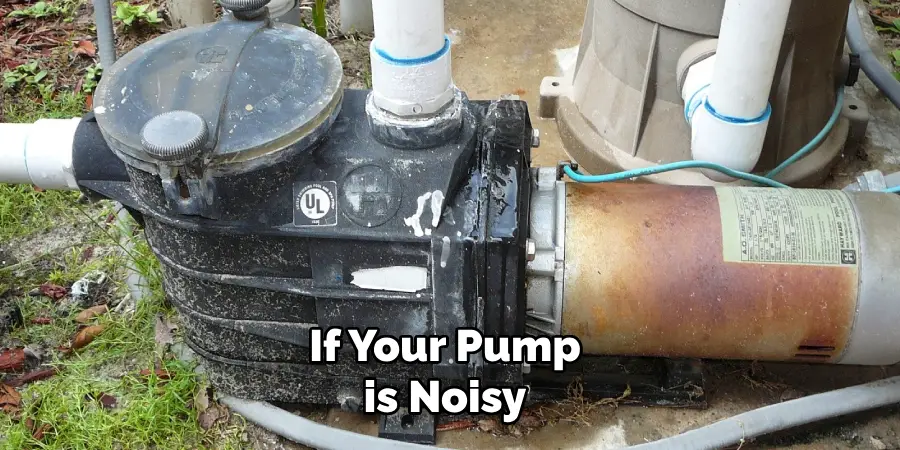
Pump issues can manifest in several ways, including noise, leaks, or failure to circulate water. If your pump is noisy, it may be due to trapped air or limescale build-up. You can attempt to bleed the pump if it has a bleeding screw. Leaks around the pump suggest a seal failure, requiring professional repair. If the pump fails to circulate water, it could be due to a seized impeller or electrical failure.
In some cases, resetting the pump or checking the electrical connections can resolve the issue. However, if problems persist, it’s essential to call a professional. Attempting to repair a boiler pump without the proper training and tools can lead to further damage or unsafe conditions.
Maintaining the boiler pump is crucial for your heating system’s overall performance and longevity. Regular checks and addressing issues promptly can help avoid disruptions in heating and costly repairs down the line.
Checking Boiler Expansion Tank
The expansion tank is a vital component of a home heating system, compensating for the increase in water volume as it heats up. Proper maintenance of the expansion tank is essential for ensuring a balanced and efficient heating system. In this section, we will explore how to locate the expansion tank, inspect its pressure, and address common problems that may arise.
A. Identifying Expansion Tank Location
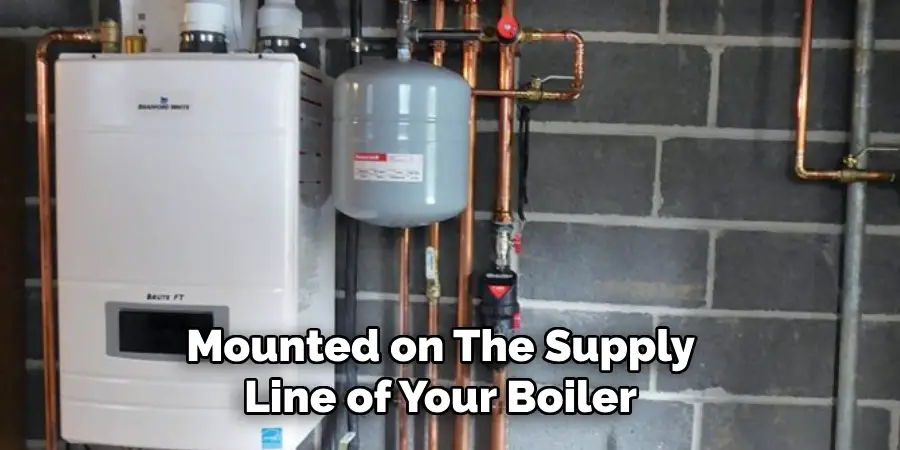
The expansion tank is usually mounted on the supply line of your boiler or near the boiler itself. In most homes, it’s a small tank, either grey or red, positioned above or connected to the heating system.
In some cases, it might be integrated into the boiler. Identifying the exact location can vary depending on the layout of your heating system. If unsure, refer to your boiler’s user manual or consult a heating professional.
B. Inspecting Expansion Tank Pressure
To ensure that your heating system operates efficiently, it is crucial to check the pressure of the expansion tank periodically. This involves turning off the heating system and allowing it to cool. Locate the pressure valve on the tank and use a pressure gauge to check the reading.
The ideal pressure for an expansion tank typically falls between 12 and 15 psi, but it’s important to verify the specifications of your particular system. If the pressure is too low or too high, it may need to be adjusted or the tank may need to be replaced.
C. Troubleshooting Expansion Tank Problems
Several signs indicate an issue with the expansion tank, including a boiler system that frequently loses pressure, makes unusual noises or has radiators that fail to heat properly. If you suspect the expansion tank is to blame, there are a few steps you can take:
- Loss of Pressure: If the system frequently loses pressure, the expansion tank may not be compensating correctly for water expansion. This could be due to a failure of the tank’s diaphragm.
- Waterlogging: A common problem with expansion tanks is waterlogging, where the tank fills with water, losing its ability to compress air. This situation leads to higher system pressure and potential leaks. Draining the tank can temporarily alleviate waterlogging, but repeated issues might mean the tank needs replacing.
- Pressure Issues: Adjusting the pressure to the correct levels can often resolve problems. This might involve adding air to a bladder-type expansion tank or draining water from a conventional tank to restore proper pressure balance.
If troubleshooting doesn’t resolve the issues, or if you are uncomfortable performing these checks yourself, seeking professional assistance is advised.
A qualified heating technician can offer a more thorough inspection and carry out necessary repairs or replacements to ensure your heating system remains in optimal condition.
Testing Boiler Safety Features
The safety features of a boiler are critical for preventing accidents and ensuring the system operates within safe parameters. Regular testing of these components can help detect any potential issues before they escalate into serious problems.
In this section, we will discuss how to verify the operation of the pressure relief valve, check for leaks around the boiler, and test the carbon monoxide detector.
A. Verifying Pressure Relief Valve Operation
The pressure relief valve is a crucial safety feature designed to release pressure if it becomes too high, thereby preventing potential explosions. First, ensure the heating system is turned off and cooled down to test its operation. Locate the valve, typically found on the top or side of the boiler.
Gently lift the test lever on the valve until it clicks. You should hear the sound of air or see some water discharge, indicating the valve is working. If there is no sound or discharge, the valve may be stuck or malfunctioning and will require professional attention.
B. Checking for Leaks Around the Boiler
Regularly inspecting for leaks around your boiler can prevent water damage and ensure the system’s efficiency. Check all visible pipes, connections, and the boiler’s base for any signs of water. Pay special attention to joints and seals, as these are common areas for leaks to develop.
If you find any moisture or water, try to identify the source and have it repaired as soon as possible. Early detection of leaks can save on costly repairs and potential water damage.
C. Testing Carbon Monoxide Detector
A functioning carbon monoxide detector is vital for detecting harmful gases that boilers can emit if there is a fault. Test your carbon monoxide detector monthly by pressing the “test” button on the device. The alarm should sound, indicating it is operational. If there’s no sound or if the sound is weak, replace the batteries immediately and retest.
If the detector still does not operate correctly after replacing the batteries, replace the unit as soon as possible. Additionally, ensure that the detector’s location is in accordance with manufacturer recommendations for optimal detection.
Professional Assistance
Seeking professional assistance for your heating system is crucial in ensuring its longevity, efficiency, and safety.
Even with diligent care and regular maintenance, there are times when a professional’s expertise is indispensable. Below, we discuss when to seek help, how to hire qualified technicians and the importance of consulting experts for preventative maintenance advice.
A. Knowing When to Seek Professional Help
Recognizing when to call in a professional can save you time and money and prevent potential hazards. If you encounter persistent issues such as frequent loss of pressure, unusual noises, or irregular heating, it’s time to get expert assistance. Additionally, if your system shows signs of water leaks, experiences a significant decrease in efficiency, or if the carbon monoxide alarm signals an issue, professional help is imperative. In these situations, attempting DIY repairs can be dangerous and might exacerbate the problem.
B. Hiring Qualified HVAC Technicians for Diagnosis and Repair
Choosing the right HVAC technician is vital for ensuring your heating system receives the best care. Look for certified professionals with a proven track record of dealing with similar heating systems. Reputable technicians should be licensed, insured, and willing to provide references upon request.
Before hiring, discuss the scope of work, obtain an estimate, and ensure clarity on the diagnosis and proposed solutions. Opt for technicians who offer warranties on their work to guarantee the quality and durability of the repair or maintenance performed.
C. Consulting Experts for Preventative Maintenance Advice
Regular maintenance is key to a seamless and efficient heating system. Consulting with HVAC experts can provide you with a tailored maintenance plan that suits your system’s specific needs. Professionals can offer advice on routine checks, seasonal maintenance, and tips on enhancing your system’s performance.
Their expertise can help you understand your system better, recognize early signs of potential issues, and adopt practices that prolong your system’s lifespan. Furthermore, establishing a relationship with a trusted HVAC professional ensures you have reliable support for emergency scenarios or for future maintenance and upgrade advice.
Conclusion
We began our guide with detailed instructions on how to check boiler for hot water issues, emphasizing the importance of monitoring pressure levels and examining the hot water output.
Troubleshooting techniques such as assessing the thermostat, checking for any error messages on the boiler display, and ensuring the pilot light is on were outlined as initial steps to diagnose common problems.
Safety cannot be overstated when dealing with heating systems. The maintenance procedures and safety checks described, including testing the pressure relief valve, inspecting for leaks, and verifying the operation of your carbon monoxide detector, are essential for protecting your home and family. Regular maintenance not only ensures safety but also enhances the system’s efficiency and longevity.
Adhere to a consistent maintenance schedule and proactively address any signs of disrepair to ensure your boiler operates efficiently and reliably.
Understanding how to check your boiler for hot water and recognizing when to seek professional assistance are key components of a well-maintained heating system.
By following these steps, you can prevent unexpected breakdowns, ensure a safe environment, and enjoy an uninterrupted hot water supply.
You can check it out to Hot Water Pipes from Knocking

