you identify and seal any discrepancies. Not only can ductwork leaks waste energy and raise heating/cooling costs, but if left unchecked they can even impact the health of those living within the home by allowing pollutants into the residential environment.
This post explains how to check ductwork for leaks and the steps necessary to seal discrepancies.
9 Best Ways on How to Check Ductwork for Leaks
1. Visual Inspection:
This is the simplest way to check for leaks in your ductwork. Start by inspecting all accessible sections of ductwork and look for signs of obvious cracks, separations, or holes that may indicate air loss. You may also look for gaps between seams, as well as signs of rust or corrosion. Visual inspection is best when done in a well-lit area.
2. Paper Test:
The paper test is an easy way to detect and pinpoint air leaks in hard-to-reach areas. Take an envelope or sheet of paper and hold it up to the suspected gap or hole in the ductwork, then turn on the fan and observe whether the paper moves. If it does, then you have found a leaking duct. Testing this way can also help you identify the exact location of the leak.
3. Pressure Test:
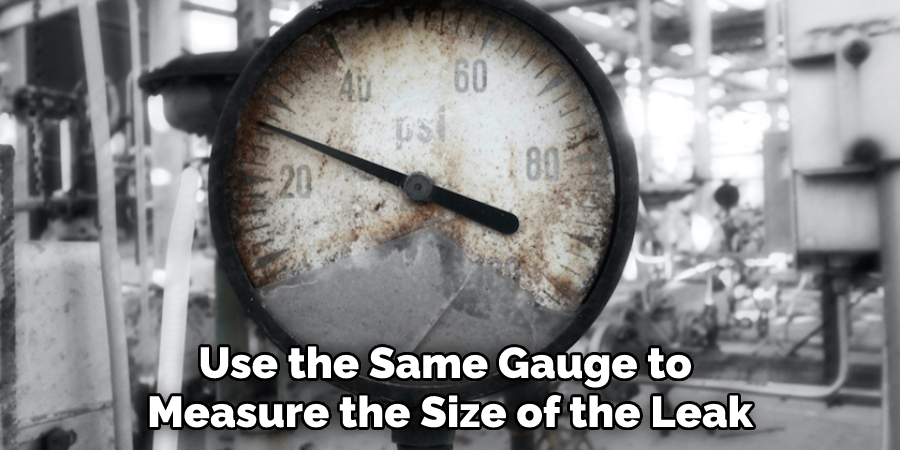
The pressure test is a more advanced method for detecting air leaks. This involves connecting a gauge to both ends of the ducts and sealing off all openings except one to measure the pressure within the duct system. If the reading is lower than the expected pressure, it is an indication of a leak. If a leak is detected, you can then use the same gauge to measure the size of the leak.
4. Smoke Test:
The smoke test is a great way to identify air leaks in ductwork. This involves placing a lit incense stick or candle next to the suspected Air Leak and watching for smoke droplets that will indicate a hole or gap in the ducting. Fill any holes or gaps you find with caulking, duct mastic, or other appropriate material to seal them.
5. Thermal Imaging:
Thermal imaging is a more sophisticated method for checking ducts for air leaks and can be done by trained professionals or DIY’ers with the right equipment. This involves passing an infrared camera over the walls, floors, and ceilings near the suspected leak to detect temperature variations that indicate air movement due to escaping air.
6. Ultrasonic Leak Detection:
Ultrasonic leak detection is a relatively new technology and involves using special equipment to recognize sound waves emitted from leaks in the ductwork. This method can be used to identify even the smallest of air leaks, making it particularly useful for hard-to-locate gaps or holes. This method requires specialized equipment and should only be attempted by trained professionals.
7. Aerosol Testing:
Aerosol testing is another method for detecting air leaks in ductwork, though it can also be used to detect other issues such as damaged insulation or mold growth. This involves spraying an aerosol around the suspected leak and using a smoke detector to detect any particles that escape.
8. Duct Blaster Testing:
The duct blaster test is the most comprehensive method for testing air leakage in your home’s ductwork. This involves attaching a blower fan to both ends of the ducts and using a manometer (pressure gauge) to measure the amount of air passing through the system. If a leak is detected, the manometer will tell you its size and location.
9. Dehumidifier Testing:
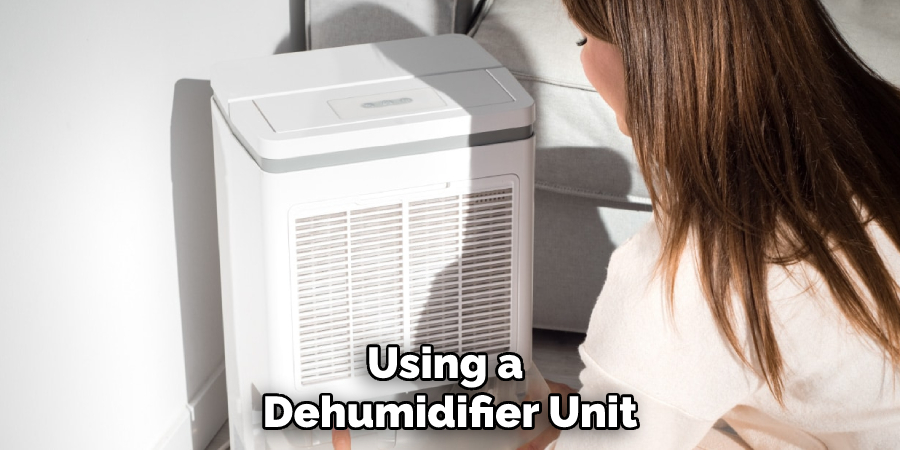
Dehumidifier testing is a less common method for checking ductwork for leaks, as it requires specialized equipment. This involves using a dehumidifier unit to measure the air pressure inside the ductwork. If a leak is detected, the dehumidifier will indicate its size and location.
No matter which method you choose, it’s important to regularly inspect your home’s ductwork for air leaks. Leaky ducts can substantially reduce the efficiency of your heating and cooling system, leading to higher energy bills and possible damage to the HVAC components. Regular maintenance of your ducts will ensure that they are working optimally and provide the best possible air quality for you and your family.
Additional Tips and Tricks to Check Ductwork for Leaks
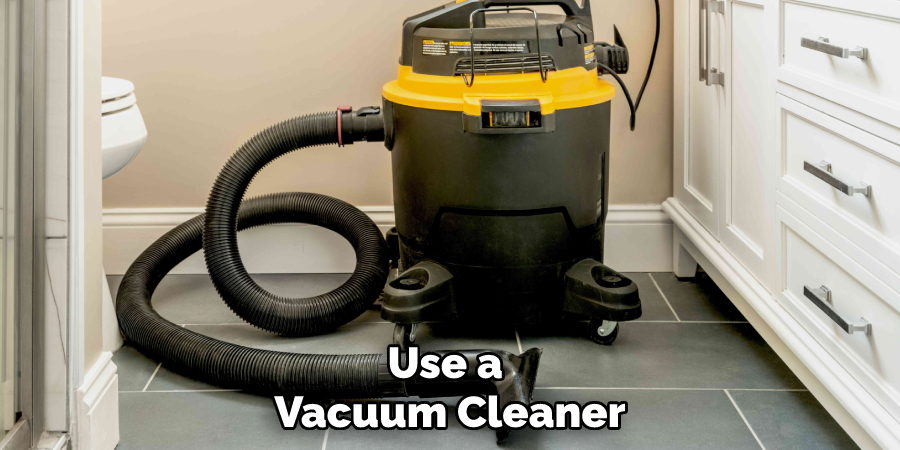
1. Use a vacuum cleaner with an attachment hose to suck up small pieces of insulation that may have been dislodged during installation. This will help prevent air from leaking out of the ductwork as it passes through those areas.
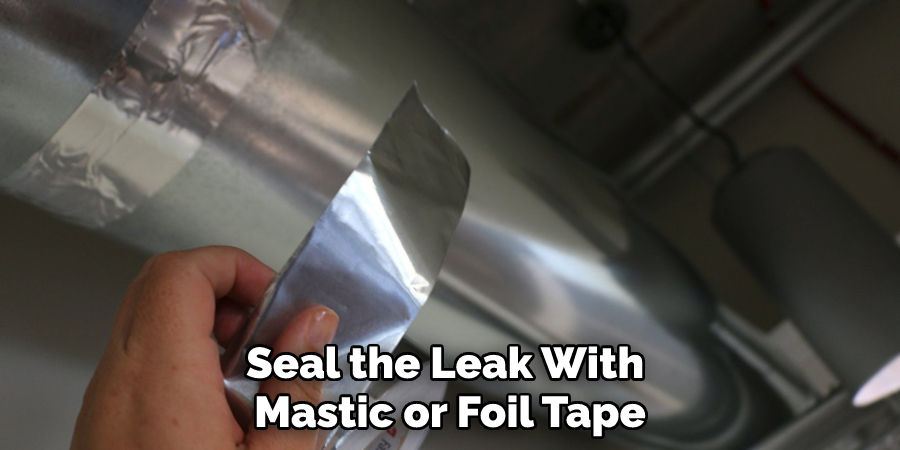
2. If you find any visible gaps in the seams, fill them with mastic or metal tape to ensure a tight seal.
3. Check for any disconnected ducts or sections that are not completely sealed around walls and other obstructions. Make sure they are connected securely and sealed with mastic or metal tape.
4. Inspect all of the joints, corners, flex connectors, elbows, and other fittings for proper sealing and connection.
5. Look for any gaps, holes, or other signs of damage in the ductwork. If you find any, seal them with mastic or metal tape as soon as possible to prevent air loss and energy waste.
6. Pay special attention to the joints where two pieces of ductwork connect together – make sure they fit tightly and are sealed with mastic or metal tape.
7. Check the condition of any insulation around the ductwork. Make sure it is in good shape and securely fastened, as worn-out insulation can let air escape through small gaps and cracks.
8. Inspect all areas where you have cut into the ductwork for leaks. If you find any, make sure to fill them with mastic or metal tape for a secure seal.
Checking your ductwork for leaks is an important part of maintaining the energy efficiency of your home. Taking the time to inspect and properly seal any gaps in your ductwork can save you money on energy bills and help keep your home comfortable.
Follow these tips and tricks for a thorough inspection of your ductwork to stay on top of any potential issues.
By regularly checking for leaks, you can ensure that your ductwork is in top shape and contributes to the energy efficiency of your home. With a little bit of effort and attention, you can save money and keep your home comfortable all year round!
Precautions Need to Follow for Checking Ductwork for Leaks
1. Before beginning the inspection process, make sure to turn off all power to the ductwork and any associated heating or cooling systems. This will ensure your safety as you move around the system.
2. Wear protective clothing such as gloves, eye protection, and a face mask while inspecting for leaks in the ducts. This will help protect you from dust and debris that can be stirred up by the inspection process.
3. Check for visible signs of damage to the ducts such as holes, cracks, or other openings. Inspect all seams and joints for any gaps or breaks in the system.
4. With an assistant, use a smoke machine to check for air leaks. A smoke machine will produce visible white smoke that can be detected as it passes through any gaps or cracks in the ductwork.
5. Use a pressure gauge to measure the pressure inside the ducts before and after the inspection process. This will allow you to assess how much air is leaking from the system.
6. Finally, use a flashlight to inspect the interior of the ducts for any signs of mold or moisture that could indicate a leak in the system. Make sure to pay special attention to corners and other difficult-to-reach areas where air can escape from the ductwork.
Following these precautions and inspecting your ductwork for leaks regularly can help keep your home safe from air leakage and ensure efficient heating and cooling. If you identify any issues, make sure to contact a qualified technician to perform repairs as soon as possible.
Frequently Asked Questions
When Should I Check My Ductwork for Leaks?
You should check your ductwork for leaks at least once a year. This will ensure that any problems are identified and addressed before they become more serious or costly. Additionally, if you notice any changes in air quality or temperature throughout your home, it may be time to inspect your ducts.
How Can I Tell If My Ductwork Has a Leak?
Signs of a leak include increased dust in the air, uneven temperatures from room to room, and higher energy bills. If you suspect a leak, you can use an infrared camera or smoke test to check for escaping air. An HVAC technician can also help you inspect for leaks.
What Should I Do If My Ductwork Has a Leak?
If your ductwork has a leak, it is important to address the problem as soon as possible. A small leak can quickly become a more serious issue. The best solution is to have an HVAC technician seal the leak with mastic or foil tape and inspect the rest of your ductwork for other potential leaks.
Conclusion
Now you know how to check ductwork for leaks and what to do if you find one. Remember: regularly checking your ductwork is essential for ensuring optimal air quality and energy efficiency in your home. If you suspect a leak, contact an HVAC professional right away. With regular maintenance and inspections, you can keep your ducts in good condition and avoid costly repairs down the line.

