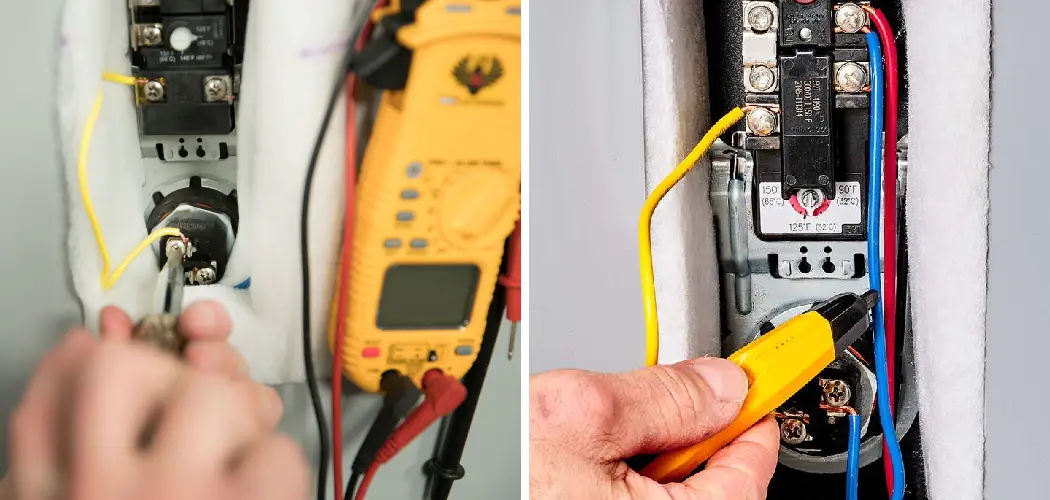
The heating element is a crucial component of an electric water heater, responsible for warming the water within the tank. Timely inspection and maintenance of the heating element ensure a consistent hot water supply and prolong the appliance’s lifespan. Common issues that may indicate a faulty heating element include insufficient hot water or no hot water at all. Knowing how to check element on water heater can save time and prevent unnecessary expenses.
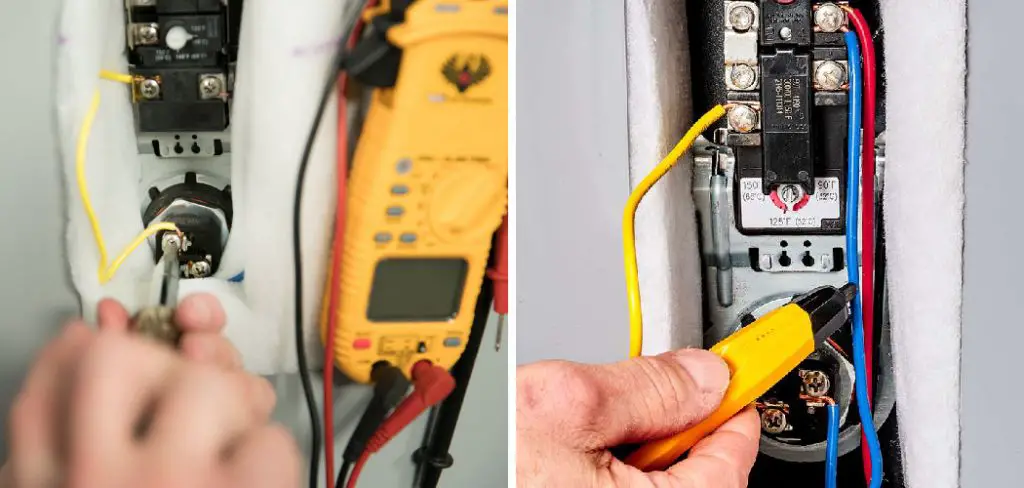
The process involves a few straightforward steps, including safety precautions, accessing the element, and using a multimeter to test for continuity. By understanding how to check the elements on a water heater, homeowners can address potential problems promptly and maintain the efficient operation of their water heaters.
Safety Precautions
Before starting any maintenance or inspection on your water heater, following safety precautions to prevent accidents or injuries is crucial. Ensuring a safe working environment can greatly reduce the risk of electrical shocks, burns, or other hazards.
Power Off
The first step in safely checking the heating element is to turn off the power supply to the water heater at the breaker box. Electric water heaters run on high voltage, and direct contact with live wires can result in severe electrical shocks. Switching off the power supply ensures that you can work on the heater safely.
Cold Water
Next, allow the water heater to cool down before beginning any maintenance or inspection activities. Working with a hot water heater can result in burns if residual hot water escapes. Waiting for the water to cool down adds an extra layer of safety while you handle the components.
Protective Gear
Wearing appropriate protective gear is another vital safety measure. Equip yourself with gloves and safety goggles to protect your hands and eyes from hot water, steam, and flying debris resulting from maintenance tasks. Proper gear ensures a safer and more comfortable experience during the inspection and repair process.
Following these safety precautions minimizes risks, ensuring that you can efficiently and safely check the heating element on your water heater.
Locating the Heating Elements
Locating the heating elements within your water heater is a straightforward process but requires some careful handling. The heating elements are vital components that need routine checks to ensure they are functioning correctly. Failure to properly maintain these elements can lead to inefficiencies in heating or a complete lack of hot water.
Access Panel
Begin by identifying and removing the water heater’s access panel(s). These panels are usually secured with screws, so you will need a screwdriver to remove them. Once the screws are out, gently take off the panel to expose the internal components of the water heater. Be cautious as some insulation material may be present behind the panel.
Heating Elements
A standard electric water heater typically has two heating elements: one near the top of the tank and the other near the bottom. These elements are submerged in water and are controlled by thermostats that manage the water temperature. The upper heating element usually works in conjunction with the upper thermostat to heat the water in the top part of the tank. In contrast, the lower heating element works with the lower thermostat to ensure consistent heating throughout the tank. Identifying these elements rightly is the first critical step in diagnosing any heating issues.
Taking the time to carefully locate and identify the heating elements will make the subsequent testing and maintenance steps easier and more effective.
How to Check Element on Water Heater: Testing the Heating Elements
Testing the heating elements in your water heater is a critical step in determining whether they are functioning properly. A common tool used for this task is a multimeter. Here’s a detailed step-by-step guide to help you complete the process effectively:
Step 1: Multimeter Setup
To begin, set your multimeter to the resistance or ohms setting, which is often marked with the Greek letter omega (Ω). This test checks for continuity and will inform you if the heating element is still capable of conducting electrical current.
Step 2: Remove Wires
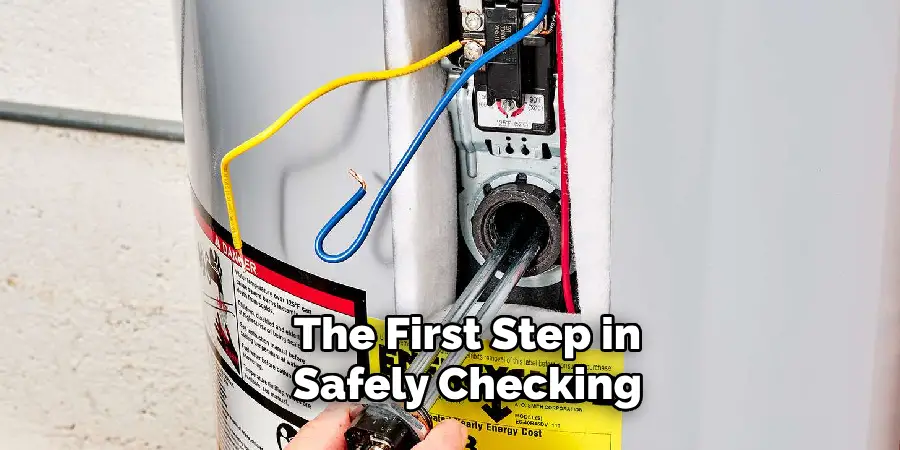
Next, you will need to disconnect the wires from the heating element terminals. Ensure that the power supply to the water heater is turned off before doing this to avoid the risk of electrical shock. Use a screwdriver to carefully loosen and then remove the screws that secure the wires to the terminals. Keep the screws and wires out of the way but within reach for easy reattachment later.
Step 3: Test for Continuity
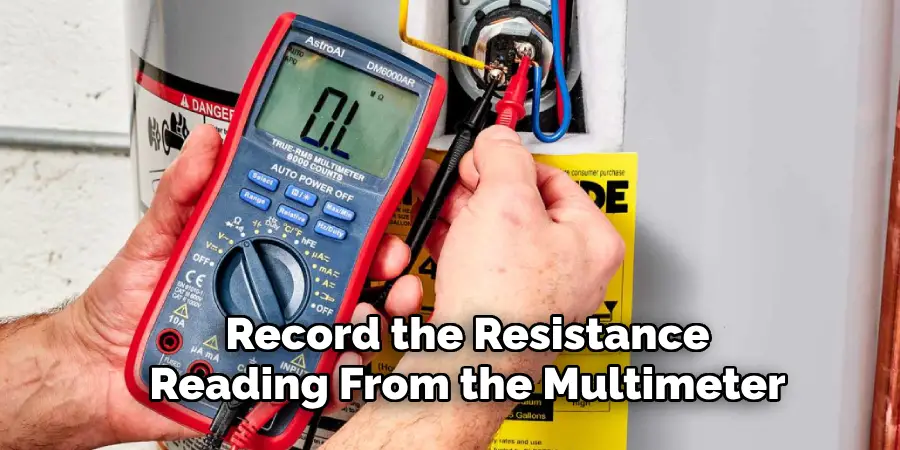
It’s time to test for continuity with the multimeter set to the correct setting and the wires removed. Place one probe of the multimeter on one terminal of the heating element and the other probe on the other terminal. It does not matter which probe goes on which terminal since you’re only checking for the presence of a continuous electric path through the element.
Step 4: Reading
The multimeter should now display a resistance reading. In a healthy heating element, this reading will typically fall within a specific range that varies depending on the wattage and voltage of the element, generally between 10 to 30 ohms. If your multimeter displays a reading of zero ohms, it indicates a short circuit within the heating element. On the other hand, if it shows infinite resistance (often displayed as “OL” or “1” on digital multimeters), it indicates an open circuit, meaning the element is broken and must be replaced.
Step 5: Testing Lower Element
If your water heater has two heating elements, you should repeat the entire process for the lower heating element. Just like the upper element, disconnect the wires from the terminals and follow the same steps for testing continuity. Place one probe of the multimeter on one terminal of the lower heating element and the other probe on the other terminal. Record the resistance reading from the multimeter and compare it with the expected range. A faulty lower element will also show either zero or infinite resistance, necessitating replacement.

Replacing the Heating Element
If your testing has determined that a heating element in your water heater is faulty, it must be replaced promptly to restore efficient operation. Follow these steps to replace the heating element:
Drain Tank
Begin by partially draining the water heater tank to avoid water spills during the replacement process. Locate the drain valve, attach a garden hose, and direct the other end of the hose to a floor drain or outside. Open the valve and let the tank drain until the water level is below the heating element to be replaced.
Removing Old Element
Once the tank is drained, use a heating element wrench or a socket wrench to unscrew the faulty heating element. Carefully turn the tool counterclockwise to loosen and then remove the old element from the tank. Ensure you have a proper grip to avoid stripping the threads.
Installing New Element
Insert the new heating element into the opening and begin threading it in place. Use the heating element wrench or socket wrench to tighten it securely, being cautious not to over-tighten and damage the threads. A snug fit ensures proper sealing and efficient operation.
Reconnecting Wires
Next, reconnect the wires to the terminals of the new heating element. Securely fasten the wires with screws, making sure each wire is firmly attached to its respective terminal to prevent any loose connections which could cause operational issues.
Refilling Tank
Once the new heating element is installed and the wires are reconnected, close the drain valve and remove the garden hose. Open the cold water supply valve to refill the tank with water. Allow the tank to fill up completely, checking for any leaks around the newly installed heating element.
Restoring Power
After verifying that the tank is full and leak-free, restore power to the water heater. Turn on the breaker or plug in the unit. Allow the water heater to run and reach the desired temperature to ensure the new heating element is functioning correctly.
By following these steps, you can effectively replace a faulty heating element, ensuring that your water heater resumes its efficient performance. This maintenance helps prolong the appliance’s lifespan and ensures the supply of hot water within the home.
Testing for Proper Functionality
Power On
Turn the power supply back on at the breaker box to restore electricity to the water heater. Ensure that the breaker is securely in the “on” position.
Monitor Operation
Observe the water heater as it powers up and starts operating. Pay close attention to the heating process to ensure the water heater is effectively heating the water to the desired temperature. Depending on the capacity and size of your water heater, this may take some time.
Check for Leaks
While the water heater is running, carefully inspect the area around the heating elements for any signs of leaks. Look for drips or moisture near the heating element’s installation points. Any visible leaks should be addressed immediately to avoid water damage and ensure the safe operation of the unit.
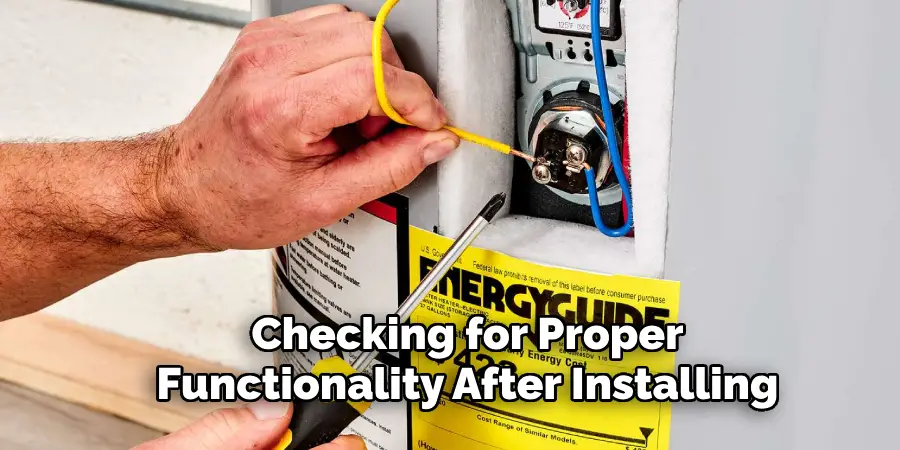
By thoroughly checking for proper functionality after installing the new heating element, you can be confident that the water heater is operating efficiently and safely, providing consistent hot water as needed.
Replacing the Heating Element
If the heating element in your water heater is determined to be faulty, it’s crucial to replace it promptly to ensure efficient operation.
Drain Tank
Begin by partially draining the water heater tank to avoid any water spills during the replacement process. Locate the drain valve, attach a garden hose, and direct the other end of the hose to a floor drain or outside. Open the valve and let the tank drain until the water level is below the heating element that needs to be replaced.
Removing Old Element
Once the tank is drained, use a heating element wrench or a socket wrench to unscrew the faulty heating element from the tank. Carefully turn the tool counterclockwise to loosen and remove the old element, ensuring a firm grip to avoid stripping the threads.
Installing New Element
Insert the new heating element into the opening and thread it in place. Use the heating element wrench or socket wrench to tighten it securely, being careful not to over-tighten and damage the threads. A snug fit ensures proper sealing and efficient operation.
Reconnecting Wires
Next, reconnect the wires to the terminals of the new heating element. Securely fasten the wires with screws, ensuring each wire is firmly attached to its respective terminal to prevent any loose connections that could cause operational issues.
Refilling Tank
Once the new heating element is installed and the wires are reconnected, close the drain valve and remove the garden hose. Open the cold water supply valve to refill the tank with water. Allow the tank to fill up completely, checking for any leaks around the newly installed heating element.
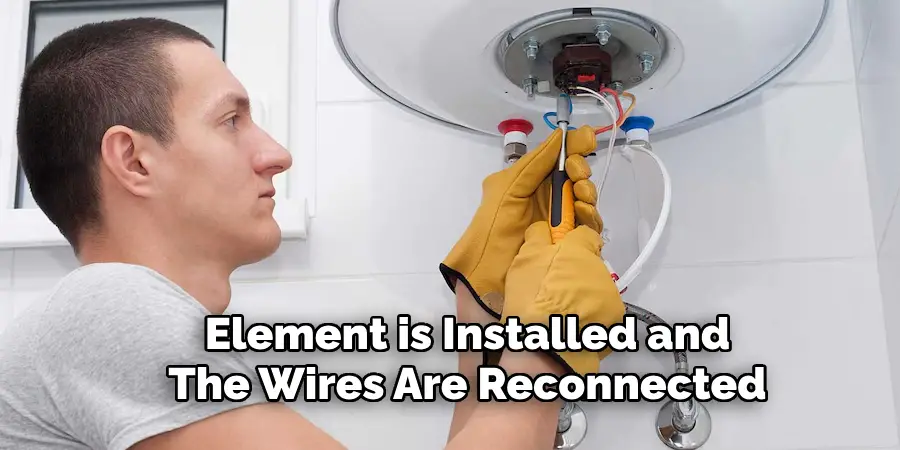
By following these steps, you can effectively replace a faulty heating element and restore your water heater to efficient performance, ensuring a consistent hot water supply in your home.
Testing for Proper Functionality
Power On
Turn the power supply back on at the breaker box to restore electricity to the water heater. Ensure that the breaker is securely in the “on” position to allow the unit to start operating.
Monitor Operation
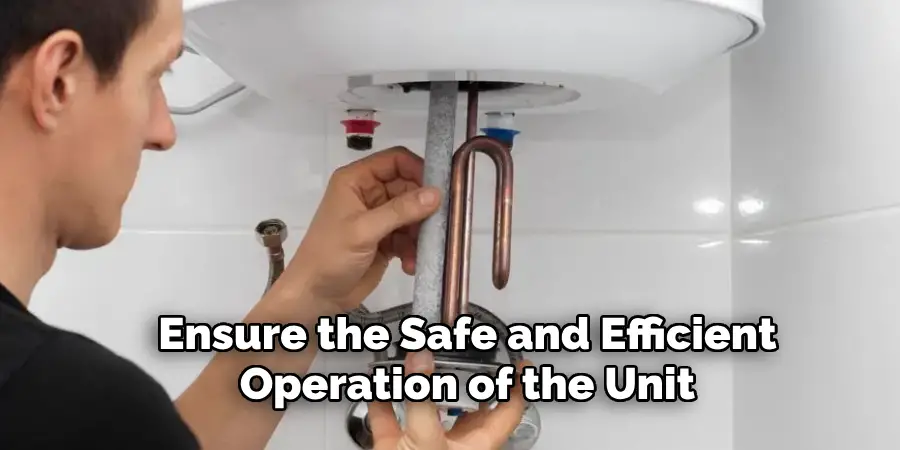
Observe the water heater closely as it powers up and begins the heating process. Monitor the temperature settings to confirm that the water heater effectively heats the water to the desired temperature. This monitoring is essential to ensure that the newly installed heating element is working correctly.
Check for Leaks
While the water heater is running, carefully inspect the area around the heating elements for any signs of leaks. Look for drips or moisture near the heating element’s installation points. Any visible leaks should be addressed immediately to prevent water damage and ensure the safe and efficient operation of the unit.
Conclusion
In summary, replacing the heating element on a water heater involves several crucial steps: draining the tank, removing the old element, installing the new component, reconnecting wires, refilling the tank, and restoring power. Safety precautions, such as ensuring the power is off before commencing work and checking for leaks post-installation, are paramount.
Testing procedures include monitoring the heating process to confirm effective operation. Knowing how to check element on water heater and replacing it if necessary is essential for maintaining performance and extending the appliance’s lifespan.
Regular maintenance and inspection of heating elements help prevent unexpected breakdowns and inefficiencies. Additional advice includes periodic professional inspections and diligently following the manufacturer’s maintenance guidelines. Remember, proactive care of your water heater ensures a steady hot water supply and enhances the appliance’s durability and efficiency.

