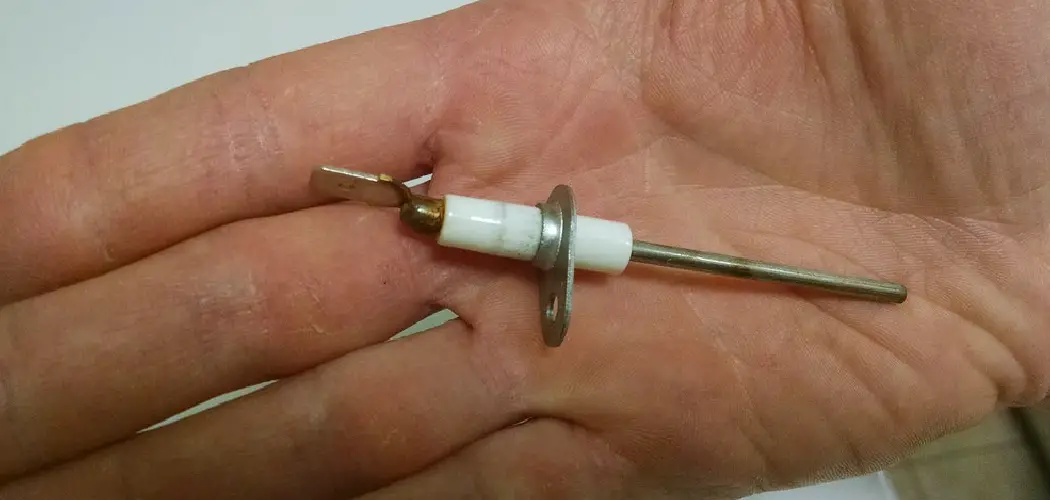
A flame sensor is a critical component of a furnace, ensuring safe and efficient operation by detecting the presence of a flame during the combustion process. If the furnace fails to ignite or if the flame sensor malfunctions, it can lead to system shutdowns or cause safety hazards.
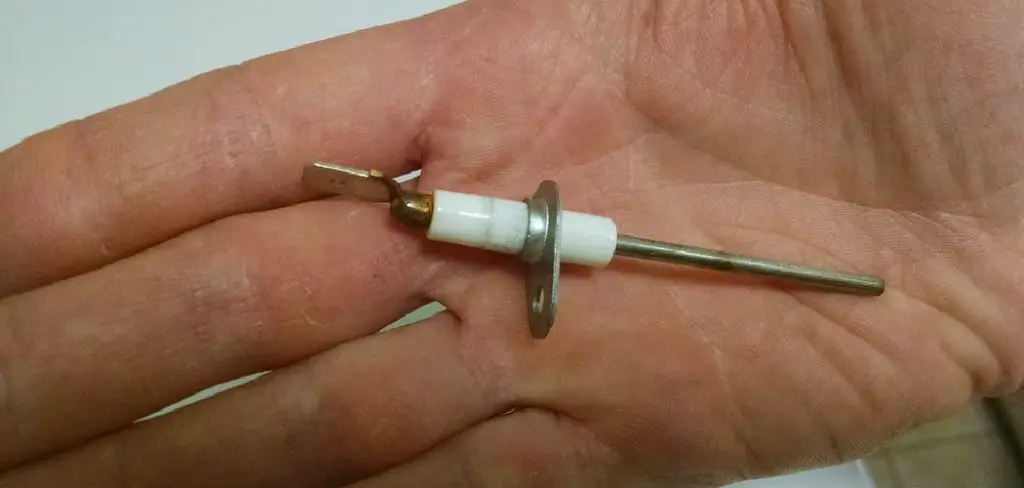
Therefore, knowing how to check the flame sensor can be invaluable for homeowners aiming to maintain their heating systems.
This guide on how to check flame sensor on furnace will provide step-by-step instructions to troubleshoot and test the flame sensor, ensuring your furnace operates smoothly and safely.
Why Check the Flame Sensor?
Before we jump into the steps on how to check your furnace’s flame sensor, it’s essential to understand why performing this maintenance task is crucial.
The flame sensor is responsible for detecting the presence of a flame in your furnace’s combustion chamber. If there is no flame detected, the sensor sends a signal to the control board, which shuts down the furnace as a safety precaution.
A malfunctioning flame sensor can lead to frequent system shutdowns and disrupt the heating process, causing discomfort in your home. Furthermore, a faulty flame sensor can result in gas leaks or potential fires if left unchecked.
Tools Required
To check your furnace’s flame sensor, you will need the following tools:
- Screwdriver
- Steel Wool or Emery Cloth
- Multimeter (Optional)
If you don’t have a multimeter, you can still perform the steps using visual inspection and cleaning methods. However, a multimeter can provide more accurate results and help diagnose potential issues with the flame sensor.
7 Easy Step-by-Step Guide on How to Check Flame Sensor on Furnace
Step 1: Turn off the Power
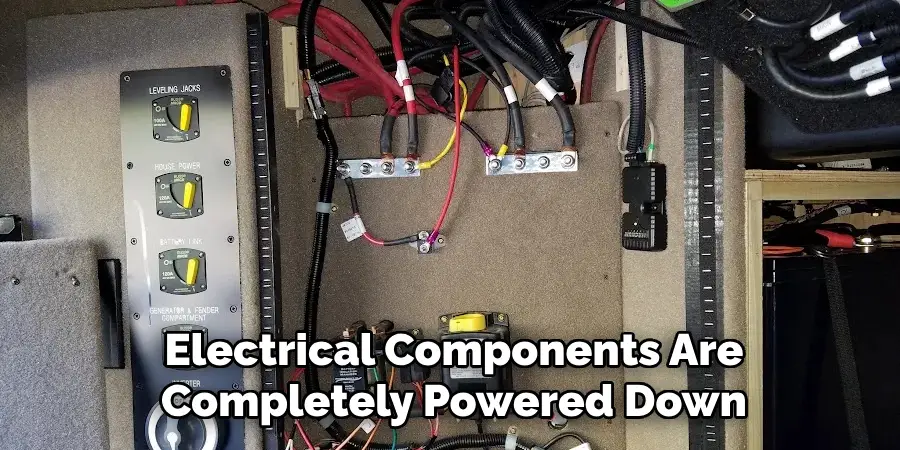
Before beginning any maintenance work on your furnace, it is crucial to ensure your safety. Start by turning off the power to the furnace at the circuit breaker to prevent any accidental ignition or electric shock. Locate the breaker that corresponds to your heating system and switch it off.
Additionally, if your furnace has a power switch, make sure to turn that off as well. Wait for a few minutes to ensure that all electrical components are completely powered down before proceeding to the next step.
Step 2: Locate the Flame Sensor
After ensuring that the power to the furnace is turned off, the next step is to locate the flame sensor. The flame sensor is typically positioned near the burner assembly, mounted on a metal bracket or directly attached to the furnace’s heat exchanger. To reach it, you may need to remove the access panel on your furnace, which is usually secured with screws.
Carefully set aside the panel once removed. When you identify the flame sensor, it will resemble a thin metallic rod, often with a porcelain insulator at one end. Take note of its positioning, as you will need to return it to the same place after inspection or cleaning.
Step 3: Visual Inspection
The first test is a simple visual inspection of the flame sensor. Look for signs of dirt, dust, or corrosion on the sensor’s surface and surrounding area. Buildup on the sensor can prevent it from accurately detecting a flame, causing system shutdowns. If you notice any deposits or discoloration, proceed to step four.
It is also essential to check the sensor’s wiring for any signs of damage or loose connections. If you spot any issues, repair them before moving on to the next step.
Step 4: Clean the Flame Sensor
Cleaning the flame sensor is a simple task that can significantly improve its performance. Take your steel wool or emery cloth and gently rub it along the sensor’s surface in one direction. Be careful not to scrub too hard, as this can potentially damage the sensor’s delicate tip. After cleaning, use a clean cloth to wipe away any debris or residue from the sensor.
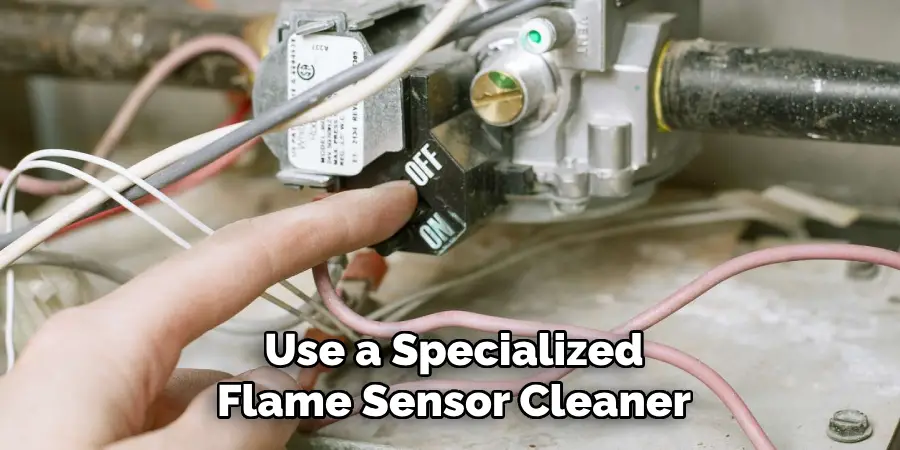
You can also use a specialized flame sensor cleaner for more stubborn buildup. Follow the manufacturer’s instructions carefully when using these products.
Step 5: Replace and Reconnect
Once you have thoroughly cleaned the flame sensor, it’s time to reassemble your furnace. Carefully position the flame sensor back into its original location, ensuring it is aligned properly. Reattach any screws or brackets that hold the sensor in place, making sure it is secure and stable. Next, reconnect any wiring that was detached during the inspection, ensuring all connections are tight and free from damage.
After everything has been put back together, replace the access panel on your furnace, securing it with its screws. Finally, you are ready to turn the power back on at the circuit breaker and proceed to the next step.
Step 6: Test with a Multimeter
If you have a multimeter, you can now test the flame sensor to determine if it is functioning correctly. Set your multimeter to measure resistance and touch the probes to the flame sensor’s two terminals. A good working flame sensor should read between 1.5-4 micro amps of current flow. If your readings are outside this range, there may be an issue with your flame sensor.
You can also test for continuity by touching one probe to the sensor’s metal bracket and the other to its terminal. If there is no continuity, it may indicate a faulty flame sensor that needs replacement.
Step 7: Turn on the Furnace and Monitor
After completing all of the above steps, you can now turn your furnace back on and monitor its operation. Observe if the furnace lights up and runs smoothly without any interruptions or shutdowns.
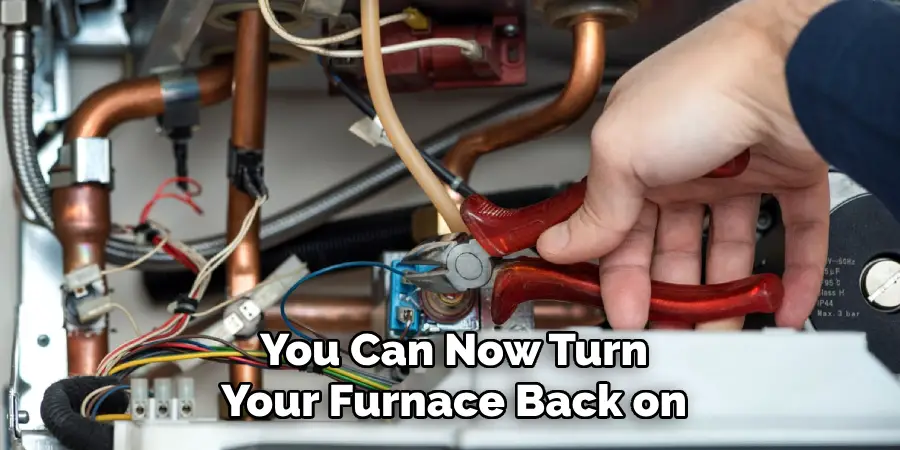
If the furnace still fails to ignite or shuts down after starting, it could be an indication of a more severe issue with your heating system. In such cases, it is recommended to seek professional help from a certified HVAC technician.
Conclusion
Regular maintenance of your furnace’s flame sensor is essential for ensuring the efficiency and safety of your heating system. By following these simple step-by-step instructions on how to check flame sensor on furnace, you can effectively diagnose and address any issues with the flame sensor, helping to prevent unnecessary system shutdowns and extending the lifespan of your furnace.
Remember that while cleaning and inspecting the sensor can resolve many problems, persistent issues may indicate more significant concerns that require the expertise of a certified HVAC technician. Taking care of your heating system not only promotes comfort within your home but also contributes to overall safety and energy efficiency.

