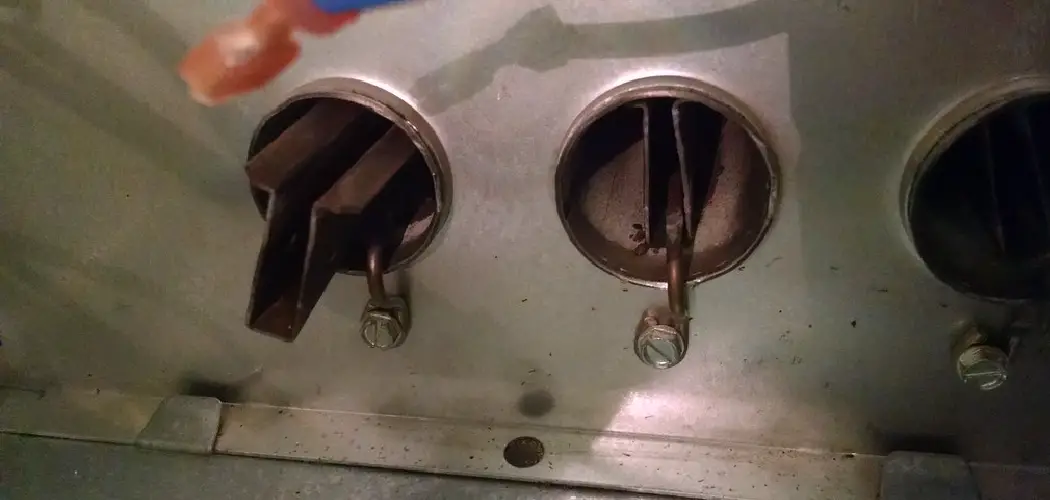
A cracked heat exchanger can pose serious risks, including potential carbon monoxide leaks, which could be hazardous to your health and safety. Regular inspection and maintenance of this crucial component of your HVAC system are essential to ensure it operates safely and efficiently. This guide on how to check for cracked heat exchanger will walk you through the process of checking for cracks in a heat exchanger, helping you identify problems early and take necessary action.
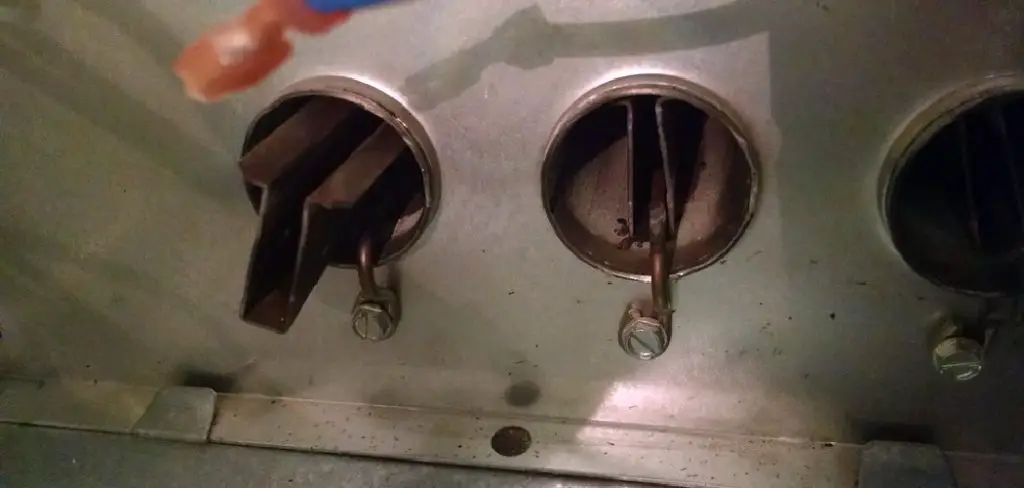
Whether you’re a professional technician or a diligent homeowner, understanding the steps involved in this inspection is key to maintaining a safe and efficient heating system. So, let’s dive into the details and learn how to check for a cracked heat exchanger.
What is a Heat Exchanger?
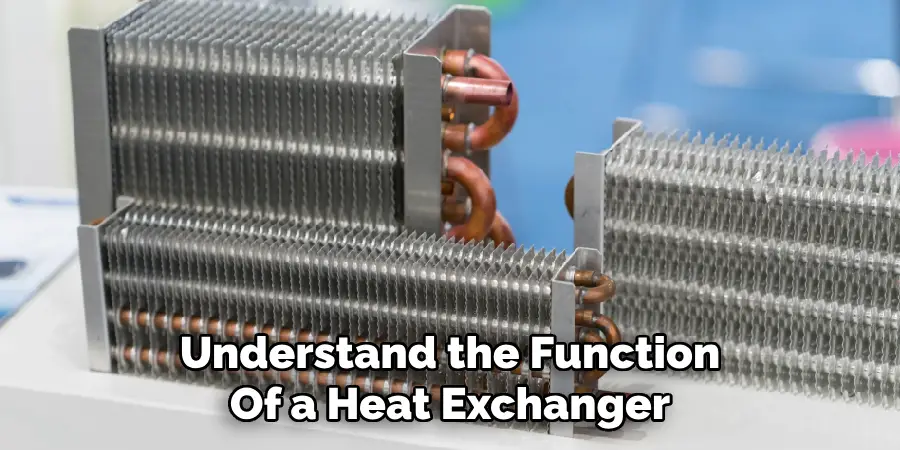
Before we delve into checking for cracks, it’s important to understand what a heat exchanger is. A heat exchanger is an integral part of your HVAC system that transfers heat from one medium to another without coming into direct contact. It typically consists of tubes or coils through which hot gases or liquids flow while the cooler air from your home passes over those tubes or coils, absorbing the heat and distributing it throughout your living space.
The primary role of a heat exchanger is to efficiently transfer thermal energy from one medium (e.g., combustion gases) to another (e.g., air). As such, it plays a crucial role in maintaining the temperature of your home. A cracked heat exchanger can severely compromise this process, leading to inefficient heating and potential safety hazards.
Why Is Checking for Cracks Important?
Now that we understand the function of a heat exchanger, it’s important to know why regular inspection for cracks is necessary. A cracked heat exchanger can cause several issues, including:
Carbon Monoxide Leaks:
A cracked heat exchanger can allow dangerous carbon monoxide gas to mix with your home’s airflow and spread throughout the living space. Overexposure to carbon monoxide can lead to serious health issues, including headaches, dizziness, and even death.
Inefficient Heating:
Cracks in the heat exchanger can significantly impact its ability to transfer heat effectively. This means your system will have to work harder and use more energy to achieve the desired temperature, resulting in increased utility bills.
Safety Hazards:
A cracked heat exchanger can also pose a fire hazard as it allows hot gases or flames into areas of your HVAC system where they should not be present. This can potentially cause fires or explosions if left undetected for an extended period.
10 Step-by-step Guidelines on How to Check for Cracked Heat Exchanger
Step 1: Turn Off Your HVAC System
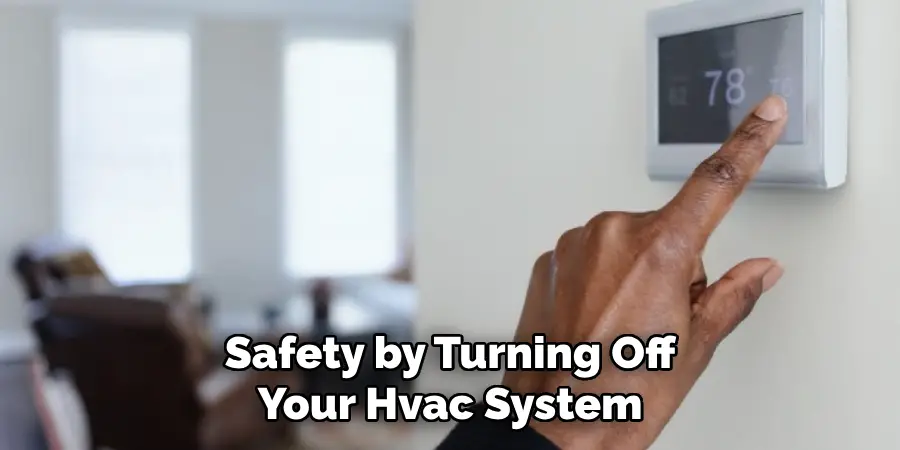
Before you begin inspecting your heat exchanger for cracks, it’s crucial to ensure your safety by turning off your HVAC system. Locate the main power switch or the circuit breaker connected to your heating unit and switch it off. This will prevent any accidental activation of the system while you’re performing the inspection and reduce the risk of electric shock or injury. Always prioritize safety and make sure the unit is completely powered down before proceeding to the next steps.
Step 2: Allow the System to Cool Down
After turning off the system, give it enough time to cool down before starting the inspection. This is especially important if your heating unit has been running recently, as some parts can remain hot for a while after being turned off. Waiting for at least an hour will ensure that all components are safe to touch and reduce the risk of burns.
You should also take this time to gather the necessary tools for the inspection, including a flashlight and a small mirror.
Step 3: Locate Your Heat Exchanger
Once the system has cooled down, it’s time to locate your heat exchanger. Typically, the heat exchanger is housed within the furnace, which is often situated in a dedicated HVAC closet, basement, attic, or utility room. Start by opening the access panel of the furnace, which might require a screwdriver to remove any screws securing the panel in place. With the access panel removed, you should be able to see the internal components of your furnace.
The heat exchanger usually consists of a series of metal tubes or coils, and it’s positioned behind the burner assembly. Take your time to carefully identify the heat exchanger, as this is where you’ll be inspecting for any signs of cracks or damage in the next steps.
Step 4: Visually Inspect the Heat Exchanger
Using your flashlight, shine light into the heat exchanger to get a better view of its interior. You can also use a small mirror to see areas that are difficult to reach. Look for any signs of cracks, rust, or corrosion on the surface of the heat exchanger. Pay close attention to areas where two or more metal pieces are joined together as this is where cracks commonly occur.
Step 5: Check for Carbon Monoxide Leaks
In addition to visually inspecting the heat exchanger, it’s crucial to check for potential carbon monoxide leaks. Since carbon monoxide is a colorless and odorless gas, you’ll need a specialized tool to detect its presence. A carbon monoxide detector or meter can help you identify any leaks accurately. Place the detector’s sensor near the heat exchanger and follow the manufacturer’s instructions for use.
If the detector indicates the presence of carbon monoxide, it is a strong sign that there may be a crack in the heat exchanger, allowing the gas to escape. In such cases, it is essential to turn off your heating system immediately and contact a professional technician to perform a more comprehensive inspection and necessary repairs. Never ignore carbon monoxide warnings, as prolonged exposure to this gas can result in serious health hazards.
Step 6: Check for Soot Buildup
Another indicator of a cracked heat exchanger is excessive soot buildup. As the hot gases pass through the heat exchanger, they can leave behind a layer of black soot due to incomplete combustion or other issues. If you notice significant amounts of soot inside your furnace, it could be a sign that there is a crack in the heat exchanger and the flames are escaping and causing incomplete combustion.
Step 7: Perform a Flame Test
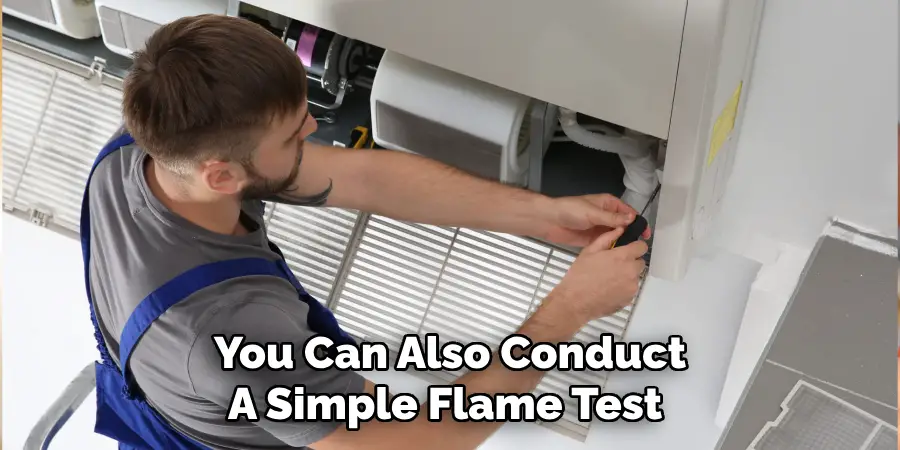
You can also conduct a simple flame test to check for potential cracks in the heat exchanger. Turn on your heating system and observe the color of the flame coming from the burner assembly. A blue flame indicates proper combustion, while an orange or yellow flame can indicate a problem with the heat exchanger, such as a crack. If you notice any signs of discoloration or flickering in the flame, it’s best to contact a professional technician for further inspection.
Step 8: Listen for Unusual Noises
In addition to visual and physical inspections, listening to unusual noises can also help identify potential problems with your heat exchanger. Turn on your heating system and listen for any odd sounds coming from the furnace. Rattling, banging, or other abnormal noises could be signs of a cracked heat exchanger. The gas escaping through the crack can cause these noises as it passes through the metal.
Step 9: Check for Excessive Heat
If your heat exchanger is cracked, it may also produce excessive heat that can be felt by touch. Carefully place your hand near the heat exchanger (without touching it) and see if you notice any significant difference in temperature compared to other parts of the furnace. However, exercise caution when doing this step, as some parts of the heating system may still be hot from previous use. You may also use a non-contact infrared thermometer to measure the temperature of different parts of the heat exchanger.
Step 10: Schedule Regular Maintenance Checks
Prevention is always better than cure, and regular maintenance checks can help prevent potential issues with your heat exchanger. It’s recommended to schedule annual or bi-annual inspections with a professional technician to ensure that your heating system is in good working condition and to catch any cracks or damage early on. This will not only save you from costly repairs but also ensure your safety and that of your family.
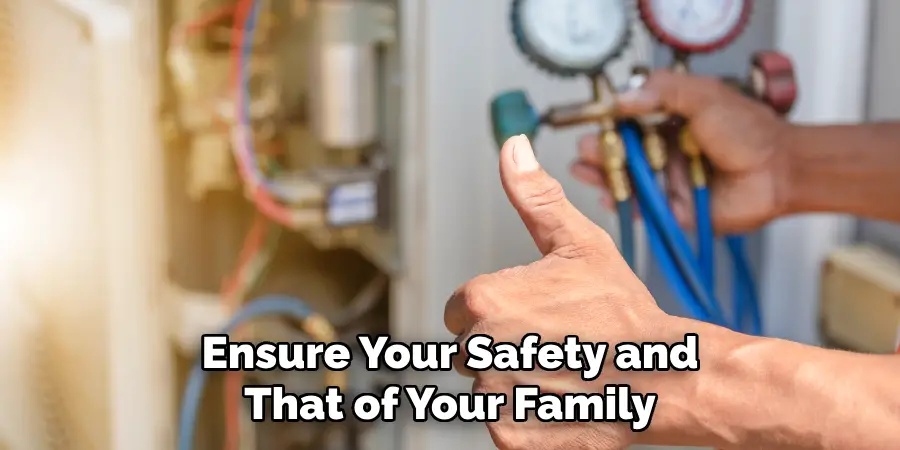
Following these steps on how to check for cracked heat exchanger can help you properly inspect and identify any cracks or damage in your heat exchanger. Remember to always prioritize safety and seek professional assistance if you are unsure about performing the inspection yourself. Taking proper care of your heat exchanger will not only extend its lifespan but also ensure efficient heating for years to come.
Additional Tips for Maintaining a Healthy Heat Exchanger
- Replace air filters regularly as dirty filters can restrict airflow and cause strain on your heat exchanger.
- Keep the area around your furnace clean and clear from any obstructions to ensure proper ventilation.
- Schedule regular HVAC maintenance checks to detect any potential issues early on and keep your heat exchanger in good condition.
- Use carbon monoxide detectors in your home as an added safety measure.
With proper care, your heat exchanger can last for many years without any major problems. Regular inspections, maintenance, and taking precautionary measures can help extend its lifespan and ensure the efficient functioning of your heating system. Remember that a cracked heat exchanger is not something to be taken lightly, and immediate action should be taken if you suspect any damage to prevent further risks or hazards. Stay warm and safe!
Preventive Maintenance Tips
Schedule Regular Inspections
To catch any potential issues early, schedule regular inspections of your heating system at least once a year. A professional technician will perform a thorough check of your heat exchanger and other components to ensure everything is functioning correctly.
Clean and Replace Filters
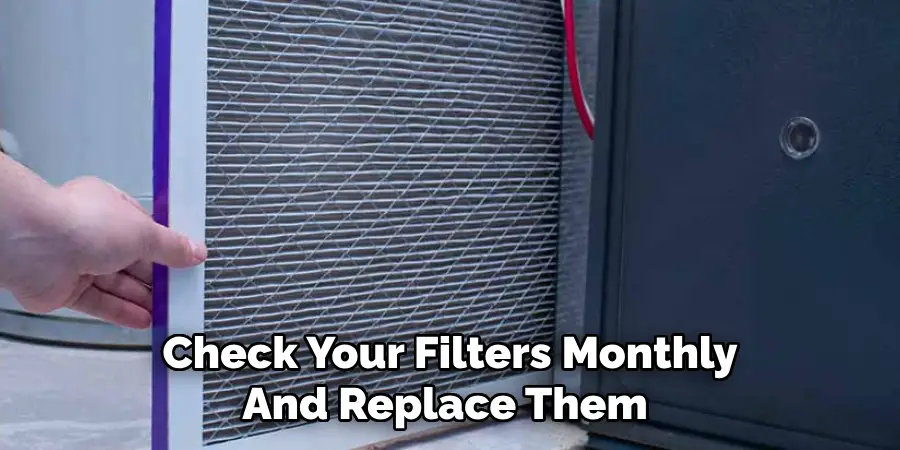
Dirty or clogged filters can cause your heating system to work harder than necessary, leading to increased wear and tear. Make it a habit to check your filters monthly and replace them as needed, typically every 1-3 months.
Monitor Flame Color
Keep an eye on the color of the flame in your furnace. A blue flame is an indicator of proper combustion, while yellow or orange flames can indicate issues that may need to be addressed.
Ensure Proper Ventilation
Make sure that the area around your furnace is clean and free from any obstructions. Proper ventilation is crucial for the efficient operation of your heating system.
Use a Programmable Thermostat
A programmable thermostat can help you maintain a consistent temperature in your home, preventing your heating system from overworking and extending the life of your heat exchanger.
Keep Vents and Ducts Clean
Dust and debris can accumulate in your vents and ducts, restricting airflow and causing your system to work harder. Regularly clean vents and ducts to ensure optimal air circulation.
Inspect Seals and Insulation
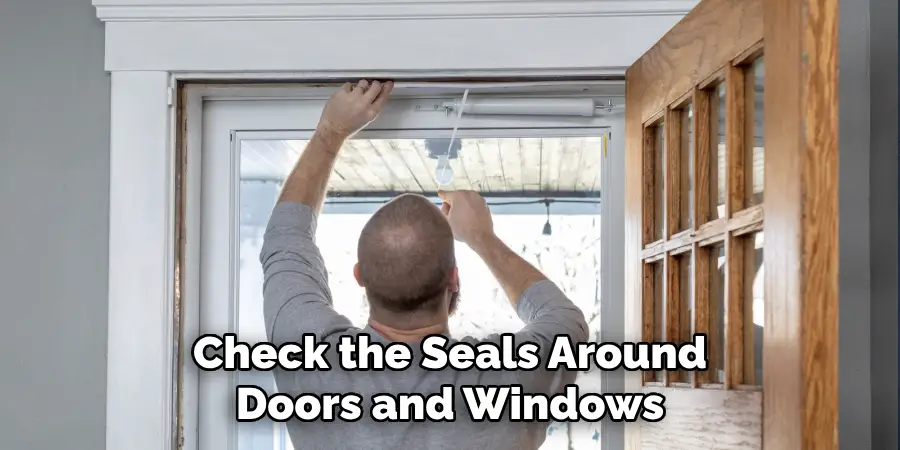
Check the seals around doors and windows and the insulation in your home. Proper sealing and insulation can prevent heat loss, reducing the strain on your heating system.
Respond to Unusual Noises
If you hear any unusual noises coming from your heating system, such as banging or rattling, address them immediately. These noises could be early signs of a problem with your heat exchanger.
Check the Thermostat
Ensure that your thermostat is working correctly by testing it periodically. A malfunctioning thermostat can lead to improper heating, affecting the overall performance of your system.
Adhering to these preventive maintenance tips will help keep your heat exchanger and overall heating system in optimal condition, ensuring efficiency and longevity. Proper maintenance can prevent major issues and save you money on repairs in the long run.
Common Mistakes to Avoid
Neglecting Regular Maintenance
One of the most common mistakes is failing to schedule regular maintenance checks for your heating system. Skipping these inspections can allow minor issues to escalate into major problems, leading to costly repairs and potentially dangerous situations.
Ignoring Filter Changes
Another frequent mistake is neglecting to change or clean the air filters regularly. Dirty filters restrict airflow, causing the system to work harder and reduce its efficiency. Make it a habit to check and replace filters every 1-3 months.
Overworking the System
Setting your thermostat too high can cause your heating system to overwork itself, leading to premature wear and tear. Avoid extreme settings and consider using a programmable thermostat to maintain a consistent temperature.
Blocking Air Vents
Ensure that furniture or other objects are not blocking air vents. Blocked vents can disrupt the airflow, making your heating system less efficient and putting unnecessary strain on the heat exchanger.
Ignoring Warning Signs
Unusual noises, odd smells, or changes in the performance of your heating system should never be ignored. These could be early indicators of serious issues, including a cracked heat exchanger, that require immediate attention.
DIY Repairs without Proper Knowledge
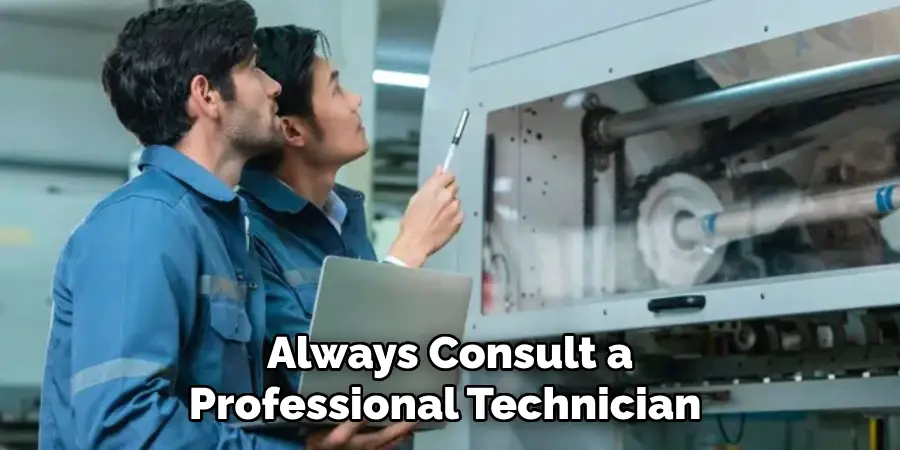
While basic maintenance can be performed by homeowners, attempting complex repairs without proper knowledge and tools can be dangerous. Always consult a professional technician for any repairs beyond basic maintenance.
Failing to Use Carbon Monoxide Detectors
A cracked heat exchanger can leak carbon monoxide, a deadly gas. Not having carbon monoxide detectors in your home can put you and your family at risk. Always ensure detectors are properly installed and functioning.
Overlooking Proper Ventilation
Proper ventilation is crucial for the efficient operation of your heating system. Make sure that the area around your furnace is clean and that vents and ducts are not blocked or covered.
Avoiding these common mistakes will help you maintain a healthy heating system, ensuring safety, efficiency, and longevity. Regular maintenance and timely attention to potential issues will keep your heat exchanger in optimal condition and provide reliable heating for years to come.
When to Seek Professional Help
Knowing when to seek professional help for your heating system can make all the difference in maintaining a safe and efficient home environment. Here are some key situations where calling a professional technician is highly recommended:
Persistent Strange Noises
If you notice persistent banging, rattling, or other unusual noises coming from your heating system, it’s time to call a professional. These sounds can indicate significant internal issues such as a cracked heat exchanger or failing components that need expert attention.
Poor Heating Performance
Should you experience uneven heating throughout your home or notice that the system is not maintaining the set temperature, professional help is necessary. Poor performance can be a sign of deeper issues that need thorough inspection and repair.
Frequent Cycling
If your heating system is cycling on and off frequently, it could be a sign of a malfunctioning component or an issue with the thermostat. A professional can diagnose and rectify the underlying cause to prevent further wear and tear.
Carbon Monoxide Detection
If your carbon monoxide detector goes off, evacuate your home immediately and contact emergency services. Once it’s deemed safe, a professional must inspect your heating system for any leaks, especially from the heat exchanger, which can pose severe safety hazards.
High Energy Bills
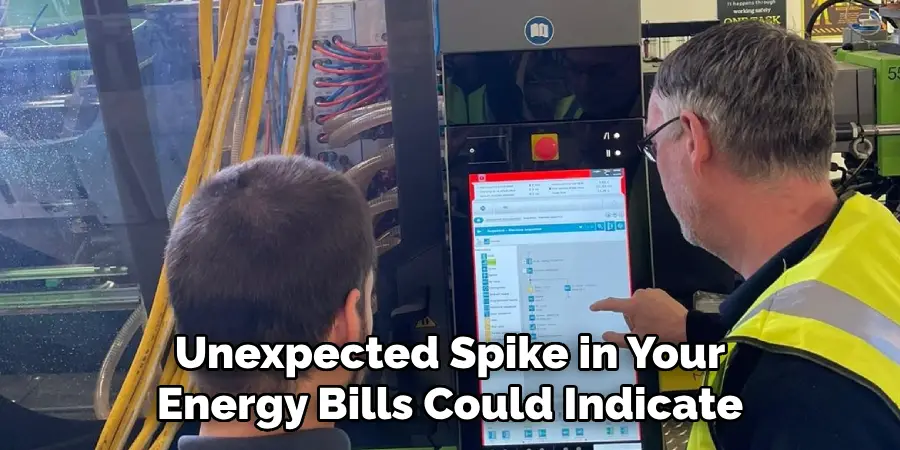
An unexpected spike in your energy bills could indicate that your heating system is operating inefficiently. A professional can conduct an energy efficiency assessment to identify and address any inefficiencies, ensuring your system runs optimally.
Visible Damage or Leaks
If you notice visible damage, corrosion, or leaks around your heating system, seek professional assistance right away. Such issues can lead to significant safety risks and further damage if not promptly addressed.
Age of the System
For systems that are older than 10-15 years, regular professional maintenance becomes even more critical. A professional technician can provide an assessment to determine whether it’s time for repairs or a complete system replacement.
Recognizing these signs and seeking professional help at the right time can prevent minor issues from escalating into major problems, ensuring the safety, efficiency, and longevity of your heating system.
Frequently Asked Questions
Q1: How Often Should I Schedule Maintenance for My Heating System?
A1: It is recommended that you schedule annual maintenance checks for your heating system. However, if you use it extensively, you may need to schedule maintenance more frequently.
Q2: Can I Change My Air Filters Myself?
A2: Yes, you can change your air filters yourself. However, if you are unsure how to do it or have any difficulties, it is best to consult a professional technician for assistance.
Q3: Is Regular Maintenance Necessary If My Heating System Is Working Fine?
A3: Yes, regular maintenance is necessary to ensure the safety, efficiency, and longevity of your heating system. It also helps identify and address any potential issues before they escalate into major problems.
Conclusion
Maintaining your heating system and heat exchanger in top condition is crucial for ensuring a safe, comfortable, and efficient home environment. Regular maintenance, prompt attention to signs of trouble, and knowing when to call in professional help are all key factors in extending the life of your system and preventing costly repairs.
By avoiding common mistakes and staying proactive about the health of your heating system, you can enjoy consistent warmth and peace of mind throughout the year. Invest in regular check-ups and never underestimate the importance of professional expertise to keep your heating system running smoothly for years to come. Thanks for reading this article on how to check for cracked heat exchanger.

