Checking your sump pump float switch is an important maintenance task that should not be overlooked. A malfunctioning float switch can lead to a flooded basement, which can cause extensive damage and inconvenience. By learning how to check your sump pump float switch, you can ensure that your basement stays dry and avoid costly repairs.

The main purpose of a sump pump is to prevent flooding in your basement or crawlspace by removing excess water. In order for the sump pump to function properly, it is essential to regularly check and maintain its components, including the float switch. The float switch is a crucial part of the pump as it tells the pump when to turn on and off based on the water level in the sump pit. In this blog post, You will learn in detail how to check sump pump float switch.
Tools You Will Need
- A flashlight
- A multimeter
- Screwdriver
- Pliers
- Wrench
- Bucket or container for water drainage
- Towels or rags
- Gloves (optional)
- Replacement float switch (if needed)
- Replacement sump pump (if needed)
Sump pumps are essential devices that help prevent basement flooding. They work by automatically pumping out water from the sump pit in your basement to a designated area outside of your home.
Step-by-step Instructions for How to Check Sump Pump Float Switch
Step 1: Inspect the Sump Pump
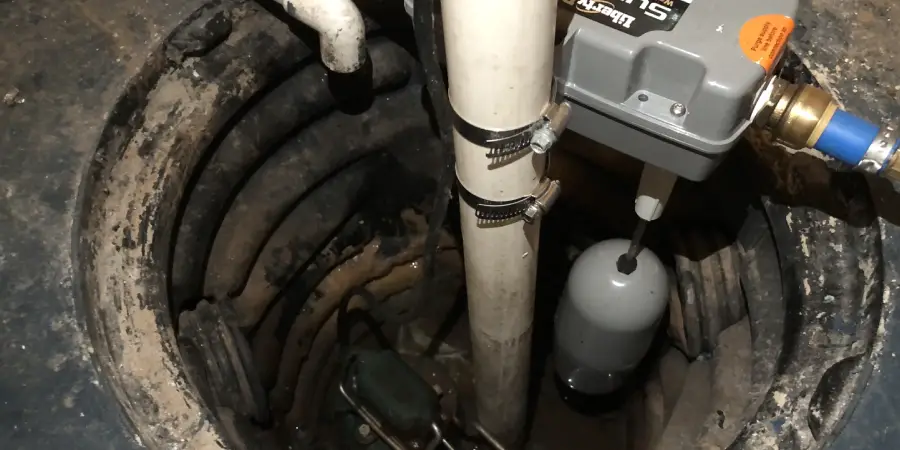
The first step in checking your sump pump float switch is to visually inspect the pump itself. Make sure that it is not clogged or damaged, and check for any signs of wear and tear. The next step is to locate the float switch. It is typically found inside the sump pump basin or pit, and it is responsible for turning the pump on when water reaches a certain level.
Step 2: Ensure Power is Off
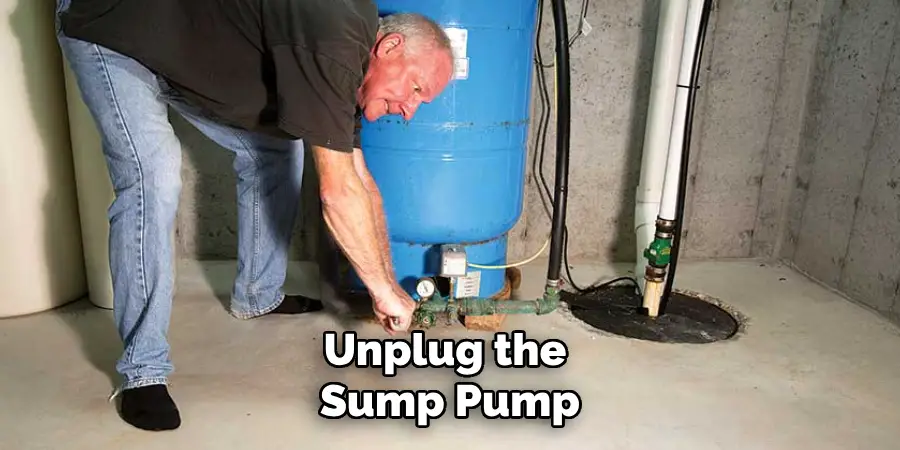
Before working on your sump pump, always make sure that the power supply to it has been turned off. This ensures your safety while performing maintenance. If you have a battery backup system, make sure to disconnect it as well.

Step 3: Test the Float Switch
To test the float switch, manually lift it up and down. You should hear a clicking sound when it is lifted up, indicating that the pump would turn on if water was present. When you lower it back down, the clicking should stop. This means that the pump would shut off once the water level goes down. While you have the float switch lifted, check for any debris or obstructions around it. If there is any buildup of dirt or debris, clean it out to prevent future malfunctions.
Step 4: Inspect the Tether
If your sump pump has a tethered float switch, make sure that it is not tangled or caught on anything. This could prevent the switch from moving freely and cause issues with the pump turning on and off properly.
After checking and cleaning the float switch, it is a good idea to test the pump itself. Pour water into the sump pump basin until it reaches the appropriate level for the float switch to turn on. If the pump activates and drains the water, then you know that both your pump and float switch are functioning properly.
Step 5: Check the Water Level Sensor
Some sump pumps also have a water level sensor in addition to the float switch. This sensor is usually located above the float switch and measures the water level for more accurate activation. Make sure this sensor is not damaged or covered with debris as well. Similar to testing the float switch, you can manually lift up and down on the water level sensor to see if it activates properly. If it does, then your sump pump is in good working condition.

Step 6: Check the Electrical Connections
While you’re inspecting the sump pump, it’s a good idea to also check for any loose or damaged electrical connections. These could cause issues with the pump turning on and off correctly. Make sure everything is securely connected and there are no signs of wear and tear.
To ensure that your sump pump and float switch continue to work properly, it is important to perform regular maintenance. This includes cleaning out the sump pump basin and checking for any potential issues or malfunctions.
Step 7: Consider Replacing if Necessary
If you find that your sump pump float switch is damaged or not functioning properly despite your best efforts, it may be time to consider replacing it. A faulty float switch can cause a multitude of issues and it’s important to have a reliable one in case of flooding emergencies.
In addition to these steps, it is also important to have a basic understanding of your sump pump system. This includes knowing where the power supply and battery backup are located, as well as how to properly disconnect them in case of emergencies.
Precautions for How to Check Sump Pump Float Switch
- Always unplug the sump pump before performing any maintenance or checks on it.
- Wear protective gear such as gloves and goggles to avoid any accidents.
- Use a voltage detector to check for any live electrical currents before touching any wires.
- Ensure that the sump pump is completely dry before working on it.
- Do not attempt to disassemble or repair the float switch yourself, as it can be dangerous and void any warranties.
- Familiarize yourself with the specific model and manufacturer’s instructions before attempting to check the float switch.
- If you are unsure or uncomfortable with performing the checks yourself, contact a professional for assistance.

Regularly checking the float switch can ensure that it is functioning correctly and prevent any potential problems in the future. It is recommended to check the float switch at least once a year, especially before the rainy season or when heavy rainfall is expected. By following these precautions, you can safely and effectively check your sump pump float switch and maintain its proper functioning.
What Are Some Common Signs of a Faulty Sump Pump Float Switch?
If you have a sump pump installed in your home, then it is important to regularly check on its condition to ensure that it is functioning properly. One component of the sump pump that requires regular inspection is the float switch. This small but crucial part helps activate the pump when water levels rise and shut it off once the water recedes. If the float switch is not functioning as it should, then your sump pump may fail to turn on or off at the appropriate times, leading to a flooded basement and potential water damage. Some common signs of a faulty sump pump float switch include:
1. The Pump Constantly Runs
If you notice that your sump pump is constantly running, it could be a sign that the float switch is stuck in the “on” position. This means that even if there is no water to be pumped out, the motor will continue to run, which can cause damage and raise your energy bill.
2. The Pump Does not Turn on
On the other hand, if your sump pump fails to turn on when there is water in the pit, it could be due to a faulty float switch that is stuck in the “off” position. This means that the pump will not activate even when it is needed, leaving your basement vulnerable to flooding.
3. The Pump Turns On and Off Repeatedly
If you notice that your sump pump is turning on and off frequently, this could also be a sign of a malfunctioning float switch. This could indicate that the switch is not able to accurately detect the water level and is causing the pump to cycle unnecessarily.
By regularly checking for these common signs, you can catch any issues with your sump pump float switch before they lead to bigger problems.
Are There Any Maintenance Tips for Keeping the Sump Pump Float Switch in Good Working Condition?
The sump pump float switch is an essential component of your home’s basement waterproofing system. Its purpose is to activate the pump when the water level in the sump pit rises above a certain point, preventing flooding and water damage. As with any mechanical device, regular maintenance is crucial to ensure its proper functioning. In this section, we will discuss some tips for keeping your sump pump float switch in good working condition.

1. Regularly Clean the Sump Pit
Debris and sediment can accumulate in the sump pit, causing clogs and affecting the float switch’s movement. To prevent this from happening, it is essential to regularly clean out the sump pit. Remove any debris or build-up around the float switch to allow for smooth operation. Additionally, make sure the pump’s discharge pipe is clear of any obstructions.
2. Test the Float Switch
It is important to test the float switch periodically to ensure it is working correctly. To do this, fill the sump pit with water and observe the float switch’s movement. It should activate the pump when the water level rises above a certain point and then shut off once the water level goes down. If you notice any issues, such as sticking or irregular movements, it may be time for a replacement.
3. Check the Electrical Connections
The float switch is connected to the sump pump through electrical wiring, so it is essential to check these connections regularly. Over time, wires can become loose or damaged, affecting the float switch’s functionality. Make sure all connections are secure and free of any corrosion. If you notice any issues, it is best to contact a professional for repairs.
4. Keep an Eye on the Water Level
If your sump pump float switch seems to be activating frequently or not at all, it could indicate a problem with the water level in your sump pit. Make sure the pump’s discharge pipe is not submerged underwater, as this can cause the float switch to continuously activate. On the other hand, if there is not enough water in the pit, the float switch may not activate when needed. Adjusting the sump pump’s float switch arm can help regulate the water level and prevent any issues.

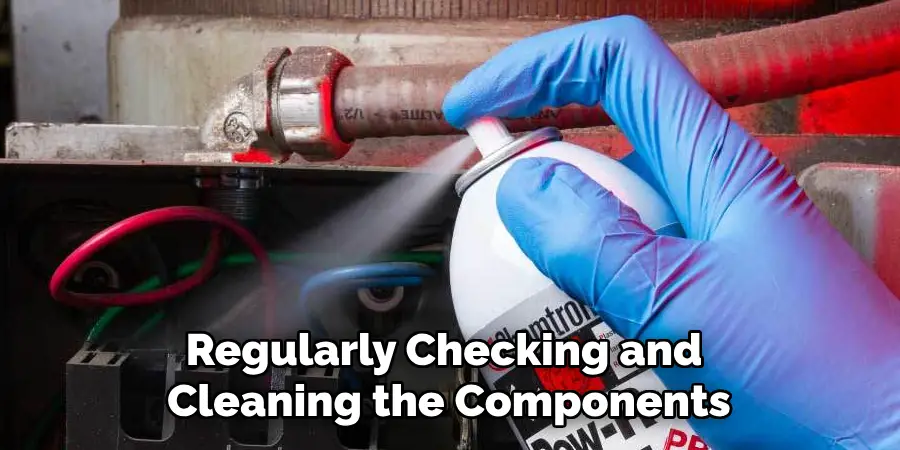
By regularly checking and cleaning the components, you can ensure that your basement waterproofing system is ready to protect your home from potential flooding. Remember, if you notice any issues with your sump pump or float switch, it is best to contact a professional for repairs or replacements.
Conclusion
In conclusion, checking your sump pump float switch is an essential part of maintaining your sump pump and ensuring it works efficiently when needed. By regularly testing the float switch, you can avoid any surprises during a heavy rainstorm or flooding event. This simple process only takes a few minutes and can save you from potential water damage and costly repairs.
I hope this article has been beneficial for learning how to check sump pump float switch. Make Sure the precautionary measures are followed chronologically.

