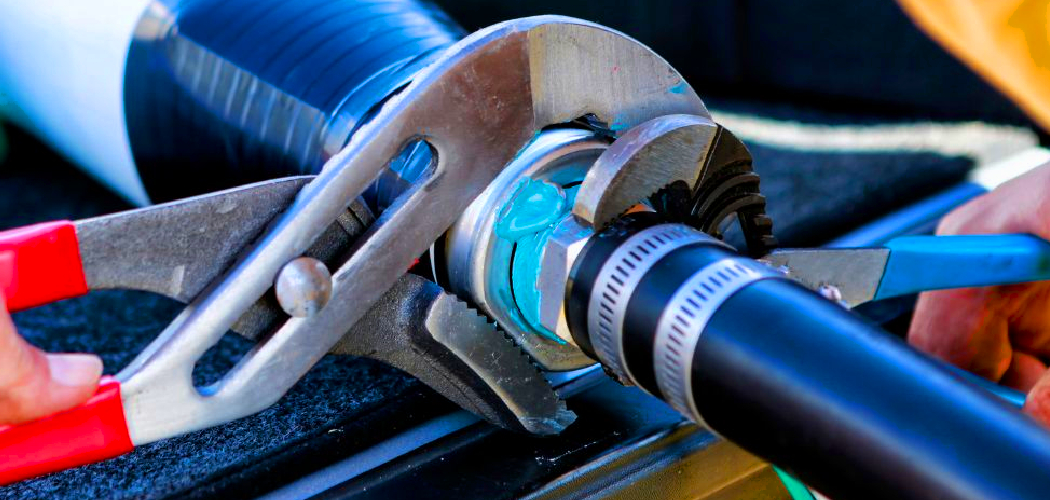
Are you thinking of clamping the PEX pipe but don’t know how? Look no further because we’ve got you covered!
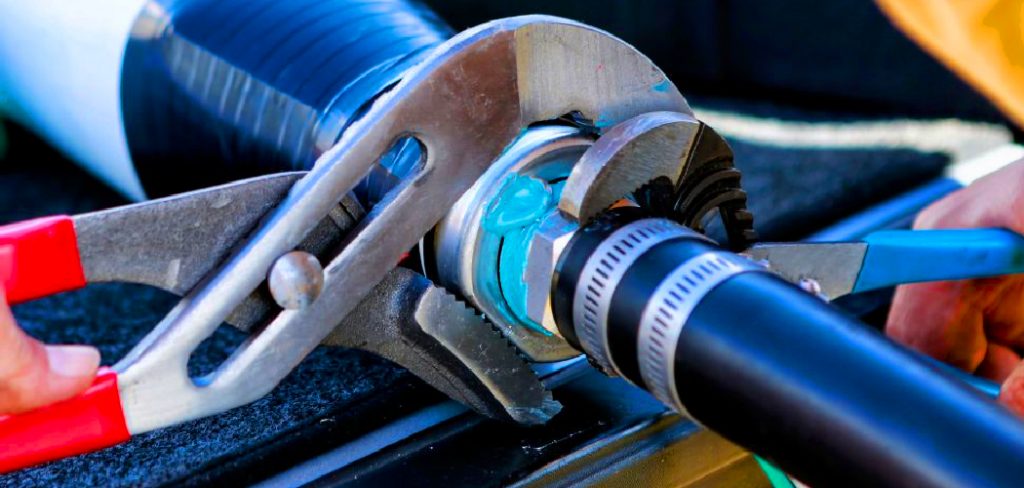
Clamping PEX pipe is essential in modern plumbing systems, ensuring secure and leak-free connections. PEX, or cross-linked polyethylene, is valued for its flexibility, durability, and resistance to corrosion, making it a popular choice for residential and commercial plumbing. The clamping method involves using specific tools and clamps to create tight seals between the pipe and fittings, offering a reliable and long-lasting solution.
Whether you’re a DIY enthusiast or a professional, understanding the proper techniques and tools required for clamping PEX pipes is crucial to achieving efficient and effective plumbing installations. Let’s dive into the step-by-step process of how to clamp PEX pipe.
What Are the Benefits of Clamping PEX Pipe?
Before we jump into the clamping process, let’s first understand the benefits of this method.
- Secure Connections: Proper clamps and tools ensure tight connections between PEX pipes and fittings, reducing the risk of leaks and water damage.
- Cost-Effective: Compared to other materials like copper or PVC, PEX is relatively affordable. Pairing it with efficient clamping methods makes for cost-effective plumbing installations.
- Easy Installation: Clamping PEX pipe is a straightforward process that doesn’t require soldering or specialized skills, making it ideal for DIY projects.
- Versatility: PEX pipes can be used for hot and cold water systems, making them a versatile option for various plumbing needs.
- Durability: PEX pipes are highly resistant to corrosion and can withstand extreme temperatures, ensuring long-lasting performance.
Now that we know the benefits, let’s move on to the steps involved in clamping PEX pipe.
What Will You Need?
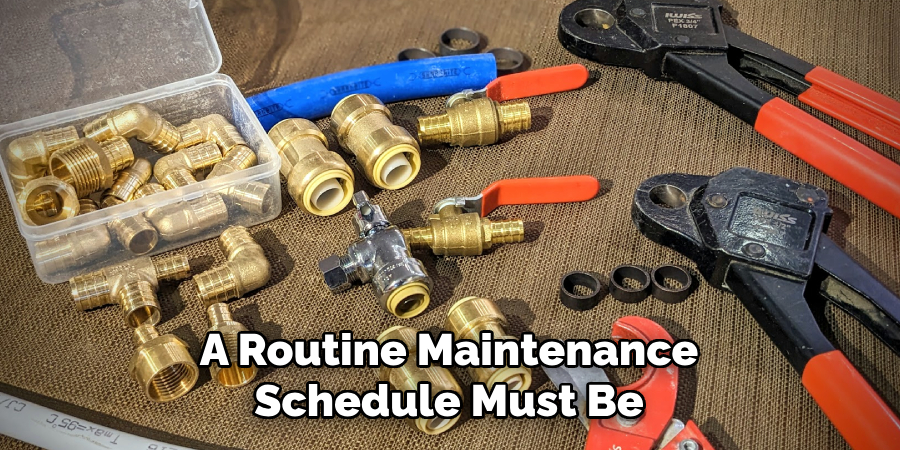
To clamp the PEX pipe, you will need the following tools:
- PEX Cutter: Used to cut PEX pipes to size.
- PEX Crimp Tool: Specifically designed for creating crimp rings or bands on PEX pipes.
- Crimp Rings: Also known as cinch clamps, these are used to secure connections between PEX pipes and fittings.
- Marker Pen: To mark the desired length of the pipe.
- Safety Gear: It’s always recommended to wear gloves and eye protection when working with plumbing materials.
Once you have the necessary tools, follow these simple steps to clamp the PEX pipe.
10 Easy Steps on How to Clamp PEX Pipe
Step 1. Prepare the Pipe:
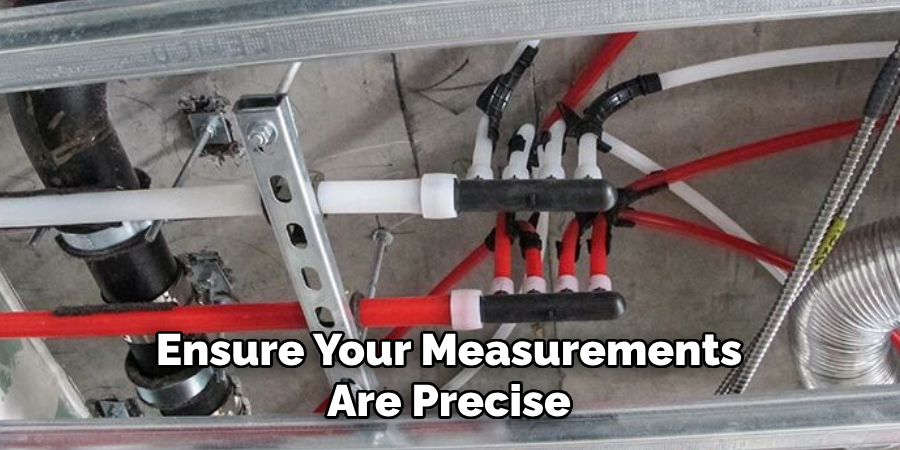
Start by measuring and marking the PEX pipe at the desired length using the marker pen. It’s crucial to ensure your measurements are precise to avoid errors affecting the installation. Once marked, use a PEX cutter to cut the pipe cleanly at the marked location. Ensure the cut is straight and even, as improper cuts can lead to poor fittings and potential leaks. After cutting, inspect the pipe’s edges and remove any burrs or debris that could interfere with the connection. Proper pipe preparation is key to ensuring a secure and reliable plumbing system.
Step 2. Select the Clamp Ring and Fitting:
Choose the appropriate clamp ring and fitting for your PEX pipe size. Slide the clamp ring over the end of the pipe before inserting the selected fitting. Ensure the fitting is pushed into the pipe until it reaches its stop point. The clamp ring should sit approximately 1/8 to 1/4 inch from the end of the pipe, encircling the fitting evenly. Proper placement of the clamp ring ensures a strong and leak-free connection.
Step 3. Secure the Clamp Ring:
Using a PEX crimp tool, position the tool over the raised section of the clamp ring. Ensure the tool is aligned correctly to avoid uneven pressure during crimping. Squeeze the handles of the crimp tool firmly to compress the ring around the pipe and fitting. The clamp ring should be securely fastened without any gaps. Once the ring is crimped, use a go/no-go gauge to verify that the connection meets the required specifications. A proper crimp ensures a durable and watertight seal.
Step 4. Check for Leaks:
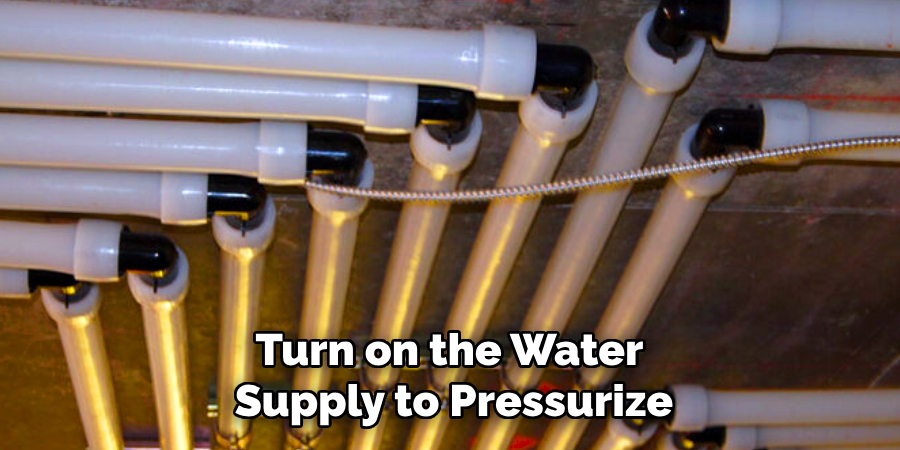
After all connections are made, checking for any potential leaks in the system is essential. Slowly turn on the water supply to pressurize the system while closely monitoring each connection. Inspect the crimped areas for any signs of water leakage. If a leak is detected, turn off the water supply and examine the crimp to ensure the ring is properly secured and aligned. Re-crimp or replace the fitting if necessary. A thorough leak check ensures the system’s reliability and helps prevent future issues.
Step 5. Insulate and Secure the Pipes:
To maintain the efficiency and longevity of the system, it is essential to insulate and secure the pipes properly. Use pipe insulation to minimize heat loss in hot water pipes and prevent condensation on cold water pipes. Measure and cut the insulation to fit snugly around the pipes, ensuring no gaps. Additionally, secure the pipes using clamps or brackets to keep them in place and minimize movement, which can lead to wear or noise. Proper insulation and support protect the system and enhance its performance over time.
Step 6. Test the System:
Once all the pipes are installed, insulated, and secured, testing the system for proper functionality is essential. Gradually turn on the water supply and check each connection for any signs of leaks. Monitor the water pressure to ensure it meets the required levels across the system. If applicable, test hot water lines by running hot water through the system to confirm the absence of heat loss. Address any issues immediately by tightening connections or replacing components as needed. Thorough testing ensures the system operates efficiently and reliably.
Step 7. Final Inspection and Maintenance:
After completing the installation and testing process, conduct a thorough final inspection of the entire system. Check for proper alignment, secure fittings, and reliable insulation. Ensure all components meet safety and performance standards. Additionally, a routine maintenance schedule must be established to keep the system functioning optimally. Regular checks for leaks, wear, or damage can prevent costly repairs in the future and prolong the system’s lifespan. Proper installation and maintenance documentation will also aid in troubleshooting or upgrades later.
Step 8. System Documentation and Handover:
Compile all necessary documentation related to the installation, including system diagrams, user manuals, inspection reports, and test results. Provide these materials to the relevant parties, such as the client or maintenance team, to ensure they comprehensively understand the system. Conduct a handover session to explain key features, operational procedures, and maintenance requirements. Address any questions or concerns to ensure the system will be operated and maintained correctly in the long term. Clear communication during this step is crucial for the system’s ongoing success and reliability.
Step 9. Final System Testing and Review:
Perform a thorough final test of the entire system to ensure all components function as intended. Verify that the system meets all design specifications, safety standards, and operational requirements. Document any adjustments made during this stage and ensure they are reflected in the system’s documentation. Engage with relevant stakeholders to review the system’s performance and gather feedback. Any identified issues should be addressed promptly to guarantee the system’s readiness for full operation. This step is critical for ensuring reliability and client satisfaction before officially concluding the project.
Step 10. Project Handover and Closure:
Conclude the project by formally handing the system to the client or end-users. This includes providing all necessary documentation, such as user manuals, technical specifications, and maintenance schedules. Conduct a final handover meeting to ensure all stakeholders are aligned on the system’s operation and future responsibilities. Gather final feedback, address concerns, and close out contractual obligations. This step signifies the successful completion of the project and establishes a foundation for long-term client satisfaction and support.
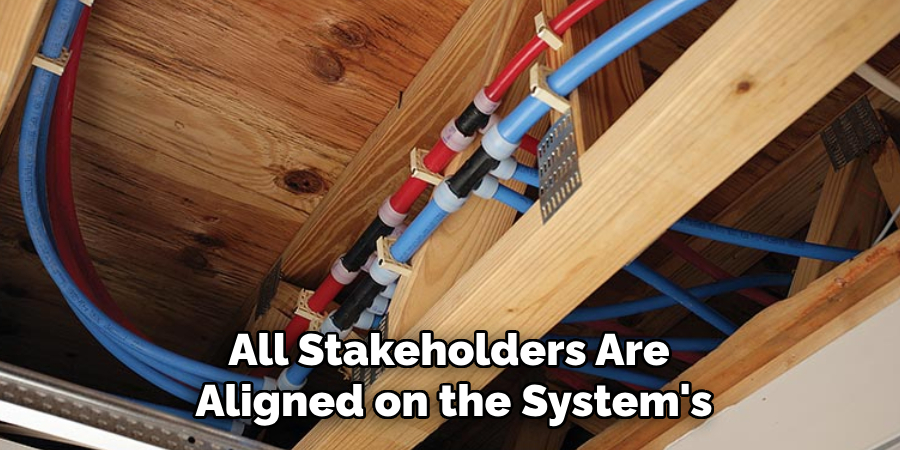
By following these steps, you can confidently and efficiently install a PEX plumbing system.
5 Things You Should Avoid
- Using the Wrong Tools: Using improper tools, such as pliers or non-designated crimping tools, can damage the PEX pipe or result in faulty connections. Always use the specific crimping tool recommended for the clamp type.
- Overtightening the Clamp: Applying excessive force when tightening the clamp can deform the pipe or compromise the seal. This could lead to leaks or even weaken the pipe over time.
- Using Incorrect Clamp Sizes: Using clamps that are either too large or too small for the PEX pipe can cause uneven pressure and create leaks. Ensure the clamp size matches the pipe’s diameter perfectly.
- Not Inspecting for Proper Alignment: Failing to align the clamp with the fitting properly can cause an uneven seal. Always double-check the placement before tightening to ensure a secure and leak-proof connection.
- Skipping a System Pressure Test: Neglecting to test the system after installation can lead to undetected leaks or failures. Always perform a pressure test to ensure that all connections are securely clamped and functioning correctly.
Conclusion
How to clamp PEX pipe correctly is essential for creating a durable and leak-proof plumbing system.
You can ensure a successful installation by avoiding common mistakes such as using incorrect tools, overtightening clamps, or skipping essential pressure tests. Always double-check your work, use the appropriate clamp size, and follow manufacturer guidelines to achieve a reliable and long-lasting result.
Working with PEX pipes can be a straightforward and efficient task with proper attention to detail and technique.

