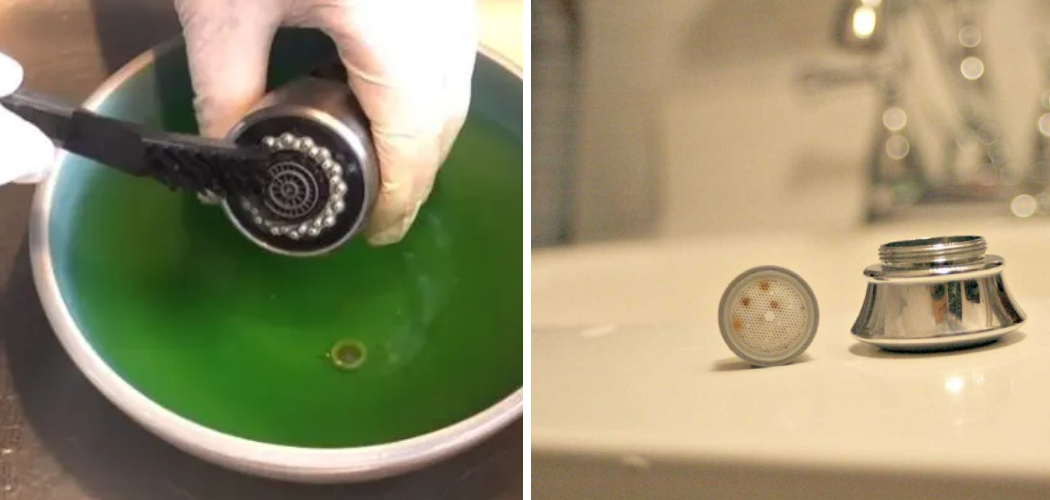
Have you ever noticed your Delta pull-down kitchen faucet doesn’t produce the same level of water pressure as it did when you first got it? The Delta pull-down kitchen faucet is a stylish and popular choice for many homeowners. However, over time the aerator can become clogged with sediment and hard water build-up, which can impact the performance of the faucet. In this blog post, we will show you how to clean a Delta pull-down kitchen faucet aerator quickly and easily. Let’s get started!
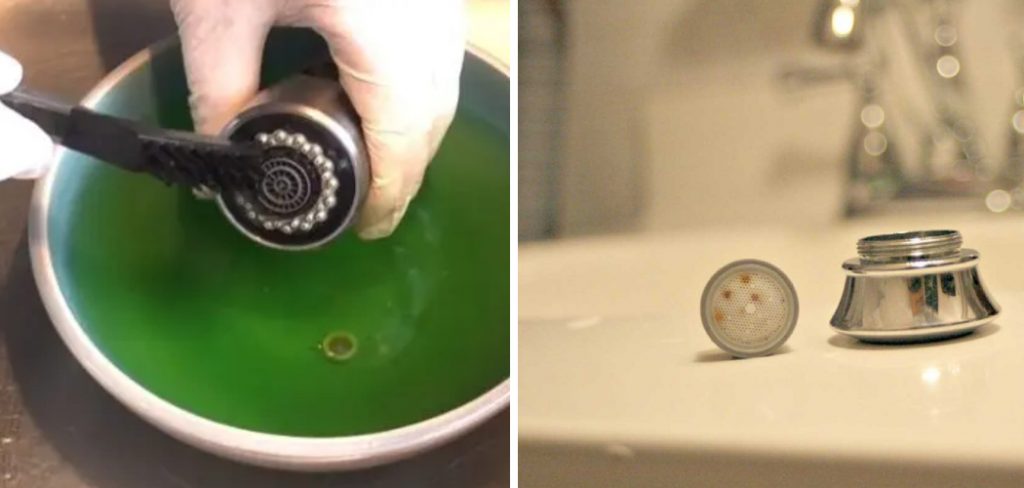
How Do You Clean the Spring on a Pulldown Faucet?
The first step to cleaning your Delta pull-down kitchen faucet aerator is to remove the spring. This can be done by using a pair of needle nose pliers or a flathead screwdriver. Once the spring has been removed, use a damp cloth to wipe off any sediment that may have accumulated on it.
Then, use a toothpick or other small tool to remove any debris that may be stuck in the holes of the spring. Although it may take some time, it’s important to make sure that the spring is completely free of debris.
10 Methods How to Clean a Delta Pull-down Kitchen Faucet Aerator
1. Unscrew the Aerator:
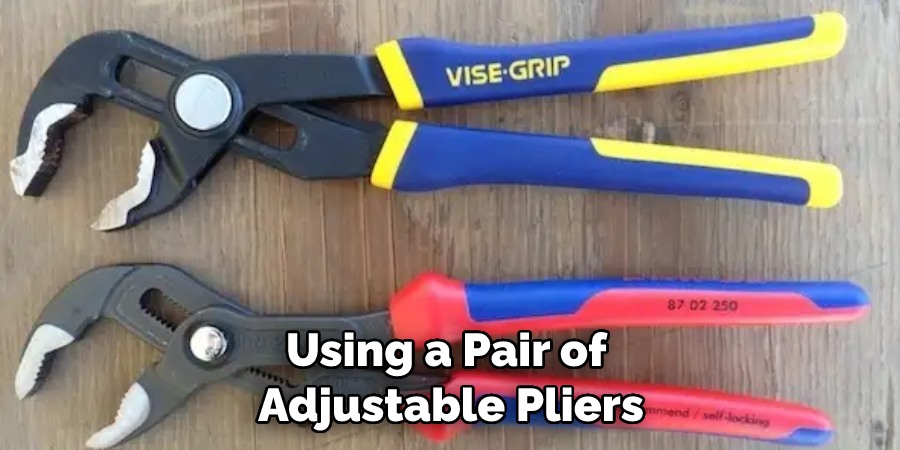
This is the most important step in cleaning your Delta pull-down kitchen faucet aerator. Using a pair of pliers, unscrew the aerator from its base and set it aside for later. If the aerator is stuck, try using a pair of adjustable pliers to grip the edges and turn. However, be gentle and do not force it, as this could cause damage to the aerator or the faucet.
2. Remove the Filter Screen:
The filter screen is located underneath the aerator head and should be easily accessible with a flathead screwdriver. Remove the filter screen and discard it. While you are at it, you should also remove the aerator head and clean any buildup from the threads. However, be careful not to scratch or damage the threads when removing or reinstalling the aerator head.
3. Check for Clogs:
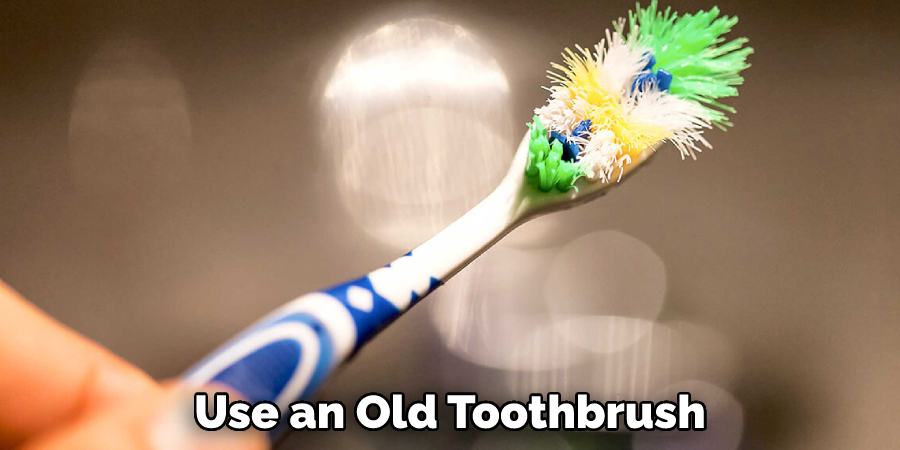
Remove any debris or sediment that may be clogging the aerator head using a damp cloth. If you notice any hard water build-up, use an old toothbrush and some vinegar to remove it. Try to flush out any remaining particles by running the faucet for a few minutes. Additionally, check the shut-off valves to make sure they’re open and unobstructed. Although it’s unlikely, there may be sediment buildup inside the pipes that could block water flow.
4. Rinse Aerator:
Once the clogs are removed, rinse the aerator thoroughly with warm water. This will help to ensure that all of the soap and sediment is gone. If there is still sediment present, repeat the cleaning process as needed. However, if the aerator still isn’t working properly, it may need to be replaced. Make sure to check the manufacturer’s instructions for specific replacement instructions.
5. Reassemble Aerator:
Put the filter screen back in place and reassemble the aerator head by screwing it back onto its base. If the aerator has a rubber gasket, make sure to place it in the right spot before reassembling it.
Turn on the water and check for any leaks. If you do not see any, your aerator should now be working properly. However, if you continue to experience issues with low water pressure, an aerator will not necessarily solve the problem. It is possible that you may need to replace the faucet valves or consider having a plumber inspect your plumbing system.
6. Test for Leaks:
Now that your Delta pull-down kitchen faucet aerator is clean and reassembled, turn on your faucet to check for any leaks or drips. If you find any, use a wrench to tighten them up before use. If the leak persists, it may be a sign that the aerator needs to be replaced. Be sure to use Teflon tape on any connections when replacing parts. However, if the leak persists, you may need to contact a professional plumber for help.
Replacing or repairing a Delta pull-down kitchen faucet aerator should not be a difficult task. With a few simple steps, you can have your faucet back in working order in no time. Just remember to use caution when working with any tools or hardware, so you don’t cause any unnecessary damage.
7. Clean Faucet Base:
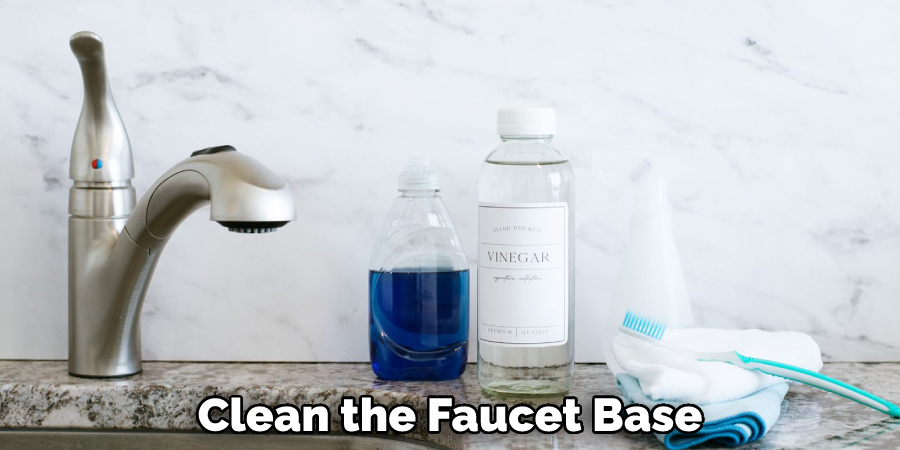
Before reinstalling your Delta pull-down kitchen faucet aerator, it’s also important to clean the faucet base. This can be done by using a soft cloth and warm soapy water or a mild household cleaner. Although all of the components have been removed, it’s important to ensure that all of the old parts and debris are completely cleaned away.
Doing so will help to ensure a smooth and reliable installation. Scrub the base gently so as to not damage the surface or any of the internal components. Once finished, rinse the area with clean water and allow it to dry before reassembling the faucet.
8. Reinstall Aerator:
Once the faucet base is clean and dry, reinstall the aerator head into its proper position and tighten it until it is secure. While doing so, make sure not to over-tighten the aerator head, as this could cause damage.
Once reinstalled, turn on your faucet and check for any signs of water leakage. If there are no signs, your aerator has been reinstalled correctly. However, if the aerator is still leaking, you may need to purchase a new one. Make sure to double-check the size before buying a replacement.
9. Turn On The Faucet:
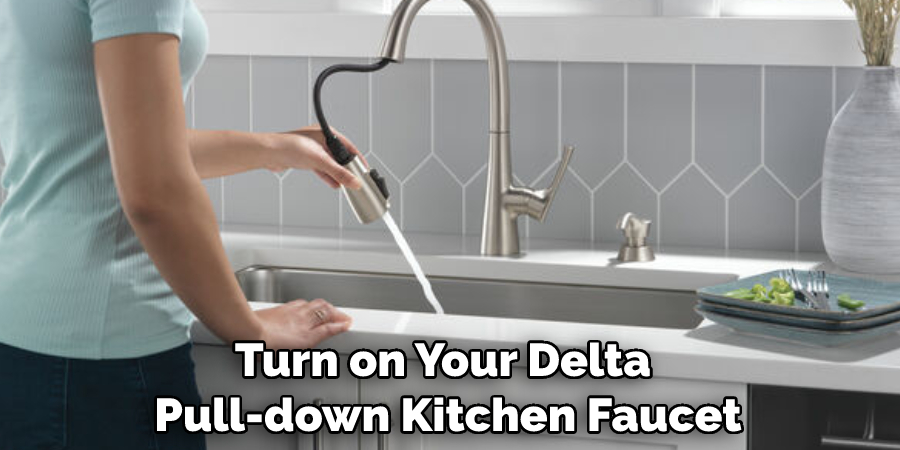
Turn on your Delta pull-down kitchen faucet to check for any leaks or drips. If all looks good, your Delta pull-down kitchen faucet aerator is now clean and ready to use! Once you’ve verified your Delta pull-down kitchen faucet is operating properly, you can turn it off. Be sure to check the aerator periodically for any build-up or buildup, and clean it as needed to ensure your water flow is always at its best.
10. Clean Aerator Regularly:
It’s important to remember that the Delta pull-down kitchen faucet aerator should be cleaned on a regular basis. This will help ensure that it performs at its best and lasts for many years to come. Although it’s not a difficult task, it should be done at least once every six months.
To clean the aerator, you’ll need to unscrew it from the faucet and soak it in a vinegar solution for 30 minutes. Use a brush to scrub off any mineral deposits that have accumulated on the aerator. Once it is clean, rinse it off with water and reattach it to the faucet.
Now you know how to clean a Delta pull-down kitchen faucet aerator quickly and easily! If you are still having trouble, contact your local plumber or home improvement expert for assistance. With their help, you can get your Delta pull-down kitchen faucet back in tip-top shape in no time.
Things to Consider When Cleaning a Delta Pull-down Kitchen Faucet Aerator
- 1. Check the instructions for your specific Delta pull-down kitchen faucet aerator before starting. Some models may require special tools or techniques for disassembly and cleaning.
- Unscrew the aerator from the faucet spout. Once unscrewed, use a wrench to remove it from the spout itself if necessary.
- Inspect your aerator for any signs of wear and tear or clogging issues. If there are no visible problems, soak the aerator in a solution of vinegar and water, or other approved cleaner, for several minutes to break down stubborn deposits.
- Use an old toothbrush or pipe cleaner to brush away any debris that has been loosened by soaking it in vinegar or another cleaner. Make sure to get into all nooks and crannies of the aerator so that it is completely free of debris.
- Rinse the aerator thoroughly with warm water to remove any lingering deposits or cleaner.
- Reattach the aerator to the faucet and turn on the water to make sure that it is functioning properly before using it again. Check for any drips or leaks, and if you find any, follow the manufacturer’s instructions to fix them.
- Once everything appears to be in working order, use a soft cloth to buff away any remaining residue from the surface of your Delta pull-down kitchen faucet aerator. This will help keep it looking its best for years to come!
Conclusion
As you can see, it is not difficult to clean a Delta Pull-down Kitchen Faucet Aerator. With these simple steps, you can clean your Delta pull-down kitchen faucet aerator in no time! By following these tips on how to clean a delta pull-down kitchen faucet aerator, you can keep your faucet functioning properly and prevent mineral buildup. Do you have any additional Delta Faucet questions? Visit our website or give us a call, and one of our customer service representatives will be happy to assist you.
You Can Check It Out to Do You Repipe a House on a Slab Foundation

