Cleaning a furnace blower is an essential maintenance task that ensures your heating system operates efficiently and effectively. Over time, dust and debris can accumulate on the blower, hindering its performance and potentially leading to costly repairs. Regular cleaning not only improves air quality but also extends the lifespan of your furnace.
In this guide, we will walk you through how to clean a furnace blower, helping you maintain a comfortable and healthy environment in your home.
What is a Furnace Blower and Its Role in the Heating System?
A furnace blower, often referred to as the blower motor, is a crucial component of a heating system that circulates heated air throughout your home. It works by drawing in cool air from the rooms, passing it over the heating elements within the furnace, and then distributing the warm air through the ductwork. This process not only helps maintain a consistent and comfortable temperature but also plays a vital role in ensuring efficient fuel use and overall system performance. By facilitating proper airflow, the blower contributes to better air quality and humidity control, making it integral to the comfort and health of your living environment.
10 Methods How to Clean a Furnace Blower
1. Turning Off the Power to the Furnace
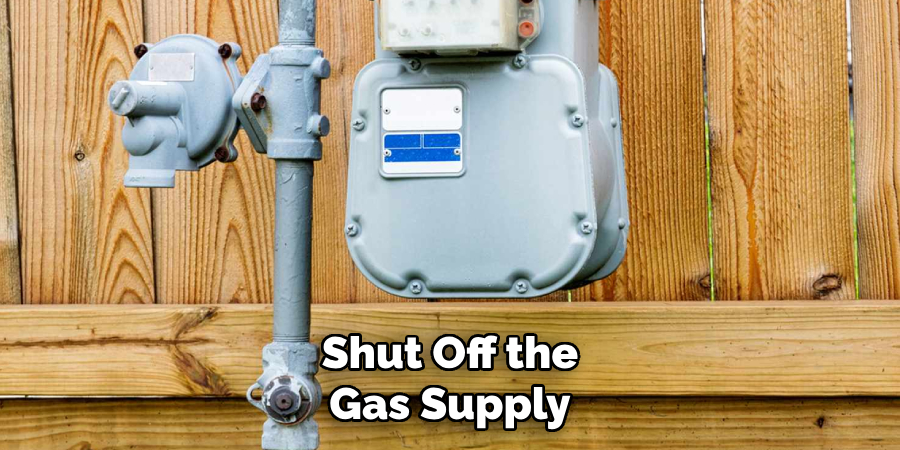
Before starting any cleaning procedure, safety should be the top priority. Turn off the power to the furnace by switching off the breaker that supplies electricity to it. This ensures that the blower won’t accidentally start while you’re working on it, which could cause injury or damage to the unit. In addition, shut off the gas supply if the furnace is gas-powered. Taking these precautions protects you from electric shock and reduces the risk of damage to sensitive components within the furnace.
2. Accessing the Furnace Blower Compartment
Once the power is off, locate the furnace blower by removing the front panel of the furnace. The blower is typically found in the lower section of the unit. You may need a screwdriver or wrench to loosen the screws or fasteners holding the panel in place. After removing the panel, you’ll have a clear view of the blower assembly. In some furnaces, the blower may be partially hidden behind additional panels or components, so take your time to carefully remove anything that obstructs access. Keep track of the screws and parts you remove so they can be easily reassembled later.
3. Inspecting the Blower for Debris
Before diving into cleaning, take a moment to inspect the blower for any obvious signs of dirt, debris, or wear. Look for dust buildup on the blades, motor, and housing. In many cases, dust and dirt accumulate on the blower fan blades, which can reduce its efficiency and increase strain on the motor. Also, check for any loose or damaged parts that might need repair or replacement. This inspection helps you identify areas that require the most attention and allows you to address any potential issues before they lead to bigger problems.
4. Removing the Blower from the Furnace
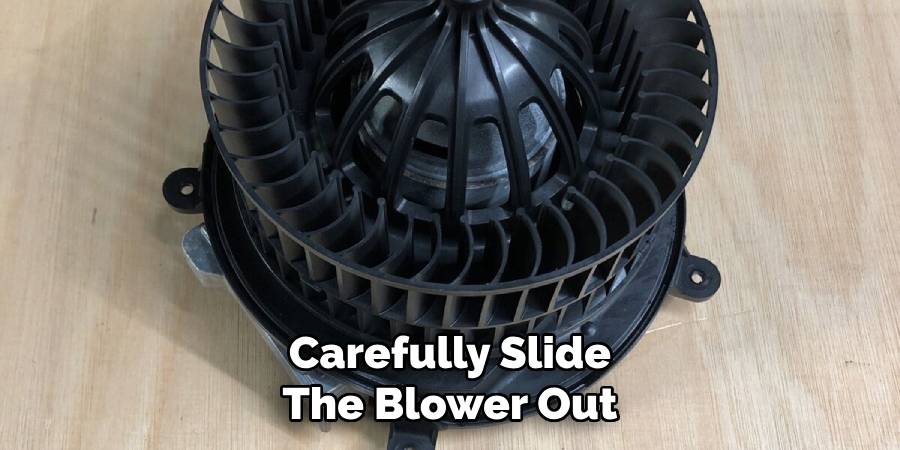
In most cases, the blower can be removed from the furnace for a more thorough cleaning. Disconnect any wires connected to the blower motor, taking note of their placement for easy reattachment. Then, remove the screws or bolts securing the blower assembly to the furnace. Carefully slide the blower out of its housing, taking care not to damage any surrounding components. Once removed, place the blower on a clean, flat surface to begin cleaning. Removing the blower allows you to access hard-to-reach areas and ensures that the entire assembly gets properly cleaned.
5. Cleaning the Blower Fan Blades
The fan blades on the blower are prone to collecting dust, dirt, and grime over time, which can impede airflow and cause the furnace to work harder than necessary. Use a soft brush or vacuum cleaner with a brush attachment to gently remove dirt from the blades. Be careful not to bend or damage the blades during cleaning, as this can affect the blower’s balance and performance. For stubborn dirt, a damp cloth can be used, but avoid using excessive water, as moisture can damage the motor. Regularly cleaning the fan blades helps maintain optimal airflow and efficiency.
6. Vacuuming the Blower Housing
Once the blower is removed, clean out the blower housing inside the furnace. This area often collects dust and debris that can obstruct airflow or get pulled into the blower when the furnace is running. Use a vacuum cleaner with a hose attachment to carefully remove any dirt or debris from the housing. Pay close attention to the corners and any hard-to-reach areas where dust tends to accumulate. A clean housing ensures that the blower operates in a dust-free environment, reducing wear and tear on the components and promoting better air circulation.
7. Cleaning the Blower Motor
The blower motor is another critical component that requires attention during cleaning. Dust and dirt can accumulate on the motor’s exterior, leading to overheating or reduced performance. Use a dry cloth or compressed air to clean the motor, ensuring that no moisture gets inside the motor housing. If the motor has lubrication ports, consider adding a few drops of motor oil to help it run smoothly. Cleaning the blower motor ensures that it operates efficiently and reduces the risk of overheating or breakdowns due to dust buildup.
8. Checking and Cleaning the Air Filters
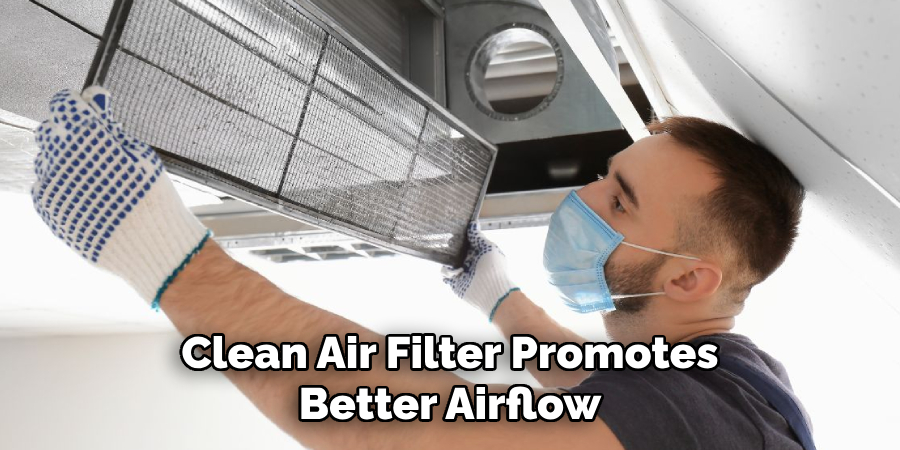
Dirty air filters can cause the blower to work harder, leading to reduced efficiency and a shorter lifespan for the furnace. While cleaning the blower, check the air filters and replace them if they are dirty or clogged. Most furnace filters are disposable, so replacing them is the best option, but if your system uses reusable filters, clean them according to the manufacturer’s instructions. A clean air filter promotes better airflow, reducing the strain on the blower and improving the overall efficiency of the furnace. This simple maintenance step can significantly enhance the performance of your heating system.
9. Reassembling the Blower and Furnace Components
Once the blower and surrounding components are clean, carefully reassemble the furnace. Begin by sliding the blower back into its housing and securing it with screws or bolts. Reconnect any wiring that was disconnected, ensuring that each wire is properly reattached to its corresponding terminal. Replace any panels or covers that were removed, and double-check that everything is secure. Taking your time during reassembly ensures that the blower is properly installed and that no parts are loose or out of place, which could cause the furnace to malfunction.
10. Restoring Power and Testing the Furnace
After reassembling the furnace, restore power by turning the breaker back on and, if necessary, reopening the gas valve. Turn the furnace on and observe its operation. Listen for any unusual noises that may indicate a problem with the blower or motor, and check that the airflow is strong and consistent. If the furnace runs smoothly and quietly, the cleaning process was successful. Testing the furnace after cleaning ensures that everything is functioning correctly and that the blower is operating at optimal efficiency, providing the proper airflow needed for your home’s heating system.
Tips for Achieving the Best Results
- Schedule Regular Maintenance: To keep your blower and furnace in top shape, establish a routine maintenance schedule. Cleaning every six months, especially before peak heating or cooling seasons, can prevent issues before they arise.
- Use the Right Tools: Make sure to use appropriate cleaning tools, such as soft brushes, vacuum attachments, and microfiber cloths, to effectively clean without causing damage. Investing in good quality tools can enhance the cleaning process.
- Follow Manufacturer’s Instructions: Always refer to the manufacturer’s guidelines for specific cleaning and maintenance procedures. Different models may have particular requirements that are important for maintaining performance and warranty.
- Keep an Eye on Air Quality: Monitor the air quality in your home. If you notice increased dust or poor airflow, it may indicate that the blower or filters need attention sooner than your scheduled maintenance.
- Consider Professional Help: If you’re uncomfortable performing maintenance tasks or if your blower shows signs of significant wear, consider hiring a professional. Expert servicing can ensure that your furnace runs efficiently and safely.
- Document Your Work: Keep track of maintenance activities, including dates of cleaning and any parts replaced. This documentation can help you spot patterns and anticipate future service needs, ultimately prolonging the life of your furnace.

Conclusion
Regular maintenance of your furnace, particularly the blower and its components, is crucial for ensuring efficient operation and prolonging the lifespan of your heating system. By following these steps, you can effectively clean and inspect the blower, promoting optimal airflow and reducing the risk of breakdowns. Taking the time to routinely check the blower, air filters, and associated parts will not only enhance performance but also lead to energy savings and improved comfort in your home. Thanks for reading, and we hope this has given you some inspiration on how to clean a furnace blower!

